
Tactile moments are what truly elevate a project, and I experienced just that while crafting my latest endeavor—the Charming Crochet Tulip Bouquet. Anyone who adores fiber arts can appreciate how transforming colors merge with softness, creating a whimsical touch for any home decor. This crochet tulip pattern not only showcases spring’s vibrance but also brings two significant benefits to the table: it’s an eye-catching stash-buster and a delightful, beginner-friendly project that still boasts complexity. Imagine gifting this bouquet to a friend to brighten their space or using it as a charming centerpiece, and those little details will surely impress! Plus, the satisfaction of making something beautiful and lasting with your own hands is unparalleled. With the right techniques and your favorite yarns, you’ll have a stunning arrangement in no time. While you’re stitching those petals, consider what colors speak to you, and let’s explore how you can dive into this captivating project together.
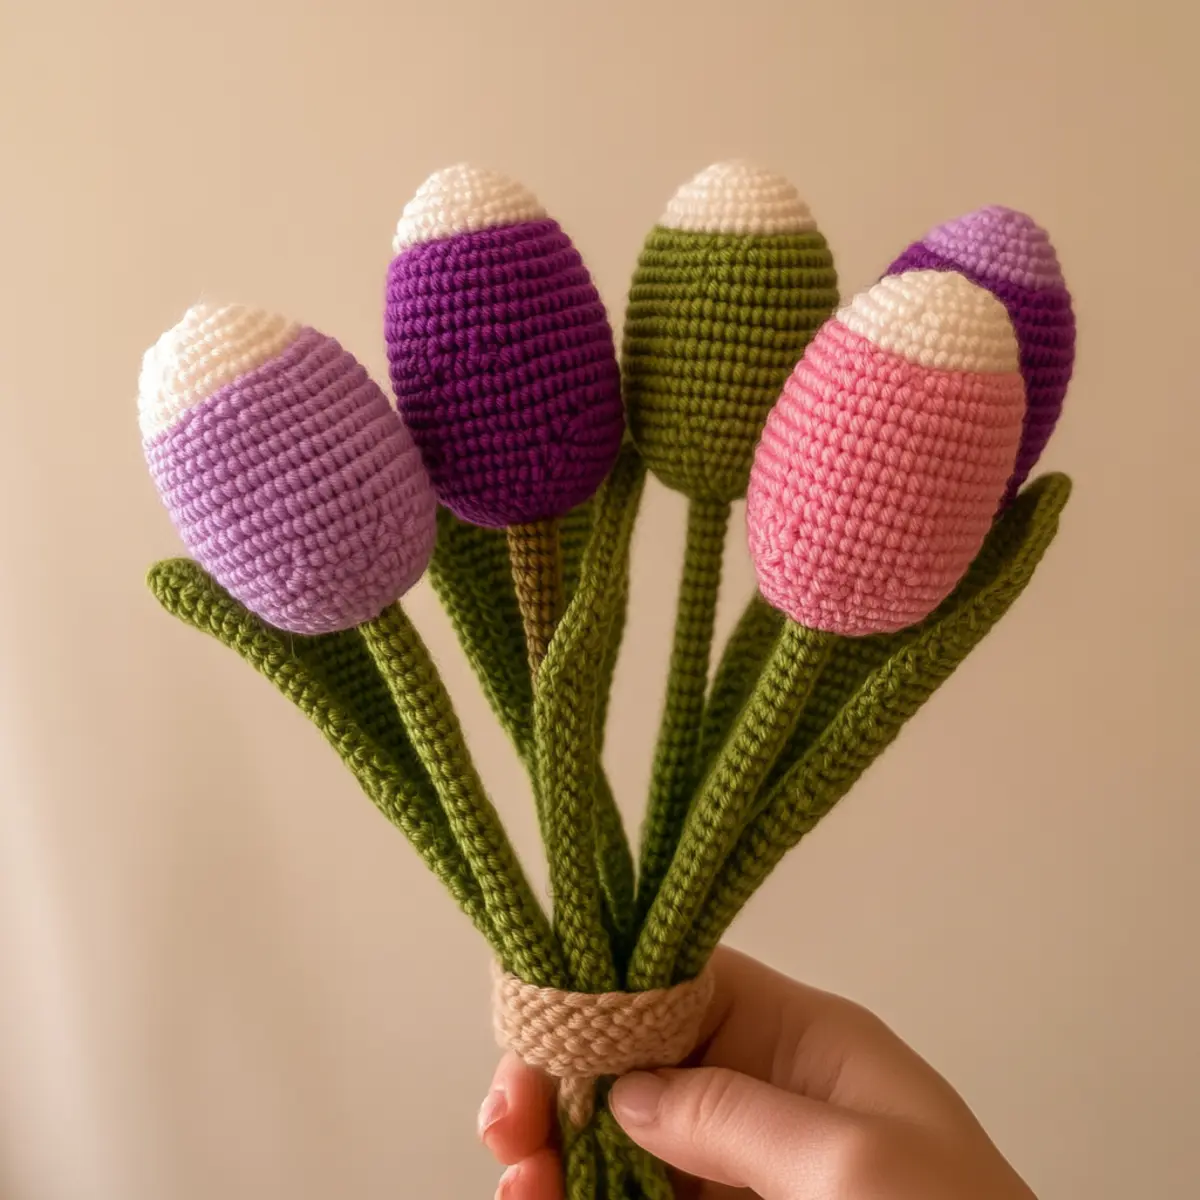
Crochet Tulip Pattern Materials & Tools
Yarn
Worsted weight yarn – Use approximately 200-300 yards of your preferred color for vibrant tulips.
Cotton or acrylic blend – Choose a blend for care ease and texture to replicate the feel of fresh flowers.
Tools & Notions
4.5 mm crochet hook – This size helps create a dense fabric for your tulip shapes.
Safety eyes – Add these for charming details on your tulips.
Craft glue – Perfect for assembling petals and leaves without sewing.
Floral wire – Use this to provide structure to your tulip stems, making them sturdy yet flexible.
Blocking tools
Steam or blocking mats – Lightly steam your finished tulips to enhance their shapes and define the petals.
Why You’ll Love This Pattern
Simple yet stunning, the crochet tulip pattern allows you to easily create a gorgeous bouquet that mimics the delicate beauty of spring flowers. Versatile colors permit you to choose your palette, making the tulips suitable for various occasions—from bright spring celebrations to softer, pastel-themed decor. Stash-friendly, this project utilizes worsted weight yarn, so you can dive into your leftover yarn with joy. The pattern also offers a unique chance to hone your skills with color changes and assembly techniques, making it a perfect stepping stone for crafters looking to advance their skills. Plus, those delightful crochet flowers can easily be paired with other designs like the Crochet Lily Flower or the Crochet Flowers Delightful for a personalized mix. Not to forget, the final result can serve as a heartfelt gift, bringing a splash of joy to anyone receiving your handmade bouquet. You will be amazed at how much character this bouquet can add to any room!
Gauge & Sizing Notes for Crochet Tulip Pattern
Checking your tension is essential for the crochet tulip pattern to achieve consistent sizes for each tulip bloom. A gauge of 4×4 inches should typically yield 18 stitches and 10 rows in double crochet. If your gauge is tighter or looser, adjust your starting chain or the number of rows to ensure your tulips measure approximately 6-8 inches tall. For resizing, you could increase your initial chain by intervals of 6 stitches to add extra rows or blooms, while ensuring that the overall design remains harmonious. If your swatch doesn’t match, consider switching your hook size or yarn weight to fine-tune the results. The beauty of this crochet tulip pattern lies in your ability to experiment, so trust your creative instincts and adapt as needed!
Step-by-Step Pattern for Crochet Tulip Pattern
Row 1: Start the Petal Base
Ch 4 and join with a sl st to form a ring. Then ch 3 (counts as 1 dc), 11 dc into the ring. Sl st in top of ch-3 to complete the round (12 dc).
Row 2: Increase for Petal Shape
Ch 3 (1 dc), dc in next st, 2 dc in next st, repeat from * to * around. End with a sl st in top of ch-3 (18 dc).
Row 3: Forming the Petal
Ch 3 (1 dc), dc in next 2 sts, 2 dc in next st, repeat from * to * around. Join with a sl st (24 dc).
Row 4: Completing the Petal Shape
Ch 3 (1 dc), dc in next 3 sts, 2 dc in next st, repeat from * to * around. Finish with a sl st (30 dc).
Row 5: Shaping the Top of Petal
Ch 1 (counts as 1 sc), hdc in next 3 sts, 2 hdc in next st, repeat from * to * around. Sl st to join (36 total).
Row 6: Filling the Petal
Ch 1, 1 sc in each st around. Join with a sl st (36 sc). Break yarn and weave in ends. Repeat for desired number of petals.
Row 7: Create the Leaves
Using green yarn, ch 12. Hdc in 3rd ch from hook, hdc in next 5 sts, hdc into last st and back along the chain to shape the leaf. Sl st to join (12 hdc).
Row 8: Preparing the Stems
Cut floral wire into 12-inch pieces for each tulip. Wrap the yarn around the wire to create a sturdy stem, securing the base with hot glue.
Row 9: Attach Leaves to Stems
Using a sl st, attach leaves to the bottom of the tulip petals. Secure them firmly with hot glue to ensure they stay in place on the stems.
Row 10: Assemble the Bouquets
Arrange your tulips as desired. Tie them together using a simple yarn wrap or ribbon. Secure their positions using hot glue where needed, ensuring all petals face outward.
Row 11: Final Touches
Use safety eyes if you desire to add character to your tulips. Position them carefully on the blooms using craft glue, ensuring they are firmly adhered.
Row 12: Block Tulips for Shape
Lightly steam the finished tulips to enhance their shape. Use blocking mats if needed for a defined look, helping to form those beautiful rounded petals.
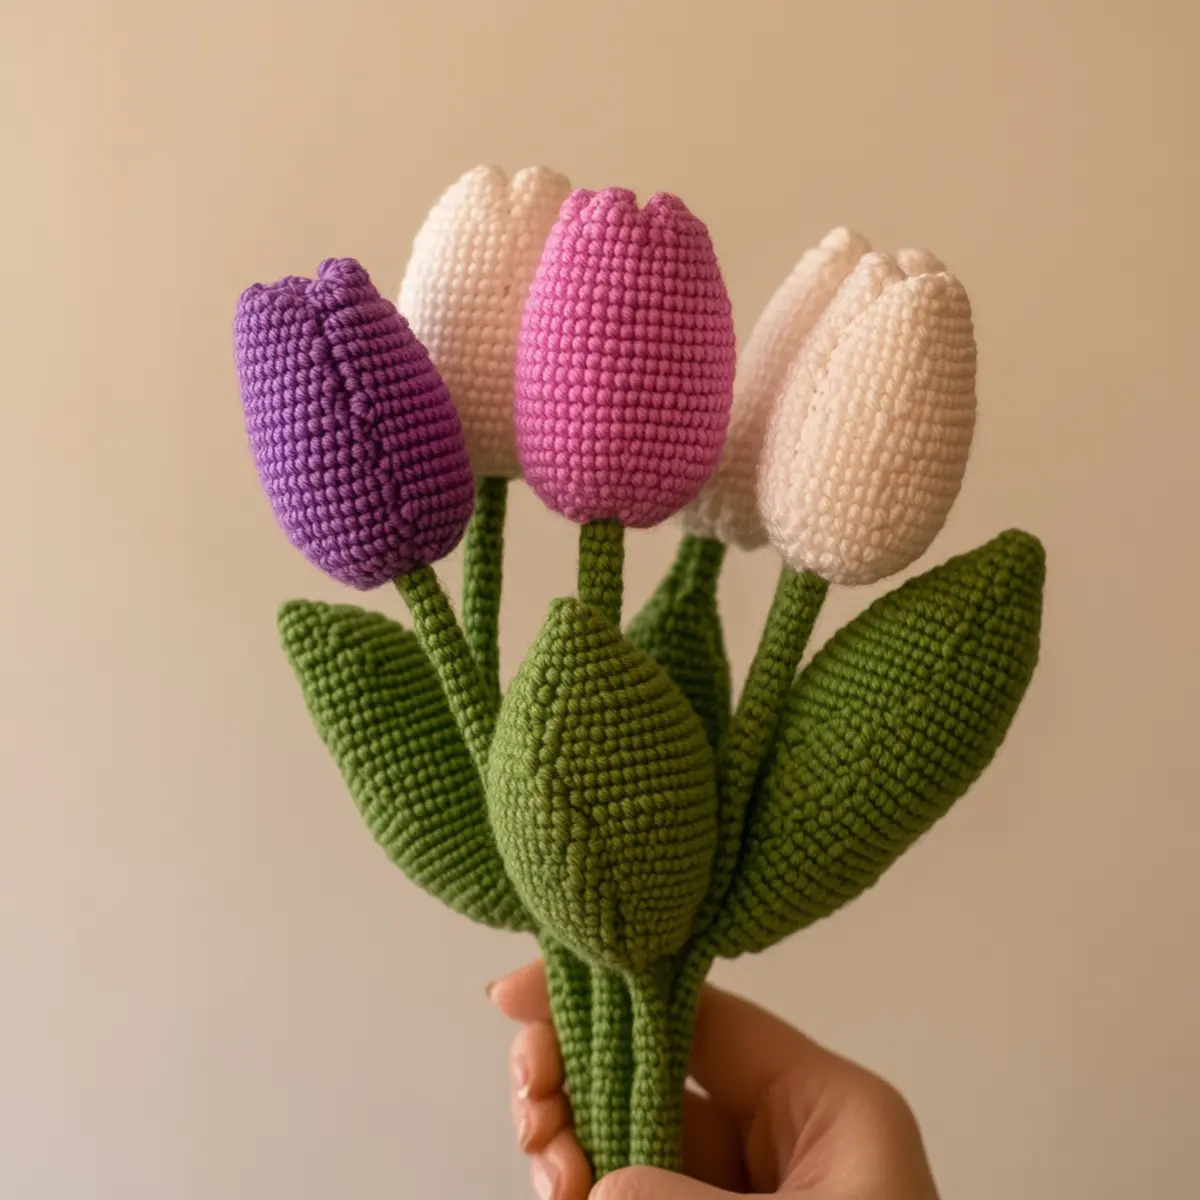
How to Wash and Care for Your Crochet Tulip Bouquet
Machine Washing: Use a gentle cycle with cold water; avoid fabric softeners to protect the yarn and maintain vibrant colors.
Hand Washing: For the best results, hand wash with mild soap in cool water, gently squeezing without agitating to prevent felting.
Drying: Lay the bouquet flat on a towel to dry, reshaping petals as needed; avoid hanging to maintain the tulip’s shape.
Blocking: When needed, block to reshape your tulips lightly; use steam or damp blocking mats to preserve their definition.
Expert Tips for the Best Crochet Tulip Pattern
Keep It Organized: When using multiple colors, organize your yarn to avoid tension issues caused by snagged strands.
Check Your Tension: Regularly check your tension to ensure the petals are uniform; inconsistent tension may lead to odd shapes in your tulips.
Block for Shape: Blocking your finished tulips enhances their appearance; lightly steam them while shaping to achieve a polished look.
Use the Right Hook: The recommended 4.5 mm hook helps achieve a dense fabric for sturdy petals; a wrong size can alter your tulip’s shape.
Tidy Up Ends: Don’t forget to weave in all your yarn ends neatly; loose ends can distract from the beauty of your bouquet.
Crochet Tulip Pattern Customizations
Feel free to personalize your tulip bouquet using these fun ideas!
- Color Palette: Experiment with different shades like vibrant yellows and whites to evoke a cheerful spring feel.
- Yarn Type: Consider a cotton blend instead of acrylic for a more natural texture and drape in your tulips.
- Flower Variety: Mix and match other Crochet Flowers Delightful to your bouquet to create a unique floral arrangement.
- Embellishments: Adding beads or ribbons around the stems brings a charming touch and allows unique self-expression. Consider using a contrasting yarn for maximum effect.
- Size Variations: Adjust the hook size or yarn weight to create mini tulips perfect for a desk or larger blooms that make a statement centerpiece. Using a lighter yarn can transform the tulips into lovely spring decor.
- Texture Modifications: Try incorporating different crochet techniques such as a bobble stitch for a more textured appearance on the petals. This can add depth and interest to your tulip design, enhancing your bouquet.
- Assembly Techniques: Instead of hot glue, opt for sewing the petals and leaves for a more durable finish, especially if this bouquet is intended for a gift. This method promotes a more traditional crafting experience and is ideal for those who enjoy hand-stitching.
- Seasonal Colors: For a fall-inspired look, think about using earthy tones like burnt orange or deep reds; this will convey a rich autumn atmosphere to your bouquet. Experimenting with seasonal colors can keep your decor fresh and timely.
With these variations, you can create a truly customized crochet tulip pattern that reflects your personal style and preferences.
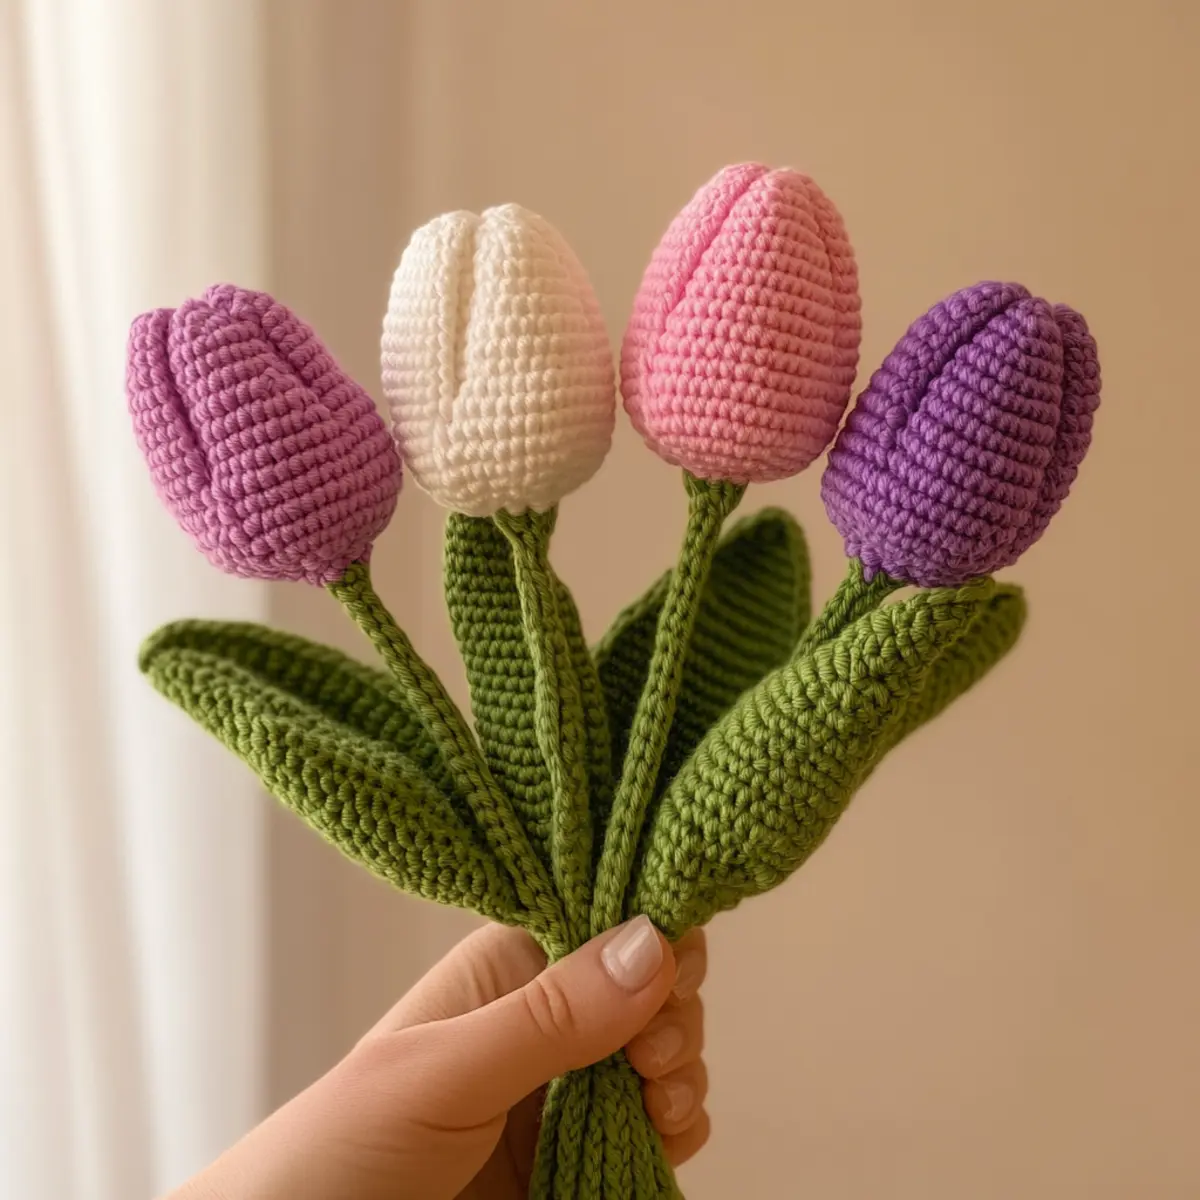
Crochet Tulip Pattern FAQs
Can I substitute different yarn types?
Absolutely! While worsted weight is ideal, you can experiment with cotton blends or even bulky yarn for thicker petals, just adjust your gauge accordingly.
What if I want to adjust the size of my tulips?
To resize, simply modify your starting chain by increments of 6 and ensure your new rows maintain flower proportions; be creative!
What hook size should I use?
A 4.5 mm crochet hook is recommended to create a dense fabric. If you feel your tulips aren’t sturdy enough, consider adjusting to a slightly smaller hook for tighter stitches.
How do I prevent curling in the petals?
Curling often occurs with inconsistent tension; ensure even stitches and consider blocking your finished tulips to help flatten them out.
What if I drop a stitch during assembly?
Don’t panic! Simply retrace your steps to where the drop occurred and gently fix it; you can use a stitch marker to help keep track.
Are there embellishments I can add?
Definitely! Add beads, ribbons, or decorative buttons to the stems or along the petals for a personal touch that enhances your crochet tulip pattern!
Leave a Reply