
Create beautiful, handcrafted tulips that brighten your day and serve as heartfelt gifts! This Crochet Tulip Free Pattern is perfect for both beginners eager to dive into floral designs and seasoned enthusiasts looking for a quick and delightful project. With their vibrant colors and charming shapes, these tulips will instantly liven up any space and make for thoughtful, personalized gifts.
Featuring a lovely worsted weight yarn, this project embodies a soft yet striking aesthetic that mimics the beauty of real tulips. Each flower stands approximately 3 inches tall, making them ideal for decorating vases or adding a pop of color to your home. Equipped with floral wires and polyfill stuffing, you’ll not only crochet these blooms but create remarkable floral arrangements that can last for years, showcasing your crochet skills while spreading joy.
Don’t worry if you’re new to crochet; this pattern is straightforward and fun, perfect for everyone! The vibe is relaxed and creative, so grab your 5 mm hook and your favorite yarn colors, and let’s get started on crafting these enchanting tulips. You’ll be amazed at how quickly you can create a bouquet of happiness right from your living room!
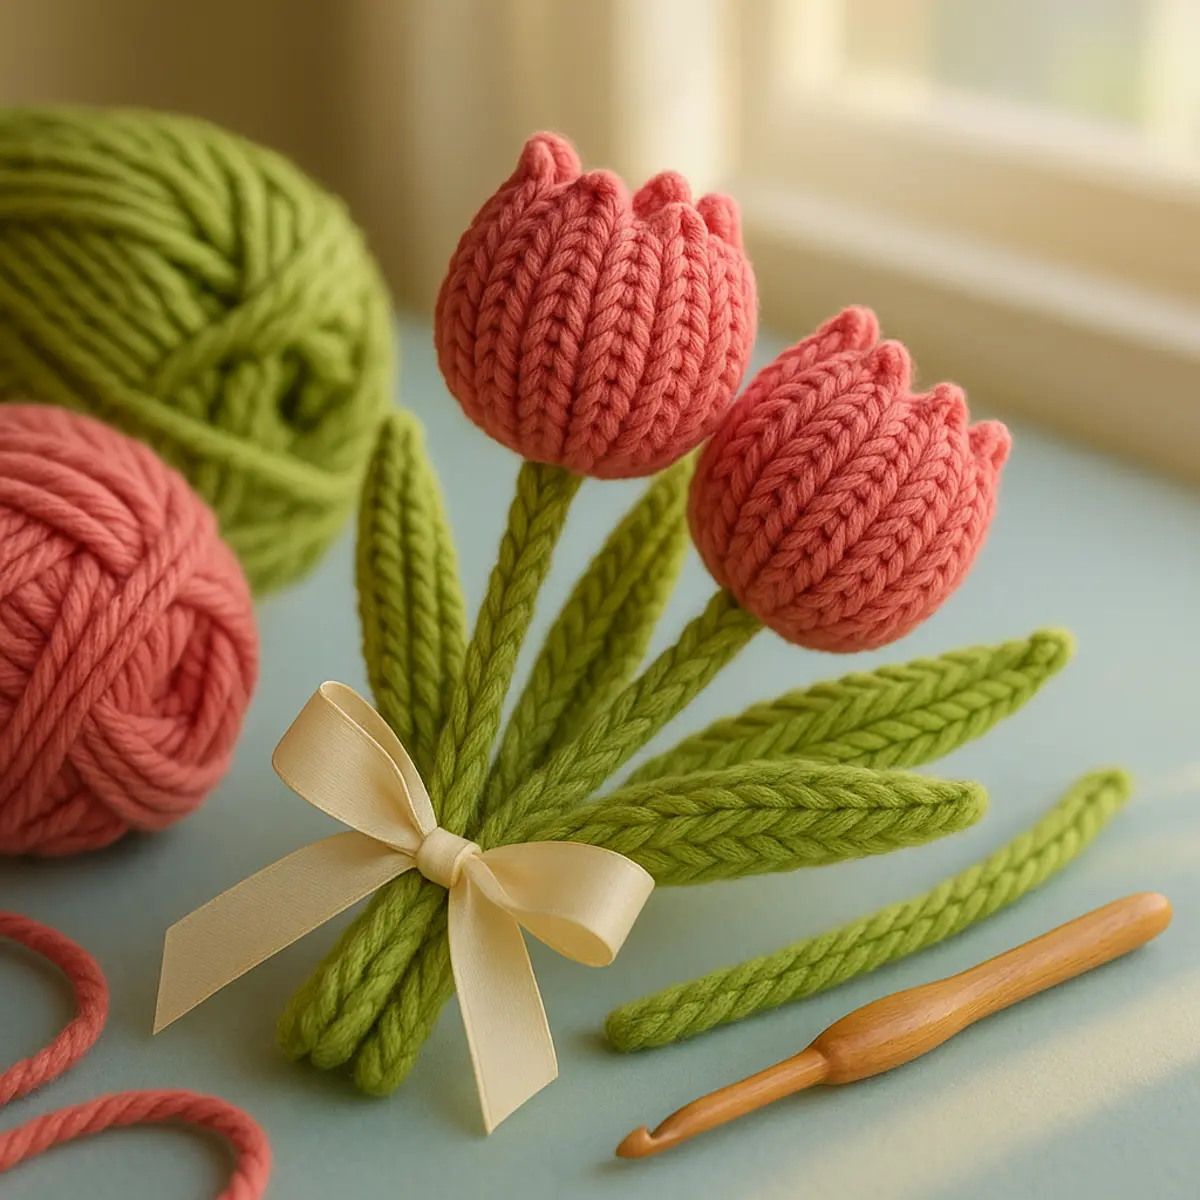
This Crochet Tulip Free Pattern invites both beginners and crochet enthusiasts to create beautiful, handcrafted tulips that brighten any space and make for heartfelt gifts. Utilizing worsted weight yarn and a 5 mm crochet hook, this engaging tutorial guides you through crafting delightful tulip flower buds, complete with floral wires and polyfill stuffing for a lifelike touch. Each flower stands approximately 3 inches tall and is perfect for embellishing your home or presenting as a thoughtful present. With straightforward instructions and opportunities for creative expression, this project promises a rewarding crafting experience.
Materials Needed
Gathering the right supplies is the first step in creating these delightful crochet tulips! With the right materials, you’ll be on your way to crafting beautiful, handcrafted tulips that brighten your day and serve as heartfelt gifts.
- Yarn: Worsted weight yarn is perfect for this project, providing the ideal balance of thickness and flexibility for your tulips.
- Floral Wires: You will need 12 AWG wire for the tulip and 22 AWG for the leaf, both cut to 15 inches long. These wires give your tulips structure and the ability to hold their shape.
- Polyfill Stuffing: This lightweight stuffing will give your tulip a soft finish, making it more lifelike and appealing.
- Crochet Hook: A 5 mm (H size) crochet hook allows for comfortable stitching and is the ideal size for worsted weight yarn.
- Tapestry Needle: This is essential for weaving in ends and sewing pieces together seamlessly.
- Scissors: A good pair of scissors is crucial for making clean cuts to your yarn and wire.
- Clear Quick Dry Adhesive or Hot Glue: Use this to securely attach your floral wire and other elements together.
- Pliers: Useful for bending and manipulating the floral wire to achieve the desired shape for your tulip and leaves.
Pro Tip: When choosing your yarn colors, think about the natural hues of tulips and don’t be afraid to mix and match! Try using metallic or textured yarn for added depth and visual interest.
Abbreviations
This crochet pattern is written in standard US terms, commonly used in most crochet blogs and resources.
- ch: Chain
- dc: Double Crochet
- hdc: Half Double Crochet
- inc: Increase (working two stitches into one stitch)
- sc: Single Crochet
- sl st: Slip Stitch
- st(s): Stitch(es)
Gather Supplies
Before we start crocheting your beautiful tulip, gather all your yarn and materials in your preferred colors. Having everything ready will streamline the process and make it more enjoyable.
- Yarns: Choose worsted weight yarn in your favorite colors.
- Floral wires: You’ll need 12 AWG for the tulip and 22 AWG for the leaf, both 15″ long.
- Polyfill stuffing material: This will add volume to your tulip.
- Crochet hook: Use a 5 mm or H size hook.
- Tapestry needle and scissors: For finishing touches.
- Clear Quick Dry Adhesive or Hot Glue: To secure elements together.
- Pliers: Helpful for manipulating floral wire.
Expected Result: All your materials should be at hand, ready for the fun of crocheting!
Crochet the Tulip Flower Bud
Let’s start by creating the tulip flower bud. This part will serve as the centerpiece of your tulip.
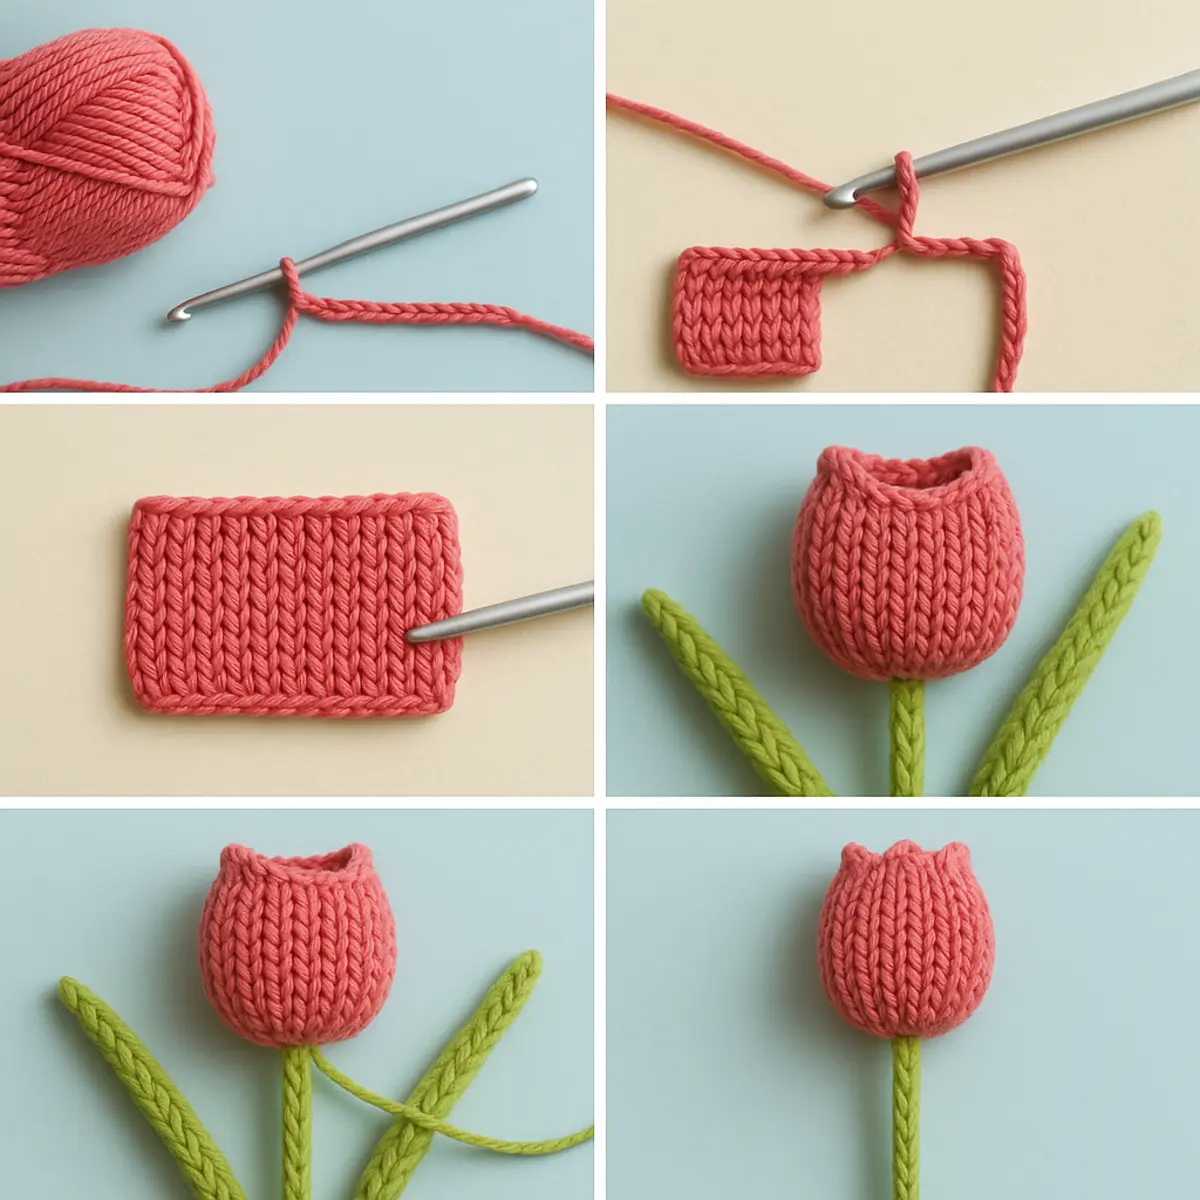
- Foundation chain: Create a slip knot and then chain 12. Turn. You now have a foundation chain of 13 stitches.
- Row 1 (RS): Skip the first chain, and single crochet (sc) in the next 12 stitches. Chain, turn your work. {12 stitches total}
- Row 2 to Row 24: Skip the first sc, then sc in the 3rd loop only for the next 12 stitches. Chain, turn your work. Keep repeating this for a total of 23 rows. {12 stitches each row}
- Finish: To complete this section, fasten off your yarn.
Professional Tip: Ensure your stitches are even for a uniform shape, and remember to keep your tension consistent throughout!
Expected Result: By the end of this section, you should have a bud that looks like a small cylinder with approximately 24 rows.
Cinch the Base
Now it’s time to cinch the base of the tulip bud for that lovely rounded shape.
- Gather the bottom stitches: Use a tapestry needle and thread through the bottom row stitches to gather them together.
- Sew to cinch: Pull the yarn tight to close the bottom of the bud and secure it by tying a knot.
- Insert floral wire: Take your 12 AWG floral wire, insert it into the center of the bud, leaving a bit of wire at the bottom.
- Glue to secure: Use hot glue or quick-drying adhesive to secure the floral wire in place. Be cautious when applying glue.
Professional Tip: Ensure you allow the glue to dry completely before proceeding to avoid any shifts in your tulip’s shape.
Expected Result: The base of your tulip should now be cinched closed with the wire securely in place, giving it a nice, finished look.
Create the Leaf
Let’s create the leaf for your tulip, adding the final touches to this elegant flower.
- Foundation chain: Create a slip knot, then chain 24. Turn. {25 stitches total}
- Stitching: Single crochet in the next 2 chains, then hdc (half double crochet) in the next 2 chains, followed by dc (double crochet) in the next 15 chains, hdc in the next 2, and finish with sc in the last 2 stitches.
- Finishing the leaf: Crochet 3 single crochets into the last chain to create a rounded tip.
Professional Tip: Be mindful of your stitch counts, especially when switching between different crochet stitches to keep the leaf shape consistent.
Expected Result: By the end of this process, you should have a lovely leaf shape connected to your tulip flower.
Assemble the Tulip
We’ve made it to the final step! Now, we’ll assemble your tulip for a stunning finish.
- Wrap wire: Take your green yarn and wrap it around the exposed floral wire, covering it completely.
- Secure the leaf: Position the leaf near the base of your tulip bud. Use glue or sew it in place securely.
- Final touches: Check the overall appearance and make any adjustments as needed.
Professional Tip: Make sure the leaf and bud are securely attached to ensure that your tulip lasts over time, especially if you plan to display it.
Expected Result: At the end of this assembly, your tulip should stand approximately 3 inches tall, vibrant and beautiful!
FAQ
Materials Needed
Creating beautiful, handcrafted tulips that brighten your day and serve as heartfelt gifts is an exciting venture! To ensure your project is a success, gather the following supplies. Each item plays a crucial role in helping you achieve a stunning result.
- Yarn: Worsted Weight yarn is recommended for its versatility and easy-to-work nature. It provides the perfect balance of softness and structure, making it ideal for the tulip’s gentle curves.
- Floral Wires: You’ll need 12 AWG wires (for the tulip) and 22 AWG wires (for the leaf), 15 inches long. These wires will give your tulips stability and create the illusion of lifelike stems.
- Polyfill Stuffing: This material will add volume to your tulips, giving them a plush, inviting appearance that’s delightful to both the touch and the eye.
- Crochet Hook: A 5 mm (H size) hook is essential for creating stitches that are neither too tight nor too loose, ensuring your work flows smoothly as you crochet your tulips.
- Tapestry Needle: This handy tool will help you weave in your ends and sew parts of the tulip together. A blunt tip is ideal for working with yarn without splitting it.
- Scissors: A good pair of scissors will help you cut your yarn with precision, allowing for clean finishes in your project.
- Clear Quick Dry Adhesive or Hot Glue: These adhesives are perfect for securing floral wires and attaching leaves, making sure every piece stays exactly where it should be.
- Pliers: For shaping and trimming the floral wires, pliers provide the necessary heft and control to manipulate the wire without harming your hands.
Pro Tip: If you’re considering substituting yarn, try a cotton blend or a softer acrylic to suit your project’s needs or to experiment with different textures and colors!
Congratulations on completing your Crochet Tulip! You’ve created a delightful piece that adds a splash of color and charm to any setting. Don’t forget to share your beautiful creation with friends and fellow crocheters; your inspiration could spark new projects and ideas!
If you loved making this, you should also check out our easy crochet flower, try your hand at simple crochet flowers, or explore our category of flower patterns!
Leave a Reply