
As the leaves start to drift from trees and a chill fills the air, thoughts of cozy handmade decorations come rushing in. This adorable beginner-friendly crochet spider amigurumi is just the project to bring a whimsical touch to your Halloween decor—or to charm the arachnophobe in your life! With its soft, squishy texture and delightful pastel colors, this pattern is not only quick to make but also utilizes simple crochet skills, making it perfect for crafters of all experience levels. Whether you’re on a mission to create fun gifts or just want to spookily spruce up your space, this charming little spider can be stitched up in no time. Are you ready to make some eight-legged cuteness? Let’s get started!
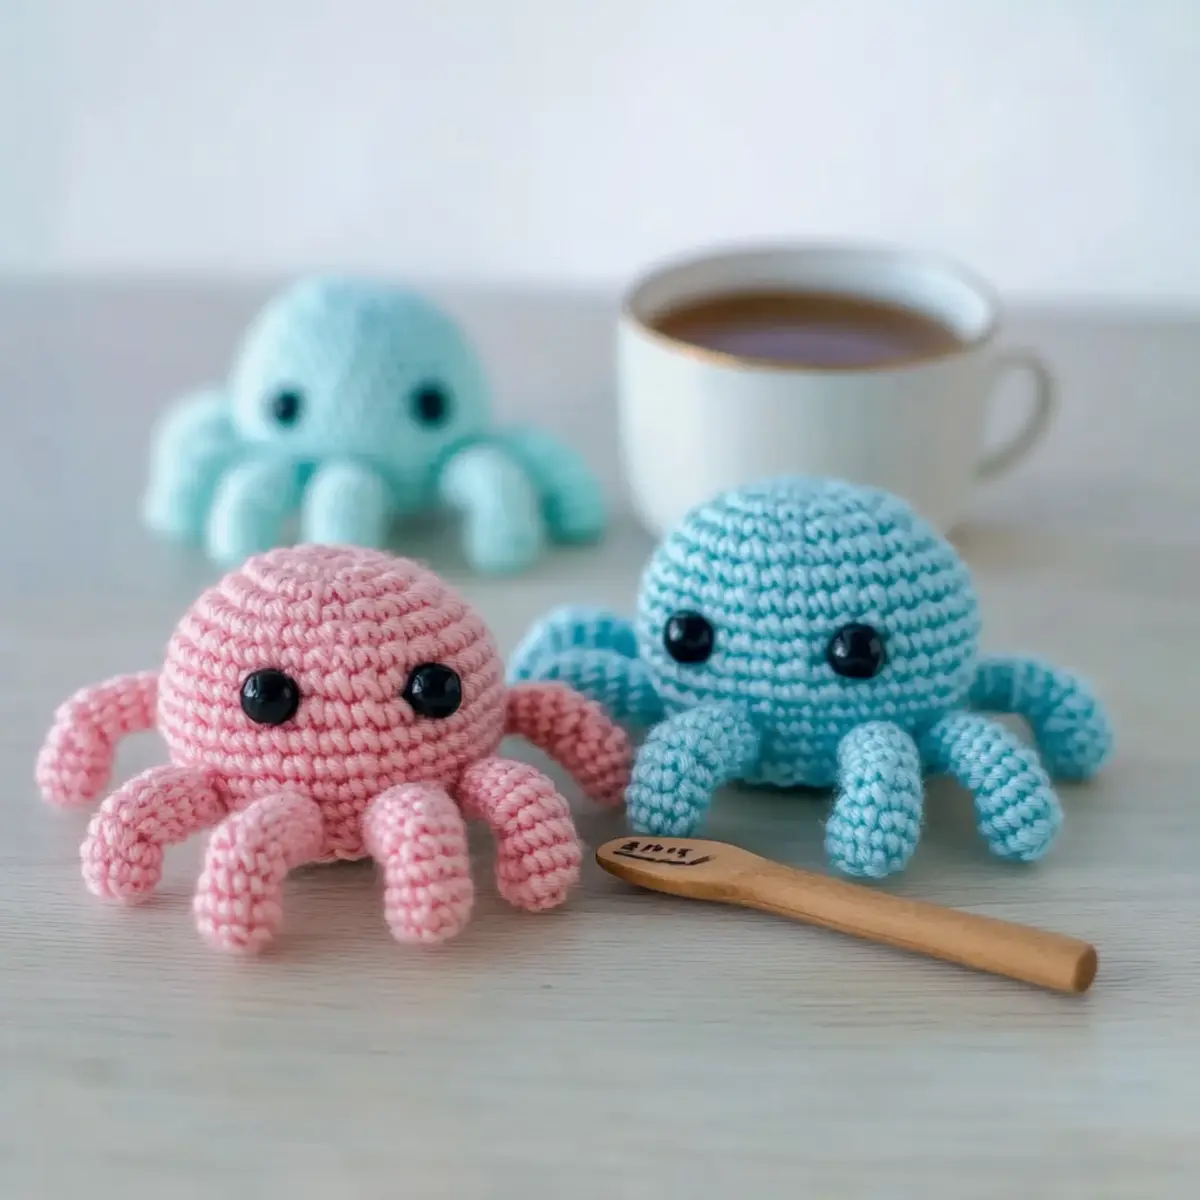
Cozy Quick Crochet Spider Materials & Tools
Note: Gather your supplies and get ready to create this charming amigurumi that’s perfect for Halloween!
Yarn
• Worsted Weight Yarn – Approximately 50-100 yards, depending on size and number of spiders made; consider soft acrylic or cotton for best results.
Tools & Notions
• 4 mm (G-6) Hook – This size is ideal for the worsted weight yarn to achieve a snug, sturdy fabric.
• Stitch Markers – Handy for tracking rounds in continuous crochet to avoid losing your place.
• Tapestry Needle – Essential for weaving in ends and finishing off your project neatly.
• Safety Eyes (9 mm) – Optional for a more playful look; can be omitted and embroidered instead for a child-safe version.
Why Make a Crochet Spider Amigurumi?
Whimsy and Charm: This cute crochet spider adds an instant touch of whimsy to your home decor, making it a playful decoration for Halloween or a unique gift.
Quick to Create: Perfect for crafters in a hurry, this pattern works up quickly, allowing you to whip up multiple spiders in a short time.
Beginner-Friendly: Utilizing basic crochet skills like single crochet and magic ring, this pattern is accessible for everyone from beginners to seasoned pros.
Colorful Customization: With countless color options, you can create spiders to match any decor or occasion. Try different yarns for larger or smaller versions, and let your creativity shine with fun embellishments!
Soft Texture: The squishy fabric created with worsted weight yarn makes this spider not only adorable but also cuddly, perfect for both decor and play.
Get ready to make something special, and check out ideas for customizing your decor or tips for making your first amigurumi!
Gauge & Sizing Notes
Don’t skip the gauge swatch! Ensuring your tension is accurate is essential for the Adorable Beginner-Friendly Crochet Spider Amigurumi project, as it will determine the overall size and fit of your finished spider. Aim for a gauge of 4×4 inches (10×10 cm) to equal 14 single crochets by 8 rows. If you’re looking to make your spider larger or smaller, adjust your starting chain in multiples of 6 to alter the body size accordingly. If your swatch is too tight, simply go up a hook size, and if it’s too loose, consider using a smaller hook to maintain a snug fit for your amigurumi. Happy crocheting!
Step‑by‑Step Pattern for Adorable Beginner-Friendly Crochet Spider Amigurumi
Round 1: Start the Body
Begin by creating a magic ring. Work 6 single crochet (sc) into the ring and pull the tail to close it. Place a stitch marker to track the beginning of your rounds. Your work should feel tight, and you’ll have a tiny circle of 6 stitches (6 sts).
Round 2: Increase the Body
In this round, make an increase in each stitch around. Work 2 sc in each of the 6 stitches from Round 1. This will give your crochet spider a fuller body. After completing this round, you should have 12 stitches (12 sts).
Round 3: Continue to Increase
For Round 3, work 1 sc in the first stitch, then inc in the next stitch, repeating this pattern around. This will help shape your spider’s body gradually. You’ll end up with 18 stitches (18 sts) after this round.
Round 4: Build More Rounds
Continue the increase pattern by working 1 sc in the next 2 stitches, then inc in the following stitch. Repeat this to accommodate the growing body. Your spider should now have 24 stitches (24 sts), and it should feel more substantial.
Round 5: Final Body Round
In Round 5, work 1 sc in the next 3 stitches, then inc in the next stitch. This gives your spider an even more rounded shape while maintaining a smooth finish. After this round, your stitch count will be 30 stitches (30 sts).
Round 6-11: Shape the Body
For these rounds, simply work 1 sc in each stitch around without any increases. This will help elongate and shape your spider to reach approximately 2 inches in height. After Round 11, you should have 36 stitches (36 sts)—your spider’s body is starting to take shape!
Round 12: Prepare for Decrease
Now it’s time to decrease. Work 1 sc in the next 3 stitches, then dec (sc 2 together) in the next stitch. This will gradually narrow the body. You’ll have 30 stitches left (30 sts) at the end of this round, and it should feel a little tighter.
Round 13: Add Legs
For Round 13, we’ll start forming the legs! Chain 10 stitches, then sl st into the last stitch to create a loop. This is one of your legs. Repeat this process for a total of 8 legs, attaching each leg back into the body with a sl st to secure them to your spider.
Round 14: Final Decrease
To finish off your spider body, work 1 sc in the next 2 stitches, then dec around. Continue decreasing until you have a small opening remaining. Your stitch count should now be 24 stitches (24 sts).
Closure: Stuff and Finalise
Stuff your spider’s body gently without overstuffing. Then work 1 sc in the next stitch and dec around until you have a closed shape. Finish off, weave in the ends, and your adorable crochet spider amigurumi is ready to proudly display or gift!
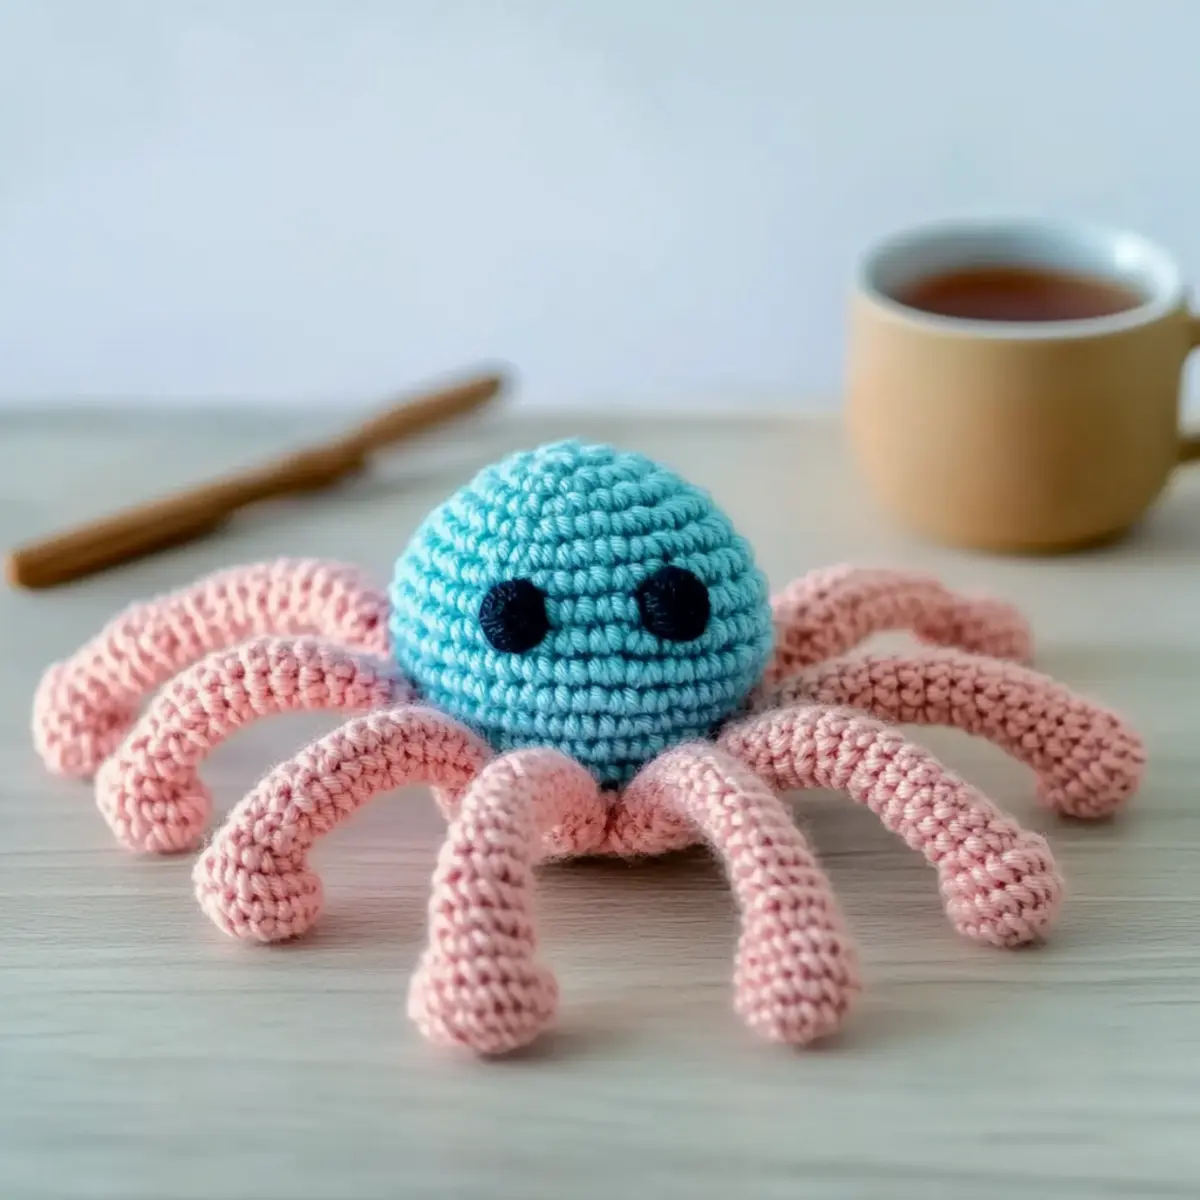
Care Instructions for Crochet Spider Amigurumi
-
Hand Washing: Gently hand wash your crochet spider in cold water to preserve its shape and softness. Avoid wringing or twisting, as this can distort the texture.
-
Air Drying: Lay your spider flat on a clean, dry towel to air dry completely. This method helps maintain the integrity of the yarn and prevents any unwanted stretching.
-
Storage: Store your spider in a cool, dry place, avoiding direct sunlight to prevent fading. Keep it in a dust-free environment to prolong its adorable appearance for future decorations!
-
Avoiding Damage: Do not machine wash or dry the spider, as harsh agitation can lead to felting or pilling, diminishing the charm of your crochet spider amigurumi.
Helpful Tricks for Crochet Spider Amigurumi
-
Track Your Rounds: Use a stitch marker to keep count; working in continuous rounds can easily lead to losing your place.
-
Check Your Tension: Aim for a tight fabric to prevent stuffing from showing through, which can alter the shape of your adorable spider.
-
Stuff Wisely: Ensure even stuffing throughout the spider’s body, but avoid overstuffing to maintain the cute, squishable shape.
-
Secure Safety Eyes: If using them, attach safety eyes securely between rows 10 and 11. For safety, consider embroidery for younger children.
-
Finish Neatly: Weave in any loose ends securely with a tapestry needle to keep your crochet spider looking tidy and polished.
Get ready to enjoy crafting your beginner-friendly crochet spider amigurumi!
Crochet Spider Amigurumi Variations
Feel free to explore fun twists that will make your crochet spider uniquely yours!
-
Color Swaps: Change up the yarn colors to create festive spiders; think orange and black for Halloween or soft pastels for spring.
-
Yarn Thickness: Adjust the spider’s size by swapping to bulky yarn for a larger, statement piece or finer yarn for a delicate, mini spider.
-
Holiday Themes: Create themed spiders for different holidays; a vibrant red for Valentine’s or green for St. Patrick’s Day for added seasonal charm.
-
Textured Embellishments: Add fun textures like pom-poms or fringes on the legs to bring extra whimsy and character to your spider.
-
Variety in Size: Make a family of spiders by altering the number of stitches in your magic ring, giving each one a unique size.
-
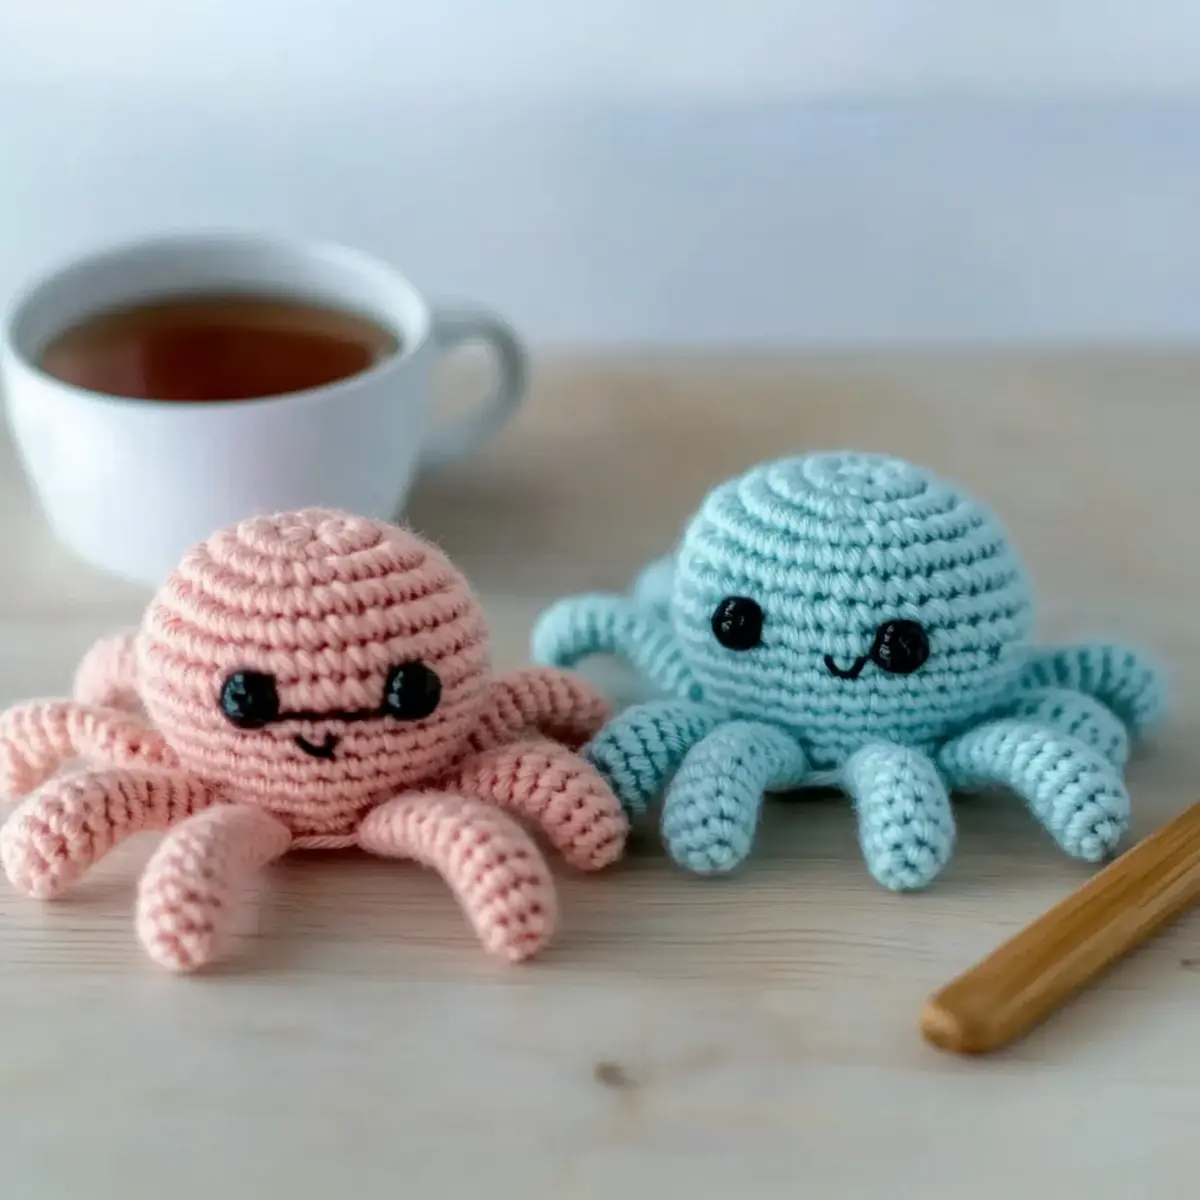
Surface Design: Consider embroidering fun patterns or faces on your spider to create adorable expressions or add a colorful design.
-
Creative Attachments: Experiment with googly eyes or small accessories to make each spider uniquely adorable and fun for children’s decor.
-
Color Blocking: Use two or more contrasting colors to give your spider a fresh look where the body and legs alternate colors for a playful vibe.
With so many customization options, let your creativity take flight and explore your own unique spider designs! Don’t forget to check out tips for making your first amigurumi or discover decor weaving ideas to pair with your charm!
Adorable Beginner-Friendly Crochet Spider Amigurumi FAQs
Can I use different yarn types for this pattern?
Absolutely! You can substitute acrylic yarn with cotton if you prefer a different texture or feel. Just keep in mind that fiber type can affect the final look and feel of your spider, and you may need to adjust your hook size depending on the chosen yarn.
How can I make my crochet spider bigger or smaller?
To create a larger spider, simply use bulky yarn and a correspondingly larger hook. For a smaller version, opt for lighter weight yarn and a smaller hook. A quick tip: if you want to keep proportions consistent, try to adjust your stitch count while following the basic structure.
Why is my crochet spider curling at the edges?
Don’t panic! If your spider is curling up like a bowl, it might be due to uneven tension in your stitches. Try to maintain a consistent tension as you crochet, and if it’s still curling, consider adding a few more increase stitches to even it out.
What size crochet hook should I use for this pattern?
For the Adorable Beginner-Friendly Crochet Spider Amigurumi, using a 4 mm (G-6) crochet hook is recommended. This size will help you achieve the right tension and squishiness, perfect for your cute spider!
How do I fix dropped stitches in my amigurumi?
It’s an easy fix! Gently pull on the yarn strand to bring the dropped stitch back up to the surface, then crochet it back into your work. If you notice a gap, you can use a tapestry needle to weave the yarn back into that area, ensuring a neat finish.
What should I do if my stitches are loose and stuffing is showing through?
If your stitches appear loose, try switching to a smaller hook to help create a tighter fabric. Additionally, remember to stuff the spider gently but firmly, ensuring the stuffing is distributed evenly without overstuffing, which can cause warping.
Leave a Reply