
Tucked away in the corner of my yarn stash was a luxurious, soft worsted weight yarn that was begging to be transformed into something cozy. Just this week, I stumbled upon the perfect inspiration: a crochet slouchy beanie that feels as good to make as it does to wear. This project stands out for its quick assembly and beginner-friendly techniques, making it ideal for crafters at any skill level. What truly captivates me about this beanie is its inviting texture, which wraps around you like a warm embrace, along with its effortlessly fashionable design. This beanie is a wonderful stash-buster, allowing you to play with colors and styles that express your unique personality. As we dive into the cozy world of this crochet slouchy beanie, you might find yourself wondering what delightful combinations you can create with your own yarn collection.
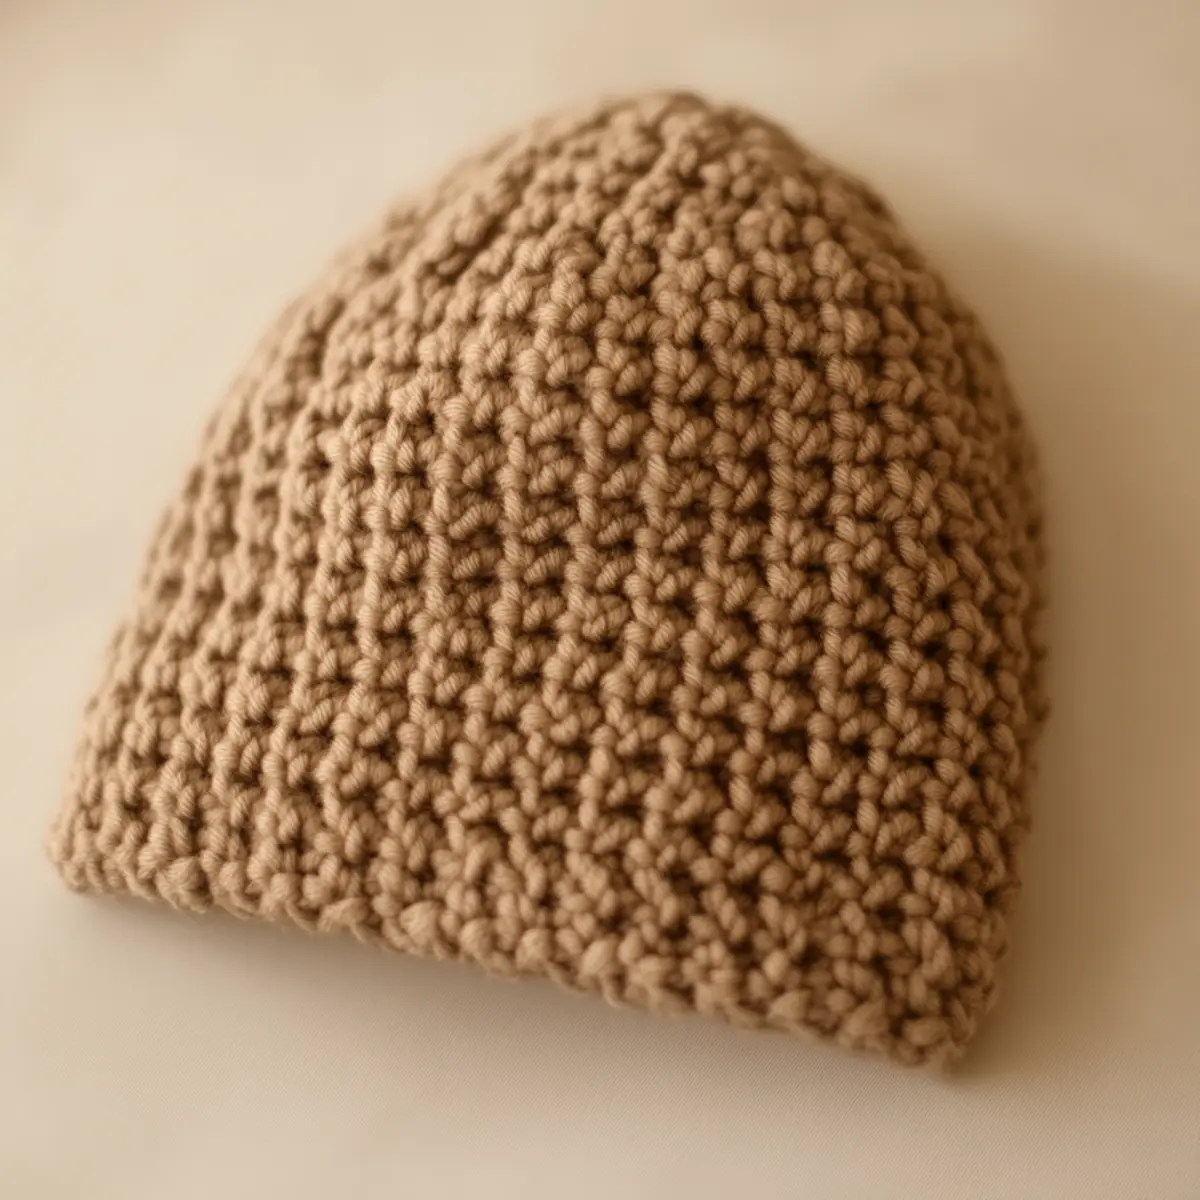
Crochet Slouchy Beanie Materials & Tools
Yarn
- Worsted weight yarn – 200-250 yards; perfect for creating your crochet slouchy beanie while ensuring warmth and comfort.
- Acrylic or wool blend – Choose based on texture and warmth preference, including options for winter or lighter alternatives.
Tools & Notions
- 6 mm hook – Recommended size for a balanced stitch; supports the beanie’s cozy drape.
- Scissors – Necessary for cutting your yarn once you complete the project.
- Yarn needle – Used for weaving in loose ends, ensuring a polished finish.
- Stitch markers – Helpful for tracking round count, particularly during increases or decreases, to keep your work smooth.
Why You’ll Love This Pattern
Simplicity is at the heart of this crochet slouchy beanie, making it easy for beginners to enjoy crafting success. Versatile and stylish, this beanie fits into any wardrobe, seamlessly elevating both casual and dressy looks. There’s no need for sewing as this pattern focuses on a seamless development from start to finish, allowing you to enjoy the crafting process. Plus, it’s a stash-friendly project; you can experiment with colors, as the worsted weight yarn makes it easy to match your existing supplies. The possibility of incorporating your favorite color combinations adds a layer of customizability that keeps this project exciting. Lastly, for more beginner-friendly options, check out our Cozy Baby Crochet or Beginner Crochet Baby projects, which open the door to endless yarn adventures.
Gauge & Sizing Notes for Crochet Slouchy Beanie
Checking your gauge is crucial for achieving the desired fit and style in your crochet slouchy beanie. For this project, the standard gauge measurement is 4×4 inches (10×10 cm) equals 12 sc and 14 rows using worsted weight yarn and a 6 mm hook. If your swatch doesn’t match, consider adjusting your tension or try a different hook size. Start with an initial chain of 8-10 stitches for a snug fit, and you can easily adjust this number for larger or smaller head sizes. If your beanie ends up too tight or loose, modifications in the starting chain or rounds can help achieve your perfect fit. You can also add an extra repeat of the increase rounds to create a larger size or eliminate some rounds for a smaller child-friendly fit. Embrace the flexibility and creativity this crochet slouchy beanie pattern offers as you explore various yarn colors and textures!
Step-by-Step Pattern for Crochet Slouchy Beanie
Row 1: Start with a Chain
Begin by creating a slip knot and making a chain of 4 stitches. Join with a slip stitch to form a ring. This ring will serve as the base for your crochet slouchy beanie.
Row 2: Foundation Round
Chain 1, then work 6 single crochets (sc) into the ring. Tighten the ring to close the round, making sure you have 6 stitches total at the end of this round.
Row 3: Increasing Stitches
Chain 1, then make 2 sc in each stitch around the circle. You should have 12 stitches in total by the end of this round, which will help shape your beanie.
Row 4: Continue to Increase
Chain 1, and in the first stitch, make 1 sc, then 2 sc in the next stitch. Repeat until the end of the round to create more width (18 stitches). This gradual increase lays the groundwork for the beanie’s slouchy structure.
Row 5: More Increases
Chain 1, sc in the first 2 stitches, then work 2 sc in the next stitch. Continue this pattern until you have 24 stitches total at the end of the round. Keep in mind the expanding form of your crochet slouchy beanie.
Row 6: Solidifying the Base
Chain 1, sc in the first 3 stitches, and then make 2 sc in the next stitch. Repeat this pattern to reach 30 stitches total. This will start to create a nice, wide base for comfort.
Row 7: Creating Height
Chain 1, and this time, simply sc in each stitch around the round. Work these 30 sc to establish the fabric of the beanie. Maintain an even tension for a smooth look.
Row 8: Repeat the Height
Chain 1, repeat the process from the last round, making another 30 sc around. Continue with this repetition to build the desirable height for your crochet slouchy beanie.
Row 9: Decrease for Shape
Chain 1. Sc in the first 4 stitches, and then dec (decrease) in the next stitch. Repeat this sequence to reduce stitches, terminating the round with 24. This begins to shape the top of the beanie.
Row 10: Further Decrease
Chain 1, sc in the first 3 stitches, then make a dec. Keep this pattern until you have 18 remaining stitches. Be mindful of the softening shape as you progress.
Row 11: Final Shaping
Chain 1, sc in the first 2 stitches, follow with a dec. Continue this until you finish the round with 12 stitches. You are nearing the end of your crochet slouchy beanie!
Row 12: Complete the Top
Chain 1 and sc across the 12 remaining stitches. Next, fasten off, leaving a long tail for sewing. Gather the top of the beanie by pulling the yarn tail tight through the stitches. Secure the position and weave in loose ends for a polished finish.
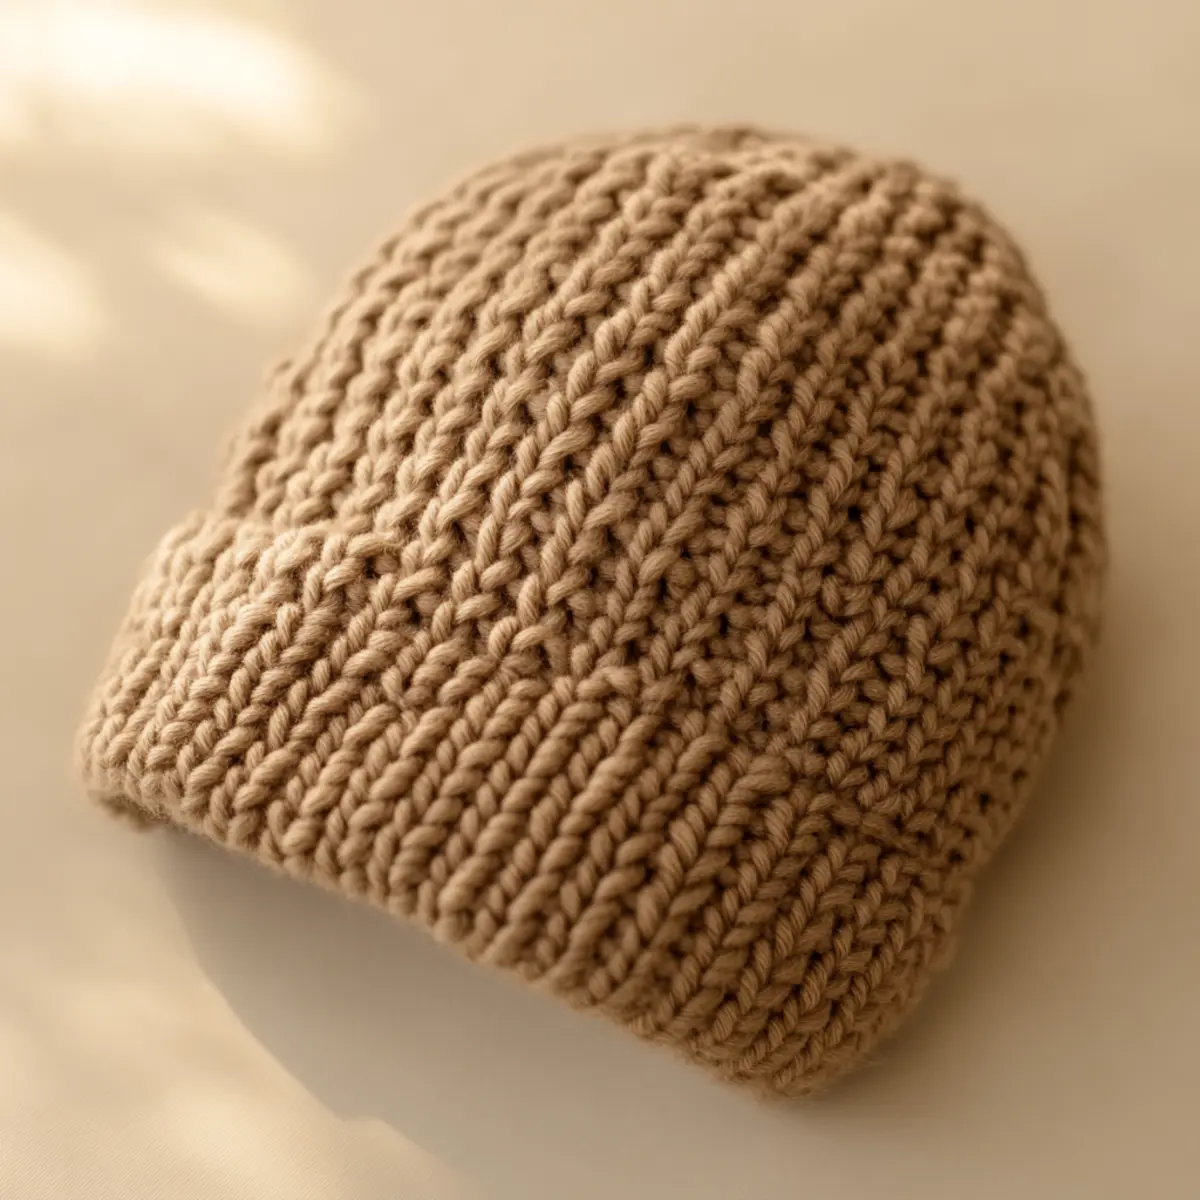
Expert Tips for the Best Crochet Slouchy Beanie
Track Your Stitches: Use stitch markers to keep an accurate count and prevent losing track of your rounds. This is essential for ensuring a well-structured beanie.
Watch Your Tension: Keep an eye on your tension while crocheting; a loose grip yields a slouchier fit, while a tighter hold results in a snugger design.
Avoid Twisting: When creating your foundation chain, make sure it isn’t twisted before joining into the circle. A twisted chain can alter the beanie’s final shape.
Skip the Decreases Wisely: Don’t skip decrease steps too quickly; follow the instructions and gradually shape for a smooth transition. This will maintain the beauty of your crochet slouchy beanie.
Finish Neatly: Leave a long yarn tail when closing the top to secure stitches properly. Weaving in loose ends ensures your beanie looks professional and well-finished.
Test Your Fit: Try the beanie on periodically throughout the process to ensure you’re happy with the size and fit. Adjust as needed before completing the top closure.
Crochet Slouchy Beanie Variations
Feel free to customize your beanie for a unique touch!
- Color Blocking: Experiment with multiple yarn colors to create striking sections, giving your beanie a playful look.
- Texture Variations: Try using a different stitch, such as the popcorn stitch, to enhance the texture and add visual interest to your beanie.
- Size Adjustments: Scale the pattern to fit larger heads or even make a toddler size, ensuring stylish warmth for everyone in the family.
- Alternative Fibers: Swap your yarn with cotton for warmer weather or bamboo for a breathable option, making your beanie versatile across seasons.
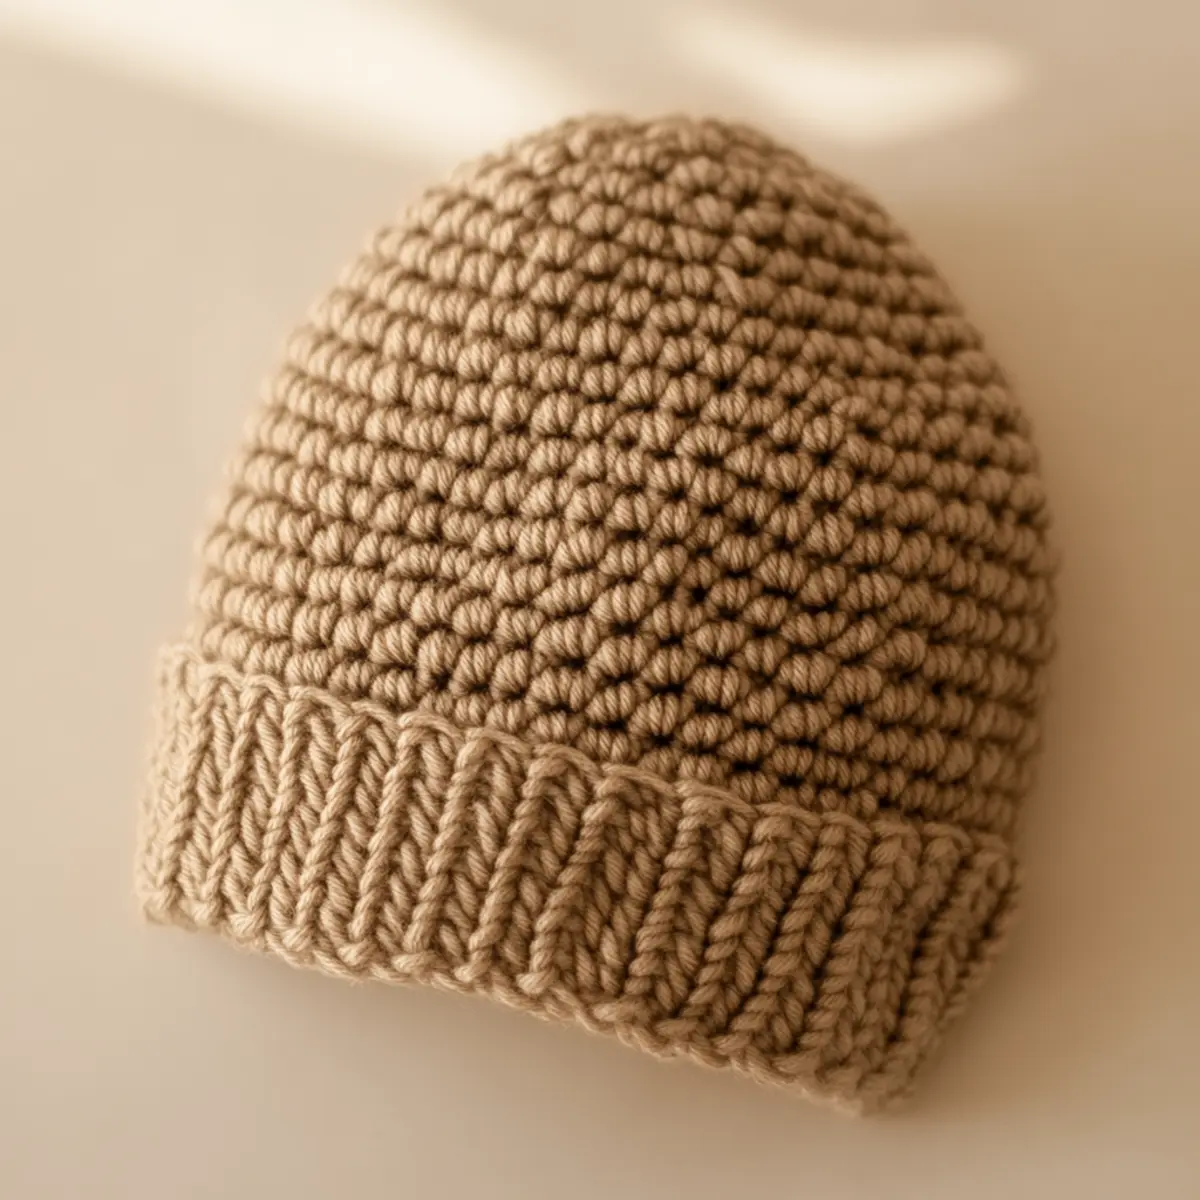
- Decorative Borders: Consider adding a stylish ribbed border at the bottom for extra flair while keeping the essential cozy feel.
Incorporating a lighter weight yarn can also shift the look. A snug fit enables a classic beanie vibe, while a looser, slightly oversized design emphasizes the slouchy aesthetic. Ultimately, your crochet slouchy beanie can transform from simply functional to a standout fashion statement with just a few tweaks. Don’t forget to explore our other patterns like the Cozy Baby Crochet for more ideas!
How to Wash and Care for Your Crochet Slouchy Beanie
Machine Washing: If machine washing, place your beanie in a mesh bag on a gentle cycle with cold water to protect the yarn. This minimizes agitation and keeps its shape.
Hand Washing: For best results, hand wash your crochet slouchy beanie in lukewarm water with a gentle detergent. This extends the life of your yarn and preserves the texture.
Drying: Always lay your beanie flat to dry. Avoid hanging it, as this can cause it to stretch out. Gently reshape if needed once dry.
Blocking: Lightly block your beanie after washing to help it maintain its shape. Pin it onto a flat surface and let it dry, giving it a fresh look.
Crochet Slouchy Beanie FAQs
Can I substitute yarn for my crochet slouchy beanie?
Absolutely! Feel free to use any worsted weight yarn. Acrylic blends are great for warmth, while cotton works well for summer beanies.
How do I adjust the sizing of the beanie?
To size up or down, modify the starting chain length to fit the head size. You can also add or remove increase rounds based on your desired dimensions.
What if my beanie curls at the edges?
Don’t panic! If curling occurs, it might be due to tight stitches. Relax your tension, and consider light blocking to smooth the edges.
What hook size should I use?
A 6 mm hook is recommended for a balanced stitch. However, if your gauge is off, you might need to switch to a different size to match the required gauge.
How do I prevent dropped stitches?
Keep a close eye on your tension and use stitch markers to track rounds. Dropped stitches can be avoided with consistent practice and careful stitch counting.
Can I add a decorative border?
Certainly! Adding a decorative border or ribbing at the bottom can enhance your crochet slouchy beanie’s style. Don’t hesitate to experiment!
Leave a Reply