
As I was rummaging through my crochet supplies the other day, I stumbled upon a simple yet charming twist—the Crochet Simple 3D Bow. This delightful project instantly ignited my creativity, reminding me of the joy in embellishing my handmade items. Designed with beginners in mind, this pattern transforms into a quick and adorable embellishment that can elevate hats, bags, headbands, and so much more! You’ll love how effortlessly it works up, making it a perfect stash-buster for yarn lovers at any level. Just a few stitches create a whimsical texture that brings a stylish flair to your projects. Ready to dive into this delightful endeavor and add some pizzazz to your crochet creations? Let’s get started!
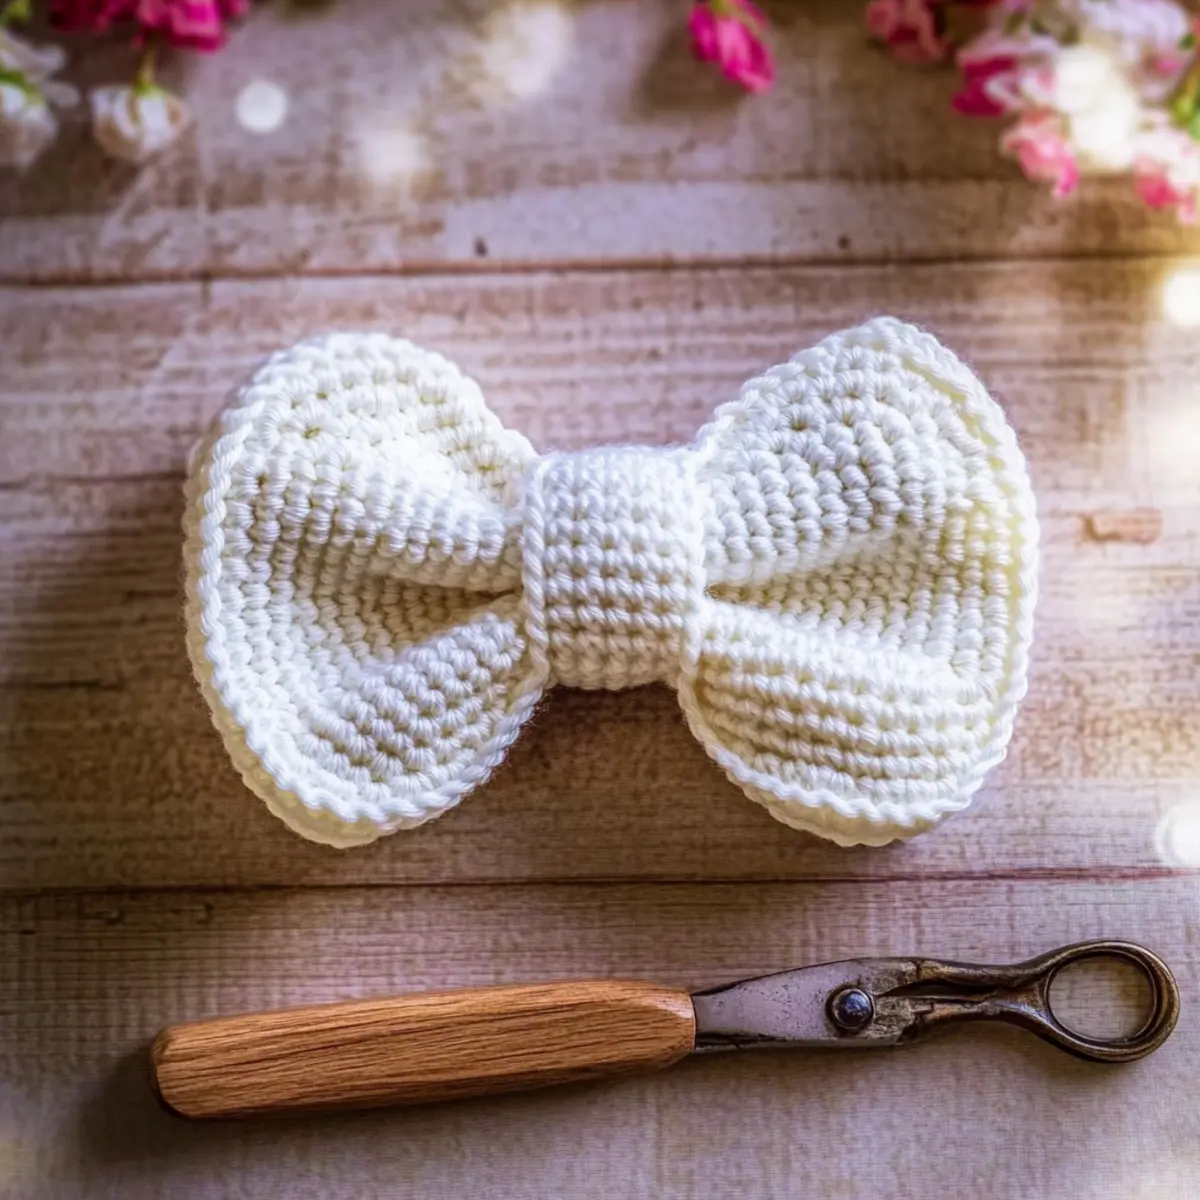
Beginner-Friendly Crochet 3D Bow Materials & Tools
-
Yarn
• Medium Weight Yarn – Choose Category 4 (100% acrylic is recommended) with approximately 50-100 yards (45-90 meters) for making multiple bows. -
Hook
• 4.0 mm (G/6) Hook – This size is ideal for creating the right stitch definition and texture for the bow. -
Notions
• Tapestry Needle – Perfect for weaving in those pesky ends to keep your bow neat and tidy.
• Scissors – Essential for snipping your yarn when necessary.
• Optional Stitch Markers – Handy for tracking stitches, especially if you’re new to crochet.
Get ready to make your charming Crochet Simple 3D Bow, an embellishment that’s both quick and delightful!
Why is the Crochet Simple 3D Bow a Must-Try?
Beginner-Friendly: This pattern is designed especially for those new to crochet. With just a few simple stitches, you’ll create a lovely embellishment in no time!
Quick Project: Whip up this adorable bow in under an hour, making it a fantastic option for last-minute gifts or decorations.
Charming Texture: The 3D effect adds depth and whimsy, creating a stylish accessory that’s perfect for any project.
Versatile Use: Enhance hats, bags, headbands, or even home decor pieces—this bow adapts beautifully to various projects. If you’re looking for more ideas on how to embellish with crochet, check out our guide on creative crochet embellishments.
Stash-Buster: With minimal yarn requirements, this project is perfect for using up those leftover skeins in your collection!
So, whether you’re a seasoned pro or just starting out, the Crochet Simple 3D Bow is bound to spark your creativity and bring joy to your crafting!
Gauge & Sizing Notes
Don’t skip the gauge swatch! While the Crochet Simple 3D Bow is a fun and forgiving project, checking your tension is crucial to ensure the bow has the charming 3D effect and correct proportions. A standard gauge measurement to aim for is 4×4 inches (10×10 cm), which should yield approximately 14 single crochets by 8 rows. If you’d like your bow to be larger or smaller, simply adjust your starting chain in multiples of 6 for the body. If you find that your swatch is too small, try going up a hook size to achieve that perfect, playful shape!
Step‑by‑Step Pattern for Crochet Simple 3D Bow
Row 1: Foundation Chain
Ch 54 to create a foundation chain for the body of the Crochet Simple 3D Bow. This chain will give structure, so ensure it’s not too tight. Your work should feel relaxed and evenly spaced. At the end of this step, you should have 54 chains.
Row 2: First Row of Body
In the 2nd ch from the hook, work 1 sc. Continue adding 1 sc in each chain across until you reach the end. Your total should be 53 stitches. Turn your work, and you’ll notice the first row forming nicely.
Rows 3-13: Continue Body
Ch 1, then 1 sc into the same st and into each st across for the next 11 rows, maintaining 53 sts per row. Each row will give you more height and create that lovely, textured look. The body should start to feel like a soft, flat rectangle.
Centre Section: Foundation Chain
Ch 6 for the center section, which will cinch the bow together. This step is essential for achieving the lovely 3D effect we desire. Ensure your chains are relatively even, and you will have 6 chains by the end of this step.
Row 1: First Row of Centre
In the 2nd ch from the hook, work 1 sc across the next 4 chains until the end. Your total should be 5 stitches, and this piece will be compact. Turn your work to prepare for further rows.
Rows 2-13: Continue Centre
Repeat Row 1 for the next 12 rows, maintaining 5 sts. This will form a small rectangle that will later wrap around your bow center. The center section should retain its shape and feel slightly thicker than the body.
Legs: Foundation Chain
Ch 5 to create the beginning of the legs for your Crochet Simple 3D Bow. This will form the additional embellishments of the bow. Ensure the chain remains loose enough for comfort as you work, and you will have 5 chains now.
Row 1: First Row of Legs
In the 2nd ch from the hook, work 1 sc in each of the next 3 chains across. You should finish this row with a total of 4 stitches. The legs will help accentuate the bow’s features, so keep an eye on evenness.
Rows 2-36: Continue Legs
Continue to repeat Row 1 for the next 35 rows, maintaining 4 sts per row. This will create long sections that will later curl around the bow. The long strips should feel soft, and you should expect them to be quite lengthy when completed.
Step 1: Assembly of Bow
Begin by sewing the ends of the body together using a whip stitch. This creates the circular base for the bow. As you connect the ends, your work should start to form a loop. Ensure it’s snug but not overly tight.
Step 2: Centering the Bow
Scrunch the body in the middle to create the bow shape. Grab a long piece of yarn and wrap it around the scrunched area tightly before securing with knots. Your bow should start to look three-dimensional and whimsical now!
Step 3: Attaching Legs
Fold the legs and position them at the back of the bow. Ensure they are symmetrical before securing them with a couple of stitches. This addition brings out the design and adds volume to your crochet piece, making it truly unique.
Final Touches: Wrapping Up
Take the center section you created earlier, wrap it around the center of the bow, and sew the ends together to secure it. This will give a polished finish and enhance the overall look of your Crochet Simple 3D Bow. Your embellishment is now ready to be added to your chosen project!
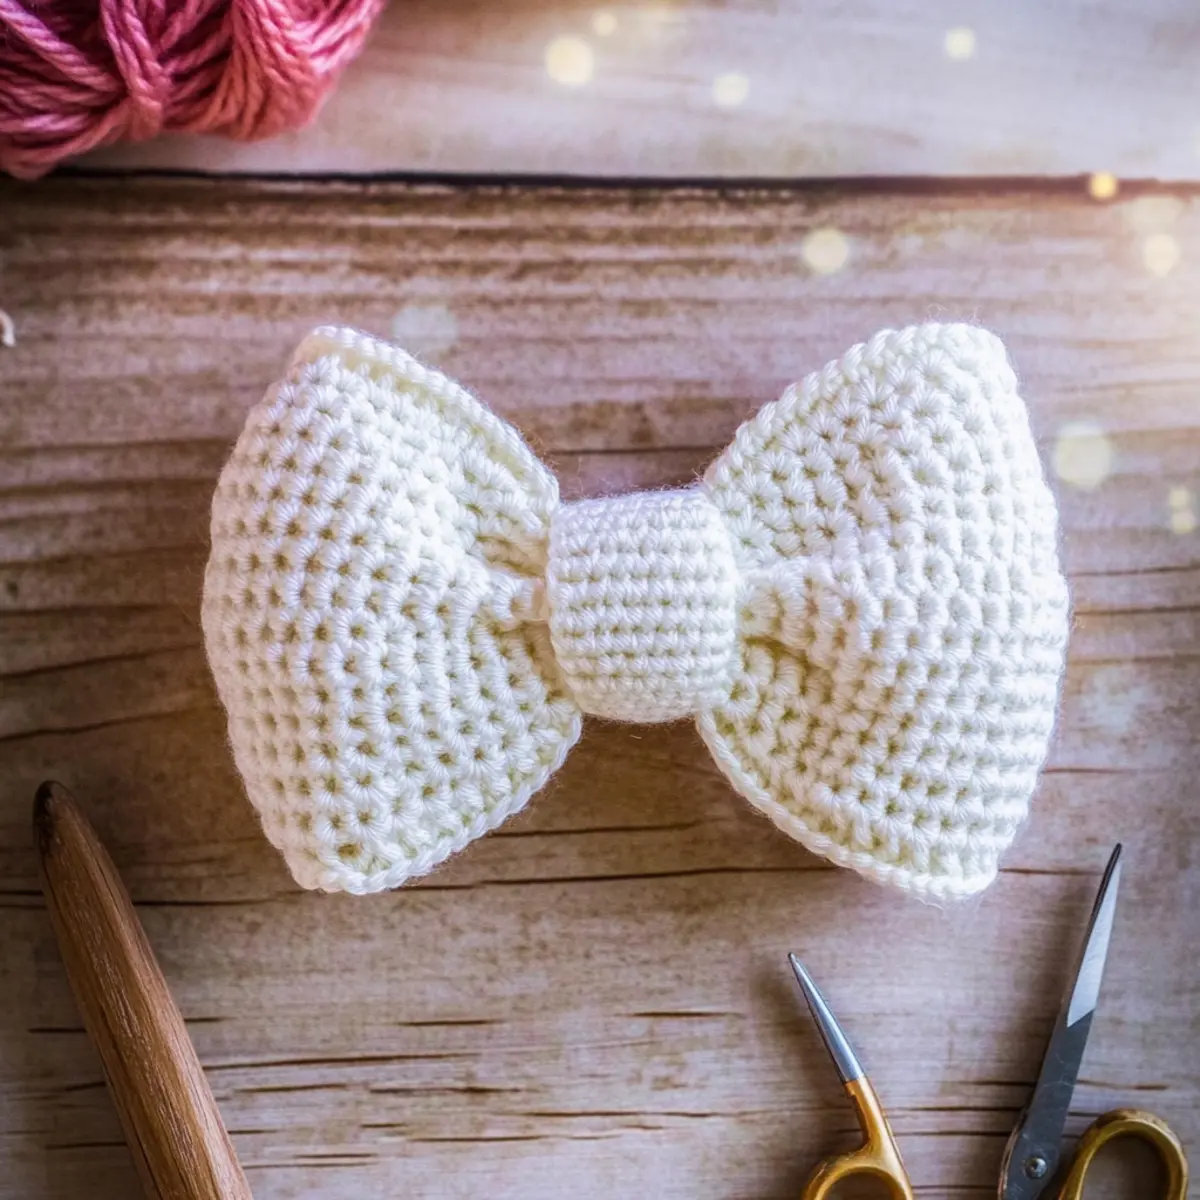
Variations & Substitutions for Crochet Simple 3D Bow
Explore the endless possibilities with this charming crochet accessory, and let your creativity shine!
-
Yarn Weight Swaps: Use lighter or heavier yarns to alter the size of your bow. Thicker yarns create a more substantial appearance, while thinner yarns offer delicacy.
-
Fiber Alternatives: Consider soft cotton or bamboo yarn instead of acrylic for a unique texture and natural feel. Each fiber lends its character to your finished bow.
-
Color-Blocking Options: Combine two or more colors in a single bow for a fabulous color-block effect. Change yarn colors halfway through to delight the eyes with a playful twist!
-
Add Embellishments: Incorporate buttons, beads, or faux flowers in the center for that extra touch of whimsy. These accents can turn a simple bow into a stunning statement piece.
-
Size Adjustments: Modify your starting chains to create smaller or larger bows. For a dainty look, reduce the chain count, while more length invites a bolder presence.
-
Textural Modifications: Enhance the visual interest by adding a pompom or fringe at the ends. This playful addition can elevate your bow’s charm and personality.
-
Scheme of Layers: Stack two bows on top of each other for dramatic flair. Use contrasting colors for each layer to make your design pop!
-
Seasonal Themes: Tailor your bows to festivities by using themed colors or embellishments. For instance, red and green bows could charm during the holidays!
Let these variations inspire you to craft bows that match any occasion, along with your unique flair. And if you’re eager to learn more about different crochet techniques, check out our guide on advanced crochet tips. Happy crocheting!
How to Wash and Care for Your Crochet Simple 3D Bow
-
Machine Washing: Use the gentle cycle with cold water to avoid any damage to your delicate crochet bow. Make sure to place it in a mesh laundry bag for added protection.
-
Hand Washing: For longer-lasting results, hand wash your bow in lukewarm water with a mild detergent. Gently squeeze the water out, avoiding any wringing to prevent distortion.
-
Drying/Blocking: Lay your crochet bow flat on a clean, dry towel to air dry. Avoid hanging it up, as that may stretch its shape. If necessary, you can lightly steam block the bow for a crisp finish.
-
Storage: Store your finished bow in a dry, cool place, ideally in a breathable fabric bag to keep it safe from dust and maintain its lovely shape. Proper care ensures your Crochet Simple 3D Bow remains a charming embellishment for years to come!
Expert Tips for Crochet Simple 3D Bow
-
Check Your Count: Always double-check your stitch count when moving between rows. Losing count can lead to uneven bows!
-
Maintain Tension: Keep an eye on your tension throughout the project. Consistent tension will ensure your bow maintains its darling shape.
-
Secure Your Ends: When fastening off, leave a long tail to weave in securely. This helps prevent unraveling and keeps your bow looking perfect.
-
Use Stitch Markers: If you’re a beginner, consider using stitch markers to track your rows. It simplifies the counting process and reduces mistakes.
-
Practice Whip Stitch: Mastering the whip stitch for assembly will give your bow a polished look. Practice on a scrap piece before assembling your final product.
Embrace these tips, and you’ll create beautiful bows in no time, enhancing your crochet projects effortlessly!
Crochet Simple 3D Bow FAQs
Can I use different yarn types for the Crochet Simple 3D Bow?
Absolutely! While the pattern recommends medium weight (Category 4) 100% acrylic yarn, you can experiment with different yarn types. Just be mindful that different fibers can affect the texture and shape of your bow, so feel free to play around and see what you like best!
How can I adjust the size of my Crochet Simple 3D Bow?
If you want a larger or smaller bow, you can adjust the starting chain. For a bigger bow, increase your chain by adding multiples of 3; for a smaller one, reduce the chain in those multiples. Just remember to maintain your stitch count for the body and adjust the lengths of other sections accordingly!
Why is my bow curling or not laying flat?
Don’t panic! Curling can happen if your tension is too tight or if you haven’t blocked your work. Try gently steaming or blocking your finished bow to help it lay flat. If you notice tightness, check your tension and ease up a bit while crocheting.
What if I dropped a stitch while working on my bow?
It’s an easy fix! Just locate the dropped stitch and pull the working yarn through the stitch to reinsert it back into your row. You can use a tapestry needle if you need a little help guiding it back into place. Just take your time—your bow will look fabulous in no time!
What size hook should I use for the Crochet Simple 3D Bow?
I recommend using a 4.0 mm (G/6) crochet hook. This size is usually perfect for achieving the cozy, rounded texture of the bow, but feel free to adjust if you prefer a tighter or looser finish!
How do I ensure my crochet bow stays secure during assembly?
Great question! When you secure your assembled bow, be sure to leave a long tail when fastening off. This allows you to weave in the ends more securely, preventing unraveling, which keeps your bow looking sharp and intact!
Leave a Reply