
Each time I slip my hook into the wonderful world of crochet, there’s a special thrill that bubbles up within me, especially when working on the Charming Crochet Peony Flower Pattern. This project invites you to engage with fibers in a new way, offering a cozy crafting experience while enriching your decor with beautiful blooms. Designed to capture the essence of real peonies, this crochet peony flower is a delightful stash-buster, allowing you to transform leftover yarn into vibrant, layered creations that bring joy all year long. The best part? You don’t need to be a master crocheter to create stunning results; with just a few key techniques, you can quickly whip up these lovely flowers. Their versatile nature means they can enhance any space, adding a touch of whimsy and elegance that speaks to your personal style. As you work on this project, I can’t help but wonder how your unique color choices and creative flairs will shine through in your crochet peony flowers. Let’s dive into the whimsical world of crochet peonies together!
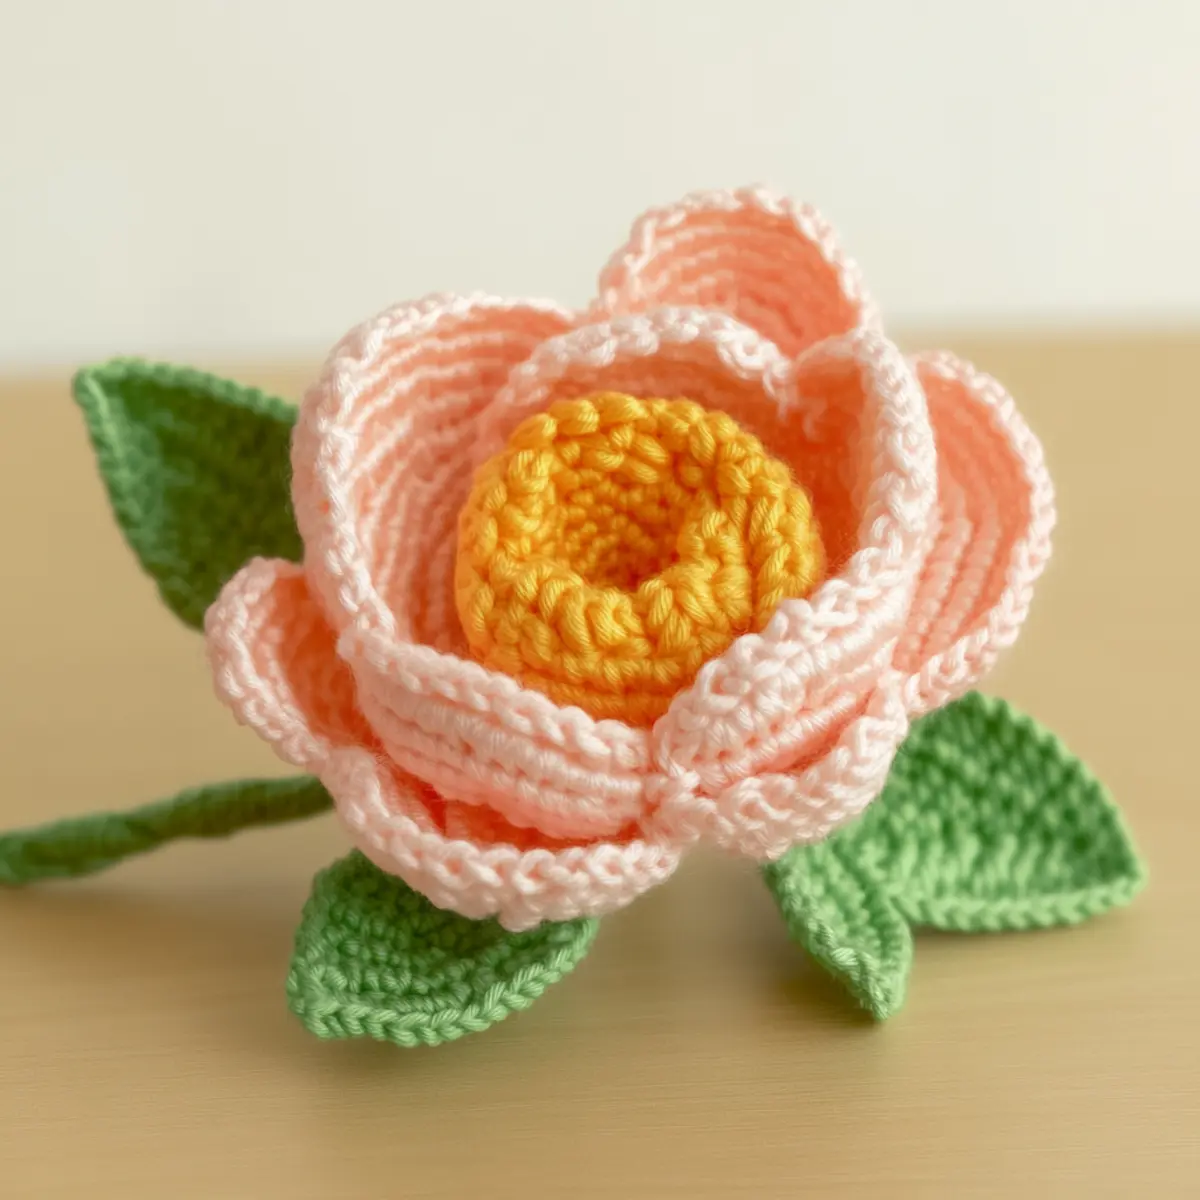
Crochet Peony Flower Materials & Tools
Yarn
Medium Weight Yarn – Choose a worsted yarn in the colors you love for your peony; about 50 to 100 yards will work depending on how many petals you create. Consider blends like cotton or acrylic for durability and easier care.
Floral Wire – If you want to add structure to your flower’s stem, floral wire works beautifully for supporting the bloom’s shape.
Tools & Notions
4.0 mm Crochet Hook – A G/6 crochet hook is ideal for achieving tight stitches that shape the petals correctly while working on the crochet peony flower.
Yarn Needle – You’ll need this for weaving in ends and completing your projects.
Stitch Markers – These are optional but useful for keeping track of rounds as you work through this fun pattern.
Why You’ll Love This Pattern
Crafting your crochet peony flowers will ignite joy with every stitch, creating beautiful decor that lasts. Versatility is at the heart of this project; these blooms can adorn everything from vases to gift arrangements, making them a charming addition to your home. Simplicity is key, as this pattern features clear instructions that allow even beginners to succeed. If you’re looking for more inspiration, the Crochet Flowers Delightful link leads to fantastic ideas. Customization is easy too—you can alter the size and color of your peony to match your aesthetic. Doesn’t a project that invites creativity and provides stunning visuals sound appealing? Plus, it’s a perfect opportunity to use some yarn from your stash. Don’t forget to explore the Easy Crochet Flower pattern for more floral magic!
Gauge & Sizing Notes for Crochet Peony Flower
For your crochet peony flower, checking your tension is particularly vital to ensure that each petal maintains the lovely shape and fullness intended in the final design. A standard gauge measurement to aim for is 18 stitches and 10 rows over a 4×4 inch (10×10 cm) square using a 4.0 mm (G/6) crochet hook. If your swatch does not match this gauge, consider adjusting your hook size or yarn weight. To resize your flower, you can modify the starting chain or rounds by increasing or decreasing multiples of 6 stitches. This flexibility allows you to make smaller or larger blooms based on your preferences and needs. Crocheting a few additional or fewer rounds can also help customize your crochet peony flower for visual impact.
Step-by-Step Pattern for Crochet Peony Flower
Row 1: Create Magic Ring
Start your crochet peony flower by making a magic ring. Ch 3 to begin your first round. In the ring, crochet 12 dc, then pull the tail to close the ring tightly. This will form the center of your flower, with a total of 12 dc in this round.
Row 2: Begin Petal Layering
In this round, you’re going to create the first layer of petals. Ch 3 (counts as 1 dc), then dc into the same stitch. Now, 2 dc in each of the next 6 stitches around, creating a total of 18 dc by the end of this round.
Row 3: Start Shaping Petals
For this round, you will create spacing for future petals. Ch 3, then dc in the same stitch, followed by 1 dc into next stitch, repeat from * to * around. This creates a blend of petals with a total of 24 stitches at the end.
Row 4: Increase Petal Volume
Continue building your flower! Ch 3, then dc in the same stitch, 2 dc in the next stitch, repeating this pattern around. You will have 36 dc in total at the end of the round, giving your peony fullness with every layer.
Row 5: Create Leaf Base
To add leaves, crochet a new section. Start with a magic ring, then ch 4. In the ring, crochet 1 dc, 3 hdc, 1 dc, and pull tight. This forms a leaf shape that you will attach later.
Row 6: Design the Leaf Petals
Next, ch 4 and turn. Work in the same magic ring, create (1 dc, 2 hdc) followed by (1 dc) for a lovely leafy texture. Make at least 2 of these leaves for your peony and make sure to keep them aside for assembly.
Row 7: Assemble the Flower Center
Now it’s time to start assembling your peony flower! Lay the previous middle rounds flat and sew the base center circle securely. Attach your created leaves under these rounds via sl st, weaving in the ends for a seamless look.
Row 8: Layer Additional Petals
To make your peony even more voluminous, crochet 2 more rounds of the previous petal rounds. Alternate the colors of your yarn going from a softer pink to a deeper shade, which will add depth and an ombre effect to your petals. Each round should consist of 36 dc like before.
Row 9: Final Petal Layer
You can repeat the last few rounds again or add varied colors for charm. After finishing your last round, cut the yarn, leaving a long tail for sewing the petals into the flower center securely. Remember to keep all ends tidy!
Row 10: Shape Leaves
Once your flower is fully assembled, dramatically shape the leaves by pinching them slightly and adding more hdc if needed. Attach more if you desire, keeping your design free-flowing and asymmetric for a natural look.
Row 11: Block and Finalize
Gently steam block your crochet peony, which will enhance the petals’ softness. Pin them out to dry in the desired shape; this will help them hold their fantastic drape when displayed.
Row 12: Display Your Creation!
Once dried, arrange your crochet peony flower into a vase or incorporate it into any decor you desire. This delightful finished flower showcases the beautiful texture and color you’ve created. Use yarn from your stash to make several in different colors for a stunning bouquet display.
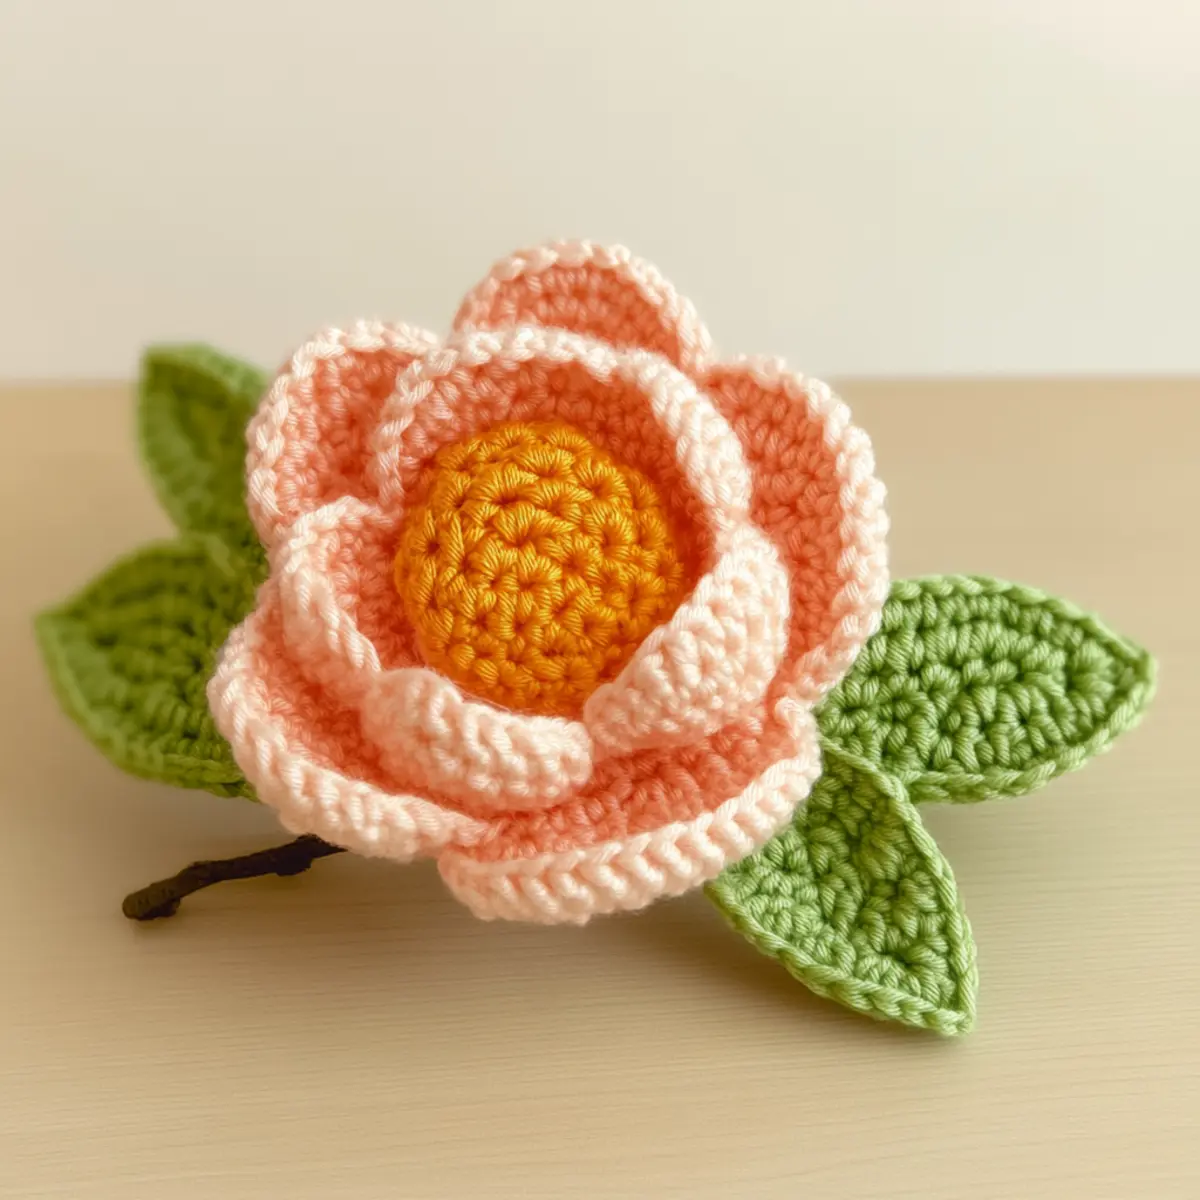
Expert Tips for the Best Crochet Peony Flower
-
Consistent Tension: Maintain even tension throughout your project to avoid uneven petal sizes. Practice swatches can help.
-
Petal Attachment: When attaching petals, aim for an asymmetric layout that mimics natural flowers, adding to the charm of your crochet peony flower.
-
Blocking: Don’t skip blocking; it enhances shape and texture. Pin petals to dry in a beautiful bloom shape to showcase your work.
-
Color Gradients: Try using gradient yarn to create an ombre effect from lighter to darker hues, adding depth to your crochet peony flower.
-
Yarn Substitution: For a more luxurious finish, swap cotton for a silky yarn blend, giving a glossy appearance that resembles real flower petals.
-
Size Adjustments: Experiment with hook sizes and yarn weights if you want a smaller or larger flower. This flexibility allows you to tailor the size of your projects effortlessly.
crochet peony flower Variations and Substitutions
This project is open to creative twists and personal touches!
- Gradient Yarn: Experiment with colored yarn for an ombre effect, transitioning from pale to deep shades.
- Silk Blend: Swap out cotton for a silky yarn blend to mimic the glossy finish of real flower petals.
- Size Modifications: Increase or decrease the flower size by adjusting the yarn weight or hook size, offering flexibility for your design.
- Added Sparkle: Incorporate beads or sequins at the flower center; they can elevate the charm of each bloom in a delightful way.
- Texture Play: Use varied stitch techniques such as puff stitches for an exciting texture contrast in the petals and leaves. A combination of stitches can lend a unique personality to your crochet peony flower.
- Petal Arrangement: For a whimsical look, attach petals asymmetrically, mimicking how flowers grow in nature. This adds a special touch and uniqueness in presentation.
To build even greater depth, consider combining various shades in your crochet peony flower. The interplay of colors not only pleases the eye but allows you to showcase your flair for crochet art. These adaptations also welcome links to numerous projects like Crochet Flowers Delightful that explore alternative flower patterns or Crochet Flower Pattern for further inspiration.
Carrying your personalization even further, experimenting with different leaf shapes and sizes can create a captivating arrangement that exemplifies the beauty of crochet artistry. The possibilities are truly limitless.
How to Wash and Care for Your Crochet Peony Flower
-
Machine Washing: If using machine washable yarn, wash gently on a cold cycle. Avoid agitation to keep the flower’s structure intact.
-
Hand Washing: For delicate fibers, hand wash in lukewarm water with mild detergent and lay flat to dry. This ensures your crochet peony flower maintains its shape and colors.
-
Drying: Always lay your flower flat or hang it to dry after washing. Avoid direct sunlight to prevent colors from fading.
-
Storage: Keep your crochet peony flower in a breathable bag or box, away from moisture to prevent mildew. This will keep it looking fresh and vibrant for years to come.
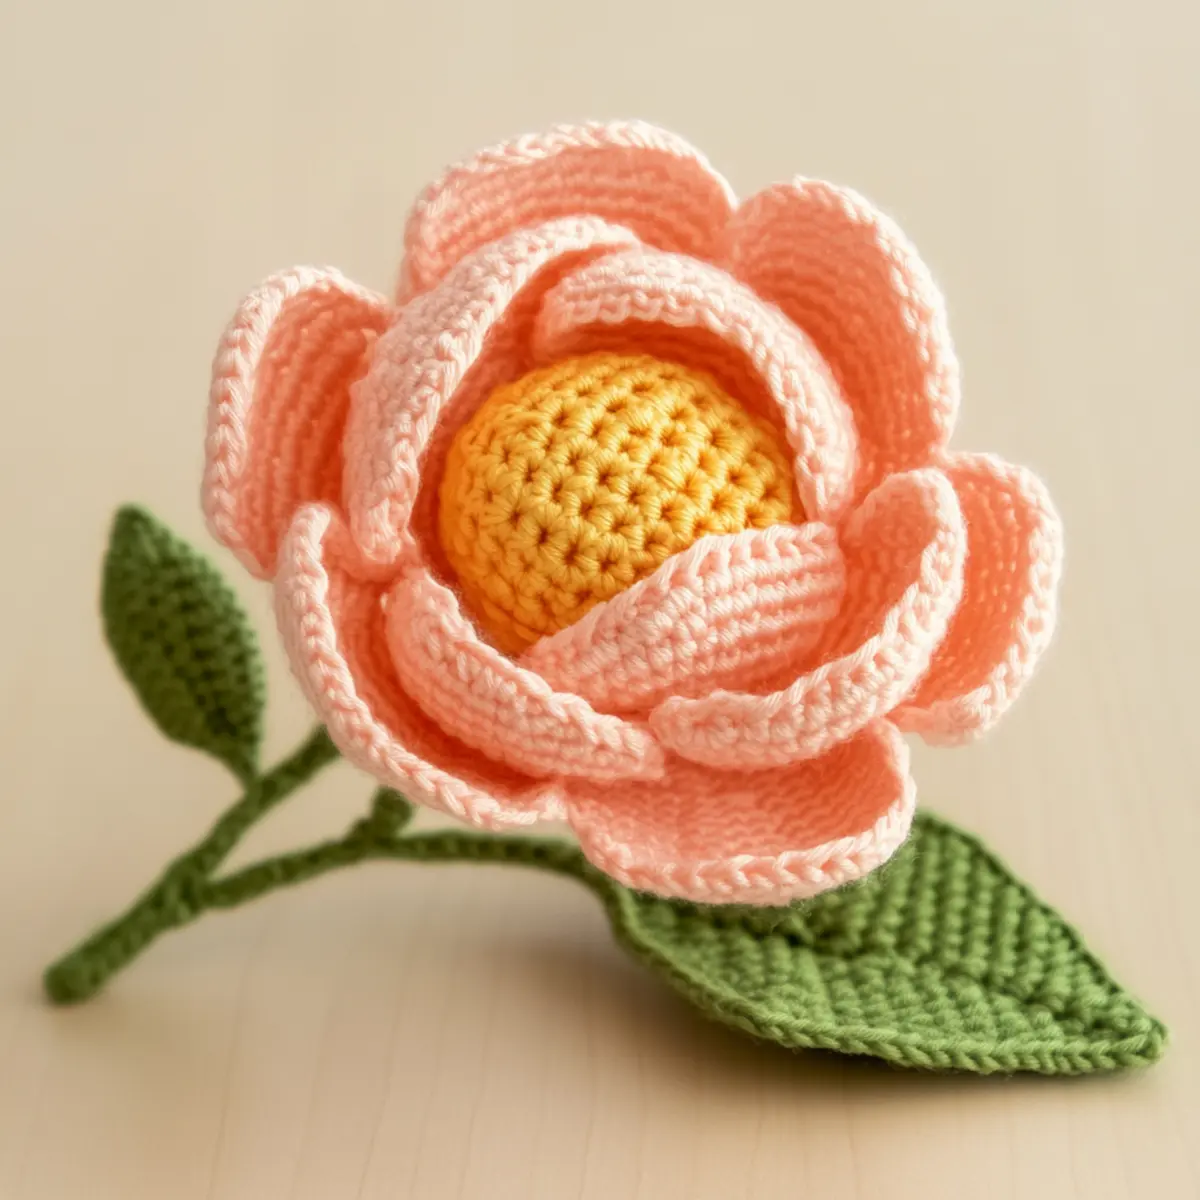
Crochet Peony Flower FAQs
-
Can I use different yarn types?
Absolutely! While cotton and acrylic are recommended for durability, you can experiment with silk blends for a glossy finish, personalized to your taste. -
What if my flower curls at the edges?
Don’t panic! Curling can often happen due to tight stitches. Make sure to block your crochet peony flower to encourage the petals to lay flat. -
How do I adjust the size of the flower?
You can easily resize your crochet peony flower by changing your hook size or yarn weight. Additionally, adjusting the starting chain length or rounds can further customize the size. -
What hook size should I use?
A 4.0 mm (G/6) crochet hook is ideal for this project, allowing you to create tight stitches necessary for the bloom structure of your crochet peony flower. -
How can I fix dropped stitches?
If you notice dropped stitches, simply pull the working yarn back to that point and carefully rework that section. Keeping stitch markers handy can also help track your progress and reduce errors. -
Can I use this pattern for other flowers?
Yes! The techniques from the crochet peony flower pattern can be adapted to create various floral motifs. Feel free to experiment with different shapes and petals for unique designs!
Leave a Reply