
Just imagine the warmth of a plush otter amigurumi snuggled tightly in your arms, radiating comfort and joy. This crochet otter amigurumi pattern is not only a delightful project to enhance your skills but also makes for an adorable, handcrafted gift that’s perfect for nature lovers. Crafted from soft, stretchy plush yarn, this charming companion works up quickly, providing instant gratification for your intermediate crochet journey. With its detailed embroidery and cuddly texture, your finished otter will surely capture hearts and bring smiles to those around you. So, are you ready to dive into this cozy creation? Let’s get started on making your own delightful otter friend!
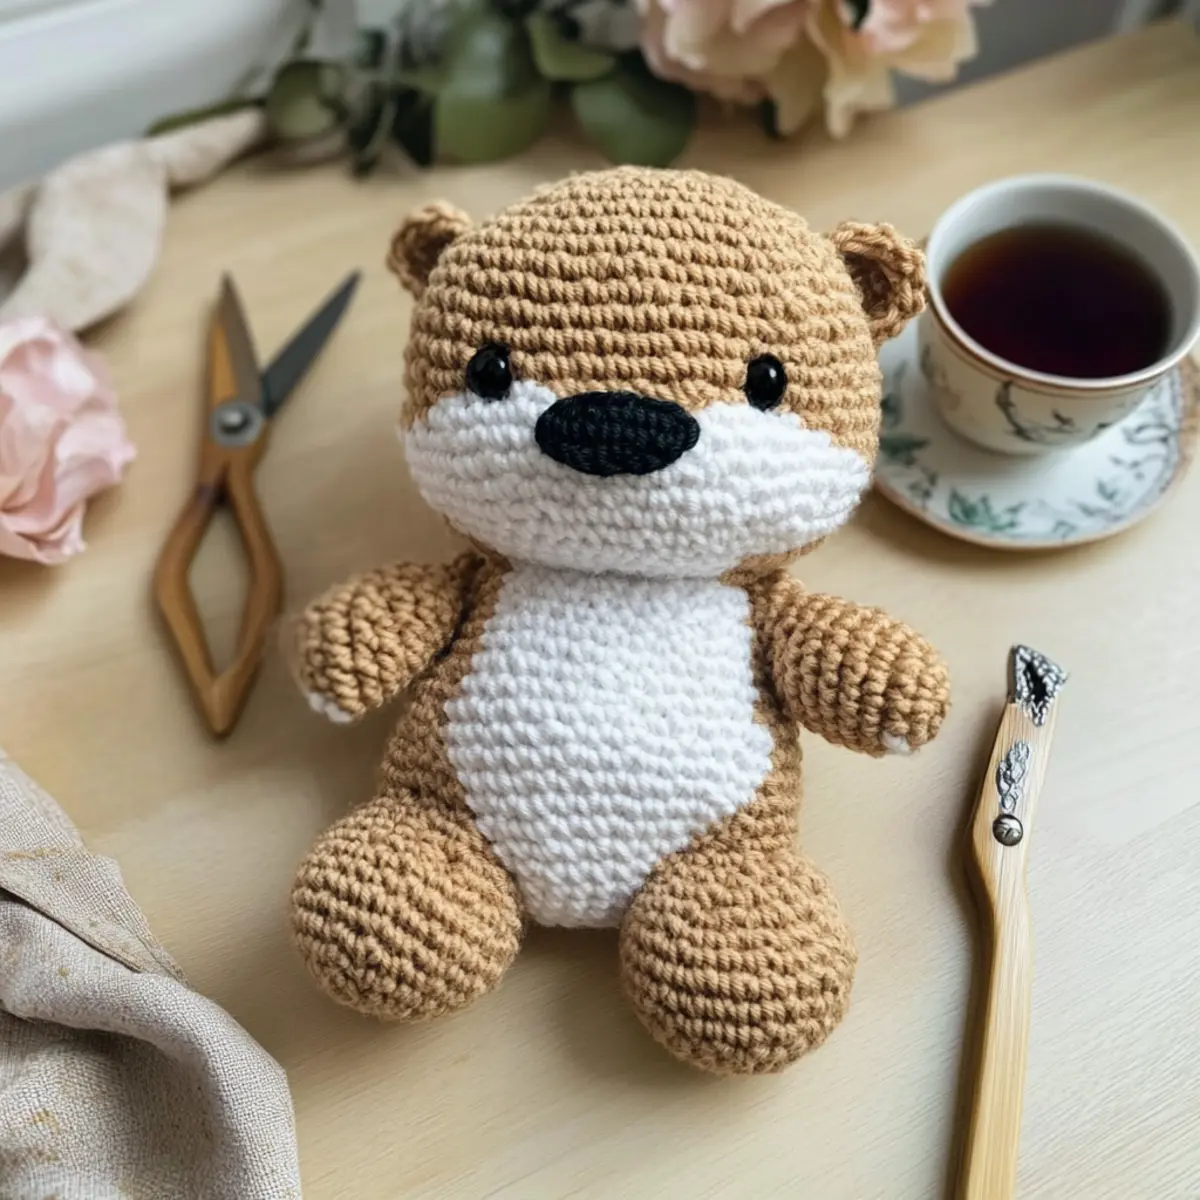
Otter Amigurumi Materials & Tools
Before you start crafting this delightful otter amigurumi, gather your supplies for a smooth and enjoyable experience!
Yarn
- Plush Yarn – Opt for a bulky-weight plush yarn, like Alize Softy or Himalaya Dolphin Baby, for that irresistible texture and cuddly finish.
Tools & Notions
- 5.0mm (H) Hook – Use a US H-8 hook to create the perfect tension for your plush stitches.
- Safety Eyes (13–14 mm) – Choose eyes with locking washers for a child-safe touch, perfect for your amigurumi friend.
- Tapestry Needle – Great for weaving in ends and securely assembling the pieces of your otter.
- Stitch Markers – Handy for keeping track of rounds; while optional, they can help you stay organized during assembly!
Why Is This Otter Amigurumi Special?
Irresistible Cuddly Charm: The soft plush yarn makes this otter a huggable companion, perfect for children and cozy evenings.
Detailed Embroidery: Unique facial features add character, transforming your project into a stunning handcrafted gift.
Quick to Create: Thanks to the straightforward pattern, you’ll see results in no time, making it a rewarding weekend project.
Customizable Designs: Want a different look? Experiment with colors or sizes to create your truly personal creation.
Nature-Inspired Delight: This project celebrates the beauty of animals, appealing to nature lovers and crafters alike.
Whether you’re a beginner or an intermediate crafter, this crochet pattern is sure to inspire you! If you’re interested in more projects, check out our guide on easy amigurumi patterns for beginners.
Gauge & Sizing Notes
Don’t skip the gauge swatch! Ensuring your tension is correct for the crochet otter amigurumi is essential for achieving the desired size and cuddly texture. The standard gauge measurement for this project is 4×4 inches (10×10 cm), which should yield approximately 12 stitches by 10 rows in half double crochet (hdc). If you want to adjust the size, you can make the starting chain in multiples of 12 to increase the overall dimensions. If your swatch is smaller than expected, simply try going up a hook size to achieve that perfect plush feel for your adorable otter amigurumi!
Step‑by‑Step Pattern for Crochet Otter Amigurumi
Row 1: Start the Body
Begin by creating a magic ring; ch 1, then work 6 sc into the ring (6 sts). Pull the ring closed tightly and join to the first sc with a sl st. Your work should be a small circle. This initial round sets the foundation for your crochet otter amigurumi.
Row 2: Increase for the Body
Ch 1, work 2 sc in each stitch around (12 sts). Remember to mark your rounds to keep track of your increases. At this stage, your work will start to look like a bowl as it begins to widen.
Row 3: Continue Increasing
Ch 1, sc in next st, 2 sc in next st repeat around (18 sts). The shape should begin to curve gently, creating a more pronounced bottom for your otter.
Row 4: More Body Increases
Ch 1, sc in next 2 sts, 2 sc in next st repeat around (24 sts). Your work should be expanding nicely, maintaining an even tension for a smooth finish. This rounded body will form the base for your adorable otter.
Row 5: Establish the Body Height
Ch 1, sc in each st around (24 sts). This round continues the same stitch count, allowing you to build up the body height. The shape should be forming an almost cylindrical figure, ready for the next rounds.
Row 6-10: Continue the Body
Ch 1, sc in each st around for 5 rounds (24 sts each round). During these rounds, your work will grow taller, so ensure to check your tension and stitch counts at the end of each round.
Row 11: Start Decreasing for Tail
Ch 1, sc in next 2 sts, dec repeat around (18 sts). As you decrease, your work will begin to form the base of the tail, subtly tapering off toward the end of the body.
Row 12: Shape the Tail
Ch 1, sc in next st, dec repeat around (12 sts). You should notice a shape that funnels slightly, resembling the tail’s start. Keep your tension consistent for a clean finish.
Row 13: Final Tail Stitches
Ch 1, sc in each st around (12 sts). This will create the end of the tail, making it a rounded finish before we prepare for stuffing. Your otter’s body should have a pleasant plush texture now.
Step 1: Head Assembly
Prepare to create the head by chaining 1 and working 6 sc into a magic ring (6 sts). This small circle will be the beginning of your otter’s endearing face, where all the charm lies.
Step 2: Building the Head Volume
Ch 1, work 2 sc in each st around (12 sts). The head should be bottom-heavy at this stage and should fit seamlessly onto the body when assembled.
Step 3: Further Head Increase
Ch 1, sc in next st, 2 sc in next st repeat around (18 sts). Your work should start taking shape as a small sphere; make sure to secure stitches tightly.
Step 4: Continuing Head Height
Ch 1, sc in each st around (18 sts). The head will start to look more defined, setting the space for your otter’s eyes and muzzle.
Step 5: Finishing Head Height
Ch 1, sc in next 2 sts, 2 sc in next st (24 sts). After this round, you’ll notice your head is beginning to approach the desired size.
Step 6: Incorporate Safety Eyes
Ch 1, sc in each st around (24 sts) and place safety eyes between rows 5 and 6, ensuring they are centered. The otter’s personality will begin to shine with the placement of the eyes!
Step 7: Head Stuffing
Continue working as you build up the head, while stuffing each section firmly as you go. Pay attention to your tension, keeping it evenly tight for a rounded shape.
Step 8: Finalizing the Head Shape
Ch 1, sc in next 2 sts, dec repeat around (18 sts). Continue to shape the head, making sure the stuffing is evenly distributed for aesthetics.
Step 9: Closing Up the Head
Ch 1, sc in next st, dec repeat around (12 sts). The shape should begin to taper, looking like a lovely otter face.
Step 10: Completely Finish the Head
Ch 1, dec around (6 sts) and pull tight to close the opening completely. Secure your thread and weave in the end with a tapestry needle.
Step 11: Attach the Head to the Body
Position the head onto the body and using your tapestry needle, sew it onto the body with small, tight stitches. Make sure it’s secure so that it doesn’t wobble.
Step 12: Creating Ears
Using a magic ring, ch 1 and sc 6 into the ring (6 sts). Your otter’s ears will frame its face beautifully.
Step 13: Build the Ears
Ch 1, 2 inc around (12 sts). The small shape will work perfectly for your otter’s oversized, adorable ears.
Step 14: Attach Ears to Head
Sew the completed ears onto the head between rows 8 and 9, adjusting their position as desired for maximum cuteness. Be sure they are neatly secured.
Step 15: Facial Embroidery Details
Carefully embroider the nose and mouth details to add personality to your otter amigurumi. Use contrasting yarn for the features, bringing your otter friend to life!
Step 16: Final Shape and Adjustments
At this point, check the entire crochet otter amigurumi for shape and stuffing. Make adjustments if needed, ensuring a smooth surface all around.
Step 17: End of the Project
Congratulations! You’ve crafted your very own crochet otter amigurumi. With its delightful plush texture and adorable character, it’s now ready to bring joy to its new home.
Expert Tips for Crochet Amigurumi
-
Stay Relaxed: Tension matters: Keep your stitches even and relaxed for a smooth finish, which is especially important for plush yarn.
-
Count Carefully: Stitches add up: Make it a habit to count your stitches at the end of each round to prevent any misshapes in your otter amigurumi.
-
Stuff Wisely: Maintain shape: Make sure to stuff your otter evenly and fully to keep its adorable form—don’t forget to work the stuffing into tiny areas like limbs!
-
Use Stitch Markers: Stay organized: Utilize stitch markers to keep track of your rounds, especially during head assembly where stitch accuracy is crucial.
-
Practice Makes Perfect: Embrace mistakes: If you’re new to amigurumi, remember to approach sections one at a time. Mistakes are part of the learning process and provide invaluable experience!
How to Wash and Care for Your Otter Amigurumi
- Hand Washing: Gently hand wash your otter amigurumi in cold water with a mild detergent to preserve the plush texture and avoid damaging intricate embroidery.
- Avoid Agitation: Keep the washing process gentle—avoid twisting or wringing, as this can lead to felting or pilling of the plush yarn.
- Drying: Lay your otter flat on a clean towel to dry, reshaping as needed. Avoid hanging or direct sunlight to maintain its adorable form.
- Storage: When not in use, store your amigurumi in a cool, dry place away from direct sunlight to prevent fading of colors and ensure it stays cozy for cuddles.
Otter Amigurumi Variations & Substitutions
Craft your charming otter amigurumi to your heart’s content by exploring creative twists and personal touches!
- Yarn Weight: Swap to a lighter or heavier yarn to create a larger or smaller otter, enhancing its huggability for all ages.
- Fiber Alternatives: Try cotton yarn for a textured, more durable version that’s great for warm weather or outdoor adventures.
- Color Blocking: Experiment with a vibrant color palette; a striped belly or contrasting ears can give your otter a unique personality.
- Size Adjustments: Use a smaller hook to create a mini otter or a larger hook for an oversized cuddle buddy, perfect for gift-giving.
- Textured Finishes: Add a cozy pom-pom tail or a playful fringe on the body to make your otter stand out in a whimsical way.
- Embellished Features: Incorporate safety eyes with fun colors or textures for added charm, making your otter a true one-of-a-kind creation.
- Accessorize: Give your otter a cute scarf or little hat using scrap yarn, providing a personal flair that shows off your style.
- Detailed Embroidery: Expand on the original facial features by adding playful whiskers or colorful patches for an artistic touch that celebrates your creativity.
Don’t forget, if you’re exploring more about yarn types, check out our informative article on yarn fiber properties for the best crafting experience!
Crochet Otter Amigurumi: A Charming Plush Project FAQs
Can I use a different type of yarn for my otter amigurumi?
Absolutely! While plush yarn like Alize Softy or Himalaya Dolphin Baby is recommended for its soft texture, you can substitute it with any bulky-weight yarn. Just keep in mind that using a different fiber may affect the overall look and feel of your otter.
How can I make my otter amigurumi larger or smaller?
To adjust sizing, simply change your yarn weight and hook size. For a larger otter, opt for a thicker yarn and a larger hook, or use a smaller hook with a lightweight yarn for a smaller version. Just remember that you’ll need to adjust your stitch counts accordingly.
What should I do if my work starts to curl?
Don’t panic! Curling often occurs if your tension is too tight or if you’re not working in the correct stitch count. Make sure to maintain an even tension as you crochet. If it continues to curl, try using a larger hook to see if it helps flatten your work.
How do I fix dropped stitches in my amigurumi?
It’s an easy fix! If you find a dropped stitch, carefully pick up the stitch with your tapestry needle and pull the working yarn through, ensuring you’re following the stitch pattern. If you’re unsure, it may be helpful to unravel to the last complete round, then carefully work back to where you dropped the stitch.
What size hook should I use for my otter amigurumi?
For this project, a US H-8 (5.0 mm) hook is recommended. This size works well with bulky plush yarn, helping you achieve that cuddly texture without creating gaps between stitches.
What if I want to include additional details or features?
Feel free to get creative! Adding a scarf or small accessories to your otter can make it unique. Just ensure that any extra features are securely stitched to avoid any safety concerns, especially for younger children.
Leave a Reply