
Crochet Ladybug Lovey Pattern
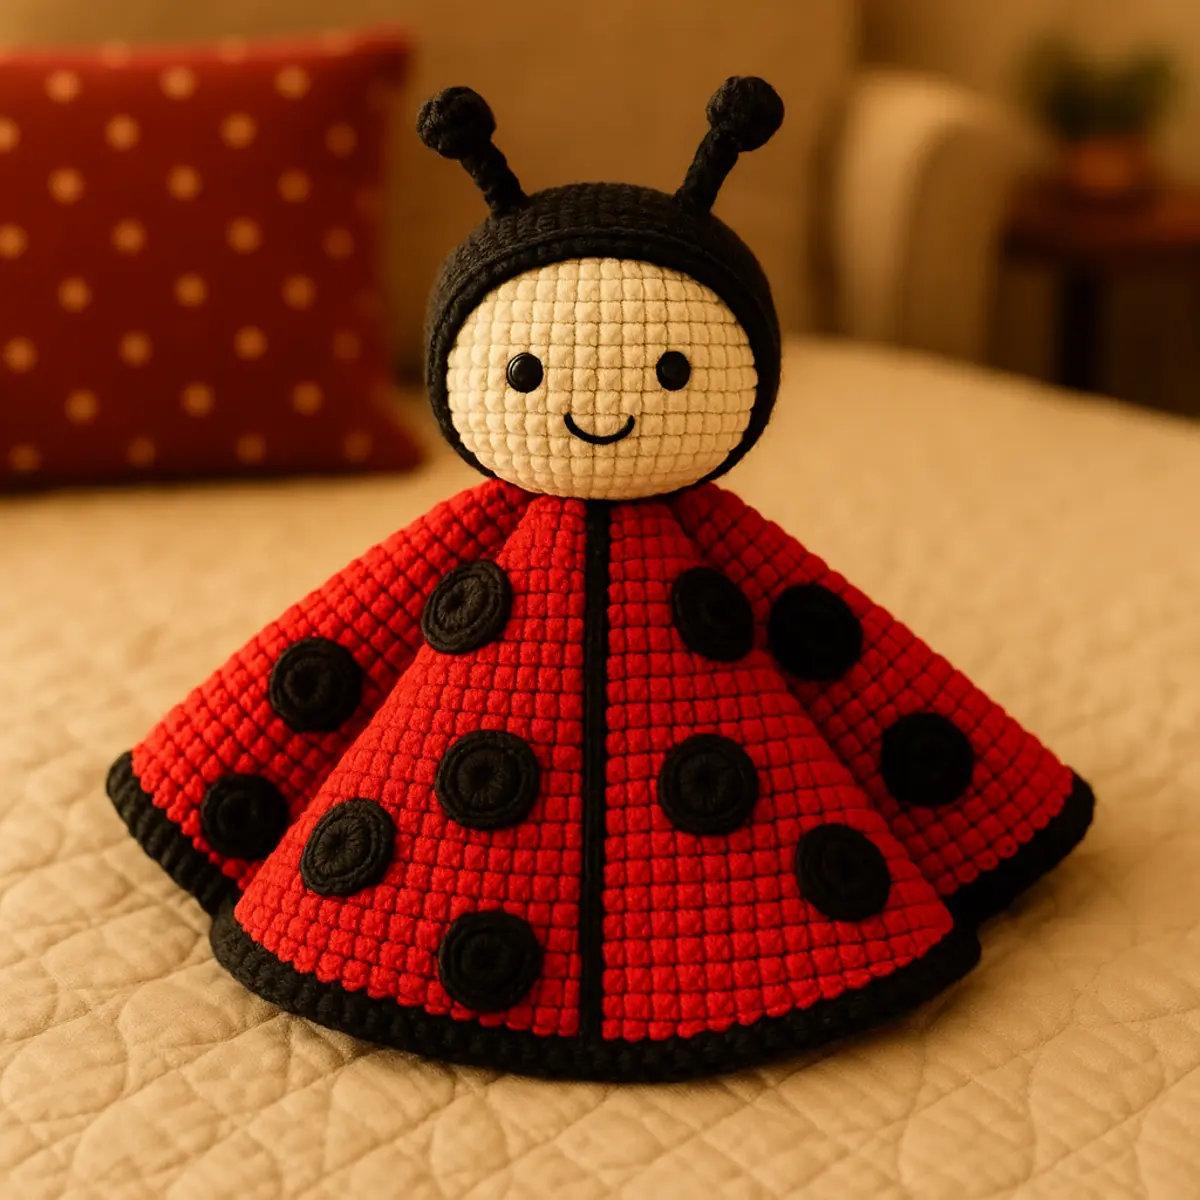
This crochet ladybug pattern makes a soft red and black baby lovey, a cheerful handmade gift with a rounded ladybug head and simple blanket body. Perfect for advanced beginners, this project will not only delight little ones but also provide a satisfying crafting experience for you. The combination of vibrant colors and adorable design makes this lovey an instant favorite for any nursery.
Crafted with worsted weight yarn, this lovey features a delightful texture that invites little hands to explore. The main body, playful in red and black, is complemented by embroidered facial details in white or light pink, adding an extra touch of charm. Measuring about 15 to 17 inches across, it’s just the right size for cuddling or snuggling during nap times. Create a comforting piece that little ones can cherish for years to come!
Don’t worry if you’re an advanced beginner! This project has a manageable skill level, allowing you to follow step-by-step instructions that lead you easily from the lovely rounded head to the cozy blanket body. The cheerful vibe of this ladybug lovey is sure to brighten any child’s day, so grab your hook and yarn and dive into a delightful crochet adventure!
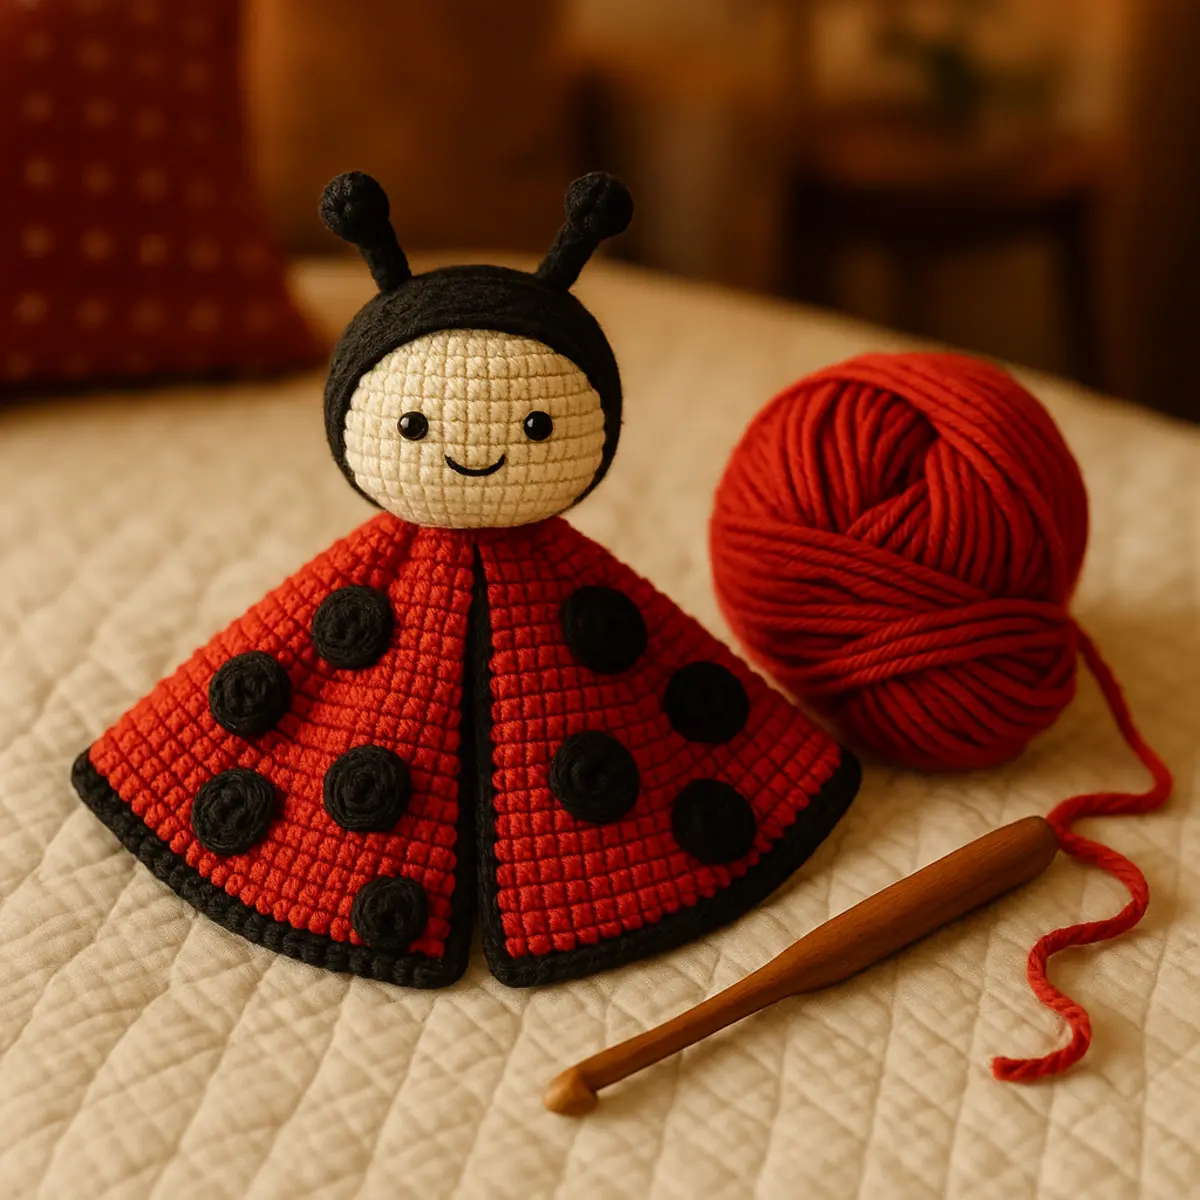
This delightful Crochet Ladybug Lovey Pattern is a wonderful project for advanced beginners looking to create a charming and cuddly gift for little ones. Using approximately 300 to 350 yards of worsted weight red yarn and 100 to 150 yards of black yarn, along with basic crochet stitches, this tutorial guides you through crafting a soft blanket body measuring 15 to 17 inches across, complete with an adorable rounded ladybug head and whimsical spots. With easy-to-follow, step-by-step instructions and baby-safe finishing tips, you’ll enjoy making this cheerful lovey that will be cherished for years to come!
Materials Needed
Gathering the right supplies is essential for creating your delightful crochet ladybug lovey. This whimsical project is designed to bring joy and comfort to little ones, and having the proper tools will help make your crafting experience smooth and enjoyable.
- Yarn: You will need approximately 300 to 350 yards of worsted weight red yarn for the main body of the lovey, along with about 100 to 150 yards of worsted weight black yarn for the ladybug spots and head. Additionally, prepare around 5 yards of white, cream, or light pink yarn for the embroidered face details. Using worsted weight yarn ensures a cozy, plush finish that is perfect for baby items.
- Crochet Hooks: A Size H/5.0 mm crochet hook is required for the blanket body, providing the ideal tension for an attractive drape. For the stuffed head and smaller pieces, a Size G/4.0 mm crochet hook will help create tighter stitches, which keeps the stuffing secure and enhances the lovey’s durability.
- Polyester Fiberfill: This is needed to fill the ladybug’s head, giving it a soft and cuddly shape. Polyester fiberfill is safe, washable, and fluffy, making it perfect for baby toys.
- Stitch Markers: These helpful tools will keep track of your rounds as you work through the lovey, ensuring that you maintain an accurate stitch count, crucial for maintaining the shape of your project.
- Yarn Needle: Use a yarn needle for weaving in the ends and for sewing pieces together, providing a neat and polished finish to your lovey.
- Scissors: Essential for cutting yarn, having sharp scissors on hand will make it easier to snip away any excess threads quickly and cleanly.
Pro Tip: When choosing your yarn colors, opt for baby-safe, hypoallergenic materials to ensure your lovey is appropriate for infants. Don’t hesitate to experiment with different shades of red and black to add a personal touch to your ladybug lovey!
Abbreviations
This pattern is written in standard US terms, which is common for most crochet instructions.
- ch: Chain
- dc: Double Crochet – A stitch that creates a tall, open weave, formed by yarn over and drawing through loops.
- inc: Increase – Work two stitches into the same stitch to increase the stitch count.
- sc: Single Crochet – A basic stitch that creates a dense fabric.
- sl st: Slip Stitch – A stitch used to join pieces or move the yarn in a different direction without adding height.
- tr: Treble Crochet – A taller stitch than DC, formed by yarn over twice and drawing through loops.
- dec: Decrease – Reduce the stitch count by working two stitches together.
Foundation Row
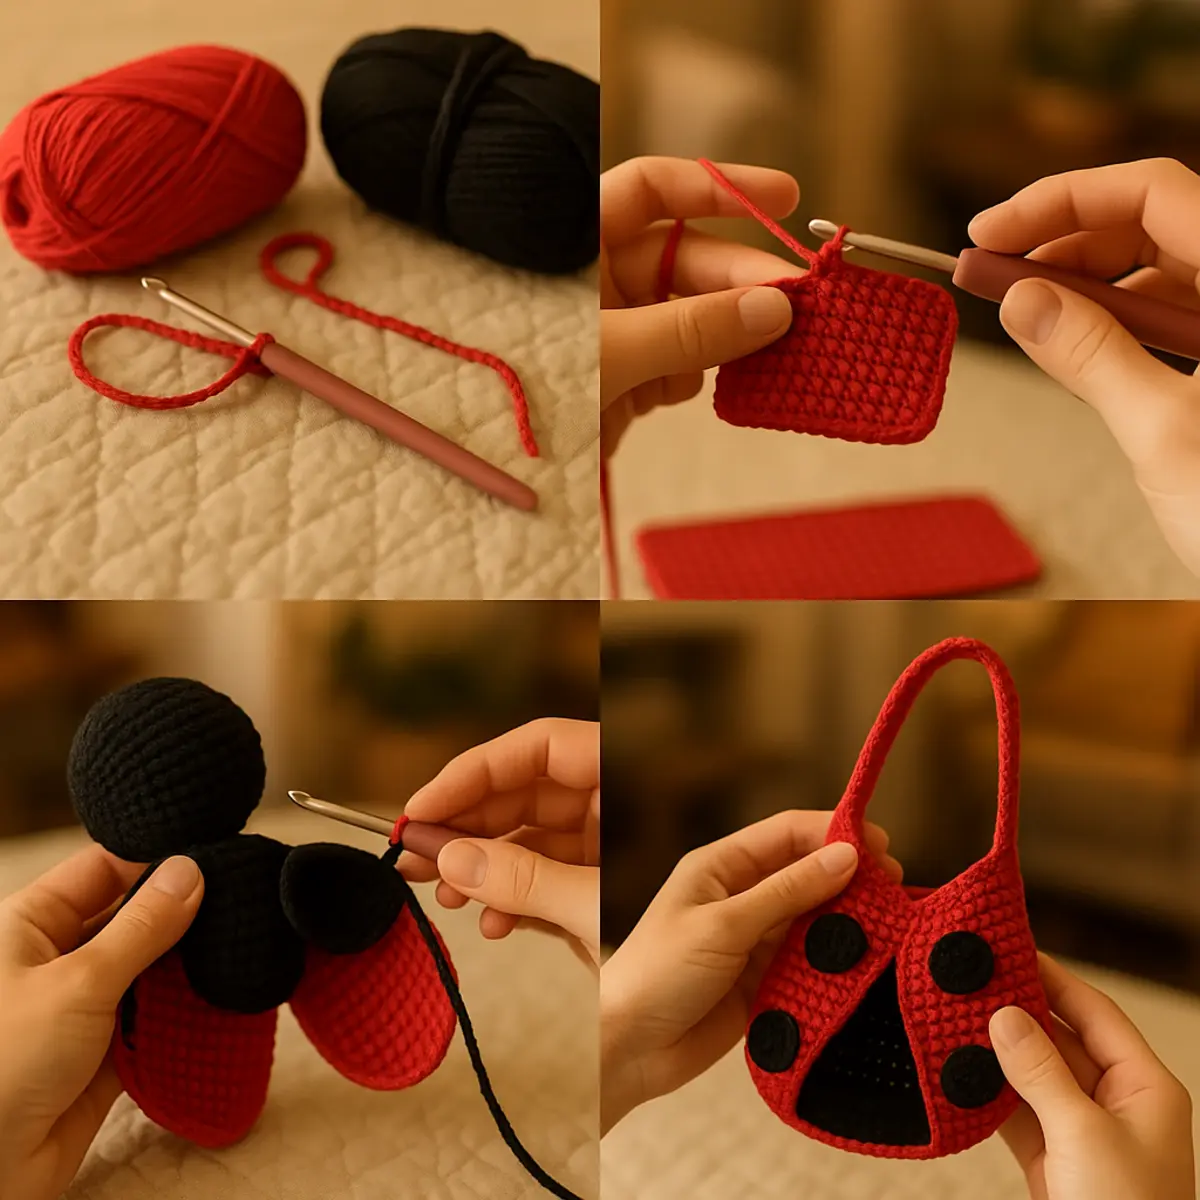
Start by creating a slip knot with your red yarn, ensuring it’s firm yet adjustable. This will set the foundation for your lovey.
- Chain 55: Create your foundation chain by yarn over and pulling through the loop on your hook. Continue until you have 55 chains in total.
Expected Result: Your chain should measure approximately 14 inches.
Base Panel
Beginning work on the base panel will give your lovey its structure and warmth.
- Row 1: Starting from the second chain from the hook, double crochet in each chain across. You will have 54 stitches by the end of this row.
- Row 2: Chain 2 and turn. Double crochet in each stitch across. You should still have 54 stitches.
- Rows 3-8: Repeat Row 2 for a total of 6 rows (with Row 1 as the starting point). You’re gradually increasing the height of the panel.
Expected Result: Your base panel should measure approximately 9 to 10.5 inches across by Row 8.
Body Section
Now we’re adding the rounded body shape that will make our lovey cozy.
- Rows 9-13: Continue to work in double crochet, following the same pattern as in previous rows. Each row will add more width to your blanket body. By the end of Row 13, the total width should measure approximately 14.5 to 16.5 inches.
Expected Result: The blanket body will now be completed, forming a lovely rounded shape for your ladybug lovey.
Making the Ladybug Head
The head of the ladybug will be a delightful addition to your lovey, giving it character and charm.
- Using the G/4.0 mm hook, chain 2: This will serve as your starting point.
- Round 1: Work 6 single crochets in the second chain from the hook (this round will form a small circle). Join with a slip stitch.
- Round 2: Chain 1, then work 2 single crochets in each stitch around. You should have 12 stitches now.
- Round 3: Chain 1, *single crochet in the next stitch, then 2 single crochets in the next stitch.* Repeat from * around. You will have 18 stitches at the end of this round.
- Round 4: Chain 1, *single crochet in the next 2 stitches, then 2 single crochets in the next stitch.* Repeat from * around for a total of 24 stitches.
- Round 5: Chain 1, *single crochet in the next 3 stitches, then 2 single crochets in the next stitch.* Repeat from * around. You will end with 30 stitches.
- Rounds 6-8: Simple single crochet in each stitch around for 3 rounds, maintaining the 30 stitches.
Expected Result: At this point, your ladybug head should have a rounded shape with a smooth finish.
Spots and Antennae
It’s time to add those iconic spots and adorable antennae to complete your ladybug look!
- For the Spots: Using the black yarn, make 5 small circles. Start with a magic ring and crochet 4 single crochets in it. Pull tight to close. Fasten off.
- Antennae: Chain 10 with the black yarn. Fasten off, leaving a long tail for sewing the antennae to the head.
Professional Tip: Make sure to evenly space the spots to give your ladybug a fun and whimsical look!
Assembly and Finishing Touches
Bringing together all the components creates the cherished finished product.
- Attach the head: Position the head at the center of your blanket body and sew it securely using the yarn needle.
- Position the spots: Sew the 5 spots on the body, placing them evenly across the blanket for balance.
- Attach the antennae: Sew the antennae on top of the head, ensuring they’re secure and whimsical.
Expected Result: Your ladybug lovey should now have all elements assembled beautifully!
Baby-Safe Finishing Tips
Lastly, let’s ensure our lovey is safe for little hands.
- Check for loose ends: Weave in and secure all yarn ends to prevent any unraveling.
- Inspect for safety: Ensure all pieces are securely attached to withstand gentle tugging.
Professional Tip: Always wash your completed lovey according to the yarn label’s instructions to keep it fresh and safe for your baby.
Frequently Asked Questions
- What skill level is required to make the Crochet Ladybug Lovey?
This pattern is designed for advanced beginners. Familiarity with basic crochet stitches is essential.
- What are the finished measurements of the lovey?
The completed ladybug lovey measures approximately 15 to 17 inches across the blanket body, making it the perfect size for a baby to cuddle.
- Can I use any type of yarn for this project?
While the pattern calls for worsted weight yarn, you can substitute with similar weight yarns to achieve a similar effect. Just be mindful of the gauge!
- How do I ensure the lovey is baby-safe?
This pattern includes baby-safe finishing tips to prevent choking hazards or anything that could come loose. Always choose non-toxic materials.
- Is there a specific way to embroider the ladybug’s face?
The pattern details using approximately 5 yards of white, cream, or light pink yarn for the face. Follow the instructions closely to ensure a cheerful appearance!
- What if I encounter issues while crocheting?
The pattern includes a troubleshooting section to help you identify and fix common problems that may arise during construction.
Congratulations on finishing your adorable Crochet Ladybug Lovey! This delightful project not only showcases your crochet skills but also provides a charming companion for any little one. Don’t forget to share your finished piece with fellow crafters; we’d love to see your creativity shine!
If you loved making this, you should also check out our Easy Crochet Flower, try your hand at Simple Crochet Flowers, or explore our collection of flower patterns!
Leave a Reply