
As I sat in my cozy corner with yarn spilling around me, I couldn’t help but feel the magic of crochet in the air. Today, I’m thrilled to share my “Beginner’s Guide to Crocheting in the Round,” where you’ll master the art of the magic circle and chain ring techniques. These beginner-friendly methods are your keys to unlocking a world of endless possibilities—think delightful amigurumi, warm hats, and timeless granny squares that fit together seamlessly. Best of all, these techniques work up quickly, making them perfect for anyone eager to dive into creative projects with confidence. Are you ready to transform your yarn into something spectacular? Let’s get those hooks moving!
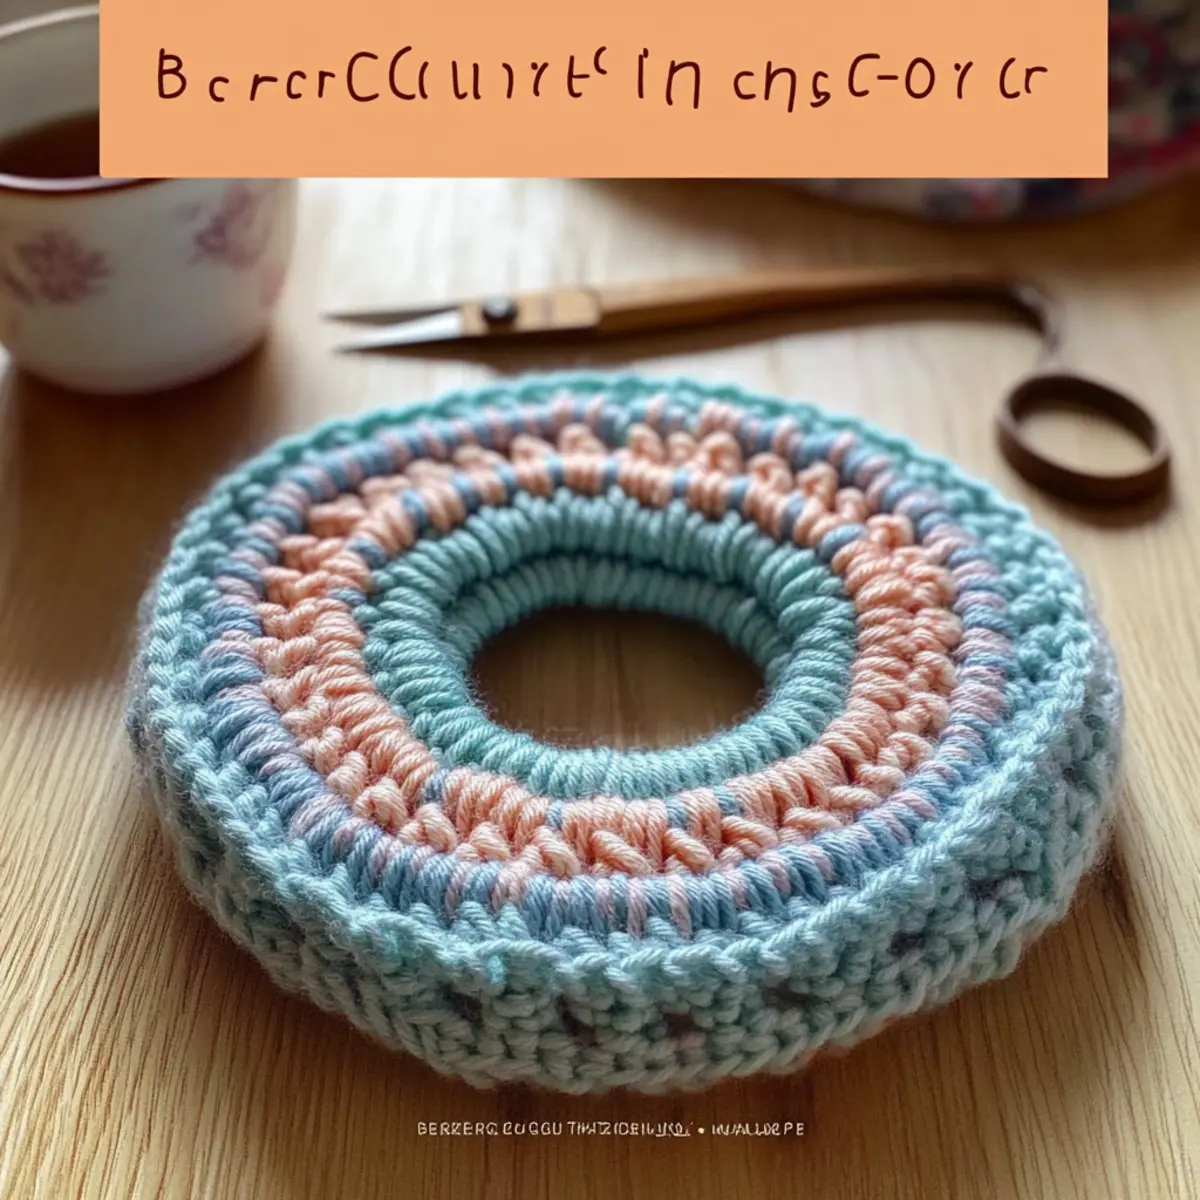
Beginner’s Crochet in the Round Materials & Tools
Note: Gather these essentials to embark on your exciting journey of crocheting in the round using magic circle and chain ring techniques!
-
Yarn
-
Worsted Weight Yarn – Ideal for beginners, aim for approximately 20-50 yards for small projects.
-
Hook
-
5.0 mm (H-8) Hook – This size works perfectly with worsted yarn; adjust if you select a different weight.
-
Notions
-
Stitch Markers – These are essential for keeping track of your rounds in continuous projects.
-
Tapestry Needle – Use this for weaving in ends to give your projects a polished finish.
-
Scissors – Handy for snipping yarn when you’re ready to move on to your next creative endeavor.
Why Master Crochet in the Round?
Endless Creativity: With these techniques, you’re not just following patterns—you’re crafting! The magic circle and chain ring open the door to countless projects, from adorable amigurumi to chic hats.
Seamless Finish: Achieving a clean, professional look is a breeze with these methods. They ensure that your work looks polished and tidy, making every project shine.
Beginner-Friendly: Step-by-step explanations demystify crocheting in the round, making it accessible for all skill levels. You’ll feel like a pro in no time!
Fun & Quick: Projects work up swiftly, letting you see results fast—perfect for instant gratification and for trying out new patterns!
Flexibility: These techniques adapt to different yarn weights and styles, so you can customize your creations as you like. If you’re curious about more beginner-friendly crochet stitches, check out our guide on basic crochet stitches!
Gauge & Sizing Notes
Don’t skip the gauge swatch! Ensuring your tension when crocheting in the round is essential for the success of your projects, such as adorable amigurumi or cozy hats. A standard gauge measurement to aim for is a 4×4 inch (10×10 cm) square, which should equal 12 single crochets by 14 rows. To make your project larger, simply adjust your starting chain in multiples of 6 for increased diameter. If you find that your swatch is smaller than this, try going up a hook size to achieve the desired gauge. Remember, consistent tension leads to stunning results in your crochet in the round projects!
Step‑by‑Step Pattern for Beginner’s Guide to Crocheting in the Round
Row 1: Starting with the Magic Circle
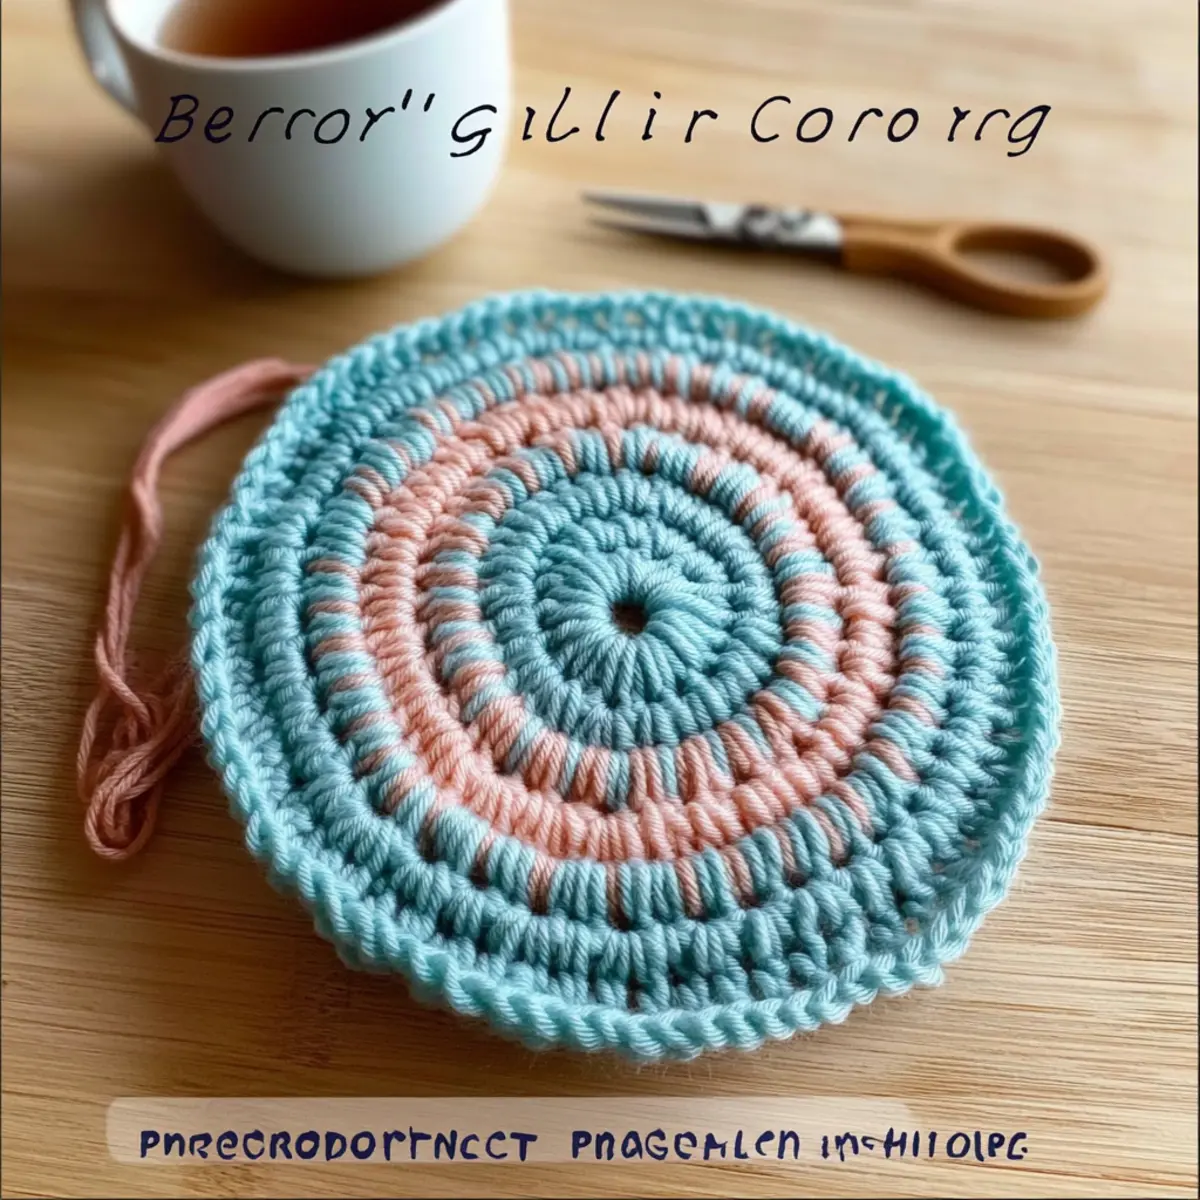
To begin your magic circle, create a loop with your yarn, ensuring the tail is on top. Insert your hook into the circle, pull up a loop, and chain 1 to secure it. Now, work 6 single crochet stitches (sc) into the circle. Gently pull the tail to tighten your magic circle into a closed loop with no gaps (6 sts).
Round 2: Increasing Stitches
For Round 2, continue in the round without joining. Start with 2 single crochet stitches into each stitch around, effectively doubling the stitch count. Your work should look fuller, and by the end of this round, you’ll have 12 total stitches. Keep an eye on your stitch count for an even shape (12 sts).
Round 3: More Increases
In Round 3, work 1 single crochet in the first stitch, followed by 2 single crochet in the next stitch. Repeat this pattern around the circle—1 sc, then 2 sc—in each stitch. You should notice your crochet starting to widen. By the end of this round, your stitch count will be 18 (18 sts).
Round 4: Keep Expanding
For Round 4, continue with the increase pattern by crocheting 2 single crochet stitches in the first stitch, then 1 single crochet in the next 2 stitches (2 sc, 1 sc). This will help maintain the circular shape while expanding your project further. After completing this round, you should have 24 stitches (24 sts).
Round 5: Adjusting for Size
In Round 5, maintain your circular structure with the increase sequence of 2 single crochet in the next stitch and 1 single crochet in the next 3 stitches (2 sc, 1 sc, 1 sc). Always count your stitches as you go—this helps avoid mistakes. After this round, your total should be 30 stitches (30 sts).
Round 6: Finalizing the Base
Now, continue to build your piece with Round 6. Work 2 single crochet in the next stitch, followed by 1 single crochet in the next 4 stitches (2 sc, 1 sc, 1 sc, 1 sc). By the end of this round, you will have a steady 36 stitches, forming a solid base for projects like hats or amigurumi (36 sts).
Step 6: Transition to Next Project Phase
At this point, you have mastered the foundational rounds for crocheting in the round using the magic circle method. If you’re switching to another stitch or technique, prepare to adjust your tension and stitch counts as needed. This forms a seamless preparation to continue your beautiful crochet journey forward.
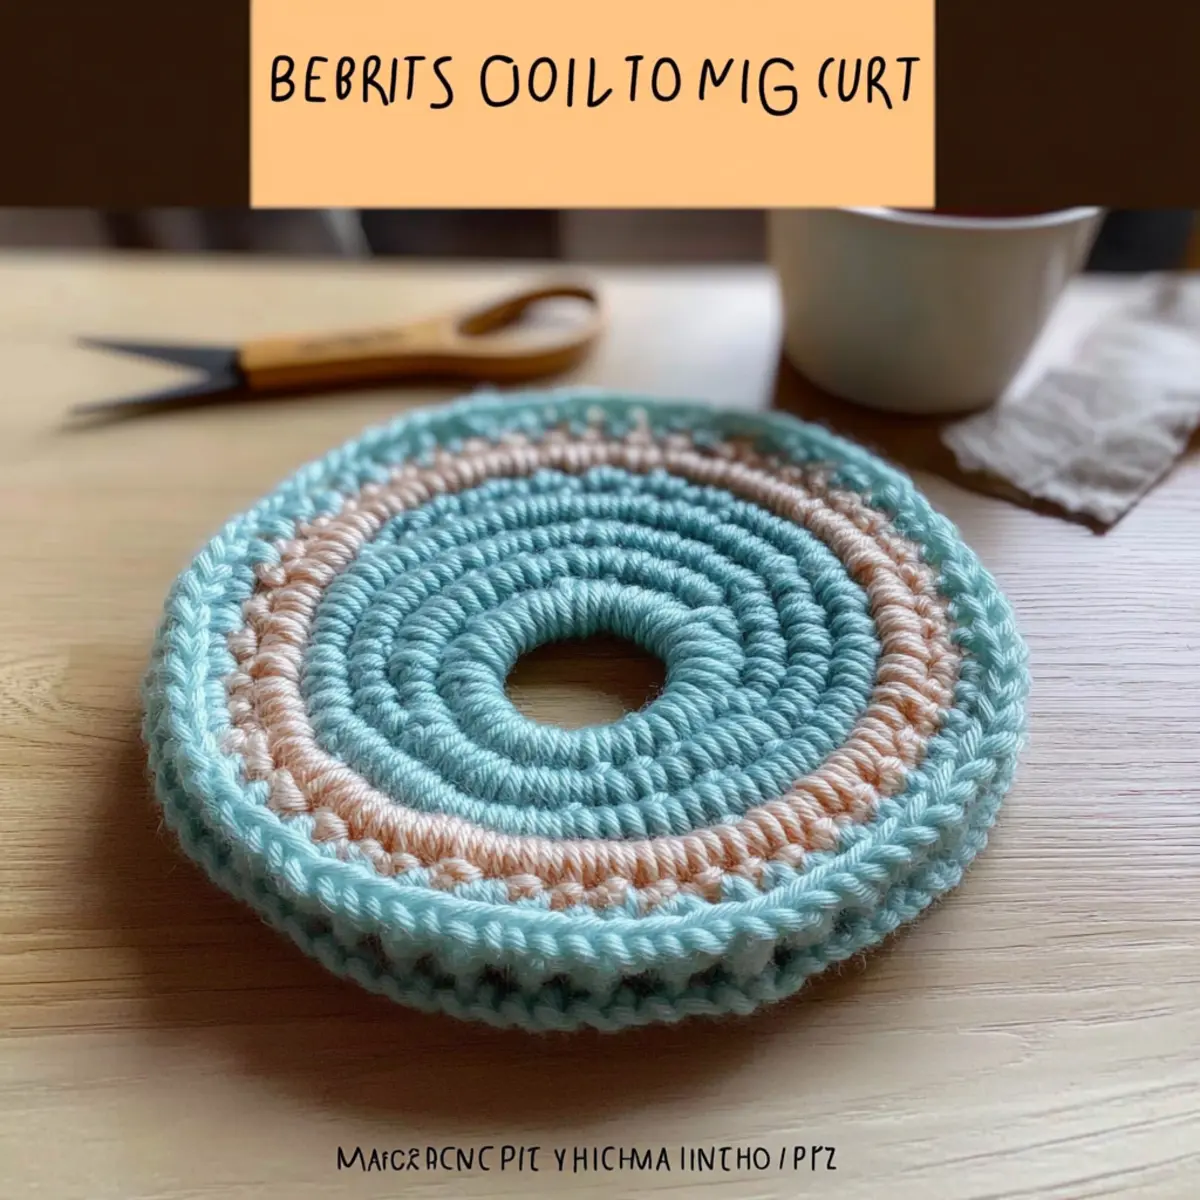
Washing & Care Instructions for Your Crochet Projects
Machine Washing: Use a gentle cycle with cold water to protect the integrity of your crochet stitches—this is especially important for delicate or textured yarns.
Hand Washing: For projects made with sensitive fibers, like wool or cotton, it’s best to hand wash in cold water with mild detergent to avoid any felting or pilling.
Drying/Blocking: After washing, lay your crochet piece flat on a clean, dry towel to retain its shape. Avoid hanging, as this can stretch your projects.
Storage: Store your crocheted items in a cool, dry place, preferably in breathable bags, to keep them in good condition and prevent any unwanted damage or dust buildup.
Expert Tips for Crocheting in the Round
-
Stay Focused: Avoid distractions while crocheting to maintain your stitch count and tension. This helps prevent losing track of rounds.
-
Count Often: Make it a habit to count your stitches at the end of each round. This ensures that your projects remain consistently shaped.
-
Mind Your Tension: Practice keeping an even tension while crocheting. Too tight or too loose stitches can lead to gaps or a lumpy finish.
-
Use Stitch Markers: Place a stitch marker in the first stitch of each round. This simple tool helps you keep track of your progress for seamless crochet in the round.
-
Practice Makes Perfect: Enjoy the process! The more you practice the magic circle and chain ring techniques, the more comfortable and skilled you’ll become.
Variations & Substitutions for Crochet in the Round
Feel the excitement of customizing your crochet journey with these delightful twists!
-
Yarn Weight Variations: Opt for lighter yarns like DK for intricate amigurumi; heavier weights create quick, cozy hats.
-
Color Blocking: Create a stunning visual by alternating colors every few rounds. This simple trick can transform any project into a unique masterpiece.
-
Fiber Alternatives: Use cotton yarn for warm-weather projects, providing a breathable and lovely texture, perfect for summer accessories.
-
Adding a Pom-Pom: Enhance hats or bags with a playful pom-pom on top. This charming addition adds a whimsical touch to your pieces.
-
Fringe Accents: For a bohemian flair, consider adding fringe to the edges of your project. This can elevate the look and add a fun texture.
-
Sizing Adjustments: Alter the number of starting stitches to achieve a smaller or larger diameter. This customization helps your creations fit the desired purpose beautifully.
-
Textured Borders: Finish your rounds with a decorative border stitch, such as shells or picots, to add elegance and a professional touch to your work.
-
Explore New Patterns: Dive into other projects utilizing these techniques like granny squares or bags; the possibilities are endless! If you’d like to branch out, don’t miss our tips on creating granny square masterpieces.
Beginner’s Guide to Crocheting in the Round: Mastering the Magic Circle and Chain Ring FAQs
Can I substitute yarn for my crochet project?
Absolutely! While specific yarn types may yield different textures, you can swap out acrylic for cotton or wool. Just keep in mind that the drape and stretch can change, so be sure to adjust your tension and gauge as needed.
How can I adjust the size of my project?
To make your project bigger or smaller, simply alter the number of starting stitches in your magic circle or chain ring. For example, if you need a larger diameter, try starting with more stitches in multiples of 6. On the flip side, for a smaller project, less is more—just decrease your starting stitches!
Why is my work curling when crocheting in the round?
Don’t panic! Curling often occurs if your tension is too tight or if you’re missing the correct stitch counts. Be sure to check your tension and count your stitches at the end of each round. If your circle is buckling like a bowl, try loosening your grip a bit while crocheting!
What hook size should I use for my project?
I recommend using a 5.0 mm (H-8) hook for worsted or bulky yarn, as it provides a great balance between ease and stitch definition. If you’re switching yarn types, don’t hesitate to go up or down a size to find the perfect fit for your project.
How do I fix dropped stitches while crocheting in the round?
It’s an easy fix! If you notice a dropped stitch, simply pull the working yarn back to your last complete stitch and re-insert your hook. It’s also a good practice to pause and double-check your stitch count at the end of each round to prevent this from happening.
What’s the best way to place stitch markers?
Using a stitch marker in the first stitch of each round is key! It not only helps track where your rounds begin but also ensures your work remains even. Experiment with different markers to see which ones you find most helpful—some crafters love using colorful clips or even a loop of contrasting yarn!
Leave a Reply