
As I settled into my cozy nook, surrounding myself with vibrant yarns, I felt a sudden spark of inspiration. It was the perfect moment to embark on a new creative journey. This whimsical crochet hat and scarf set quickly became my favorite project. With its playful design and cozy warmth, it’s perfect for chilly days while allowing for personal expression through unique embroidery. Not only is this set a stash-buster, but it’s also beginner-friendly, making it accessible for new crocheters looking to build their skills. The joy of combining colors and textures truly lights up the crafting experience! I can’t wait to share the instructions with you, so you can create this enchanting piece that embodies charm and warmth. Have you ever thought about how a simple hat and scarf can become an expression of your creativity? Let’s dive into this delightful pattern together and explore how you can customize it to reflect your personal style.
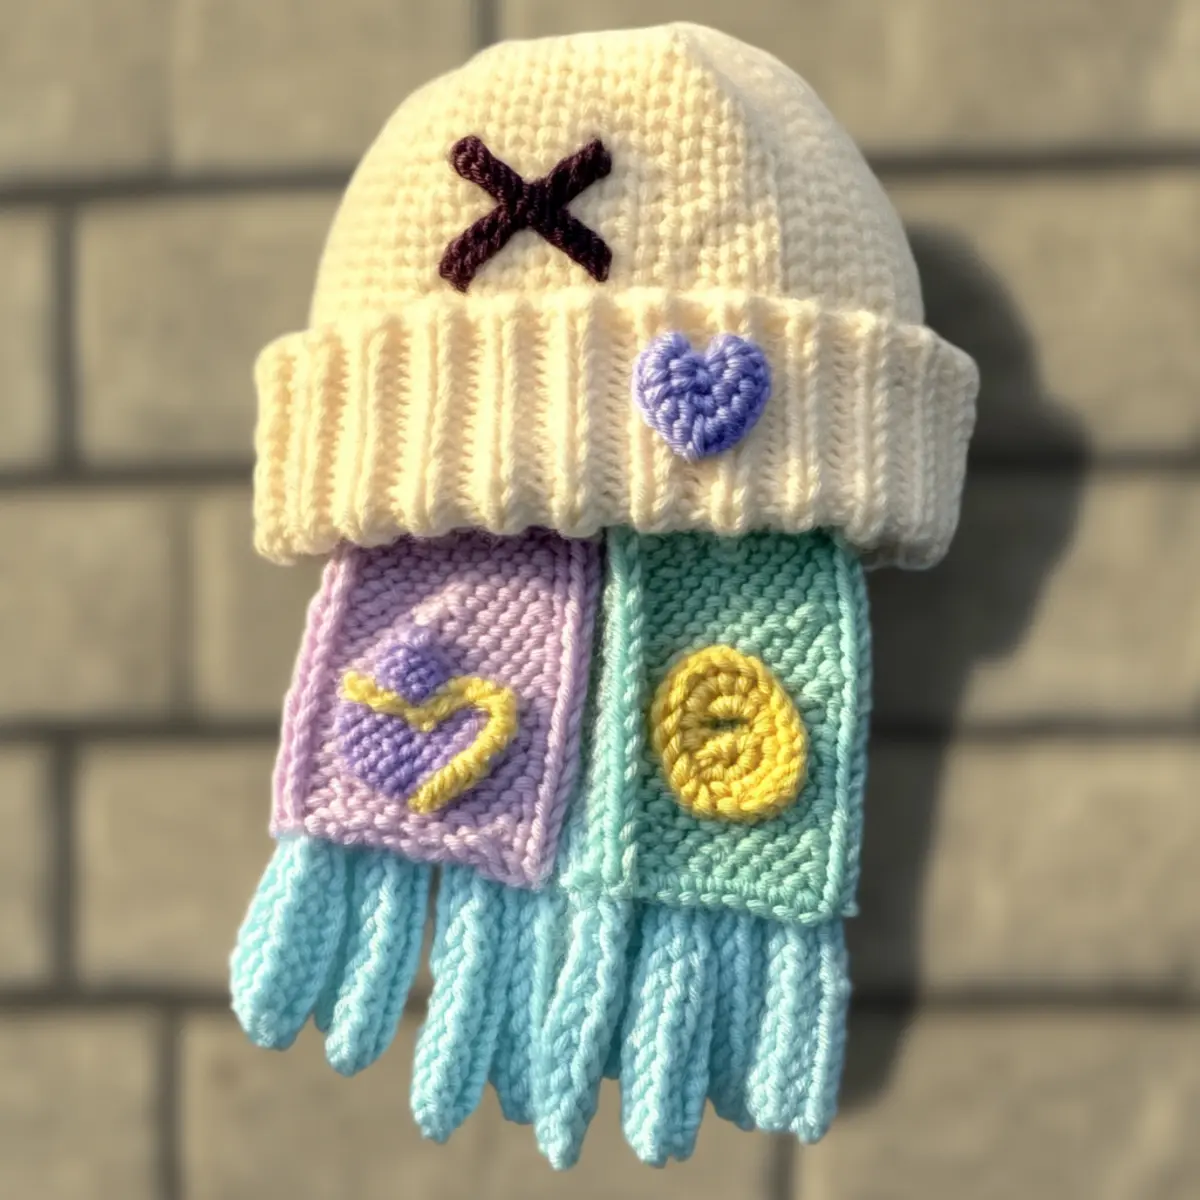
Crochet Hat and Scarf Materials & Tools
Yarn
Medium-weight yarn – A good choice is a mix of acrylic and cotton for softness and warmth as the main ingredient for the crochet hat and scarf.
Color Palette – Choose pastel tones for a subtle look or bold colors for a striking statement.
Tools & Notions
5.0 mm (H-8 US letter) hook – This hooks provides the perfect tension for your crochet hat and scarf.
Embroidery thread – Use this to embellish and personalize your creations.
Buttons or safety pins – Great for adding additional decorative elements to customize your hat and scarf set.
Stitch marker – Essential for tracking your rounds in the hat, maintaining shape and structure throughout the project.
Blocking board – Consider using this to enhance the final texture and defined stitch patterns, creating a polished look.
Why You’ll Love This Pattern
Crafting this whimsical hat and scarf set offers you the chance to showcase your creativity and comfort. Simplicity is at the forefront of this design, making it approachable for everyone, even if you’re just beginning your crochet journey. Texture plays a major role, with double crochet clusters that create a lovely visual depth. Plus, it’s highly stash-friendly—perfect for using up leftover yarn! You can easily adapt it by incorporating personalized embroidery for added flair. The scarf can be both a cozy accessory and a unique canvas for creative expression. Each piece is made to be cozy yet stylish, fulfilling a dual purpose in your wardrobe. With its aesthetic appeal and versatility, you’ll find yourself reaching for this set time and again, whether you’re dressing up for an occasion or enjoying a casual day out.
Gauge & Sizing Notes – Crochet Hat and Scarf
When creating your crochet hat and scarf, checking tension is critical to ensure a perfect fit and look. Aim for a standard 4×4 inch (10×10 cm) gauge swatch that contains approximately 12 dc stitches across. If your tension is too loose, consider using a smaller hook size or adjusting your chain/round count to maintain the desired dimensions. Conversely, if your swatch feels too tight, switch to a larger hook while paying close attention to how it affects the overall drape of your finished pieces. The ideal dimensions for the completed set should fall between 20-24 inches for the scarf length and 9-10 inches in height for the hat, ensuring cozy warmth while allowing for versatility in styling. Don’t hesitate to customize and modify as needed to align with your personal size preferences, making the crochet hat and scarf uniquely yours!
Step-by-Step Pattern for Crochet Hat and Scarf
Row 1: Create the Magic Circle
Start by creating a magic circle. Make sure it’s large enough to accommodate the initial stitches, and secure it to begin your whimsical crochet hat. (1 circle)
Row 2: Form the Crown with Single Crochet
Chain 1 and work 12 single crochet (sc) into the magic circle. Pull the circle tight and slip stitch into the first sc to close the round, ensuring a solid base for your crochet hat. (12 sc)
Row 3: Increase for Height
Chain 2 and work 2 double crochet (dc) into each sc around. This will give your hat the perfect initial height and a lovely lift for the crown. Remember to keep track of your rounds with a stitch marker! (24 dc)
Row 4: Continue Building the Crown
In this round, work one dc in the first stitch and 2 dc in the next, repeating this pattern around. By alternating increases, you’ll create a beautifully shaped crown that sits well on your head. (36 dc)
Row 5: Maintain the Crown Shape
For the next row, work one dc in each stitch around. This builds height while keeping the crown snug and consistently shaped. This effortless stitch keeps the flow of your crochet hat going strong. (36 dc)
Row 6: Transition to Ribbing
Chain 2 and work a hdc in the first stitch. Continue with hdc in each stitch around. This will form the ribbing that helps the hat fit comfortably on your head with a snuggly feel. (36 hdc)
Row 7: Final Ribbing Round
For added texture, work 2 hdc in the first stitch, then one hdc in the next 4 stitches, repeating this until the end. Creating this ribbing adds depth and style to your crochet hat. (44 hdc)
Row 8: Complete the Hat
Sl st to the top of the first hdc to finish the crochet hat. Be sure to weave in any ends for a neat finish. Now your whimsical hat is ready to make its debut alongside your matching scarf! (1 finished hat)
Row 9: Start the Scarf Base
To begin the scarf, create a foundation chain of 30 stitches in your chosen mint green color. Make sure your chain is relaxed to maintain proper tension. This sets the stage to crochet a multi-colored scarf that pairs perfectly with the hat. (30 ch)
Row 10: First Row of Scarf
Work sc across the foundation chain. This creates the initial texture of the scarf, creating a lovely flat surface for subsequent rows of fun stitches. Don’t forget to adjust as necessary for length! (30 sc)
Row 11: Add Extra Texture
In the next row, work 2 dc clusters into every fifth stitch. This cluster stitch creates a unique texture that contrasts beautifully with the sc base, making your whimsical scarf truly stand out. (6 clusters)
Row 12: Color Transition & Repeat
Switch to lilac and chain 1, then repeat the sc across the row. Continue alternating colors and stitches as you feel inspired, working back and forth until the desired length of the scarf is reached. (30 sc)
Row 13: Final Touches
Once your scarf is the desired length, fasten off and assemble all the pieces together while utilizing surface crochet or embroidery for embellishments. Add flair with vibrant patches or motifs for a truly personalized scarf. (1 completed scarf)
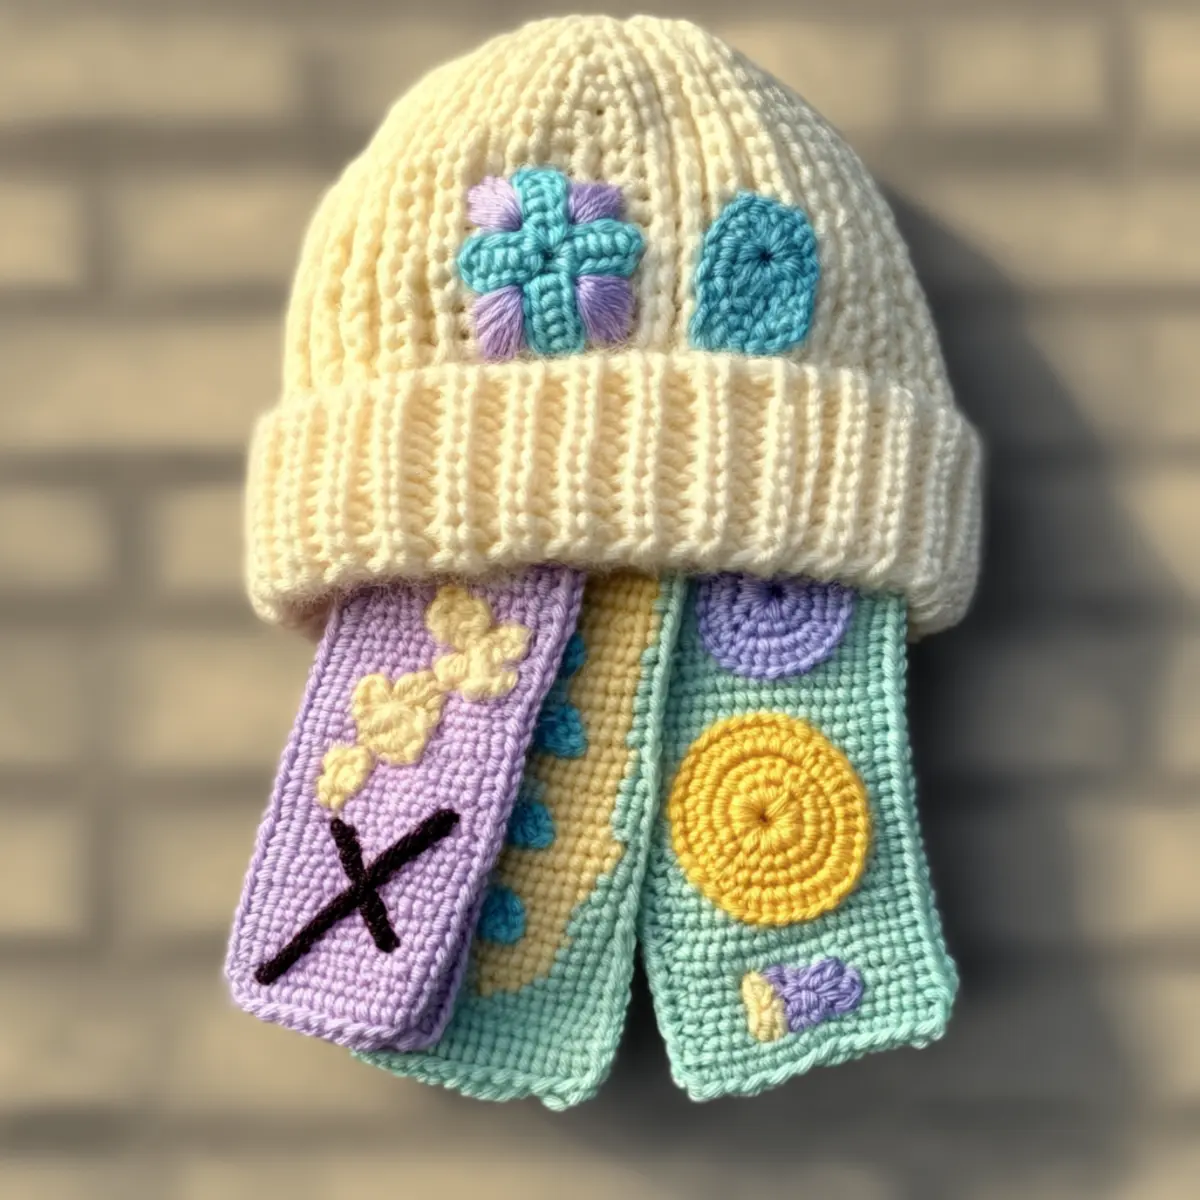
Tips for the Best Crochet Hat and Scarf
Track Your Stitches: Use a stitch marker to keep track of your rounds, especially while crafting the hat. You’ll avoid confusion and keep proper shaping.
Maintain Tension: Consistent tension is key! Prevent distortion in your project by maintaining a steady grip and yarn handling throughout.
Avoid Twisted Chains: Always check for twists after creating your foundation chain to avoid an awkward base, especially in your scarf.
Practice Color Changes: When changing yarn colors, plan your transition for the scarf. A neat switch enhances the playful look of your crochet hat and scarf.
Embellish Cautiously: When adding embroidery, keep it balanced and proportional so that it enhances rather than overwhelms the design.
Finish Neatly: Weaving in ends carefully ensures a polished look. A tidy finish makes a big difference in your final piece, elevating the whole set.
crochet hat and scarf
Feel free to make this crochet project your own with these fun variations!
- Color Blocks: Experiment with vibrant color blocks instead of single shades for a lively effect.
- Texture Play: Swap in textured yarns like boucle or chenille to elevate the tactile experience.
- Size Adjustments: Alter the dimensions by changing hook sizes, perfect for kids or a snugger fit.
- Alternative Fibers: Use bamboo or alpaca fibers for a luxurious feel that works in any season.
- Embroidered Patterns: Add personalized designs or initials with embroidery thread to boost individuality.
To create a truly unique vibe, consider combining the texture from your favorite yarn with personalized motifs. Using combinations of chunky wool for the hat and a lighter cotton blend for the scarf can give stunning contrast, making it eye-catching and cuddly all at once. You can find more inspiration on how to incorporate different stitches in this guide for texture variations.
- Ribbed Patterns: Change the final round of the hat to a simpler ribbed pattern by alternating knit stitches.
- Fringe Scarf Ends: Add playful fringes to your scarf’s edges, which will give it a fun, bohemian flair.
- Cap Style: Adjust the hat to a beanie-style by shortening the ribbing and modifying the body structure. This can be a youth-friendly update, so it appeals to a wider audience!
- Seasonal Colors: Play with seasonal palettes, like deep reds for winter or bright greens for spring, to match different occasions while using the same pattern. Check out our seasonal color combinations for more ideas.
How to Wash and Care for Your Crochet Hat and Scarf
Machine Washing: Use a gentle wash cycle on cold and avoid agitation to protect your crochet hat and scarf from damage.
Hand Washing: For delicate care, fill a basin with lukewarm water and mild detergent. Submerge, gently agitate, then rinse without twisting.
Drying: Always lay your crochet hat and scarf flat to dry. Avoid hanging, as this can distort their shapes.
Blocking: Consider blocking after washing to refresh the stitch definition and enhance texture. This step is essential for maintaining shape and beauty.
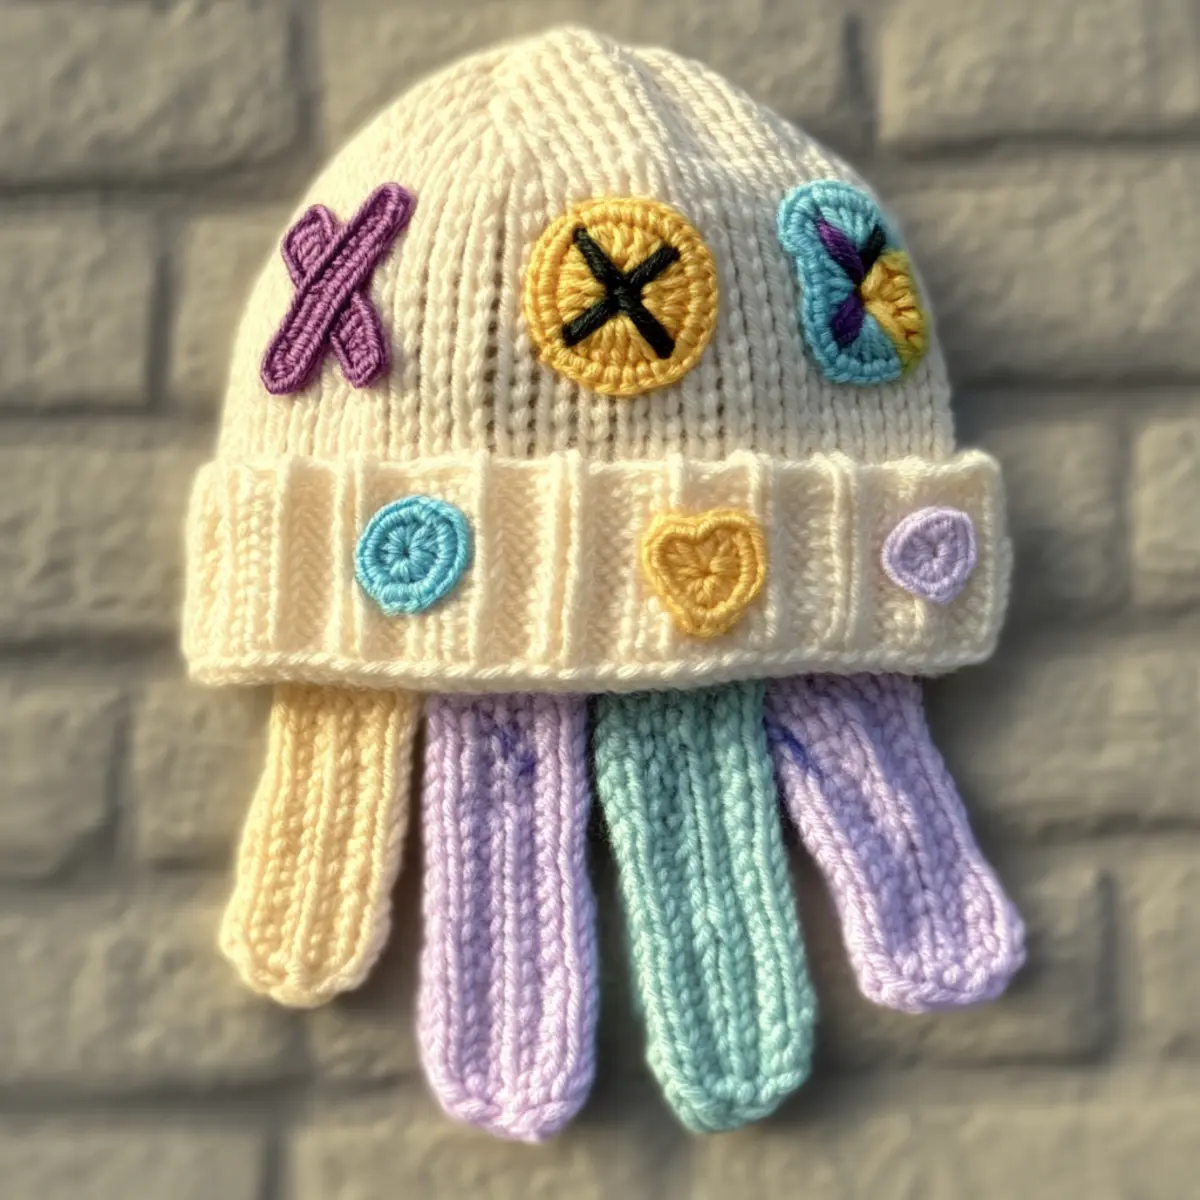
Crochet Hat and Scarf FAQs
What yarn can I substitute?
Absolutely! You can substitute with any medium-weight yarn. If you prefer more warmth, opt for wool or a wool blend; for cooler climates, a cotton blend can be great as well.
How can I adjust the hat size?
For a tighter or looser fit, you can adjust the hook size. Using a larger hook will result in looser stitches, while a smaller hook will tighten your fabric, ensuring a better fit.
What should I do about dropped stitches?
Don’t panic! If you find a dropped stitch, simply take the time to crochet back to it and fix it with a finishing stitch. It’s an easy fix that keeps the look intact.
Why is my scarf curling?
Curling often happens due to inconsistent stitch tension or a lack of proper blocking. After finishing, try blocking your scarf to flatten it out and give it a polished edge.
How do I pick the right hook size?
Using a 5.0 mm (H-8 US letter) hook is usually ideal for a medium yarn. However, if your tension is off and the fabric is too tight or loose, consider adjusting the hook size accordingly.
Can I use different colors?
Absolutely! Feel free to mix and match any colors you love. Pastel and bold primary colors can both produce beautiful outcomes, so experiment based on your personal style!
Leave a Reply