
As I dove into my crochet corner one sunny afternoon, a vibrant idea sparked – how delightful would it be to create adorable ‘Cute Fruit Turtles’? This whimsical project merges the joy of crochet with the charm of playful fruit designs. With soft plush textures, these crochet fruit turtles offer the perfect snug companion for both children and adults. They’re not just quick to whip up but are also stash-busters, allowing you to utilize leftover yarn in a creative and fulfilling way. The best part? You get to indulge in a colorful world of creativity, from watermelon shells to citrus-inspired hues. Plus, as a beginner-friendly project, you’ll gain confidence in your crochet skills while crafting something so cuddly and charming! I can’t help but wonder how these turtles will add a splash of joy to your home or gift-giving adventures.
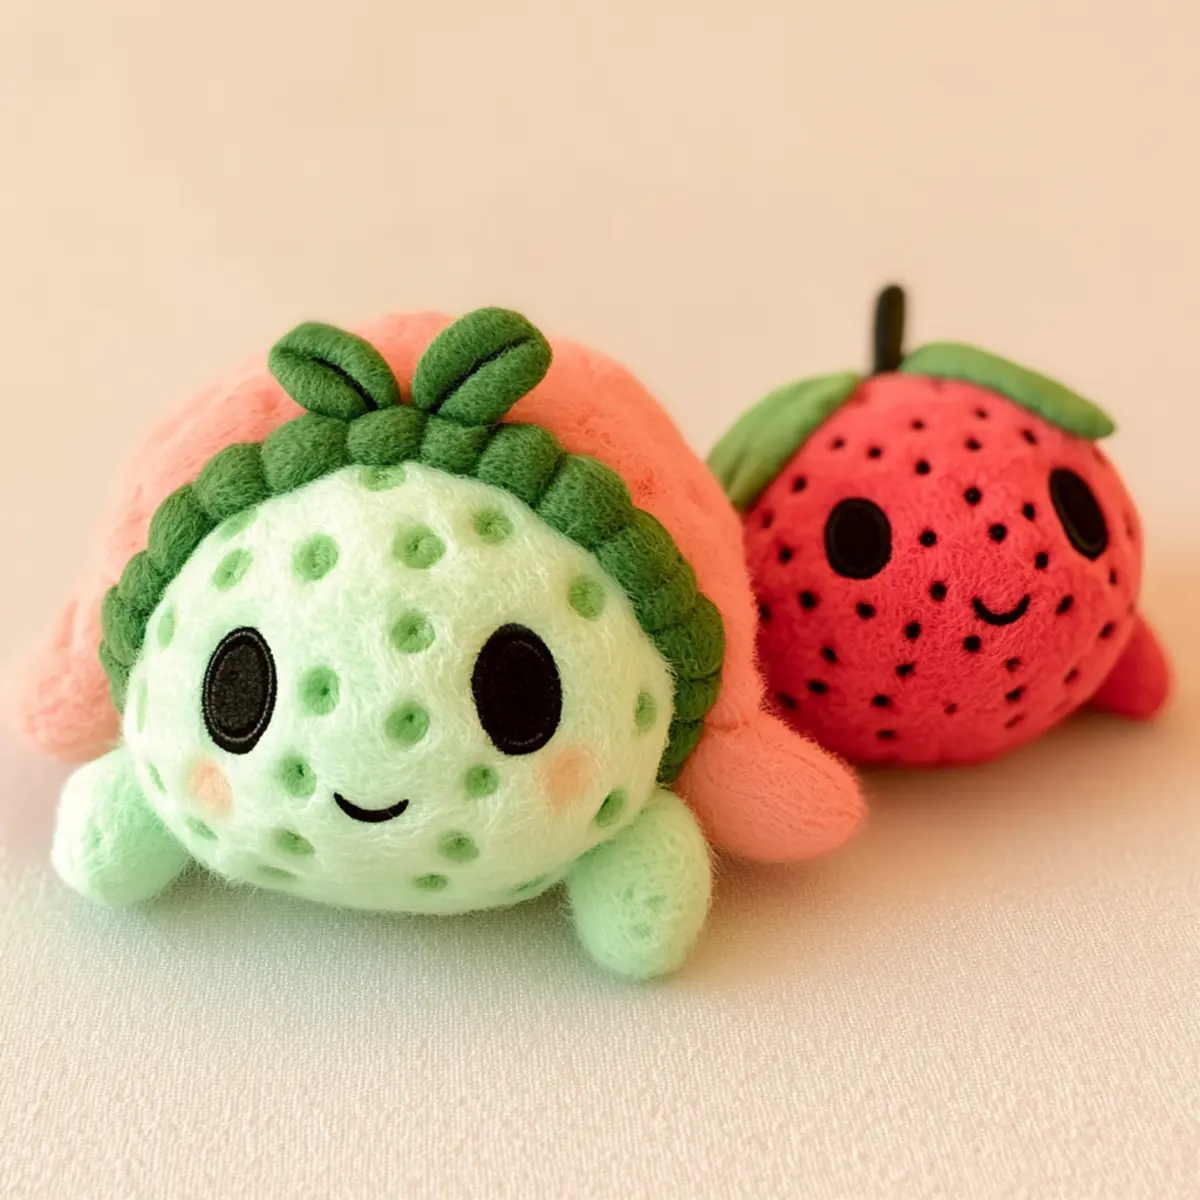
Crochet Fruit Turtles Materials & Tools
Yarn
- Plush Chenille Yarn – About 200-300 yards for a cozy, soft finish. Choose vibrant colors to bring your turtles to life.
- Medium Weight Yarn (Category 4) – Great for structuring a durable toy with a snug feel.
Tools & Notions
- 4.5 mm Crochet Hook – Ideal for creating tight stitches with plush yarn that gives the turtles their shape.
- Safety Eyes (8-10 mm) – Add personality to each turtle and ensure they’re safe for little hands.
- Yarn Needle – Helpful for assembling all the pieces securely, ensuring your turtles stay intact during play.
- Polyester Stuffing – Essential for achieving that soft, squishy texture kids will love to hug. Make sure to use enough for a plush finish!
Why You’ll Love This Pattern
Gauge & Sizing Notes for Crochet Fruit Turtles
When crafting your crochet fruit turtles, checking tension is vital for maintaining the plush charm and ensuring uniformity across each piece. Aim for a standard 4×4 inch (10×10 cm) gauge of 12 sc by 14 rows with your chosen plush yarn. If your swatch doesn’t match, adjust your hook size – going up for looser stitches or down for tighter ones. To resize, simply modify your starting chain or rounds; for larger turtles, increase your overall stitch count. Crafting these crochet fruit turtles should yield charming results at 6-8 inches each, ideal for decorative purposes or cuddly companions. The key is adjusting the yarn weight or hook size as needed to maintain the cuddly feel while also creating a delightful range of turtle sizes that fit your design vision perfectly!
Step-by-Step Pattern for Crochet Fruit Turtles
Row 1: Start with Magic Ring
To begin, create a magic ring (MIR) and chain 1. Work 6 single crochets (sc) into the ring, pull the ring tight to secure the stitches. (6 sc)
Row 2: Increase Round
In the next round, make 2 sc in each stitch around to shape the head. This will help form a rounded head; you should have 12 stitches by the end. (12 sc)
Row 3: Continue Increasing
For this round, make 1 sc in the first stitch, then 2 sc in the next. Repeat around to create a fuller shape. Make sure to keep the tension consistent. (18 sc)
Row 4: Shape Head Further
Continue to work by placing 1 sc in each of the first 2 stitches, then 2 sc in the next. Keep increasing to maintain the turtle’s head shape. You’ll end with 24 stitches. (24 sc)
Row 5: Complete the Head
Now, work 1 sc in each stitch without increasing. This creates a solid head shape. Maintain tight stitches and check for even tension. (24 sc)
Row 6: Begin the Body
Switch to the body now. Use a new MIR and do 6 sc. Pull tight to start forming the bottom of your turtle. (6 sc)
Row 7: Increase Body
Just like the head, you will make 2 sc in each stitch, giving you a soft base for the turtle’s body. (12 sc)
Row 8: Shape Turtle Shell
Continue by placing 1 sc in the first stitch, then increase in the next. Repeat for a more rounded shell that can hold stuffing well. (18 sc)
Row 9: Complete Body Base
In this round, sc in each stitch for the entire round, making sure to fill in solidly. This is the base of your plush fruit turtle. (18 sc)
Row 10: Create Shell Top
To make the turtle’s shell, start a new MIR and do 6 sc. This will maintain its dome shape. Remember to keep the stitches tight. (6 sc)
Row 11: Increase Shell
Similar to other parts, do 2 sc in each for the first round of shell formation. You should have a total of 12 stitches at the end. (12 sc)
Row 12: Form Shell Shape
Continue increasing by sc in the first stitch, and make 2 sc in the second. This will help create the rounded look that’s so essential to a turtle shell. (18 sc)
Row 13: Complete Shell
Now finish by sc in all remaining stitches. This should create a sturdy top shell for your cute fruit turtle. (18 sc)
Row 14: Attach Limbs
With all parts ready, use a whip stitch to securely attach limbs to the body. Take care to keep them evenly spaced for a balanced look. Arm and foot proportions should be cute and cuddly.
Row 15: Assemble All Pieces
Finally, gather all pieces: head, body, shell, and limbs, and stitch them together. Fill them with plenty of polyester stuffing to achieve that soft, squishy effect. Check the stability of all seams, making sure they’re tight and secure. Use safety eyes to finish and give personality to your crochet fruit turtle.
Row 16: Final Touches
Once assembled, check for any loose threads and trim if necessary. Add embellishments like color variations on shells for added charm. Experiment with textures and colors to create your unique crochet fruit turtles. You’re now ready to gift or decorate your space with these adorable creations!
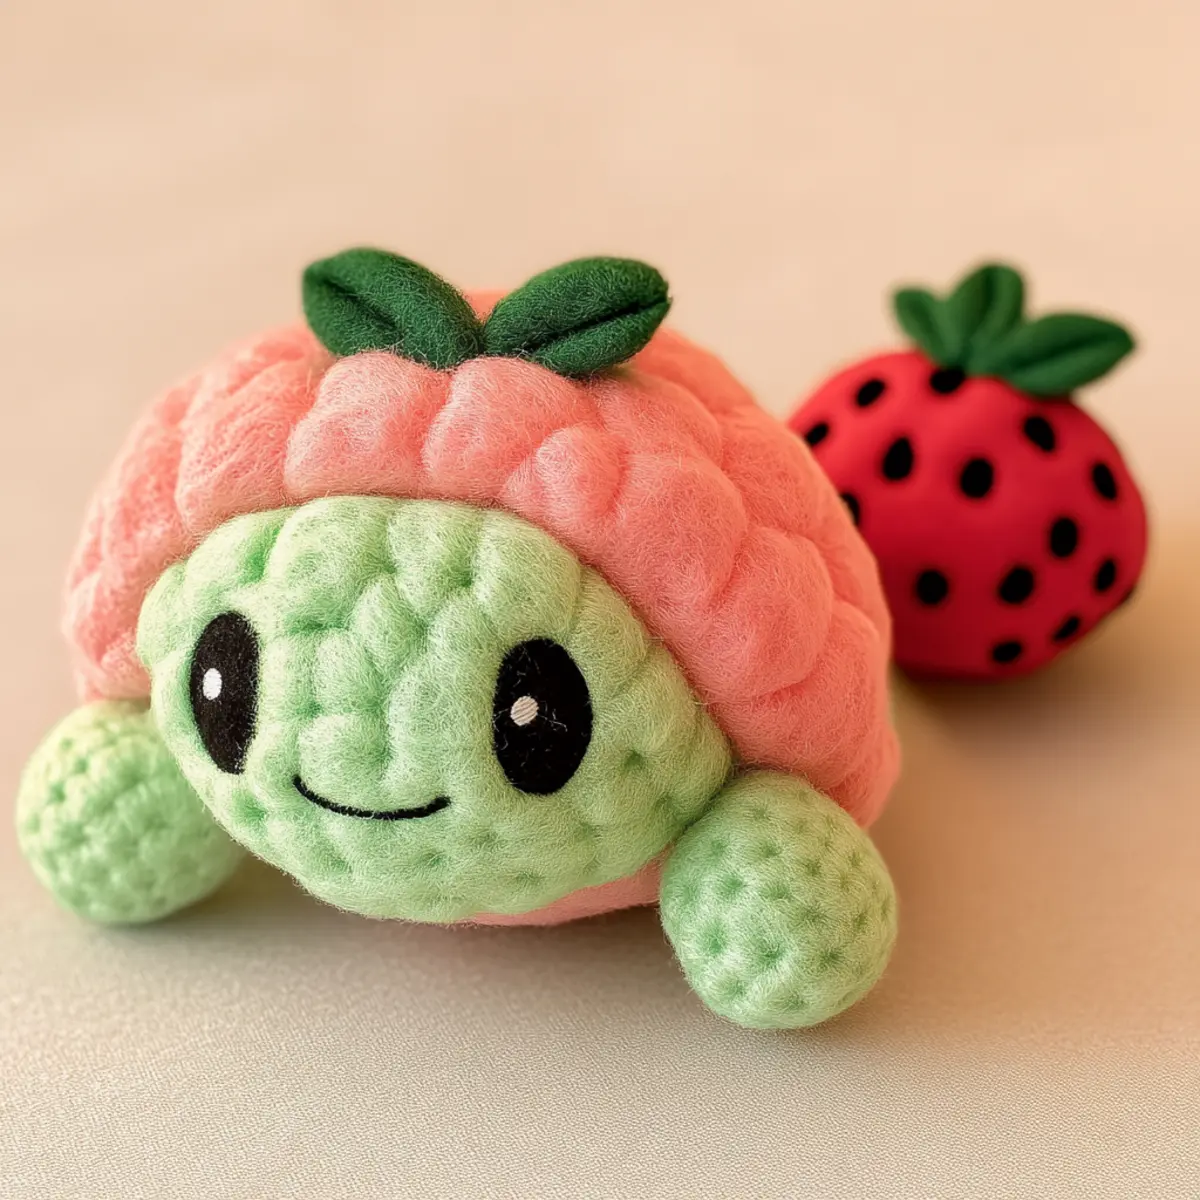
Tips for the Best Crochet Fruit Turtles
Consistent Tension: Keeping your tension consistent is crucial. This ensures that your plush turtles turn out uniformly, avoiding stretched or tight areas.
Secure Assembly: When attaching limbs, use a whip stitch for a strong hold. This keeps seams tidy and maintains the softness of the plush yarn.
Avoiding Dropped Stitches: Stay focused on your stitch count to prevent dropped stitches. If you lose track, count your stitches periodically to stay on course.
Twisted Chains: To prevent a twisted foundation chain, chain loosely and place a stitch marker at the beginning. This helps you maintain a straight line for your rounds.
Blocking Techniques: Blocking isn’t essential with plush yarn, but ensure proper stuffing for shape. Focus on achieving a smooth, rounded finish as you stuff.
Experiment with Colors: Try different color combinations for your turtles’ shells and limbs. Playful color mixing increases creativity and adds character to each creation.
Crochet Fruit Turtles Variations
Feel free to customize your adorable fruit turtles for a unique twist!
- Cotton Yarn: Use cotton instead of plush for a firmer finish, making it suitable for decorative purposes.
- Color-Blocking: Experiment with contrasting colors on shells and limbs, creating vibrant fruit combinations like orange and lime.
- Larger Sizes: Increase the yarn weight and hook size for bigger turtles, perfect for larger toys or decorative accents.
- Embellishments: Add bows or different textures to the shells for a playful and personalized touch!
- Animal Eyes: Swap safety eyes for embroidered features to enhance the whimsical vibe, ensuring they remain safe for kids.
You can also explore unique designs, like making a family of turtles in varying sizes or colors. This can provide an engaging way to use up leftover yarn while enhancing your crochet skills. By utilizing various yarn types, you can create a contrasting collection, such as a cotton turtle paired with fluffy chenille turtles. Unlock your creativity in this playful project as you dive into the world of crochet fruit turtles!
How to Wash and Care for Your Crochet Fruit Turtles
Machine Washing: If washing by machine, place your turtles in a laundry bag on a gentle cycle with cold water. Avoid bleach to maintain their vibrant colors.
Hand Washing: For safe cleaning, gently hand wash in cold water with mild detergent. Avoid wringing to retain their shape and plushness, and rinse thoroughly.
Drying: Lay the turtles flat on a towel to dry. Do not tumble dry as it may alter their shape and cause the plush yarn to fray. Keep away from direct sunlight.
Storage: Store in a cool, dry place. Ensure that the turtles are completely dry before storing them to prevent any mold or mildew growth.
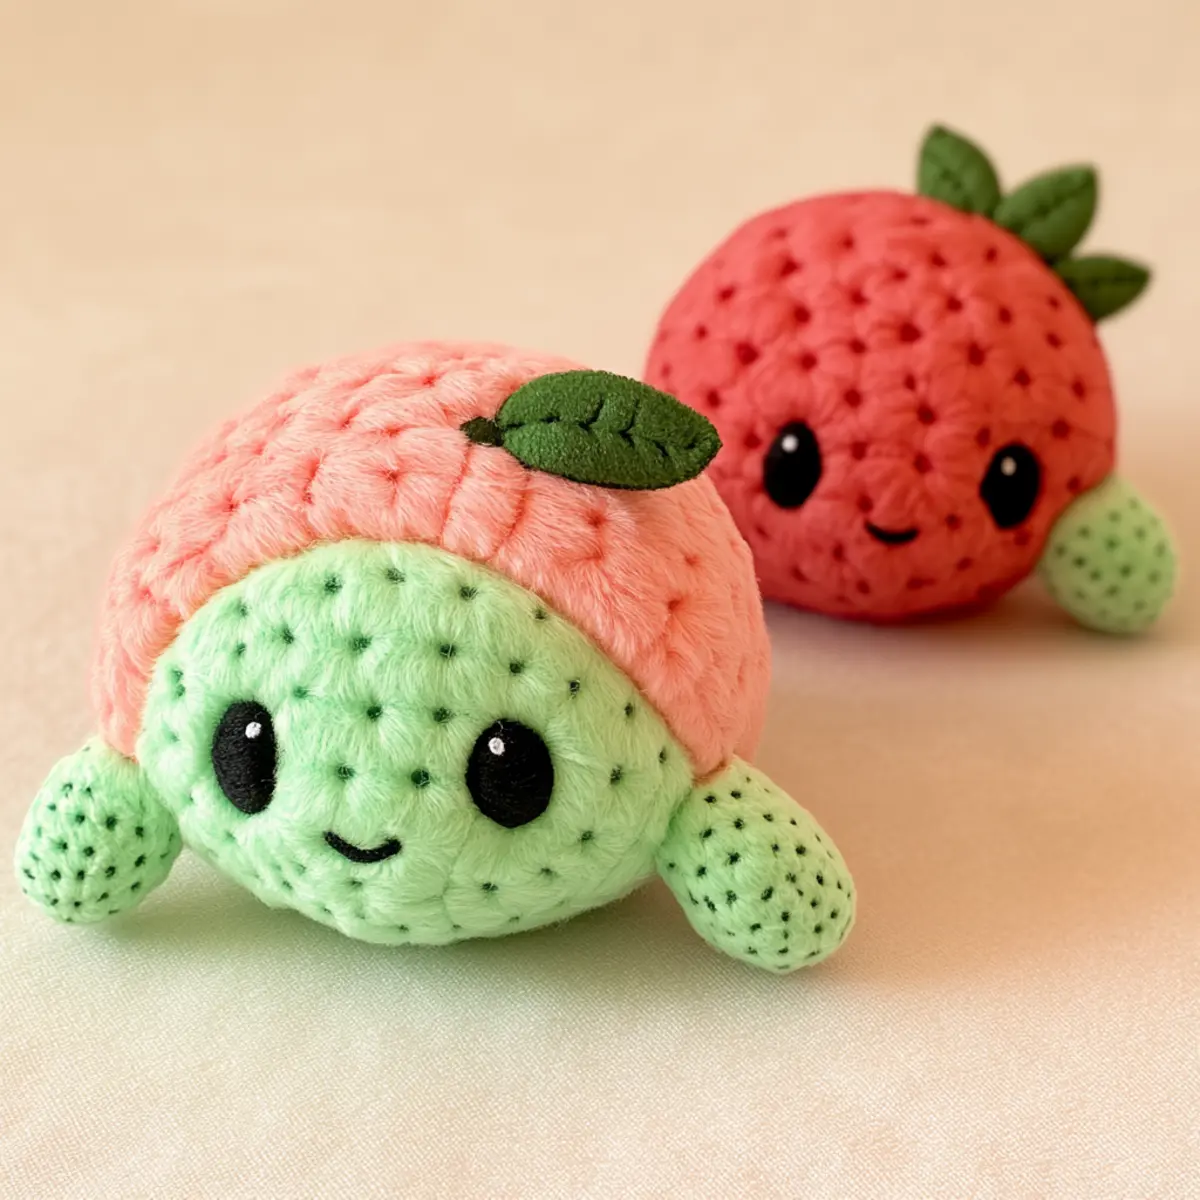
Crochet Fruit Turtles FAQs
Can I substitute the yarn?
Absolutely! While plush chenille is ideal for soft texture, cotton yarn works well too, offering more structure to your turtles without losing their charm.
What if my turtle is curling?
Curling often indicates tight stitches or an inadequate stitch count. Ensure to maintain consistent tension, and double-check your stitch count if this issue occurs.
How can I adjust the size of my turtles?
To resize, simply adjust your yarn weight and hook size. A heavier yarn or larger hook will create bigger turtles, while a lighter yarn will yield smaller ones.
What hook size is recommended for this project?
For plush fruit turtles, a 4.5 mm (US 7) crochet hook is recommended. However, adjusting your hook size based on your yarn choice can help achieve desired tension.
How do I fix dropped stitches?
Don’t panic! If you notice a dropped stitch, simply weave a stitch marker into the last good stitch and gently pick up the dropped one with a crochet hook.
What embellishments can I add to my turtles?
Feel free to get creative! Adding bows, patterns, or color variations on shells can make your turtles even more adorable. It adds personality and uniqueness to each piece.
Leave a Reply