
There’s something mesmerizing about the transformation of simple yarn into a stunning crochet flower pattern, don’t you think? When I first crafted a crochet dahlia flower, I found myself completely enchanted by its intricate layers and realistic texture. This project is not only a quick way to hone your crochet skills but also a delightful stash-buster for those leftover yarn balls. Plus, it’s beginner-friendly, making it perfect for crafters of any skill level wanting to elevate their floral designs. The crochet dahlia can effortlessly serve as a charming home decor piece or a heartfelt gift that symbolizes beauty and creativity. As you embark on this journey of crafting each petal, you’ll discover the joy of watching your unique flower bloom right before your very eyes. Curious to unveil the secrets behind this elegant texture?
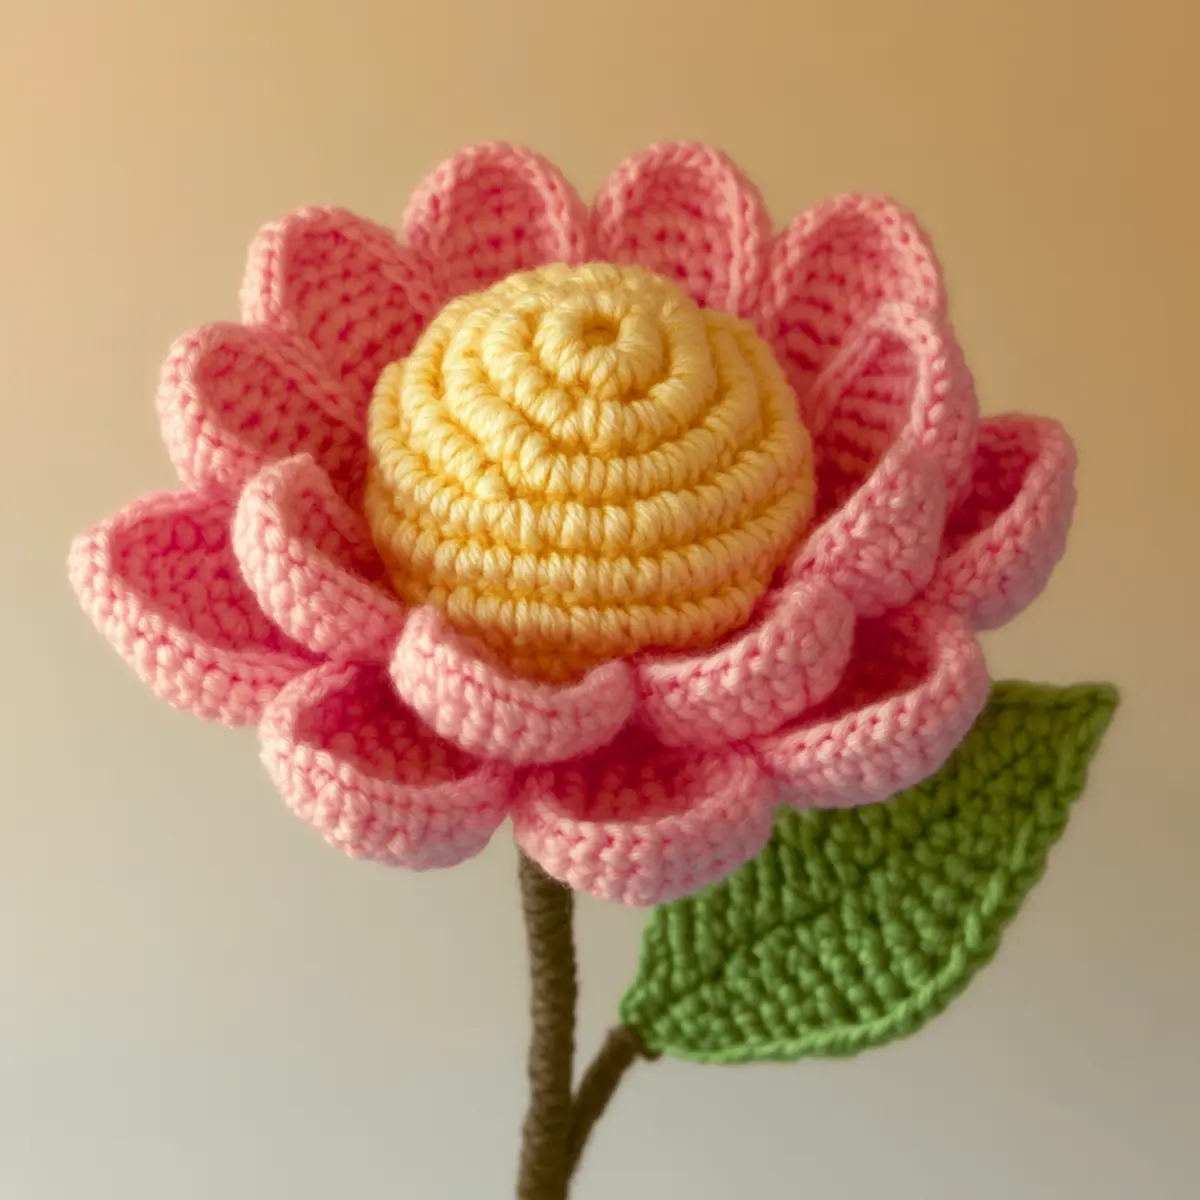
Crochet Flower Pattern Materials & Tools
Yarn
- Medium (Worsted Weight) – Aim for 150-200 yards total, using any soft yarn blends for the crocheted dahlia to maintain that lovely plush texture.
- Cotton or Acrylic Blend – A cotton blend can give your flowers a nice drape, while an acrylic yarn holds its shape beautifully.
Tools & Notions
- 5.0 mm (H-8) – This hook is perfect for achieving the right tension and layered look in the flower petals.
- Floral Wire – Use this for added stability in your flower’s stem, ensuring it stands tall and proud.
- Green Fabric – Cut this for leaves; it complements the flower design beautifully allowing for a fuller appearance.
Feel free to experiment with different colors and textures in your crochet flower pattern to create unique pieces that stand out!
What Makes This Crochet Flower Pattern Special?
Each stitch you make in this crochet flower pattern brings it to life with amazing texture and fullness. Simplicity is key; with straightforward techniques, you can create this beautiful flower in no time! Additionally, this pattern is incredibly stash-friendly; you can use up those leftover yarn scraps while creating something meaningful. The customizability factor is delightful; change the yarn colors to create a completely different vibe, whether you prefer cheerful yellows or deep reds. You may also want to explore the world of crochet flowers, by checking out our other floral projects such as the lovely crochet rose pattern. Aesthetic appeal plays a significant role as well; the dahlia’s layered petals are not just lifelike but also add a touch of nature indoors, making it a stunning decor piece. Finally, you’ll find it time-saving; with the right techniques, you’ll whip up multiple blooms to elevate your crafting stash.
Gauge & Sizing Notes for Crochet Flower Pattern
Checking your tension is essential when working on this crochet flower pattern, as it ensures that the dahlia turns out as intended in both size and shape. The recommended gauge is 4×4 inches (10×10 cm) equals 10 dc and 12 rows. If your swatch doesn’t match this gauge, adjust as needed: use a larger hook for looser stitches, or a smaller hook for tighter stitches. To resize the dahlia, modify your starting chain or the number of rounds accordingly; for a petite flower, reduce your chain, or for a grand piece, increase accordingly. Keep a consistent tension while crocheting the petals—this not only affects the aesthetics but can also lead to uniformity throughout your projects. Experiment with different yarn colors and textures, but remember, each yarn handle may behave differently in your crochet flower pattern, so choose what feels right to you!
Step-by-Step Pattern for Crochet Flower Pattern
Row 1: Create the Center
Using yellow yarn, make a magic ring and ch 3. Work in the ring: 10 dc, then pull tight to close the ring. Slip stitch into the top of the starting ch (10 dc).
Row 2: Build the Base
Ch 2, hdc in the same stitch, then 2 hdc in each of the next 10 stitches. Slip stitch to close the round, forming a sturdy base (20 hdc).
Round 3: Petal Preparation
Ch 4, dc in the same stitch, then ch 2, sl st to the next stitch around. Slip stitch into the top of the ch 4 to finish, creating a foundation for the petals (10 petals total).
Round 4: First Petal Layer
Attach pink yarn to any ch space and ch 2. In the same space, work 2 dc, 2 tr, and 2 dc. Skip a space, sl st in the next space; repeat around (10 petals formed).
Round 5: Second Petal Layer
Repeat Round 4 but this time work into the back loops of each previously made stitch. This gives petals a defined shape. Slip stitch to end the round after the last petal (20 total).
Round 6: Petal Texture
For added texture, repeat: ch 4 and dc in same space for every second stitch. You should work on making your petals more pronounced; slip stitch to connect (adjust to 10 pronounced petals).
Round 7: Securing Petals
Ensure each petal is securely attached to the center. Miss a stitch and sl st to the next. Gently pull and adjust the petals for a balanced look (your flower now blooms!).
Round 8: Create the Stem
Switch to green yarn, chain 20 to form a long stem. Work a row of sc to strengthen it. Insert floral wire into the stem before you complete it for support (length adjustable based on choice).
Round 9: Forming Leaves
For leaves, chain 10 and work back with a combination of hdc and dc for texture. Attach green fabric to add more depth. Position leaves accordingly on the stem (2 leaves recommended).
Round 10: Final Details
Use contrasting yarn or beads to add a decorative touch to your petals or the center. Block the flower lightly for defined edges and texture enhancement. Consider embellishments for the finishing touch.
Round 11: Display Your Creation
Place your finished crochet dahlia flower in a vase or use it as a decorative piece. Adjust size or shape of the flower while working is key for a more personalized touch (ideal for gifts too).
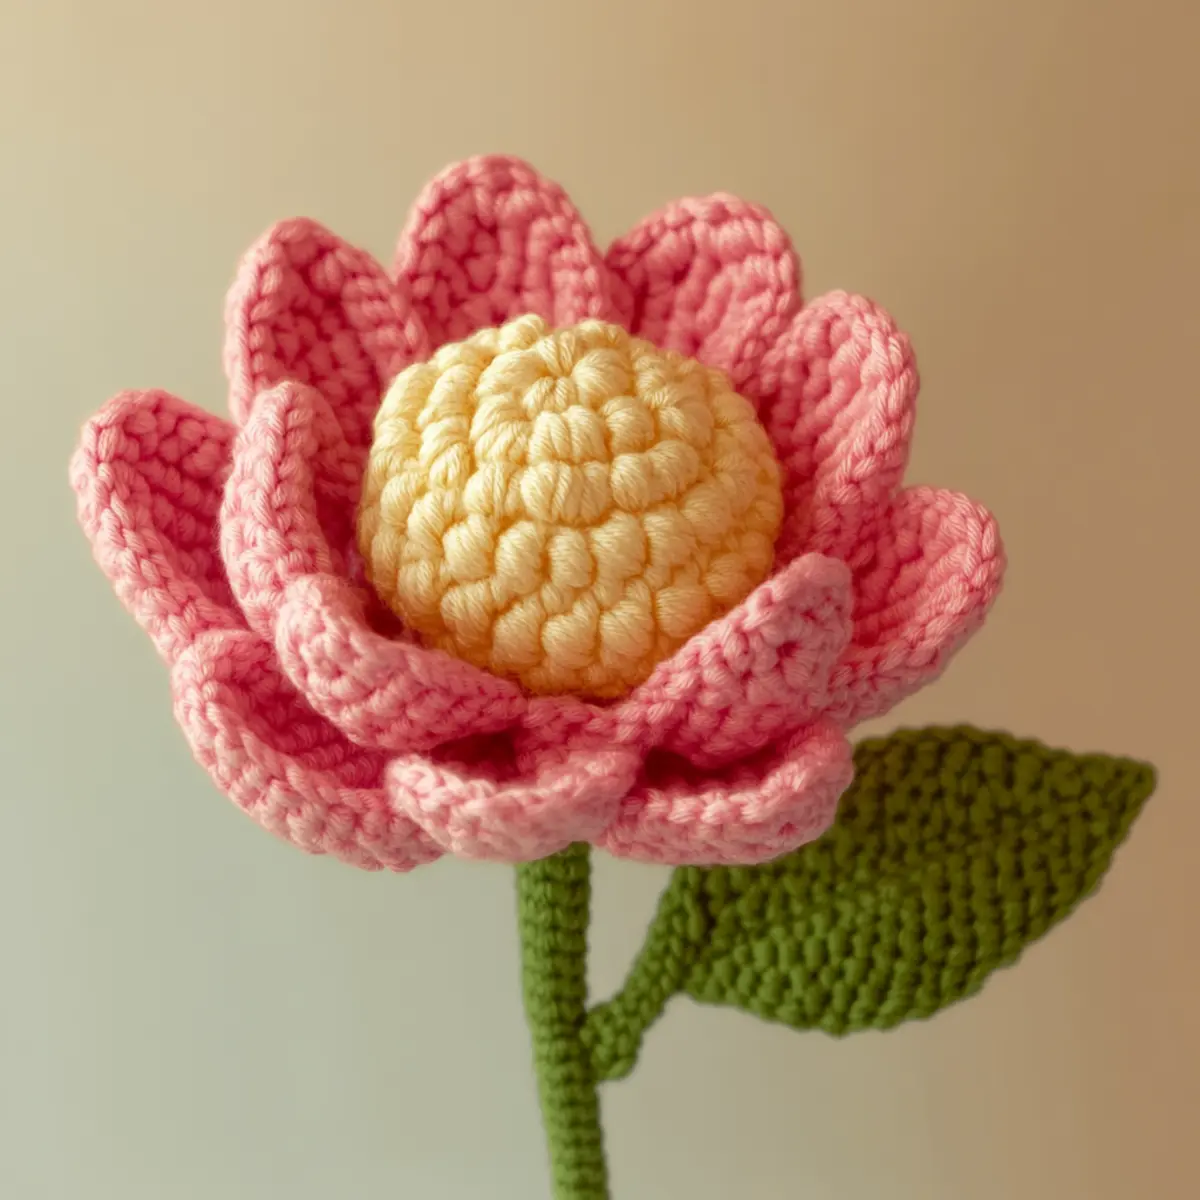
Expert Tips for the Best Crochet Flower Pattern
Track Your Stitches: Use a stitch marker to keep count of your rounds—it’s easy to lose track, especially when working on petals.
Consistent Tension: Maintain even tension throughout to achieve uniform size and shape in your crochet flower, preventing curled edges.
Secure Petals: Ensure each petal is securely attached to the center to create a full, blooming effect in your crochet flower pattern.
Explore Yarn Options: Experiment with different yarn colors and textures to create unique looks; try blends or variegated yarn for added depth.
Block for Definition: Consider blocking your finished flower to enhance the texture and make the layers pop—this final touch is vital for a polished look.
How to Wash and Care for Your Crochet Flower Pattern
Machine Washing: If needed, use a gentle cycle and cold water; avoid agitation to protect the petals’ structure.
Hand Washing: For best results, hand wash in cold water with mild detergent and lay the flower flat to dry completely.
Drying: Always lay flat to dry; reshaping while damp helps retain the flower’s natural form. This is particularly important for crochet flowers.
Storage: Store in a cool, dry place. Avoid direct sunlight to preserve color vibrancy and maintain the integrity of the crochet flower pattern.
Crochet Flower Pattern Variations
Feel free to get creative with your crochet flower pattern! There are several fun variations to explore.
- Color Choices: Try using bold colors like teal or deep orange to create a striking visual impact. This can transform a simple design into a vibrant centerpiece.
- Yarn Blend: Opt for a bamboo and cotton mix to achieve a softer drape that suits delicate arrangements beautifully. This combination offers a lovely sheen that can really pop.
- Texture Techniques: Incorporate shell stitches or bobbles to add depth to the flower petals. Not only does this enhance tactile appeal, but it also elevates the visual complexity.
- Size Variations: Adjust your hook size; using a smaller hook and lighter yarn can yield tiny flowers perfect for embellishing gifts or home decor. On the other hand, larger hooks will create a bolder statement piece.
- Embellishment Ideas: Add sequins or embroidery on the petals for extra sparkle, transforming your crochet flower pattern into a show-stopping creation. Personal touches like this can make an ordinary flower extraordinary.
Consider combining these techniques for a unique version that reflects your personal style. You might even want to explore different crochet projects or yarn options for endless possibilities!
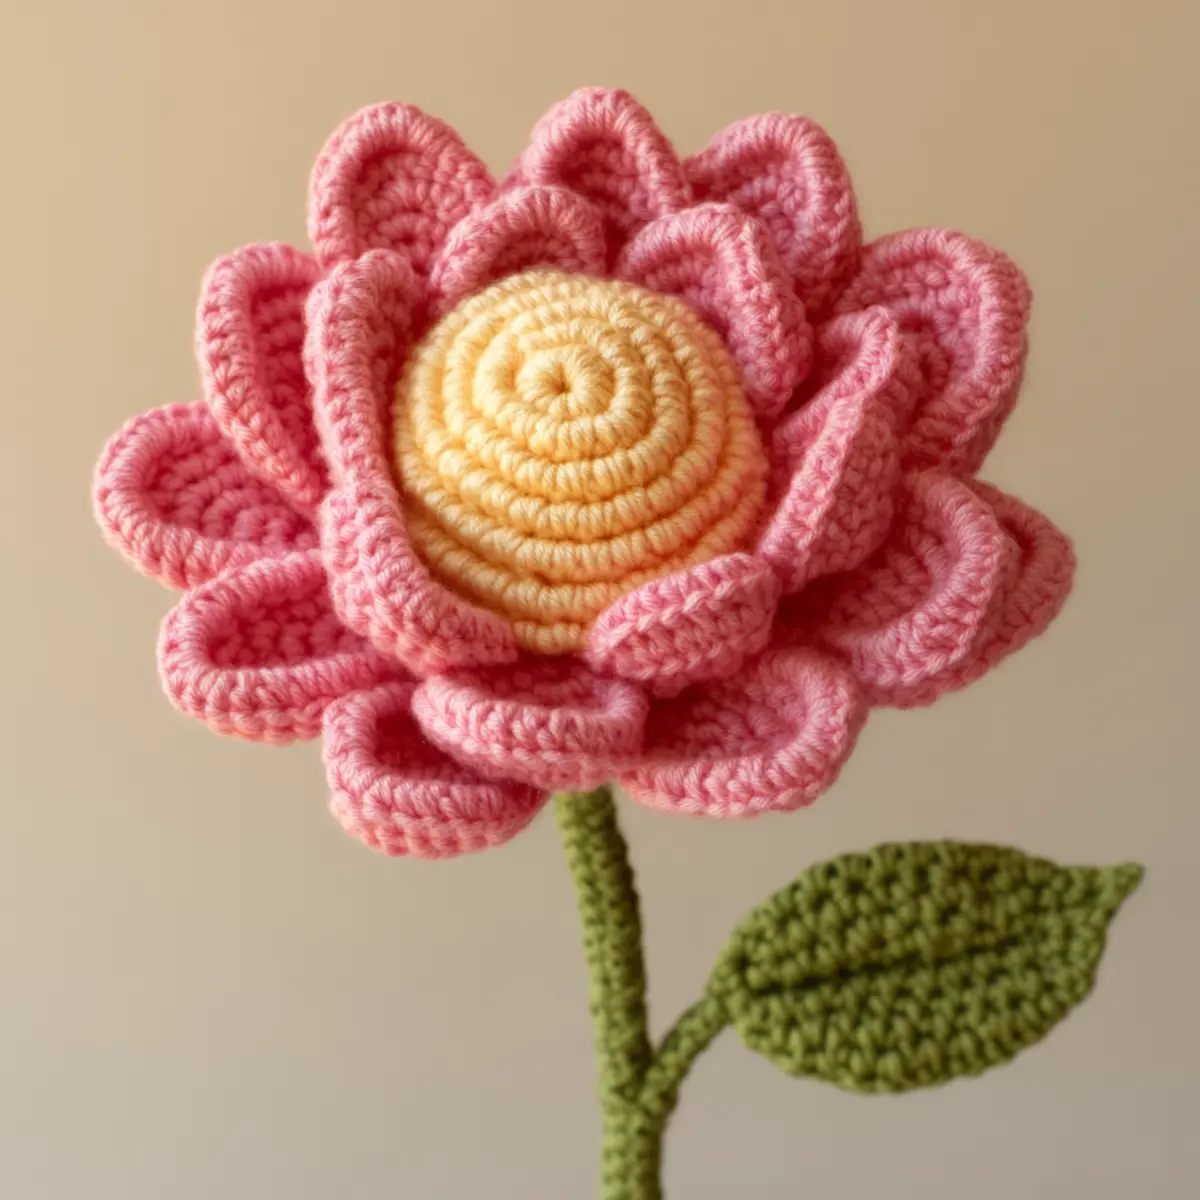
Crochet Flower Pattern FAQs
Can I substitute yarn for this pattern?
Absolutely! While medium worsted weight is recommended, you can use any yarn that provides a similar tension; just adjust your hook size accordingly.
How can I adjust the size of my flower?
Don’t panic! To resize, modify your starting chain or the number of rounds. Use a larger hook or heavier yarn for a bigger flower.
What if my petals curl up?
Curling can occur if tension is too tight. Loosen your grip or use a larger hook. Blocking can also help reshape curled petals.
What hook size should I use?
For this crochet flower pattern, a 5.0 mm (H-8) hook is recommended to maintain proper tension and achieve the layered look of the petals.
What should I do about dropped stitches?
If you notice a dropped stitch, gently pull the yarn back to the last completed stitch and rework it. Always keep an eye on your counts to prevent this issue.
Can I add embellishments to the flower?
Certainly! Adding beads or sequins can enhance the floral design, giving it a personalized touch; just secure them well to prevent any accidents.
Leave a Reply