
As I wrapped my fingers around soft, colorful yarn, a spark of inspiration ignited—a vision of delicate blooms bursting forth in every stitch. The Crochet Flower Granny Square is not just a pattern; it’s an enchanting gateway to creativity that you can weave into shawls, blankets, or even charming home decor. This piece is designed for intermediate crocheters, offering you both a rewarding challenge and the satisfaction of crafting something truly beautiful. You’ll adore the versatility it brings—whether you’re gearing up for cozy fall gatherings or seeking a fresh decorative touch. With the included video tutorial to guide you, you’ll feel confident tackling each step. Let’s dive into this floral journey and transform your yarn stash into something that brightens up your world!
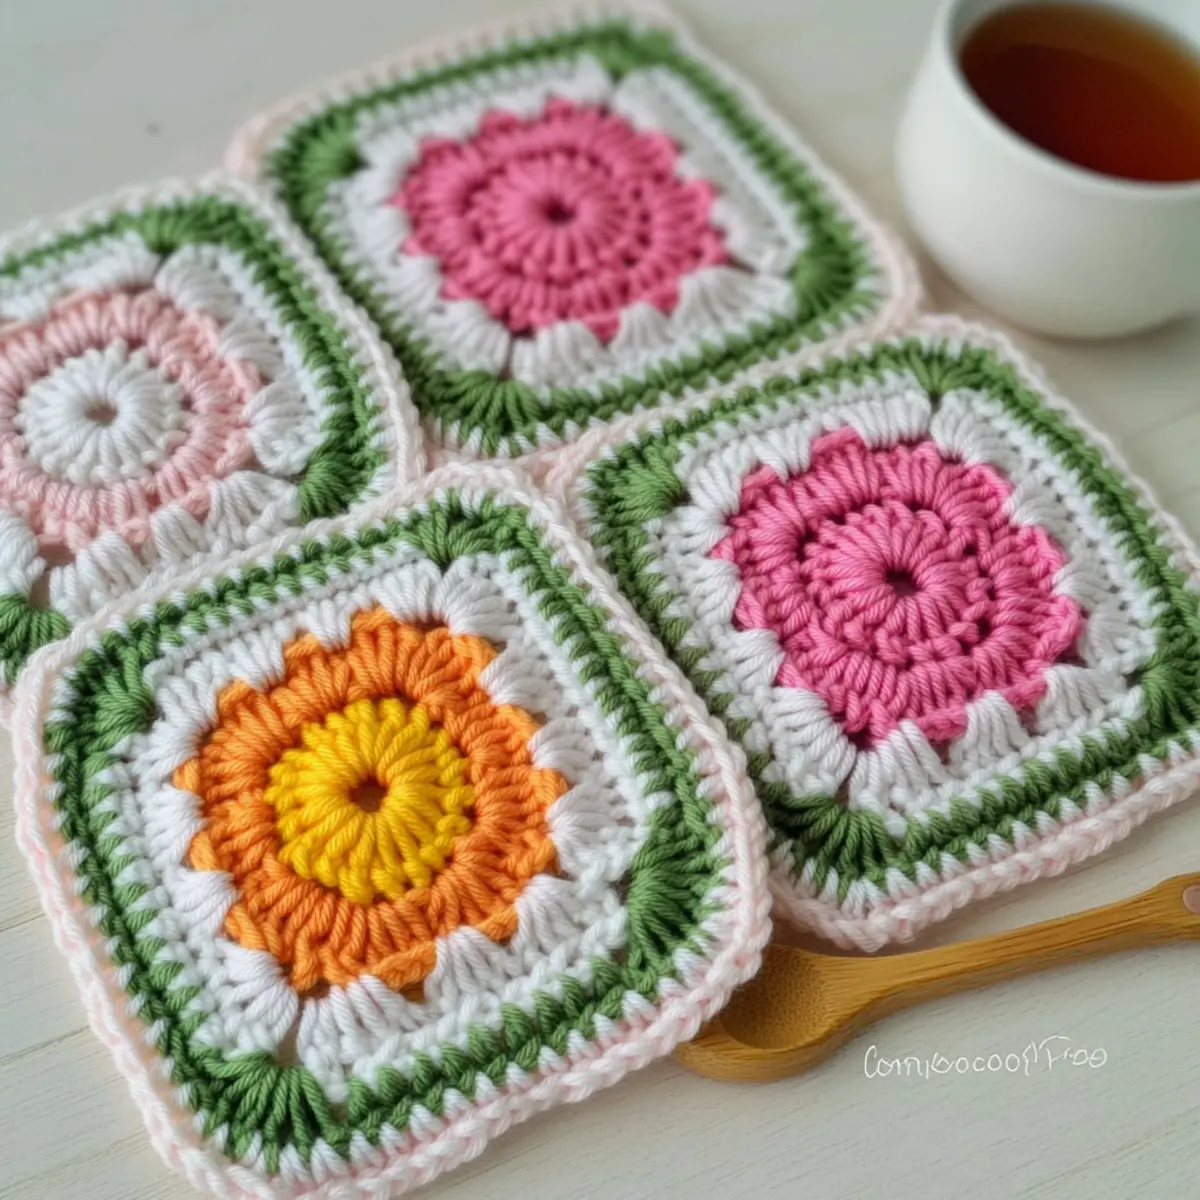
Crochet Flower Granny Square Materials & Tools
Get ready to create a stunning floral masterpiece with these essential supplies!
Yarn
- Red Heart Super Saver (White) – 0.22 oz (20 yds) provides a bright base for your beautiful flowers.
- Red Heart Super Saver (Baby Pink) – 0.11 oz (10 yds) adds a soft touch for delicate petals.
- Red Heart Super Saver (Tea Leaf) – 0.11 oz (10 yds) offers a lovely green for your leaves.
- Red Heart Super Saver (Perfect Pink) – 0.11 oz (10 yds) gives depth with a medium pink hue.
Tools & Notions
- 5.5 mm (I) Hook – This is the perfect size to create those lovely crochet stitches with ease.
- Yarn Needle – Essential for weaving in ends and securing your beautiful flower granny square.
- Scissors – Handy for cutting your yarn to achieve a clean finish!
With these materials in hand, you’re all set to bring the vibrant Crochet Flower Granny Square to life! Happy crafting!
Why is This Square So Special?
Versatile Design: This Crochet Flower Granny Square easily transitions between projects — whether transforming into cozy blankets or charming coasters, its potential is limitless.
Aesthetic Appeal: With its layered flower petals, this square not only looks beautiful but also adds texture and depth to any creation.
Perfect for Seasonal Themes: Customize it with seasonal colors to reflect your personal style and create delightful decorations year-round.
Video Tutorial Available: Fear not, intermediate crocheters! The included video tutorial makes every stitch easier to follow, ensuring you feel supported throughout.
Community Connection: Join fellow crafters in sharing your unique variations of this lovely square—create, learn, and inspire each other!
Say goodbye to mundane projects and embrace the beauty and creativity of the Crochet Flower Granny Square pattern. Happy crocheting!
Gauge & Sizing Notes
Don’t skip the gauge swatch! Ensuring your tension is correct is crucial for the Crochet Flower Granny Square, as it helps your squares maintain a beautiful, uniform shape and size for your projects. A standard gauge measurement is 4×4 inches (10×10 cm), which equals 12 double crochets by 6 rows. To adjust the size of your squares, simply change the starting chain in multiples of 12. If your swatch isn’t matching, and the stitches are too small, try going up a hook size to achieve that desired fit! Remember, taking the time to check your crochet gauge will lead to delightful results.
Step‑by‑Step Pattern for Crochet Flower Granny Square
Row 1: Create the Center Flower
Begin by making a magic circle. Chain 2 (CH2), then work 16 double crochets (DC) into the circle, ensuring it’s snug. After completing your stitches, slip stitch (SLST) to the first DC to close the round. Pull the magic circle tight, and your work should now form a solid circle at the center of your Crochet Flower Granny Square (16 sts).
Row 2: Forming the Petals
Change to Light Pink yarn and SLST to any stitch in Row 1. CH2, then work 1 DC in the same stitch. Now, skip the next stitch, and work DC2TOG (double crochet two together) in the following stitch, followed by CH2. Repeat this pattern around the circle and SLST to the top of the beginning CH2 to finish (8 petals formed). Your pieces should begin to pop out and create a lovely petal shape.
Row 3: Adding Depth with Petal Clusters
Switch to Medium Pink and SLST into any CH1 space from Row 2. Here, you will work a cluster stitch (CL) by yarn over, inserting your hook, and pulling up a loop, repeating this three times without finishing the stitch. Once you have 4 loops on your hook, yarn over and pull through all loops. Follow this with a SLST in the next CH1 space. Continue this a few more times around until fully circled; your work should now show beautiful layers of petals (8 clusters).
Row 4: Creating the Leafy Base
Change to Green yarn and SLST into any single crochet (SC) from Row 3. Create a new cluster stitch (CL) in the next space and CH2. Repeat this pattern, ensuring you fill in the gaps, making your work vibrant with leafy textures. Finish this round by connecting with a SLST to the beginning cluster, and your Granny Square will begin to take shape (8 clusters with chains).
Row 5: Finishing Touch with a Floral Border
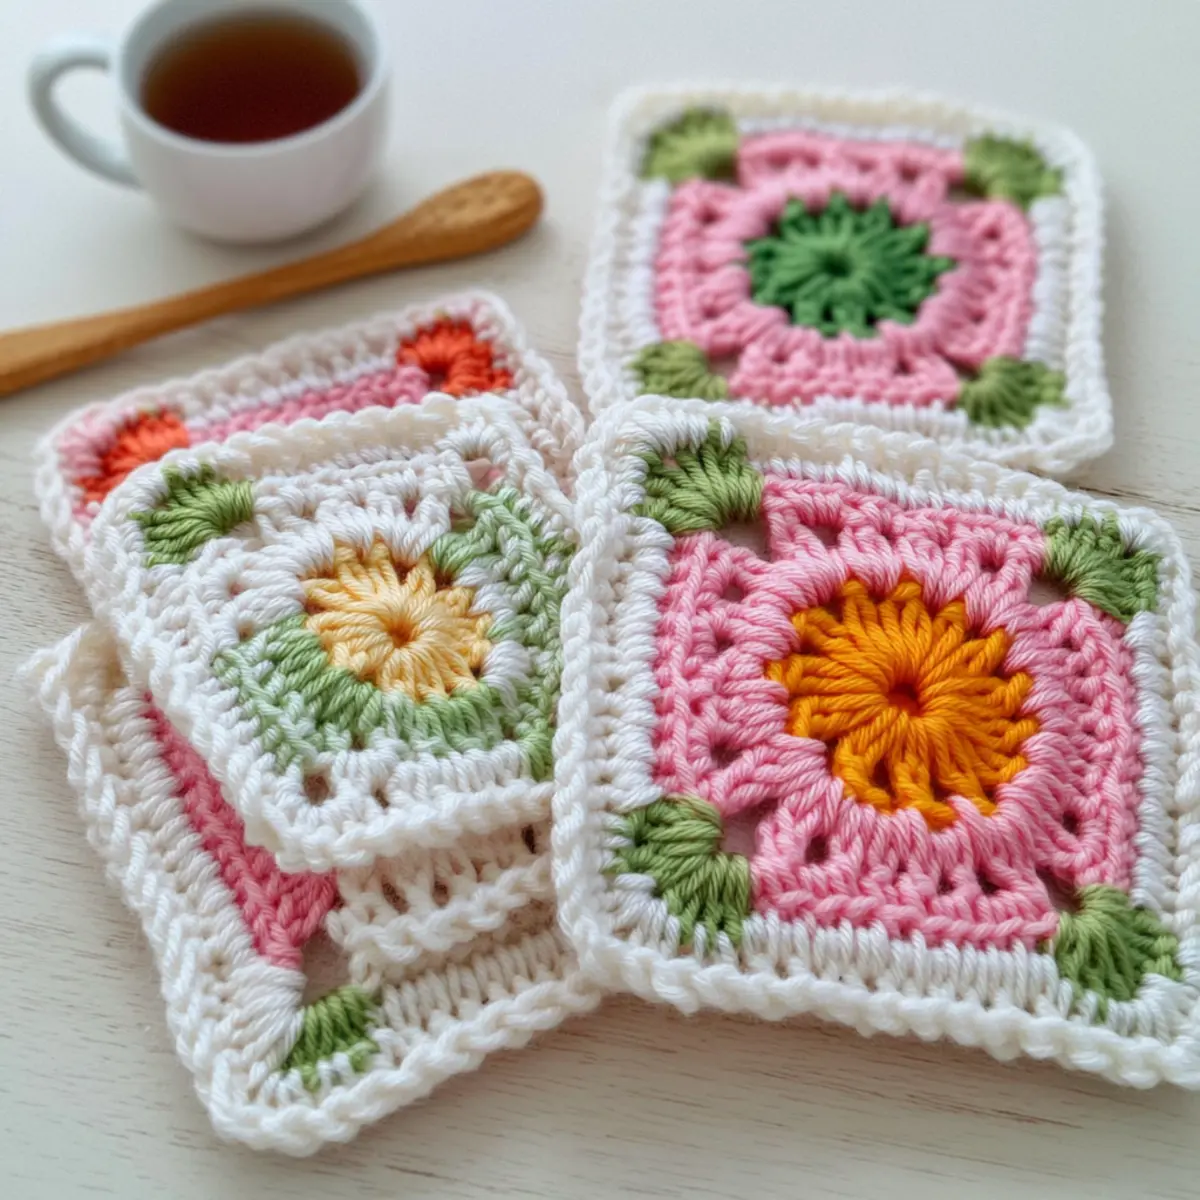
Change back to White yarn, and SLST to any corner stitch from Row 4. Work 2 DC into each corner chain space, followed by 1 DC in each of the remaining stitches around the square, ensuring you maintain the stitch count for a neat finish. When you reach the first stitch, SLST to close the round and fasten off. Your Crochet Flower Granny Square is now beautifully bordered and measures approximately 5.5 inches!
Expert Tips for the Flower Granny Square
-
Stitch Count Matter: Maintain your stitch count to keep each flower granny square perfectly shaped and consistent. Losing count can lead to uneven edges.
-
Secure Your Work: Always fasten off after every row. This secures stitches and prevents unraveling, ensuring your square remains intact as you work.
-
Watch Your Tension: Keep an eye on your tension throughout the project. Too tight can lead to stiff squares, while too loose might cause gaps in your design.
-
Experiment with Edges: Adapt the number of stitches in Row 5 for varied edge appearances. Different stitches can add fun textures and shapes to your finished piece.
-
Review the Video: Utilize the included video tutorial to reinforce your understanding of each stitch and technique. It’s a great way to clarify any tricky parts of the pattern.
Flower Granny Square Variations
Invite your creativity to blossom as you explore these delightful customization ideas for your crochet pattern.
-
Yarn Weight Swaps: Choose a lighter weight yarn for a daintier square, or use bulky yarn for a cozy, thicker texture. Each option offers unique results.
-
Fiber Alternatives: Swap acrylic yarn for cotton for a breathable, lightweight square; perfect for summer projects. This can elevate the overall feel of your piece.
-
Color Blocking: Mix and match three or more colors in a single square. This unexpected twist gives a joyful burst of color that can brighten anyone’s day.
-
Larger Squares: Combine several squares to create a stunning throw or a festive table runner. You’ll love how the variations expand your crochet creations.
-
Mini Versions: Use a smaller hook and lighter yarn to create charming coasters or embellishments. These little accents can bring life to your decor.
-
Textured Borders: Add a fun pom-pom or fringe along the edges for a playful touch. This delightful embellishment can enhance the square’s overall charm.
-
Size Adjustments: Altering stitch counts in Rows 1 and 5 allows for unique sizing. Aim for larger squares for throws or smaller for decorative accents.
Don’t forget to refer to the video tutorial to help you navigate these variations, bringing each idea to life in your own special way. Happy crocheting!
How to Wash and Care for Your Flower Granny Square
-
Hand Washing: Gently hand wash your Flower Granny Square in cold water with a mild detergent. Avoid agitation to prevent felting and maintain its lovely shape.
-
Drying/Blocking: Lay your square flat on a towel to dry. Reshape to its original dimensions, ensuring the petal clusters retain their beautiful design.
-
Storage: Store your Flower Granny Square in a cool, dry place away from direct sunlight to preserve color and texture for future use.
-
Avoiding Pilling: To keep your square looking fresh, avoid brushing against rough surfaces that could cause pilling. Regularly check for any signs of wear.
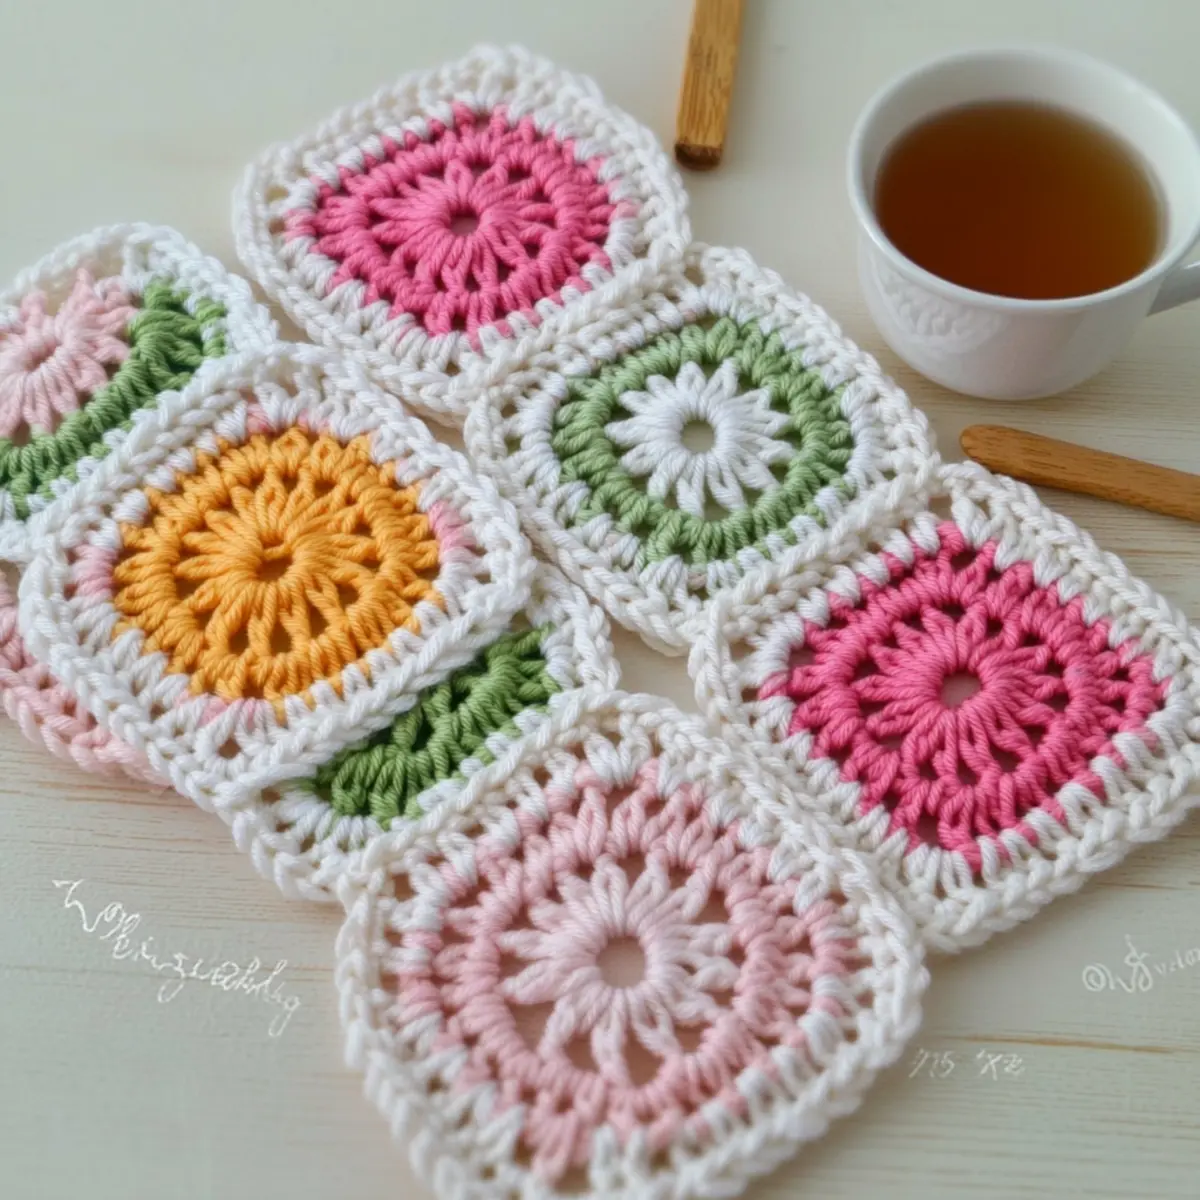
Crochet Flower Granny Square: Versatile and Beautiful FAQs
Can I substitute yarn for this pattern?
Absolutely! While I recommend using Red Heart Super Saver for its durability and color selection, you can experiment with other acrylic or cotton yarns. Just remember to check the weight; any worsted weight yarn should work well.
How do I adjust the size of my granny square?
It’s an easy fix! To make your square larger, simply add extra rounds using the same increase techniques outlined in the pattern. If you prefer a smaller square, consider reducing the number of stitches in each round—just be sure to maintain a consistent pattern for the best results!
Why is my crochet work curling up?
Don’t panic! Curling often happens when your tension is too tight or you’re missing necessary stitches. If your square is buckling like a bowl, double-check your stitch count and take care to maintain even tension—this will help keep everything flat and aligned.
What hook size should I use for this pattern?
For the Crochet Flower Granny Square, I suggest using a Size I (5.5 mm, US I) hook. This size gives the right balance, allowing your stitches to form beautifully without being too loose or tight. If your final square doesn’t measure approximately 5.5 inches, you might want to adjust your hook size slightly.
How do I fix a dropped stitch while working on this square?
Isn’t it frustrating to notice a dropped stitch? But don’t fret! You can simply crochet a slip stitch into the stitch below to re-secure it, or use a yarn needle to weave the stitch back in place. Catching it early will help maintain the overall look of your square.
What’s the best way to care for my finished granny square?
To keep your square looking fresh and vibrant, I recommend hand washing it gently with mild soap. Then, lay it flat to dry, reshaping as needed to maintain that lovely square form. This care ensures your creations stay beautiful over time!
Leave a Reply