
There’s something truly enchanting about the tactile experience of working with yarn, wouldn’t you agree? It’s almost magical to see a ball of yarn transform into something whimsical, especially when that something is a cozy crochet duck pattern! This delightful little duckling is not just a project; it’s a charming companion that doubles as a cuddly toy, perfect for little ones or as a quirky decoration. The best part? This project is beginner-friendly, making it manageable for those just getting into amigurumi while also being quick enough to whip up in one sitting. Whether you’re looking to clear out your yarn stash or craft a personalized gift, this duckling checks all the boxes. Can you envision the joy of bringing such a playful character to life with just your hook and some soft yarn?
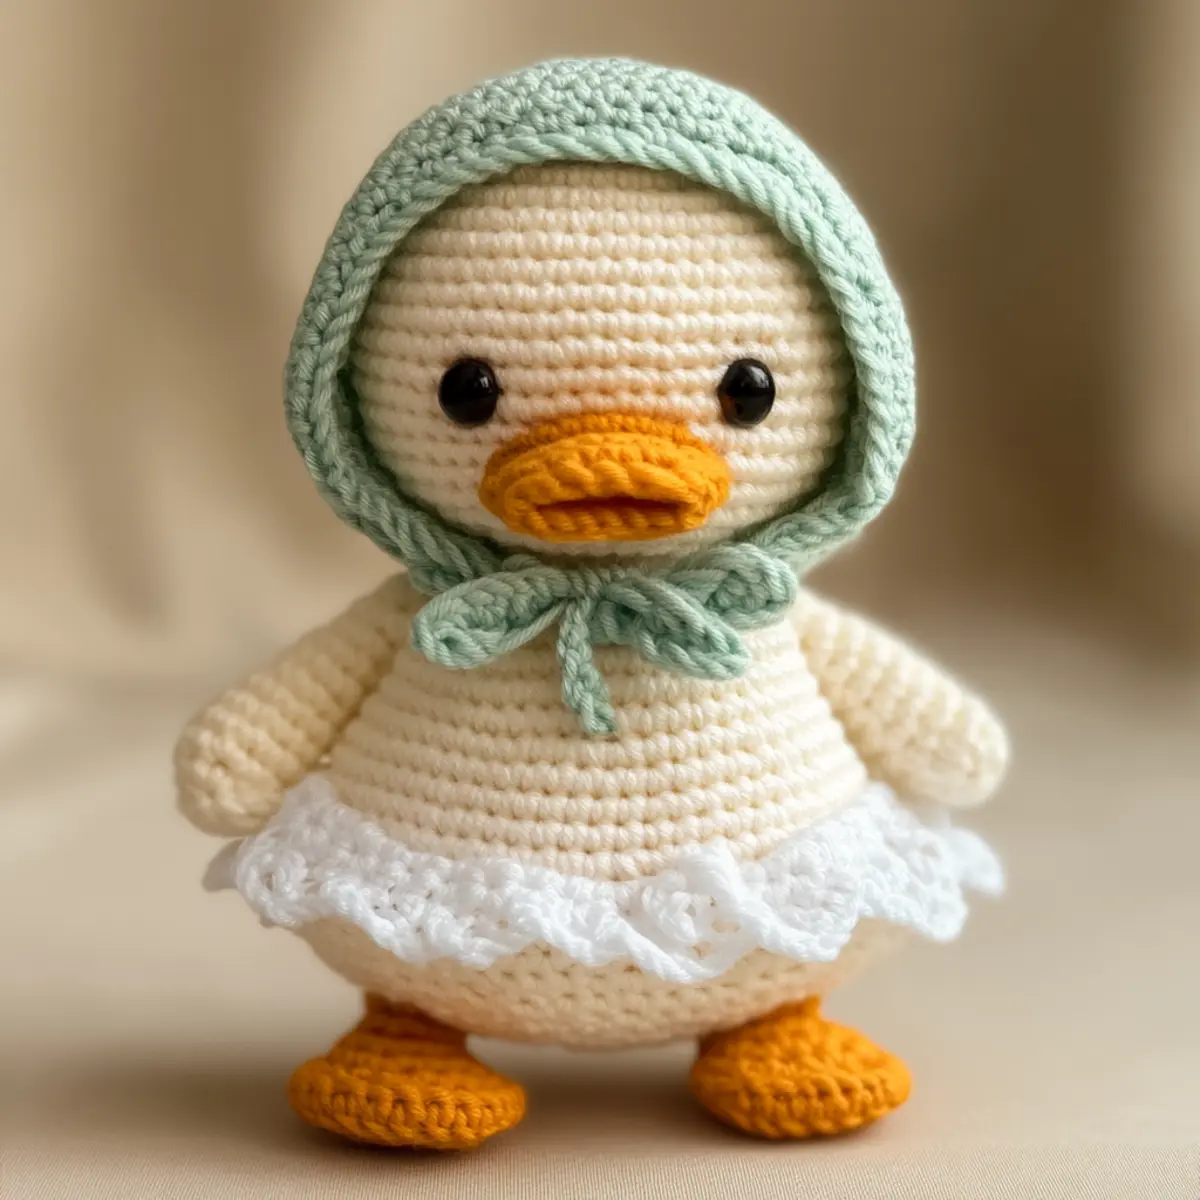
Crochet Duck Pattern Materials & Tools
Yarn
- Medium weight yarn — Approximately 150-200 yards, perfect for crafting the duckling with a cozy feel.
- Acrylic blend yarn — Offers durability and is easy to clean, making it ideal for a toy.
Tools & Notions
- 4.0 mm crochet hook (G-6) — The right size for the tight stitches needed for amigurumi.
- Stitch markers — Useful for keeping track of your rounds as you create the body and head.
- Safety eyes — Add character and bring the duckling to life, ensuring a fun expression.
- Scissors — For trimming yarn ends neatly once your project is complete.
- Yarn needle — Essential for weaving in ends and assembling different parts of your crochet duck.
Why You’ll Love This Pattern
Whether you’re a beginner or a seasoned crafter, this crochet duck pattern offers a fantastic opportunity to spark your creativity. Its simplicity makes it approachable, allowing you to focus on mastering the amigurumi technique without feeling overwhelmed. Not only is it a time-saver, but it’s also a great way to use up leftover yarn. You’ll appreciate how the texture comes alive as you work through the rounds, creating a soft, squishy toy. Plus, customization is a breeze! You can easily change colors or add embellishments, making each duck unique. For more ideas, check out my Crochet Ghost Amigurumi or the Cow Lovey Crochet patterns for more inspiration. Finally, the eye-catching aesthetic appeal ensures that your finished piece will be a delightful addition to any nursery or playroom!
Gauge & Sizing Notes for Crochet Duck Pattern
Checking your tension is essential for the crochet duck pattern, especially since amigurumi relies on tight stitches to maintain shape and structure. Aim for a gauge of 6 sc x 6 rows = 1 inch to ensure the duck is consistent in size. If your swatch doesn’t match, try adjusting your hook size. You can increase or decrease your starting ch to resize the duckling easily. For instance, to make a larger duck, add multiples of 6 to your starting chain. If your fabric is too loose and stuffing shows through, consider going down a hook size to achieve a denser, more structured result. Following these guidelines will help you create a delightful little duckling that maintains its shape beautifully and is perfect for cuddles!
Step-by-Step Pattern for Crochet Duck Pattern
Row 1: Start the Body
Begin with a magic circle. Ch 1, make 6 sc into the circle to form a tight, small base. Pull circle tight. (6)
Row 2: Increase the Base
Ch 1, inc in each st around for a wider base. This will shape the bottom of your duck’s body. (12)
Row 3: Continue Increasing
Ch 1, sc in next st, inc in next st repeat around. This will create a gentle bulge for the duckling’s tummy. (18)
Row 4: Form the Body Shape
Ch 1, sc in next 2 st, inc in next st repeat around. Keep your stitches tight to avoid stuffing showing through. (24)
Row 5: Work Even
Ch 1, sc in each st around for the next several rounds, allowing the body to build height. Continue working evenly for 5 rounds. (24)
Row 6: Prepare for Decreasing
Ch 1, sc in next 2 st, dec repeat around. This will start to taper the body towards the top where the head will attach. (18)
Row 7: Neck Formation
Ch 1, sc in next st, dec repeat around. This defines the neck and leads nicely into the head. (12)
Row 8: Create the Head
Ch 1, inc in each st around, bringing the shape of the head. Use tight stitches to ensure a plump and round appearance. (24)
Row 9: Continue Shaping the Head
Ch 1, sc in next 3 st, inc repeat around. This rounds out the head, giving it fullness. (30)
Row 10: Detail the Beak
Using a separate piece of yarn, ch 5, sl st in 2nd chain from hook, hdc in next chain, sc in last 2 chains. Fasten off and sew onto the front of the head to give your duckling character.
Row 11: Add Safety Eyes
Position and secure safety eyes near the top of the head before stuffing. Ensure the eyes are placed in a pleasing position to create an expression.
Row 12: Finish the Head
Join with sl st to the neck area, stuff as you go. Sc down to close off the neck edge securely. Make sure to weave tightly so the stuffing stays intact. (12)
Expert Tips for Your Crochet Duck Pattern
Count Often: Regularly check your stitch count, especially when starting new sections, to avoid mistakes. It’s easy to lose track when you’re engrossed in making your duckling!
Watch Your Tension: Keep an eye on your tension throughout the project. If it’s too loose, stuffing might peek through the stitches, ruining the look of your adorable amigurumi!
Use Stitch Markers: Employ stitch markers to help you keep track of the beginning of your rounds, making it easier to maintain consistent stitch count.
Avoid Twists: Start with a magic circle to prevent any twisted foundation chain issues, which might lead to uneven stitch tension.
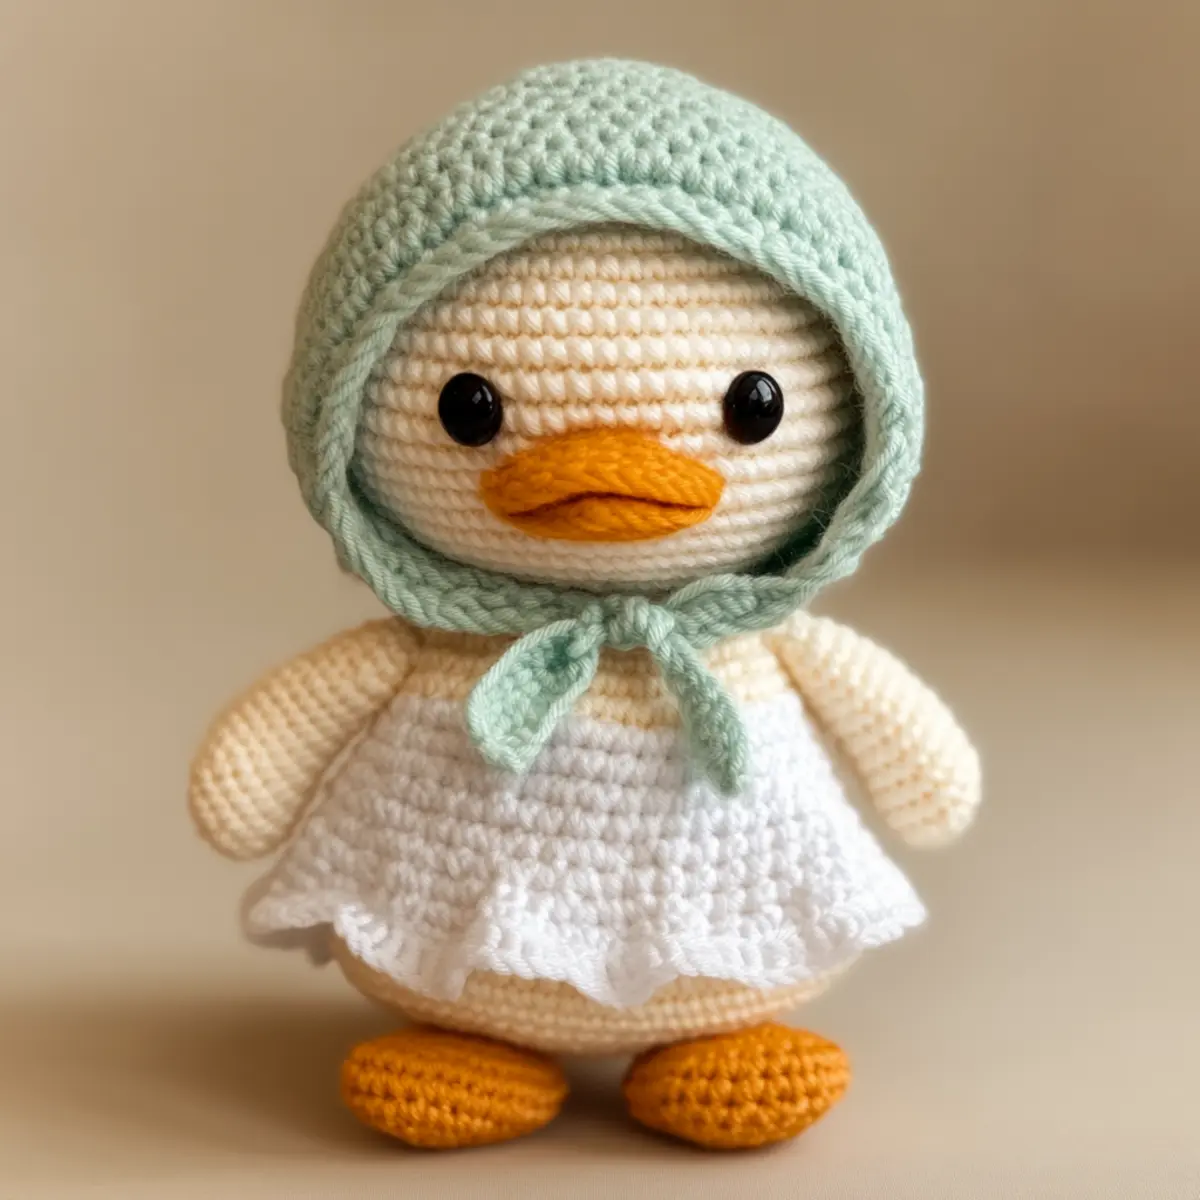
Block for Finish: Consider blocking your finished duck for a tidy appearance, especially the bonnet. This step can enhance the overall look and showcase your hard work and creativity.
Crochet Duck Pattern Variations
Feel free to let your creativity soar with these fun customization options!
- Pastel Colors: Choose soft pastel hues for a classic look, perfect for nurseries or delicate decor.
- Bold Shades: Use vibrant colors to create a modern twist for your duckling, making it stand out as a playful decor piece.
- Cotton Yarn: Swap acrylic for cotton yarn for a more textured finish, great for those who love a natural fiber touch.
- Bigger Size: Scale up the pattern to create a larger duckling, making it ideal for cuddling or as a decorative accent.
- Embellished Features: Add little bows or floral designs to personalize each duckling, showcasing your unique style. As you experiment, remember that different stitches or yarn choices can elevate the overall look, giving your duckling character.
- Textures: Incorporate stitches like puff or bobble to add interesting textures, enhancing the visual appeal.
- Outfit Variations: Design seasonal outfits or accessories, such as a festive scarf or a tiny hat, to give each duckling its own flair. Don’t forget to check out Cow Lovey Crochet for ideas on integrating other fun animals into your collection.
- Mini Ducklings: Craft smaller versions for charm, perfect as keychains or gifts. This will not only showcase your crochet skills but also invites fun mini character collections, opening up unique gifting opportunities!
How to Wash and Care for Your Crochet Duck Pattern
Machine Washing: If machine washing, place your duck in a delicate bag and use cold water. Avoid agitation to maintain its shape and softness during washing.
Hand Washing: For best results, hand wash your duckling in lukewarm soapy water. Gently squeeze out dirt without twisting, to preserve its form.
Drying: Lay your duckling flat to dry on a clean towel rather than hanging. This prevents distortion of its shape, keeping it cuddly and huggable!
Storage: Store your crochet duck in a cool, dry place away from direct sunlight to prevent fading and to maintain its quality over time.
Crochet Duck Pattern FAQs
Can I use different yarn for the duckling?
Absolutely! Feel free to substitute with cotton yarn for a textured finish or any worsted weight yarn you have on hand to maintain the structural integrity of the pattern.
What if I want a bigger duckling?
Don’t panic! To make a larger duck, you can increase the starting chain in multiples of 6. Just remember to adjust your increasing and decreasing rows accordingly.
My stitches keep curling; what should I do?
Curling can happen due to loose tension. Make sure to stay consistent with your hook size and try checking your gauge before starting. If you find your stitches too loose, switch to a smaller hook.
What is the best size hook to use?
The recommended hook size for this crochet duck pattern is 4.0 mm (G-6). This size helps to create tight, sturdy stitches that are essential for amigurumi projects.
How can I fix dropped stitches?
Don’t worry about it! Simply pull the yarn back to the previous round and rework that section. Using a stitch marker to track your place can help prevent this issue.
Do I need to stuff my duckling firmly?
Yes, you should stuff it firmly but not overly so. You want your duckling to maintain a plush feel while still being able to hold its shape. Check as you stuff to ensure an even distribution.
Leave a Reply