
As the air grows crisp and leaves turn golden, there’s something wonderfully cozy about getting lost in a yarn project. The moment I started crafting my Pumpkin Pups Amigurumi, I was enveloped in a swirl of creativity and nostalgia, reminiscent of autumn festivities. This delightful project showcases my love for crochet dog pumpkins—while being perfect for integrating various techniques to boost your skills, it’s also surprisingly quick to whip up. One of the greatest perks of this pattern is its potential as a stash-buster, allowing you to use up those leftover yarns from past projects while bringing a smile to anyone who sees them. Imagine decorating your home with these adorable plushies or gifting them to friends and family—who wouldn’t love that? If you’ve been on the hunt for an engaging crochet project that packs a whole lot of charm and whimsy, you might just have found it. So, what unique touches will you add to your own Pumpkin Pups?
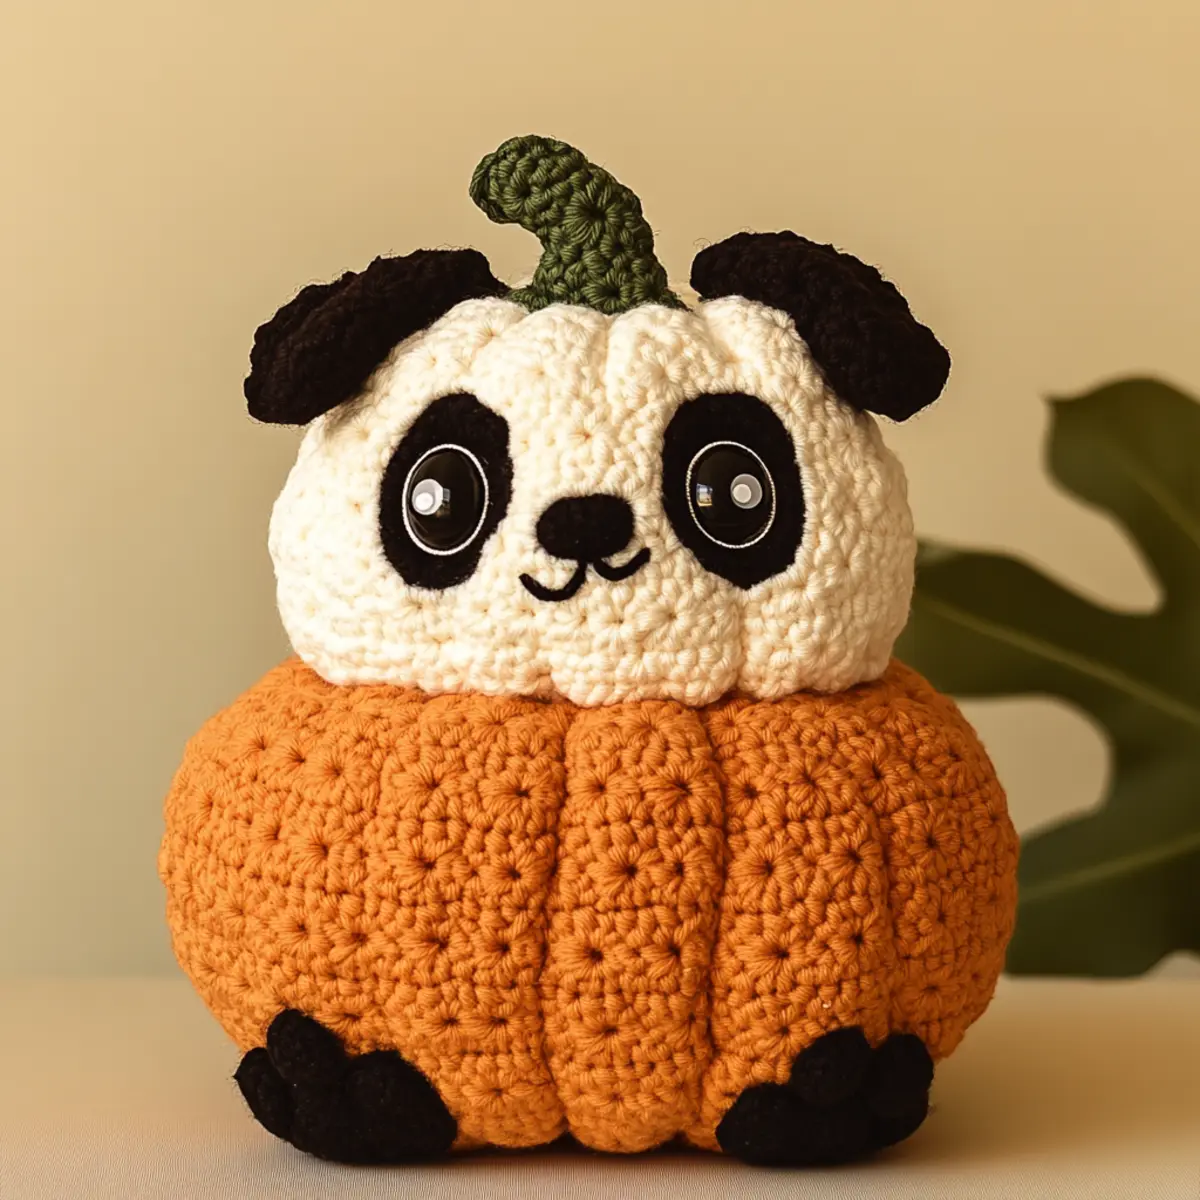
Crochet Dog Pumpkins Materials & Tools
Yarn
— Use bulky yarn in shades of orange, black, cream, and green; approximately 200-300 yards should suffice for the crochet dog pumpkins.
Tools & Notions
— 6.0 mm (J-10) crochet hook for working with bulky yarn.
— Safety eyes for child-friendly versions, ensuring those adorable faces are well-defined.
— Stitch markers to keep track of your rounds, particularly helpful when working in the round.
— Embossed thread or felt for additional details like eyes and paw prints to enhance your design.
— Scissors and a tapestry needle for assembling and finishing your crochet dog pumpkins.
Why You’ll Love This Pattern
Simply put, the Pumpkin Pups Amigurumi project is a charming blend of creativity and functionality. Its appeal lies in the whimsical design and versatility, making it an excellent choice for your autumn decor. Each stitch offers a chance to explore techniques like double crochet and half double crochet, enhancing your crochet repertoire while you work. Additionally, this pattern is stash-friendly; it’s a perfect opportunity to use up those yarn scraps to make unique, sweet gifts for loved ones. With customizability at its heart, the design allows you to modify colors and sizes for personalized creations, ensuring that no two Pumpkin Pups are alike. Plus, it creates an aesthetic vibe with its plush textures and vibrant colors that bring warmth to any space. Dive into your crochet journey with the Pumpkin Pups and celebrate fall in style!
Gauge & Sizing Notes for crochet dog pumpkins
When crafting the crochet dog pumpkins, checking your tension is crucial as it directly affects the overall shape and size of your project. For this pattern, aim for a gauge of 4×4 inches (10×10 cm), ideally achieving a tight stitch to maintain the plush, round appearance of the pumpkins and dog features. If you find your swatch doesn’t match, adjust your hook size or yarn weight until the correct gauge is attained. If you’re looking to resize your crochet dog pumpkins, consider altering the starting chain or adjusting the number of rounds, adding or removing rounds of dc to achieve the desired height. If you prefer a smaller version, reduce the number of stitches per round or switch to a lighter yarn. By mastering these adjustments, you can create a variety of sizes and styles, making each pumpkin pup unique while ensuring the charm of the crochet dog pumpkins remains intact.
Step-by-Step Pattern for crochet dog pumpkins
Row 1: Start the Pumpkin Base Begin with a magic ring; ch 2 (this does not count as your first dc). Work 10 dc into the ring and pull tight to close (10 dc).
Row 2: Increase for Round Shape Ch 2 (counts as dc), then dc in same st. Inc in each st around for a total of 20 dc, join with a sl st (20 dc).
Row 3: Shape the Body Ch 2, dc in next st, inc in next st repeat around. You’ll have 30 dc by the end of this round (30 dc).
Row 4: Build Height of Pumpkin Ch 2, dc in each st around, create a nice, even round shape on your crochet dog pumpkins (30 dc).
Row 5: Refine the Shape Ch 2, dc in next 2 sts, inc in next repeat around for 40 dc total (40 dc).
Row 6: Add Texture Ch 2, dc in next 3 sts, inc in next repeat around trusting the roundness is developing (50 dc).
Row 7: Begin Decrease Ch 2, dc in next 4 sts, dec repeat to shape the bottom of your pumpkin, resulting in 40 dc by the end (40 dc).
Row 8: Final Decrease Ch 2, dc in next 3 sts, dec continue to maintain rounding for a compact pumpkin body to finish at 30 dc (30 dc).
Row 9: Fasten Off Base Ch 2, dc in next st, continue this all the way to the end. Leave a long tail for sewing (30 dc).
Row 10: Create the Dog’s Head Using a new color, ch 2, work 6 sc into the magic ring, tighten (6 sc).
Row 11: Increase Dog Head Ch 1, sc in next st, inc in next repeat for total of 9 sc (9 sc).
Row 12: Form Rounded Face Ch 1, sc in each st around, shaping a soft head for your pumpkin pup (9 sc).
Row 13: Shaping Ears Use hdc to create 2 small ear shapes: ch 2, work 2 hdc, inc (4 hdc).
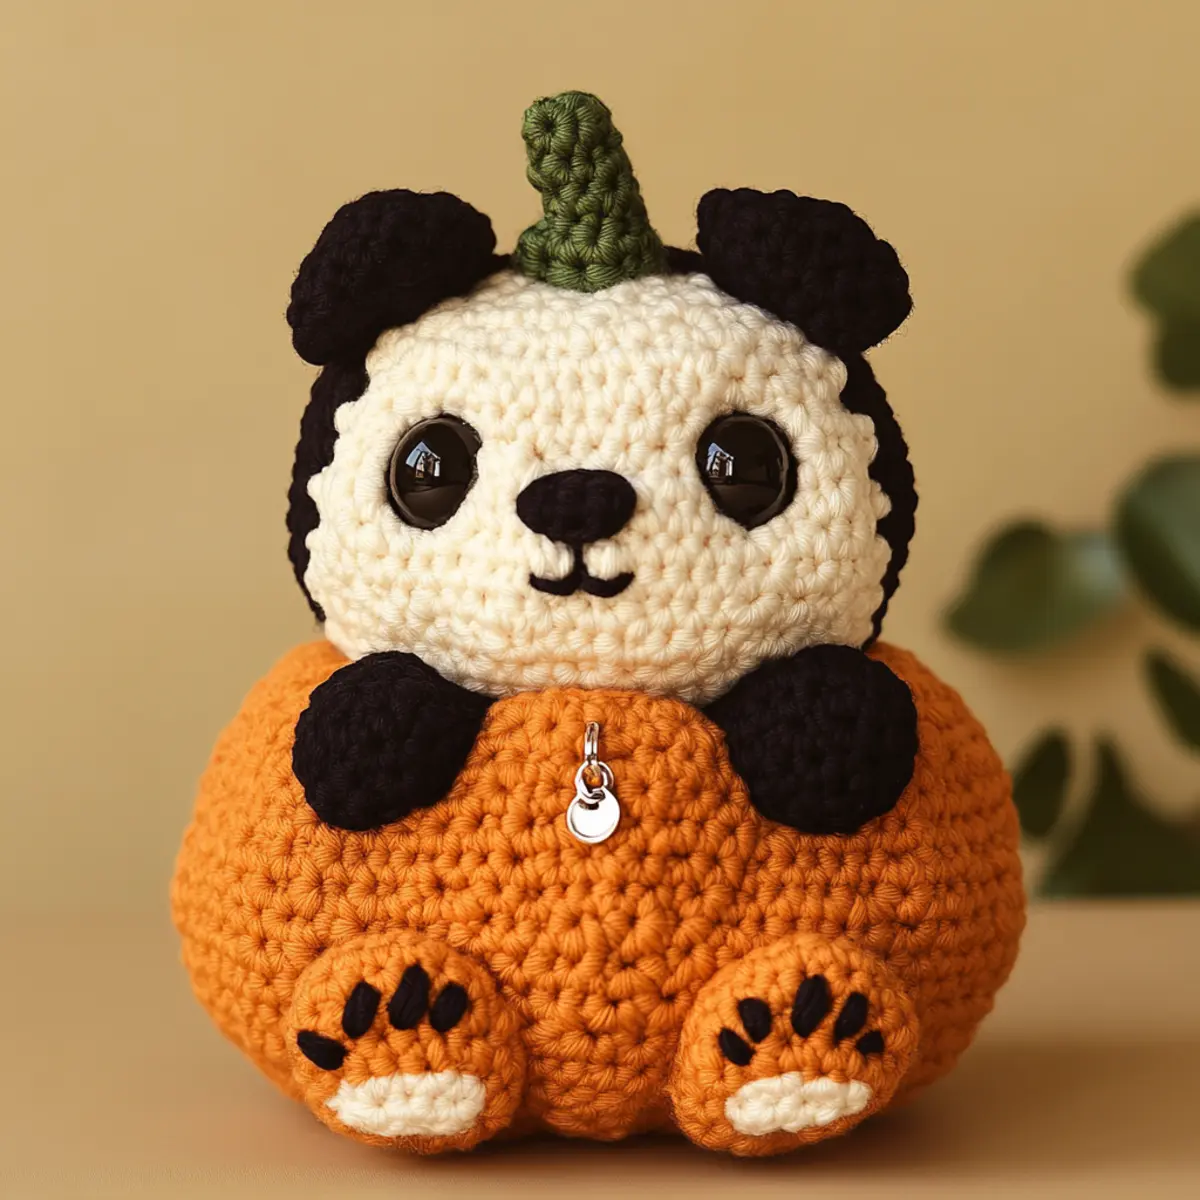
Row 14: Attaching Parts Sew the dog head to the top of the pumpkin, secure the ears on the dog’s head, then add safety eyes if preferred for the perfect pumpkin pup look.
How to Wash and Care for Your Crochet Dog Pumpkins
Machine Washing: If machine washing is preferable, place your crochet dog pumpkins in a delicate cycle in cold water, avoiding agitation that could distort their shape.
Hand Washing: For hand washing, use lukewarm water with mild soap, gently swishing your crochet dog pumpkins without scrubbing. Rinse thoroughly to remove all soap.
Drying: Always lay your crochet dog pumpkins flat to dry on a clean towel after washing. Avoid hanging them as this could alter their shape and appearance over time.
Storage: Store in a dry, cool place away from direct sunlight to keep the colors vibrant. Avoid damp areas that could promote mildew and spoil your plush designs.
Expert Tips for Crochet Dog Pumpkins
Stitch Consistency: Keep your tension even with bulky yarn to avoid distortions in your crochet dog pumpkins.
Use Stitch Markers: Place a stitch marker at the start of each round to track your progress accurately, particularly when working with intricate shapes.
Yarn Selection: Test a swatch if using different yarn types to ensure a snug fit between shapes. Matching yarns will help maintain consistent sizing.
Avoid Dropped Stitches: When working in rounds, be mindful of your stitches. Dropped stitches can alter the shape and appearance of your crochet dog pumpkins.
Twisted Chain Prevention: Always ensure that your foundation chain isn’t twisted. Lay it flat before beginning your first round to prevent later complications in your project.
Practice Techniques: Explore a variety of stitches (dc, hdc, sc) to enhance your skill set while making your crochet dog pumpkins. Each technique will enrich your overall design.
Crochet Dog Pumpkins Variations
Feel free to add your personal touch to these charming creations.
-
Fleece Yarn: Creates a softer texture, making the Pumpkin Pups even cuddlier.
-
Pastel Colors: Switch to pastel shades for a springtime theme, perfect for seasonal decor.
-
Size Modification: Change hook size or yarn weight to customize your Pumpkin Pups’ dimensions for different purposes. Larger versions could be used as floor cushions, while smaller ones might serve as cute desk ornaments.
-
Color-Block Designs: Mix contrasting colors for pumpkins and pups to make a bold statement in your decor.
-
Custom Features: Experiment with various safety eye styles or felt for unique facial expressions, enhancing their personality.
For a textured approach, consider blending yarn types. Imagine combining a cotton blend for structure with fluffy acrylic for added softness. This dual approach lets you achieve not only visual contrast but also a varied tactile experience as well, inviting everyone to interact with your charming creations. Don’t forget to check out our tips on selecting the right yarn types and hook sizes for better results!
- Seasonal Themes: Create a Halloween version using darker colors and spooky embellishments for a festive twist.
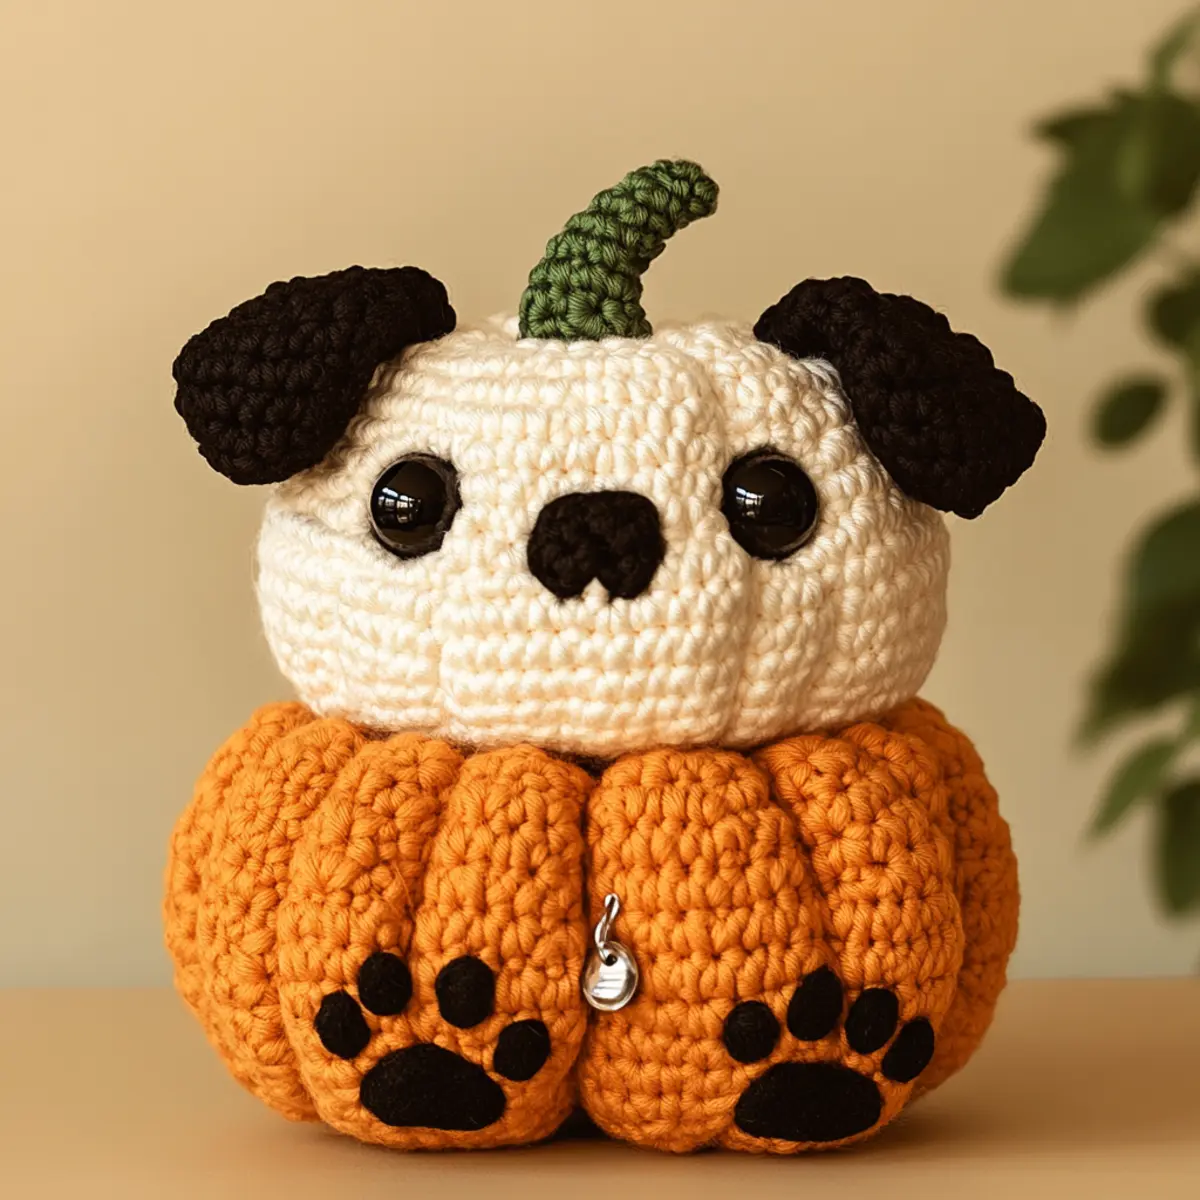
- Functional Accessories: Transform these designs into keychains or bag charms, making them functional and adorable.
Pumpkin Pups Amigurumi FAQs
Can I use a different yarn for this project?
Absolutely! You can use other yarn types, such as cotton for a firmer shape or soft acrylic for a fluffier finish. Just remember to adjust your hook size based on the yarn weight.
What size crochet hook should I use?
A 6.0 mm (J-10) crochet hook is recommended for working with bulky yarn. However, feel free to adjust based on your yarn choice and personal tension.
How do I adjust the size of my pumpkin pups?
Don’t panic! You can adjust the size by altering the hook size or yarn weight. Adding or removing rounds can also work well to create larger or smaller versions of your crochet dog pumpkins.
What if my stitches don’t match the gauge?
If your stitches don’t match the required gauge of 4×4 inches, consider trying a different hook size or yarn weight. It’s crucial for achieving the plushness and rounded shape of your project.
I dropped a stitch while crocheting. What should I do?
It happens to everyone! Simply pick up the dropped stitch with your crochet hook and work it back into your project. If it’s too far back to fix, you may need to unravel a few rounds to correct it.
Can I customize colors for the pumpkin pups?
Yes! One of the project’s charms is its customizability. Play with color combinations; you could opt for pastels for spring or vibrant colors for a playful theme anytime of the year.
Leave a Reply