
There’s something exhilarating about discovering a new crochet stitch that opens up a world of possibilities. With the Diamond Trellis Stitch, you’ll not only elevate your crochet game but also create stunning pieces that add a touch of elegance to any project. This textured pattern is perfect for both beginners eager to learn and seasoned crafters seeking a versatile design for blankets, shawls, or cushions. Just imagine wrapping yourself in a cozy creation featuring an eye-catching lacy effect that’s both airy and substantial. Plus, with quick setup and endless customization opportunities, you’ll find this stitch not only enjoyable to work but also satisfying to transform into beautiful gifts or personal treasures. Are you ready to pick up your yarn and hook and start stitching something extraordinary?
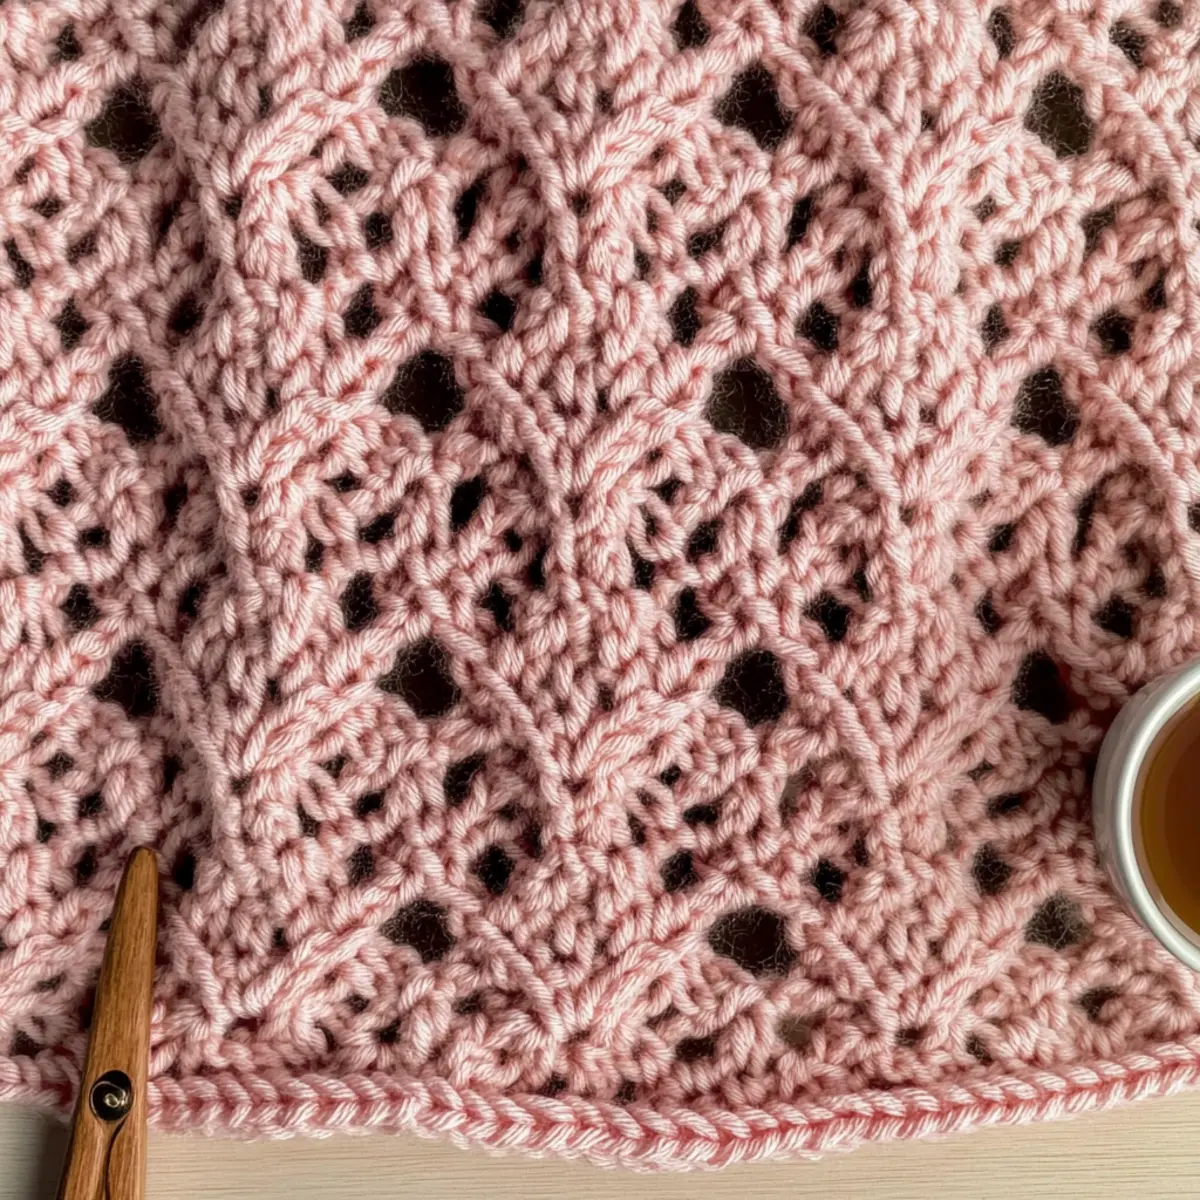
Diamond Trellis Stitch Materials & Tools
Ready to create something beautiful with the Diamond Trellis Stitch? Here’s what you’ll need!
Yarn
- Light Worsted (Category 3) Yarn – Approximately 250 yards (230 meters) is perfect for a small project to display the stitch’s lacy effect.
Tools & Notions
- 5.0 mm (H-8 US) Hook – This size is ideal for achieving the right tension and texture in your project.
- Yarn Needle – Essential for weaving in those sneaky ends and giving your work a polished finish.
- Stitch Markers – Use these to help keep track of your rows, so you can maintain your stitch counts effortlessly.
Why is the Diamond Trellis Stitch a Must-Try?
Versatile Design: The Diamond Trellis Stitch is adaptable for various projects, whether you’re making a cozy blanket or a fashionable shawl.
Textured Elegance: With its lacy look, this stitch adds an exquisite touch to any piece, making your creations stand out.
Easy-to-Follow: Designed for easy to intermediate crafters, this pattern includes clear, step-by-step instructions that make learning a breeze.
Customizable Options: You can easily modify the starting chain or mix in different stitches for unique results; the possibilities are endless!
Quick Results: With a relatively fast setup, you’ll be able to turn your new skill into delightful gifts or personal keepsakes in no time.
Whether you are looking to elevate your skill set or create beautiful pieces, the Diamond Trellis Stitch will not disappoint! Check out our expert tips for more ways to explore this versatile stitch.
Gauge & Sizing Notes
Don’t skip the gauge swatch! Checking your tension is essential for the beautiful Diamond Trellis Stitch, as it ensures your final project maintains the desired fit and texture. Aim for a gauge of approximately 12 stitches and 10 rows = a 4×4 inch (10×10 cm) square in this stitch. If you wish to make your project wider or narrower, adjust your foundation chain in multiples of 6 plus 1 for the stitch count. If your swatch is smaller, try switching to a larger hook size to loosen your tension, and if it’s too large, a smaller hook will help you tighten it up. Happy crocheting!
Step‑by‑Step Pattern for Cozy Crochet Diamond Trellis Stitch
Row 1: Foundation Chain and First Row
Start by chaining 31 (make sure your chain is tight). In the 4th ch from the hook, make 1 double crochet (dc), then continue by making 1 dc in each of the remaining chains across. At the end of this row, you should have a total of 29 stitches. Your work should lie flat and provide a solid base for the textured design ahead.
Row 2: Creating the Lacy Texture
Ch 2 (this counts as your first dc), then in the next 4 stitches, make 1 dc in each. Next, skip 1 st, and in the following st, work (1 dc, ch 3, 1 dc) for a V-stitch, skip another st, and finish with 1 dc in each of the next 5 sts. Repeat the pattern from * to * across the row, which should give you 3 V-stitches and 26 dc total. The texture will begin to take form.
Row 3: Introducing the Front Post Double Crochet
Ch 2 (counts as dc), make 1 dc in the next 4 sts. Now, skip the next st, and place 1 FPdc around the post of the next dc from Row 1, skip another st, and make 1 dc in each of the next 5 sts. Repeat from * to * across your row, ending with 3 V-stitches and 26 sts. The raised texture of the FPdc will enhance your Diamond Trellis Stitch.
Row 4: Continuing the Lacy Design
Ch 2 (again, counts as dc), work 1 dc in the next 3 sts, skip 1 st, (1 dc, ch 3, 1 dc) in the next st, skip 1 st, and 1 dc in each of the next 5 sts. Continue repeating from * to * to the end of the row. You should have 3 V-stitches and 26 dc total. The diamond shapes should become more pronounced in your work.
Row 5: Integrating Shell Stitches
Ch 2 (counts as dc), place 1 dc in the next 4 sts. Then, skip the next st and work (5 dc) into the ch 3 space from the previous row, skip another st, and 1 dc in each of the next 5 sts. Repeat from * to * until the end of the row, yielding a total of 3 V-stitches and 26 dc. Your Diamond Trellis Stitch should now showcase a lovely shell texture.
Row 6: Capturing the Raised Effect
Ch 2 (counts as dc), make 1 dc in the next 4 sts. Skip 1 st, FPdc around the next dc from Row 1, skip another st, and then make 1 dc in each of the next 5 sts. Repeat from * to * through the row, ending with 3 V-stitches and 26 stitches. Observe how the texture continues to evolve beautifully, enhancing the overall lacy appeal.
Row 7: Finalizing the Pattern Repeats
Ch 2 (counts as dc), work 1 dc in the next 4 sts. Proceed with skipping 1 st, inserting (1 dc, ch 3, 1 dc) in the next st, skipping a st, and making 1 dc in the next 5 sts. Continue from * to * to the end, where you should have 3 V-stitches and 26 dc total. Your Diamond Trellis Stitch is almost complete, showcasing a delightful mix of textures.
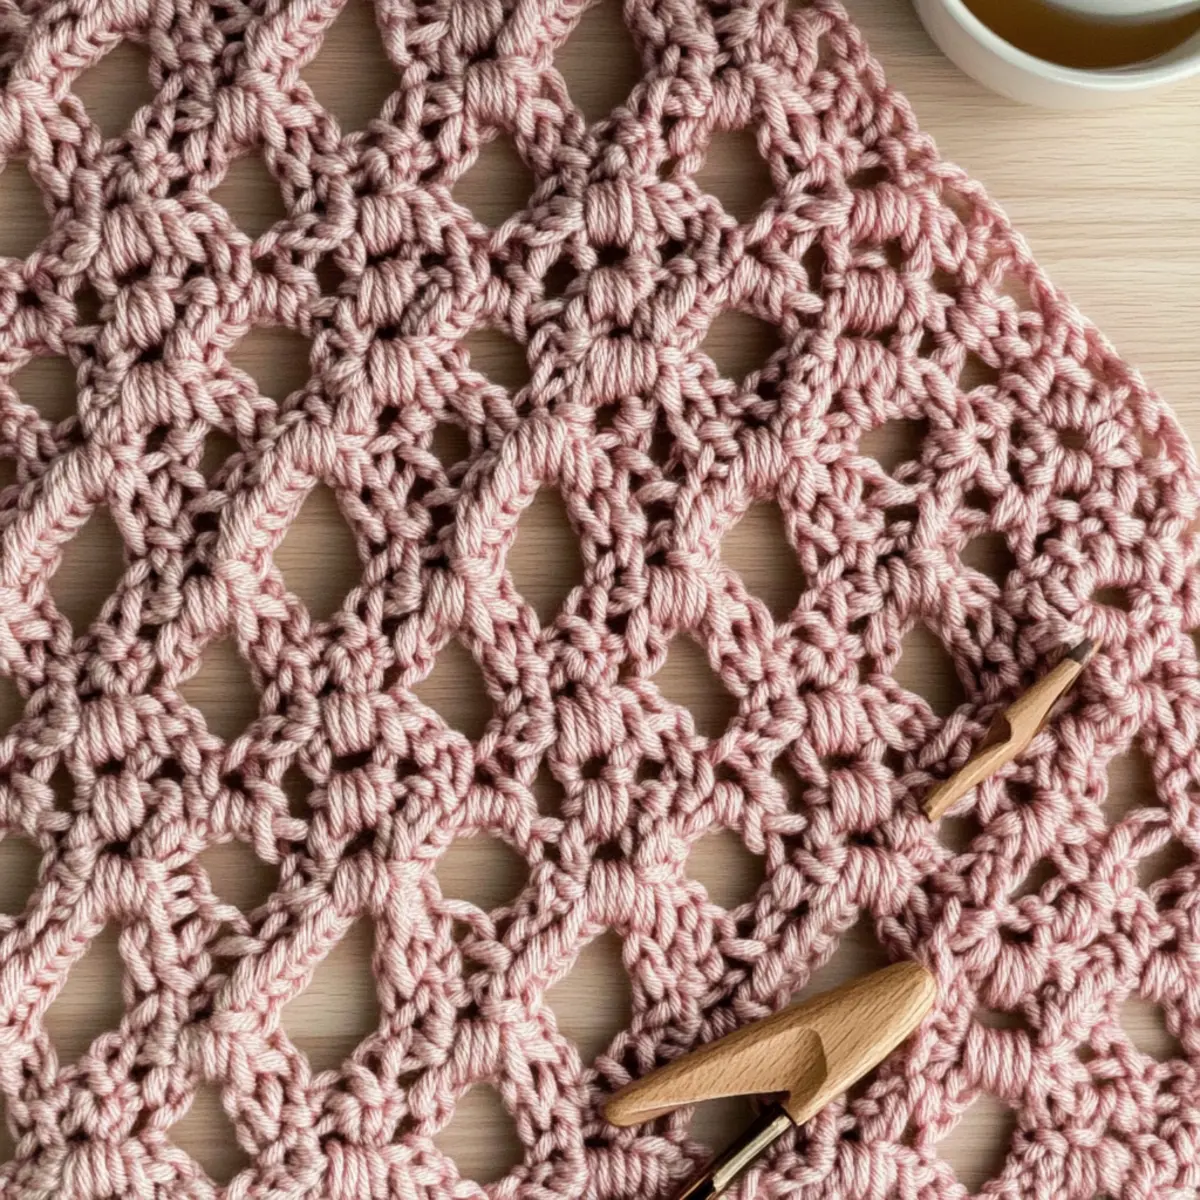
Expert Tips for the Diamond Trellis Stitch
-
Count Carefully: Always double-check your stitch count at the end of each row to avoid unintentional errors that disrupt the lacy look.
-
Maintain Tension: Keep your tension consistent as you work; too tight or too loose can affect the beautiful texture of the Diamond Trellis Stitch.
-
Track Your Rows: Use stitch markers to keep track of your progress, especially when repeating rows 4-7 for that desired raised effect.
-
Chain Wisely: Make sure your foundation chain is tight but not too tight, ensuring it’s flexible enough for starting your pattern with ease.
-
Weave Securely: When finishing, securely weave in your ends to maintain the integrity of your project and enhance its overall aesthetic.
Get ready to create something stunning with the Diamond Trellis Stitch!
Washing & Care Instructions for Diamond Trellis Stitch
-
Machine Washing: Use cold water for machine washing on a gentle cycle. This will help maintain the integrity of the raised textures while preventing any damage to your masterpiece.
-
Hand Washing: For better care, consider hand washing in cold water with a mild detergent. Gently agitate to clean, ensuring the stunning lacy look of the Diamond Trellis Stitch stays intact.
-
Drying/Blocking: Lay your finished piece flat to dry, reshaping as needed. This method helps preserve the stitch definition and prevents warping from uneven drying.
-
Storage: Store your finished projects in a cool, dry place, preferably in breathable containers. This will keep your items safe from dust while allowing the beautiful textures to shine through.
Diamond Trellis Stitch Variations
Unleash your creativity by customizing the Diamond Trellis Stitch to suit your unique style and projects!
-
Yarn Substitutions: Opt for cotton yarn instead of acrylic for a lighter, more breathable finish ideal for warmer seasons.
-
Color Blocking: Play with your favorite hues by alternating yarn colors every few rows for a striking striped effect that captures the eye.
-
Larger Projects: Increase the foundation chain to 41 or more for wider blankets or shawls. Adjust stitches accordingly for seamless integration.
-
Texture Additions: Enhance your piece’s charm by incorporating a playful pom-pom or delicate fringe, giving it a fresh, unique touch.
-
Size Modifications: Create smaller versions of your project by reducing the starting chain, perfect for making delightful scarves or headbands.
-
Mixed Techniques: Combine the Diamond Trellis Stitch with other stitches, like the shell stitch, to develop intricate textures and patterns that will captivate.
-
Bordering Ideas: Add a simple border with single or double crochet to frame your work beautifully, providing a polished finish that enhances the overall design.
These variations can transform your projects into one-of-a-kind treasures. If you’re looking for more innovative ideas, check our guide on color techniques and crochet patterns for further inspiration!
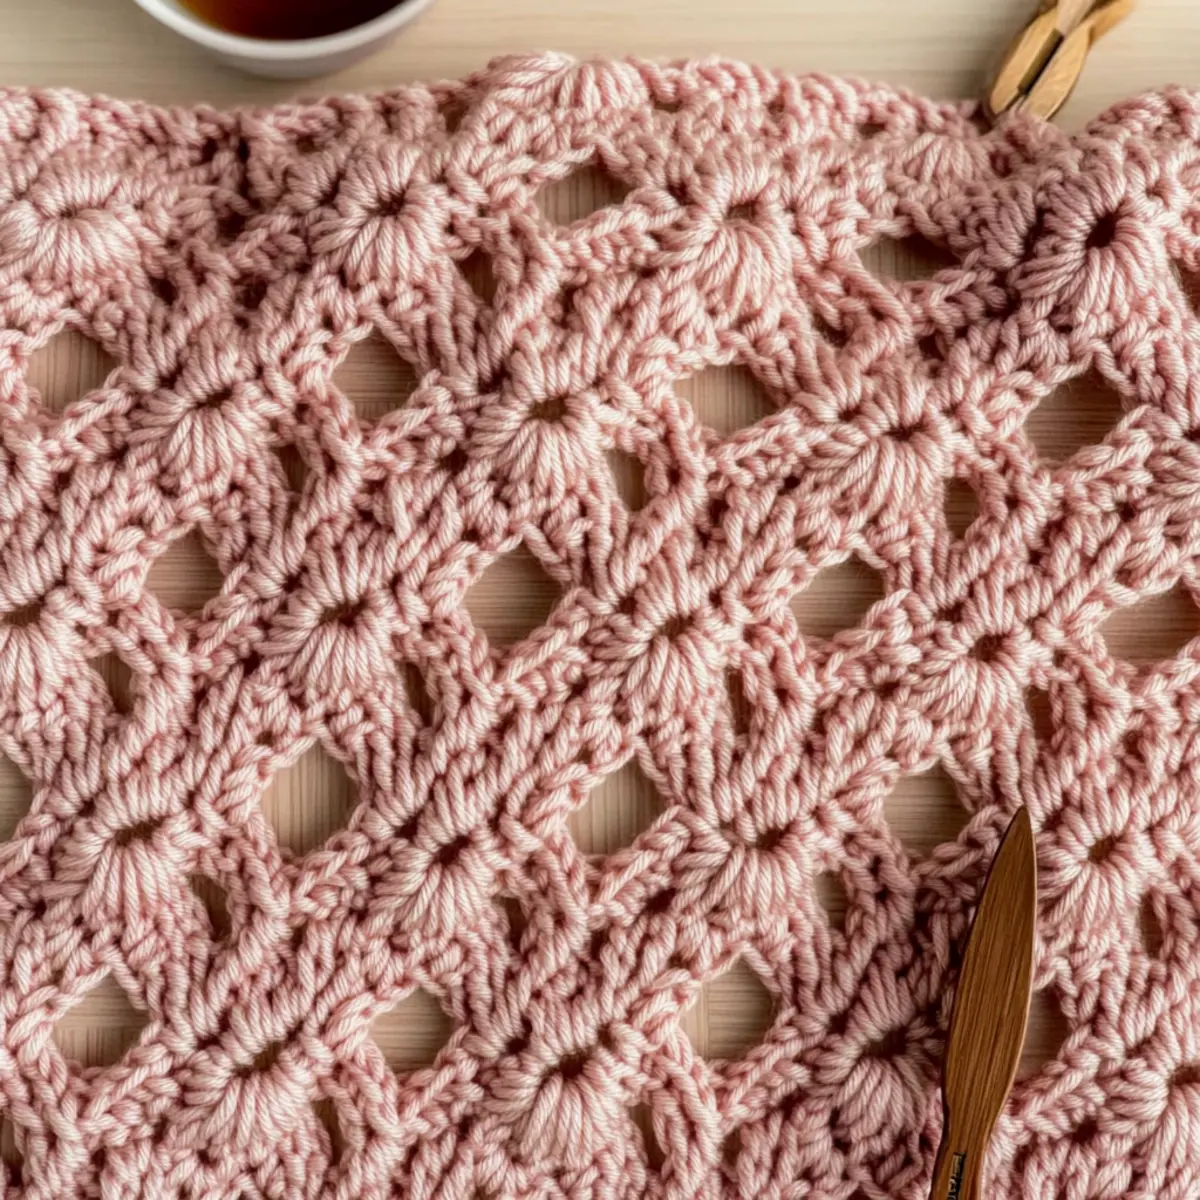
Diamond Trellis Stitch FAQs
Can I substitute yarn for this pattern?
Absolutely! While the Diamond Trellis Stitch is designed for Light Worsted (Category 3) yarn, you can substitute with a similar weight, such as a DK weight. Just be mindful that different fibers can affect the drape and texture, so a yarn with a good stitch definition like cotton or bamboo works beautifully.
How can I adjust the size of my project?
If you wish to make it larger or smaller, simply adjust the foundation chain. Make sure to chain in multiples of 3 + 1 for the stitch repeat, so for a wider project, add extra chains accordingly. For instance, if you want it wider, add 6 more chains for an extra width of 2 inches, but always keep your gauge in mind!
I’m having trouble with my stitches curling. What should I do?
Don’t panic! If your piece is curling at the edges, it might be due to tight tension or not enough stitches. Check your tension and see if your foundation chain is secured but still flexible. You can also add a border in single crochet around the edges after completing your main piece for added stability and style.
What hook size should I use?
For the Diamond Trellis Stitch, I recommend a 5.0 mm (H-8 US) hook. But remember that personal tension can vary. If your fabric feels too tight or too loose, don’t hesitate to try a hook one size up or down—find that sweet spot that gives you the beautiful texture you’re aiming for!
What if I drop a stitch while crocheting?
It’s an easy fix! If you notice a dropped stitch, simply take a moment to carefully pull that stitch back up through the fabric. Use a yarn needle to weave it back into place, making sure it blends seamlessly with your crochet fabric. Remember, mistakes are part of the learning process, so embrace them with joy!
How do I read my stitches correctly?
Keep a close eye on your work by counting stitches at the end of each row. If you’re following the Diamond Trellis Stitch pattern, look out for the alternating V stitches and raised fronts. Staying diligent with your counts will ensure your project maintains that lovely lacy look everyone loves!
Leave a Reply