
Finding the perfect gift can feel like a mini crisis, especially when you’re short on time. But fear not—this Quick and Easy Crochet Daisy Keychain pattern is here to save the day! Designed specifically for beginners, this delightful floral accessory works up in just 20 minutes, making it an excellent choice for last-minute surprises. Plus, it’s a fantastic way to put those scrap yarn remnants to good use. With its cheerful design and compact charm, this daisy keychain is sure to brighten anyone’s day. So grab your hook and let’s get stitching—your new go-to gift project awaits!
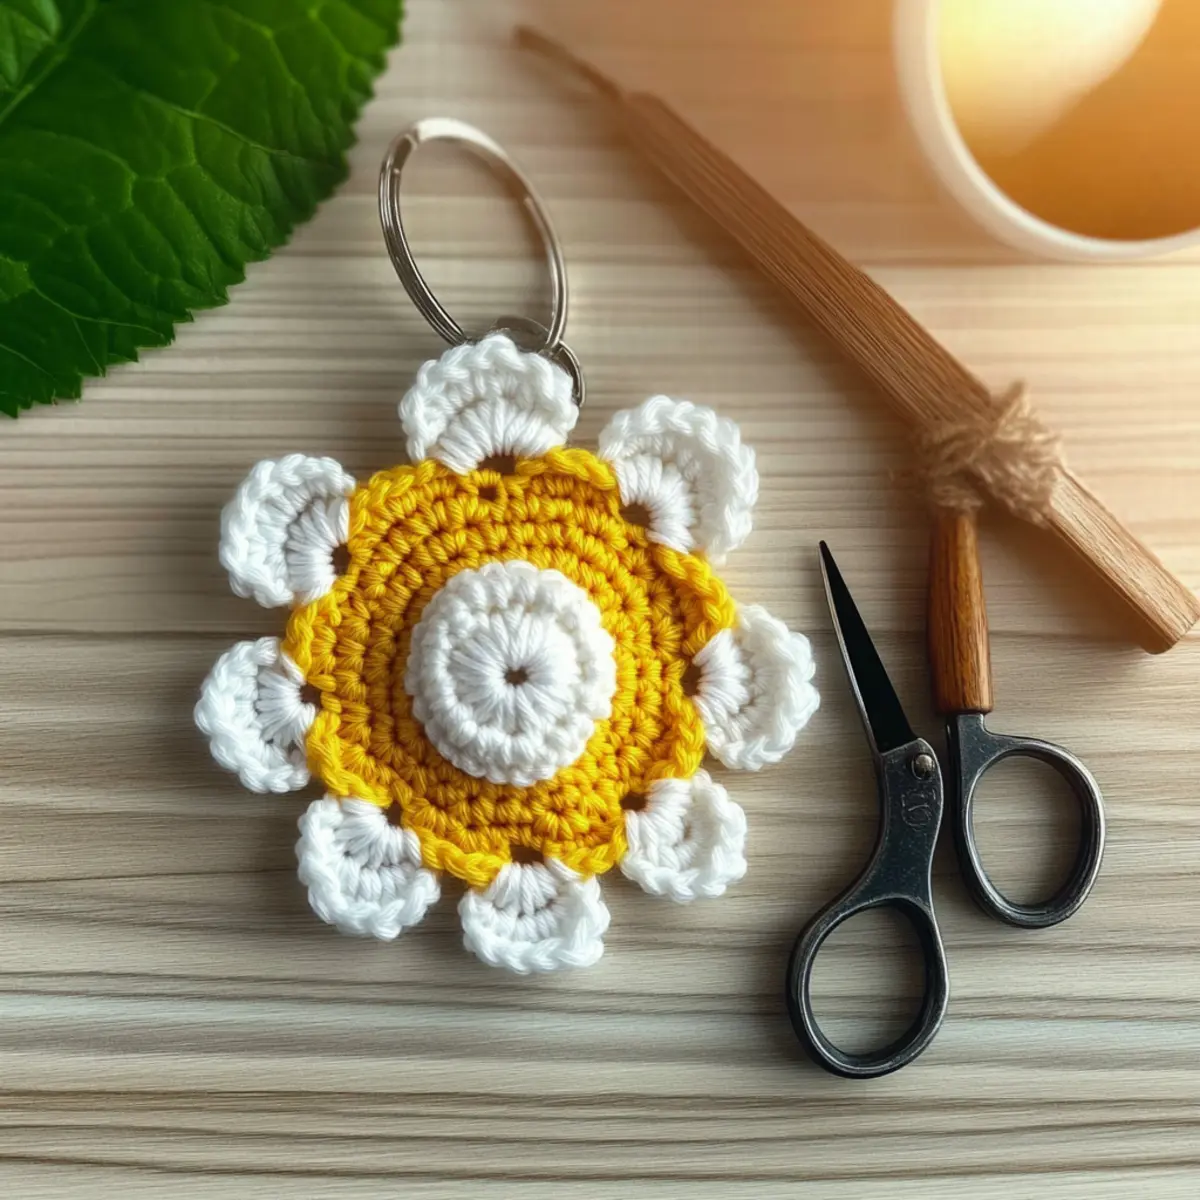
Crochet Daisy Keychain Materials & Tools
-
Yarn
• Caron One Pound – White (x1) – Choose this worsted weight, acrylic yarn for a crisp, bright flower center.
• Caron One Pound – Sunflower (x1) – Perfect for vivid petals, this worsted weight yarn adds a sunny touch to your keychain.
• Red Heart Yarn – Spring Green (x1) – Use this worsted weight, acrylic yarn for luscious leaves that balance the floral design. -
Tools & Notions
• 4 mm (G-6) Hook – Ideal for creating the delicate stitches needed for the daisy keychain.
• Polyfill – A small amount is needed to stuff the flower middle, giving it a lovely dimension.
• Keychain – Ensure you have one to attach your finished daisy keychain for practical use.
• Tapestry needle – Essential for weaving in ends and securing your project neatly.
This beginner-friendly crochet daisy keychain pattern is perfect for your next quick project, offering both charm and practicality. Happy crocheting!
Why Is This Daisy Keychain Special?
Crafting Made Easy: This beginner-friendly pattern is incredibly straightforward, allowing even novices to enjoy the creative process without stress.
Quick & Rewarding: In just 20 minutes, you’ll have a beautiful daisy keychain ready for gifting or personal use.
Perfect for Scraps: This project helps you utilize leftover yarn, turning it into a stunning accessory instead of letting it gather dust.
Versatile Design: Customize your keychain by experimenting with various colors or adding more petals for a unique flair.
Functional Charm: With its attractive, lightweight structure, this keychain not only looks lovely but also serves a real purpose—keeping your keys organized!
Explore more versatile projects like this in our Crochet Accessories section to keep the crafting momentum going!
Gauge & Sizing Notes
Don’t skip the gauge swatch! Ensuring your crochet tension is accurate is crucial for making the perfect Crochet Daisy Keychain. A standard gauge measurement for this project is 4×4 inches (10×10 cm) which should equal 14 double crochets by 8 rows. If you wish to modify the size of your daisy keychain, adjust your starting chain in multiples of 6 for the petals, or add more rounds for a larger flower center. If your swatch comes out smaller, consider going up a hook size. Remember, every tiny tweak can create a significant difference in your final cozy, floral charm!
Step‑by‑Step Pattern for Quick and Easy Crochet Daisy Keychain
Round 1: Create the Flower Middle
Begin by making a magic ring (mr). Crochet 6 single crochets (sc) into the magic ring, pulling it tight to secure. This forms the center of your daisy flower. Your work should look like a small circle with 6 sts (6 sts total).
Round 2: Increase the Center
For this round, you will increase each stitch. Make 2 single crochets in each of the 6 stitches from the previous round. This will make your flower middle plump and perfect, giving you a total of 12 stitches at the end of this round (12 sts).
Round 3: Shape the Flower
In this round, alternate between increasing and working a single crochet. You will work 1 inc followed by 1 sc, repeating this pattern around. At the end of this round, you should have 18 stitches total, and your flower should start to take shape (18 sts).
Round 4: Add More Stitches
Continue shaping the flower by working an increase followed by 2 single crochets this time. Repeat the sequence around until you meet the end of the round. This round should give you a total of 24 stitches, making your flower middle wider and more bloomed (24 sts). Fasten off and weave in ends.
Round 5: Join for Petals
With your yellow flower middle ready, join white yarn while crocheting both yellow circles together. Begin this round by chaining 3 (ch 3), then work 2 triple crochet (tr) in the next stitch. Follow with another ch 3 and a slip stitch (sl st) in the next. Repeat this sequence around for a full bloom.
Round 6: Close Up Petals
After making all the petals, ensure to stuff the flower middle with a bit of polyfill before you close up. Continue to repeat the steps of chaining 3, triple crocheting, and slip stitching until the round is complete. Secure the yarn and leave a tail for adding the keyring later.
Step 1: Crochet Leaves
To make the leaves, switch to your green yarn and chain 9. Start on the second chain from the hook by working 1 slip stitch (sl st), 1 single crochet (sc), 1 half double crochet (hdc), followed by 2 double crochets (dc). Then, work a hdc, sc, and finish with a sl st. Your leaf shape should start forming nicely.
Step 2: Flip and Repeat for a Second Leaf
After finishing the first leaf, chain and turn your work, then repeat the same sequence of stitches to form a second leaf. Once complete, fasten off, leaving a tail for sewing later. You should have two matching leaves ready to attach for your charming daisy keychain.
Step 3: Assembly
Position the leaves at the back of your keychain and sew them in place, aligning them 90 degrees from the keyring. Once sewn securely, attach your keyring to complete your beautiful crochet daisy keychain. Your project is now ready to add a cheerful touch to your everyday items!
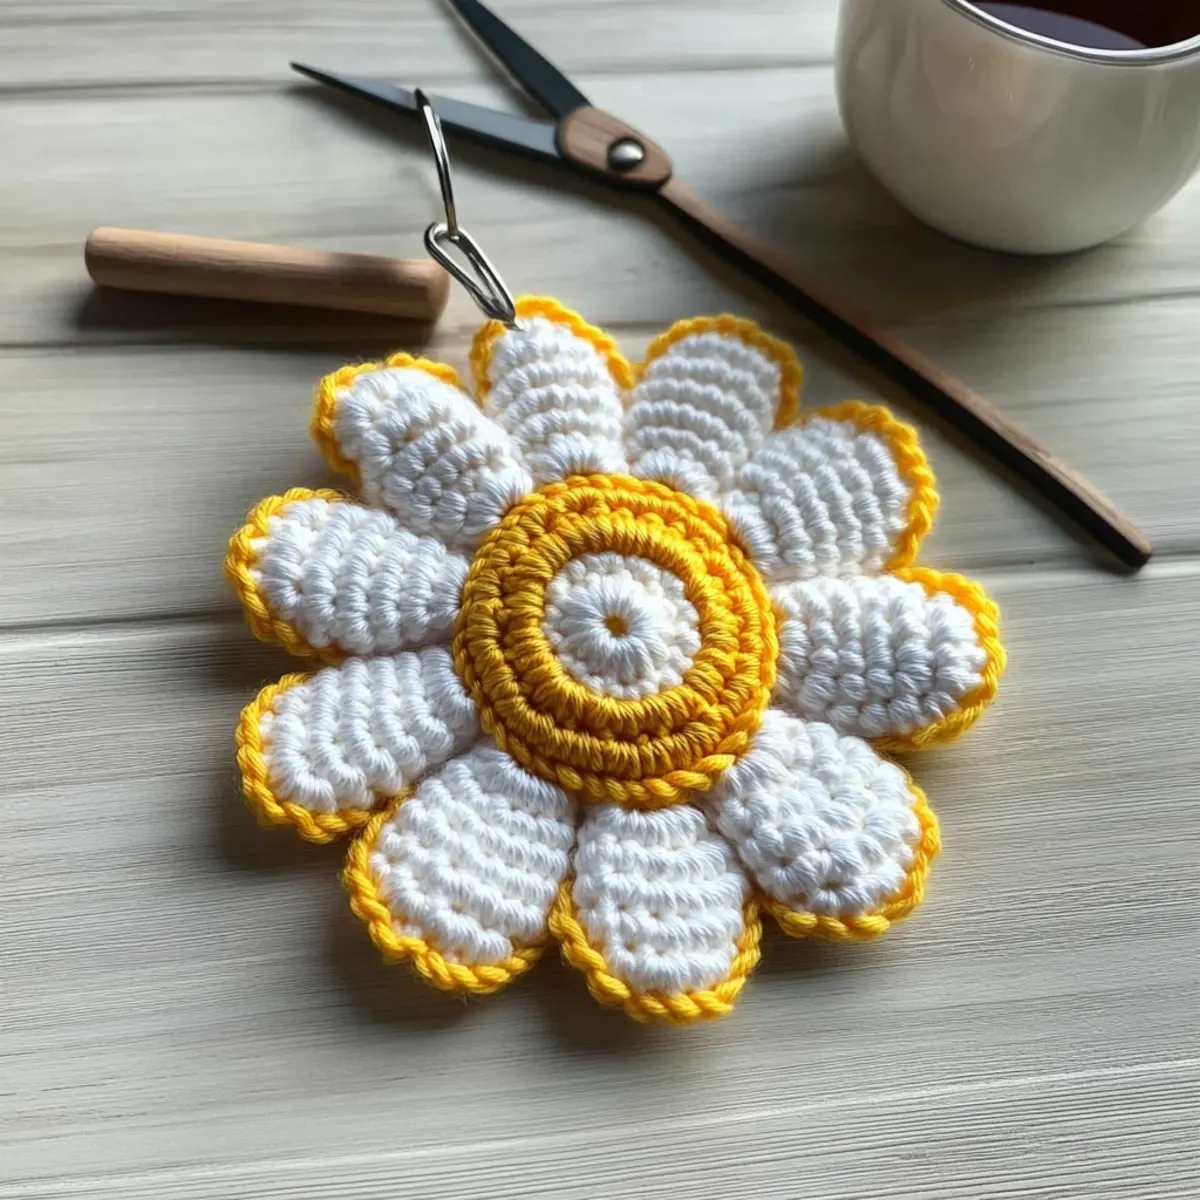
Crochet Daisy Keychain Variations
Get ready to let your creativity blossom with these delightful variations!
-
Yarn Weight Swaps: Try using a lighter or heavier yarn to create a mini or giant daisy, respectively. Experimenting with yarn weights can lead to adorable surprises!
-
Cotton vs. Acrylic: Use cotton yarn for a softer, more delicate feel. Cotton gives your keychain a lovely drape, making it perfect for those who love a natural touch.
-
Color-Blocked Petals: Combine a mix of colors for a vibrant flower! Alternate colors every few petals for a fun kaleidoscope effect that adds personality to your keychain.
-
Sizing Adjustments: Change your hook size to create a larger or smaller daisy keychain. This flexibility allows you to customize your project based on your preference or gifting needs.
-
Add Fringe: Give your keychain an added twist by incorporating fringe at the bottom of the flower! This playful detail can bring a sense of whimsy to your finished piece.
-
Layered Petals: Create dimension by adding an extra layer of petals. This adds volume and makes the flower look bushier and more fabulous.
-
Pom-Pom Center: Swap the polyfill center for a cute pom-pom! This unexpected touch can enhance the overall charm and fun of your crochet daisy.
-
Decorative Border: Finish your keychain with a simple scalloped border around the edges. This small detail can add a polished look and make your daisy truly stand out.
With these ideas in mind, feel free to experiment and make your crochet daisy keychain a unique reflection of your creativity. Looking for more inspiration? Check out our guide on Creative Crochet Techniques for additional tips and tricks to take your projects to the next level!
Expert Tips for Crochet Daisy Keychain
-
Count Stitches Methodically: Always count your stitches at the end of each round. This ensures your daisy keychain maintains its desired shape and size.
-
Watch the Foundation Chain: If you’re starting with a magic ring, make sure it’s snug; a loose starting chain can lead to gaps in your flower.
-
Secure the Keyring: When attaching the keyring, ensure it’s tightly woven into the final flower. An insecure attachment can lead to it falling off with use.
-
Fluffy Flower Center: Before you close up the flower, make sure to stuff the center adequately with polyfill for a lovely, plump look.
-
Experiment with Tension: Don’t hesitate to adjust your tension if needed. A consistent tension will create a clean and professional-looking daisy keychain.
-
Explore Color Combinations: Use different yarn colors to bring your floral charm to life! Mixing hues can create a standout keychain that’s truly one-of-a-kind.
How to Wash and Care for Your Daisy Keychain
-
Hand Washing: Gently wash your daisy keychain in cold water with mild detergent. Avoid agitation to prevent any felting or pilling.
-
Drying: Lay your keychain flat on a clean, dry towel to maintain its shape. Avoid hanging, as this can stretch the fibers.
-
Storage: Store your keychain in a cool, dry place away from direct sunlight to prevent fading. This ensures your charming accessory stays vibrant and fresh.
-
Periodic Check: Regularly check the keyring attachment to ensure it remains secure, especially if used frequently. Your lovely daisy keychain deserves the best care!
Crochet Daisy Keychain FAQs
Can I use different yarn types for the Crochet Daisy Keychain?
Absolutely! While the pattern suggests worsted weight acrylic yarn, you can swap it for cotton or other fibers. Just keep in mind that the final texture and drape may vary. If you choose a thicker yarn, be prepared for a slightly larger flower!
How can I adjust the size of my Crochet Daisy Keychain?
If you want a bigger or smaller keychain, the easiest way is to change your yarn weight and hook size. For example, using a bulkier yarn with a larger hook will yield a bigger flower. Or, use a lighter weight yarn with a smaller hook for a petite charm—just remember to adjust your stitch counts if necessary!
Why is my flower curling at the edges?
Don’t panic! Curling is usually due to too tight of a tension or an imbalanced stitch count. Make sure you’re counting your stitches accurately in each round. If your circle is buckling like a bowl, try loosening your tension just a little bit—it can often do the trick!
Which hook size is best for this pattern?
The pattern recommends a 4 mm (G-6) hook, which creates lovely, dense stitches while still maintaining structure. If you tend to crochet tightly, you might want to go up a hook size for a more relaxed fit. Always check your gauge if you’re unsure!
How do I fix dropped stitches in my Crochet Daisy Keychain?
It’s an easy fix! Simply use your tapestry needle to weave the dropped stitch back into the previous rounds. Be sure to pay close attention to the direction of the stitches and maintain the same tension as the rest of your work.
Can I make the leaves thicker or change their shapes?
Absolutely! To modify the leaves, simply increase the starting chain or adjust the stitches in the pattern. Adding more stitches or using a different stitch type can create a unique shape and size, giving your daisy keychain a fresh twist!
Leave a Reply