
With a quick flick of my hook and the soft warmth of worsted weight yarn in my hands, I’m always transported to my happy place—where every stitch brings a burst of creativity. Today, I’m thrilled to share my pattern for a stylish, handmade crochet crossbody bag! This beginner-friendly project features easy-to-follow, step-by-step instructions, making it perfect for both novices and experienced crafters eager to personalize their accessories. Not only does this bag keep your essentials stylishly close, but it’s also a fantastic stash-buster! Plus, you can customize it with your favorite colors and decorative touches. Let’s dive in and unlock the joy of crafting together; I can’t wait to see your unique creations!
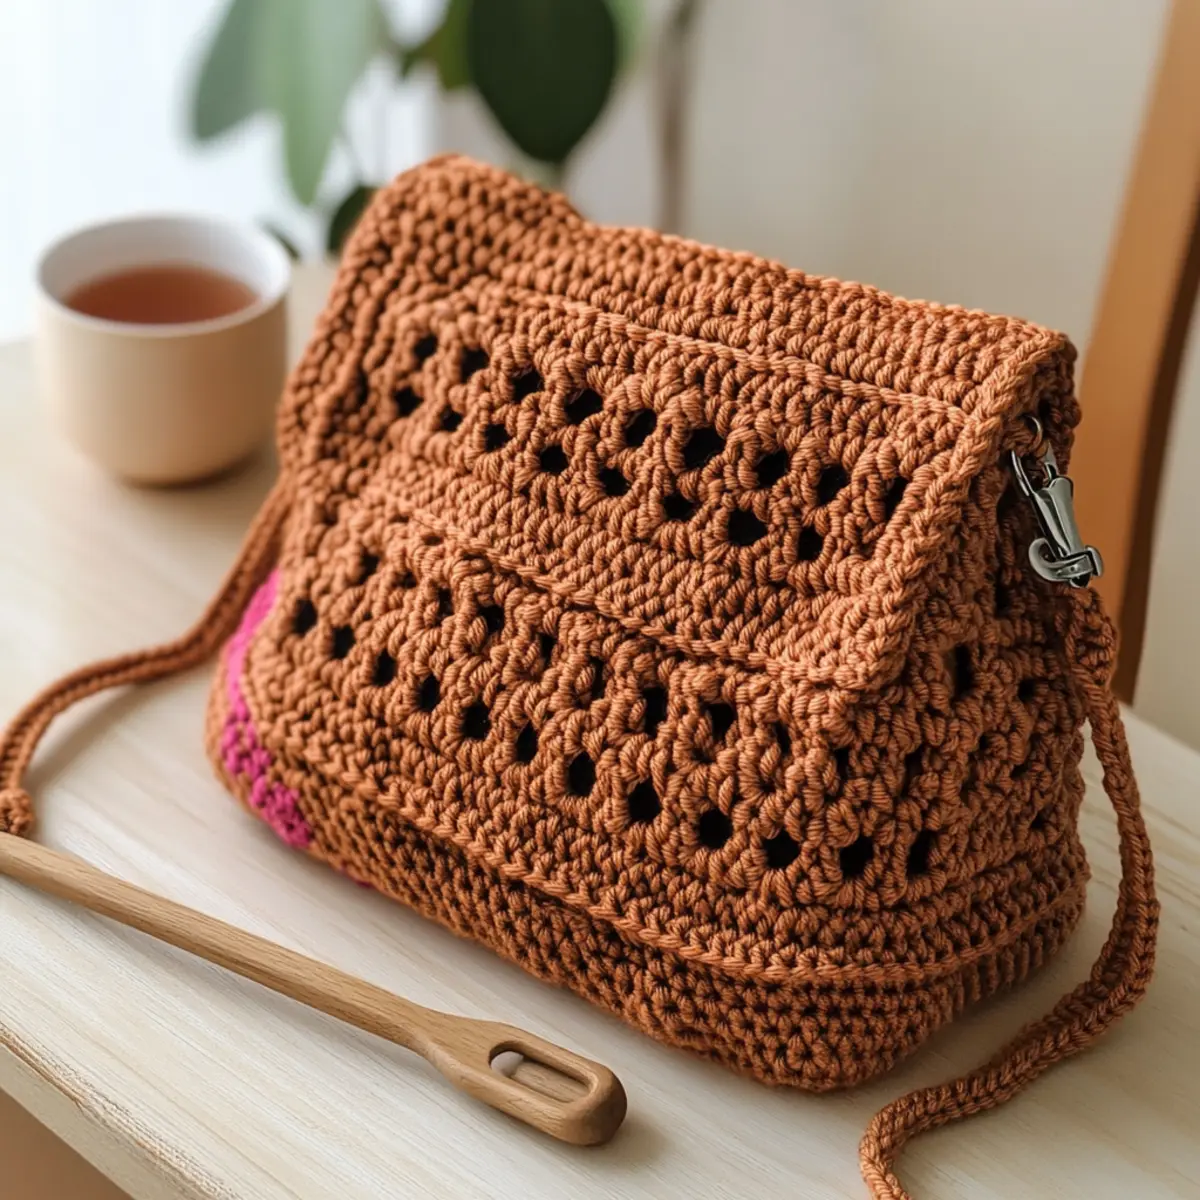
Beginner’s Cozy Crochet Crossbody Bag Materials & Tools
Yarn
- Worsted Weight Yarn – Use approximately 100-200 yards, depending on your bag size and style for that perfect handmade touch.
Tools & Notions
- 5.5 mm (I) Crochet Hook – This hook size is ideal for working with worsted weight yarn for your crossbody bag.
- Yarn Needle – Essential for weaving in loose ends to give your project a polished finish.
- Stitch Markers – Handy for tracking rounds and ensuring your bag’s height remains uniform.
- Button – Choose a decorative button for securing the closure of your stylish bag.
Explore the joy of creating your own crossbody bag with these materials, and let your creativity shine!
Why is this Crossbody Bag Perfect for You?
Stylish & Functional: This bag isn’t just a project; it’s a statement piece that will elevate any outfit! With its chic openwork design, it brings a fresh, airy vibe while effortlessly holding your essentials.
Beginner-Friendly: Perfect for crochet newcomers, this pattern uses fundamental stitches like single and double crochet, making it a breeze to follow with straightforward, step-by-step instructions.
Customizable Design: With endless possibilities for color choices and optional embellishments, your bag will be distinctly yours. Adjust the size and strap length to suit your personal style!
Quick to Complete: This project works up quickly, allowing you to craft a beautiful accessory in no time. It’s a satisfying way to boost your crochet skills and create something functional.
Great as a Gift: Looking for a homemade gift idea? This crossbody bag is a thoughtful present for friends and family! Consider adding a personal touch by using their favorite colors.
Get started today and join the crafting fun! Whether you’re tackling this as a weekend project or a cozy evening activity, your crochet adventures await.
Gauge & Sizing Notes
Don’t skip the gauge swatch! Ensuring your tension is right is essential for achieving the perfect fit and style of your Beginner-Friendly Handmade Crochet Crossbody Bag. For this project, a 4×4 inch (10×10 cm) square should measure 12 stitches by 10 rows in double crochet. If you want to make the bag wider, simply increase your starting chain in multiples of 3. Conversely, if your swatch is too small, try going up a hook size or adjusting your crochet style. If you’re crafting tightly, you might also consider loosening your tension a bit. Happy crocheting!
Step‑by‑Step Pattern for Beginner-Friendly Handmade Crochet Crossbody Bag
Round 1: Base Construction
Chain 25. In the second chain from the hook, make 1 single crochet (sc) and continue sc across the remaining chains, yielding a total of 24 stitches. This forms the foundation of your crossbody bag, and your work should lay flat without any curling.
Rounds 2-15: Base Expansion
Continue to single crochet (sc) in each stitch around, placing a stitch marker at the beginning of each round for clarity. This will create a sturdy base for your bag. At the end of Round 15, you should still have 24 stitches (24 sts).
Round 16: Starting the Sides
Chain 3 (this counts as your first double crochet), then work 1 double crochet (dc), chain 1, skip 1 stitch around to create the openwork design. Join with a slip stitch (sl st) to the top of the starting chain. Your piece will begin to show an airy pattern with a total of 12 open spaces.
Rounds 17-45: Side Pattern Continuation
Repeat the pattern from Round 16, working 1 dc, chain 1, skip 1 stitch around, until you’ve reached your desired height. At the end of Round 45, you should have a height of approximately 9 inches, keeping your total stitch count consistent at 12 open spaces throughout.
Row 1: Flap Creation
Chain 3 and turn your work. Starting in the second dc of the previous round, double crochet back and forth across half of the last round’s stitches. This should create the flap for your bag; after completing this row, you will have 12 stitches.
Rows 2-15: Creating the Rounded Flap
For each row, chain 3, turn, and then decrease at the beginning and end of each row by skipping the first and last stitches (dc or sc as required). Continue this until you complete 15 rows, tapering your flap to a gentle curve. Your work should maintain a rounded appearance by the end.
Step 1: Strap Construction
To create the strap for your crossbody bag, chain 6. Single crochet (sc) in the second chain from the hook and across until you reach the end of the chain. This will create a sturdy base for your strap, totaling 5 stitches.
Step 2: Lengthening the Strap
Continue to single crochet across until the strap measures 45-50 inches in length. Ensure the strap is flexible yet strong enough to support the weight of your bag. Once finished, cut your yarn, leaving a long tail for attachment.
Step 3: Final Assembly
Attach the strap securely to either side of the bag using the long yarn tail. Whip stitch it into position to ensure durability. Finally, sew on your chosen button to complete the closure, and weave in all loose ends for a polished finish. Your stylish, beginner-friendly crochet crossbody bag is now complete!
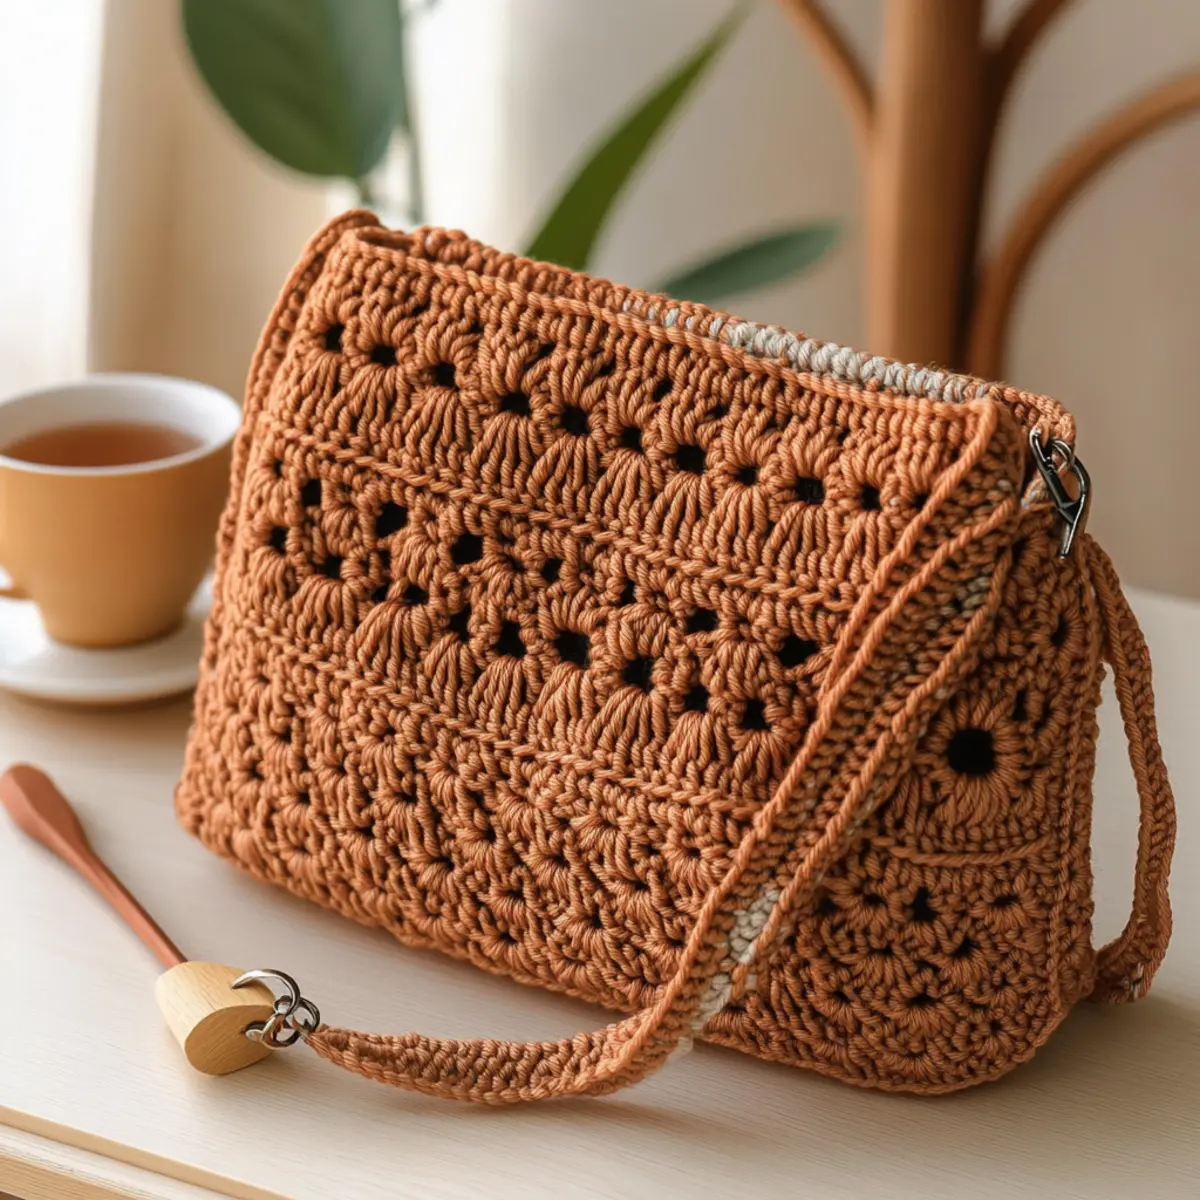
Crochet Crossbody Bag Variations
Feel free to sprinkle your creative touch on this delightful crochet project!
-
Yarn Weight Swap: Choose a lighter or heavier yarn for a different texture and size. Be mindful of adjusting the stitch count accordingly.
Switching from worsted to bulky yarn can give your bag a sturdier feel, perfect for even more everyday use. -
Fiber Alternatives: Try cotton instead of acrylic for a breathable, summer-friendly option. The soft touch of cotton adds an extra layer of comfort!
-
Color Blocking: Create a vibrant look by alternating yarn colors every few rounds. This playful gradient will make your bag pop and uniquely reflect your style!
-
Adjustment in Height: Add or remove rounds to fit your personal needs. A taller bag offers extra storage for essentials, while a shorter design keeps it compact and stylish.
-
Strap Variations: Shorten or lengthen the strap based on your preference. A crossbody or shoulder-length strap creates two distinct styles to fit your outfits!
-
Textural Elements: Incorporate pom-poms, fringe, or a decorative border to add flair. These embellishments will give your bag an artisanal feel and show off your unique taste.
-
Unique Button Choices: Swap the button for a magnetic snap, zipper, or even a decorative clasp for an added layer of functionality and charm. Don’t be afraid to make this bag all your own!
-
Embellishments: Consider sewing on patches, or fabric flowers for an artsy vibe. Handmade accessories stand out, and it’s all about what speaks to you!
Now, you’ll have a one-of-a-kind crochet crossbody bag that tells your story. Want more inspiration? Check out our crochet tips for beginners or explore our collection of colorful yarn ideas to make your project even more personal!
Washing & Care for Your Crocheted Crossbody Bag
Hand Washing: Use cold water and a mild detergent to gently clean your bag. Avoid harsh chemicals to preserve the beauty of your handmade creation.
Drying/Blocking: Lay your bag flat on a clean, dry towel to maintain its shape and integrity. Avoid hanging to prevent stretching.
Storage: Store your bag in a cool, dry place when not in use. Consider placing silica gel packets inside to absorb moisture and keep it fresh.
Routine Maintenance: Regularly check for any loose threads or wear. Hand wash as needed to keep your lovely crossbody bag looking its best!
Expert Tips for Your Crochet Crossbody Bag
-
Track Your Rounds: Use stitch markers to identify the beginning of each round; this helps maintain an even height and keeps your bag looking professional.
-
Count Stitches: At the end of each round, count your stitches to ensure consistency and avoid warping the shape of your bag.
-
Check Your Tension: If your stitches feel too tight or too loose, adjust your grip on the yarn or consider trying a different hook size to achieve a balanced fabric.
-
Finish Neatly: Weave in loose ends securely to prevent unraveling, ensuring your bag remains intact for all your stylish outings.
-
Customize Wisely: When experimenting with different yarn colors for your handmade bag, remember that variation in yarn weight can affect the final result—keep it consistent!
Beginner-Friendly Handmade Crochet Crossbody Bag FAQs
Can I use a different yarn than worsted weight for this crossbody bag?
Absolutely! You can substitute worsted weight yarn with other yarn types, like cotton or a lighter acrylic. Just make sure to adjust your hook size accordingly, as this can alter the final look and feel of your bag.
How do I adjust the size of the crossbody bag?
To make the bag larger or smaller, simply increase or decrease the number of foundation chains for the base. Remember, for every additional inch in height, you’ll want to add about 2-3 rounds, depending on your preferred style.
Why does my work keep curling at the edges?
Don’t panic! Curling is often a sign of tight stitches. If your circle is buckling like a bowl, consider using a larger hook for better tension, or try loosening your grip on the yarn as you work.
What size hook should I use if I want a tighter or looser fabric?
The standard size recommended is a 5.5 mm (size I) hook for this project. If you prefer a tighter fabric, try a smaller hook—just be aware that it may take more time to complete your bag!
How can I fix dropped stitches in my rounds?
It’s an easy fix! Just gently pull the working yarn to create a loop around the hook where the stitch was missed. You can also use a yarn needle to pick up the dropped stitch and work it back into place. Always remember to check your count at the end of each round to keep everything on track!
What’s the best way to secure my bag closure?
For a secure closure, I recommend sewing on a button—it’s both functional and adds a lovely decorative element. Alternatively, you can use a snap fastener or even a small magnetic clasp for a sleek finish!
Leave a Reply