
This past weekend, I stumbled upon a delightful memory as I was digging through my yarn stash – a lovingly crafted crochet cow amigurumi that had brought joy to my little one. While recalling those cozy afternoons spent crocheting, I felt an irresistible urge to share the magic of amigurumi with all of you. This crochet cow amigurumi pattern is designed for those who want to create something utterly charming and whimsically playful. Not only is it a quick project, perfect for using up leftover yarn, but it also invites you into the wonderfully therapeutic world of crochet. As each stitch comes together, the anticipation of seeing your adorable cow come to life is an experience that no crafter can resist. Whether you’re crafting it as a thoughtful gift for a child or simply as a cute companion for your home, this project embodies creativity and warmth in every stitch. How will your own crochet journey unfold as you create this delightful amigurumi?
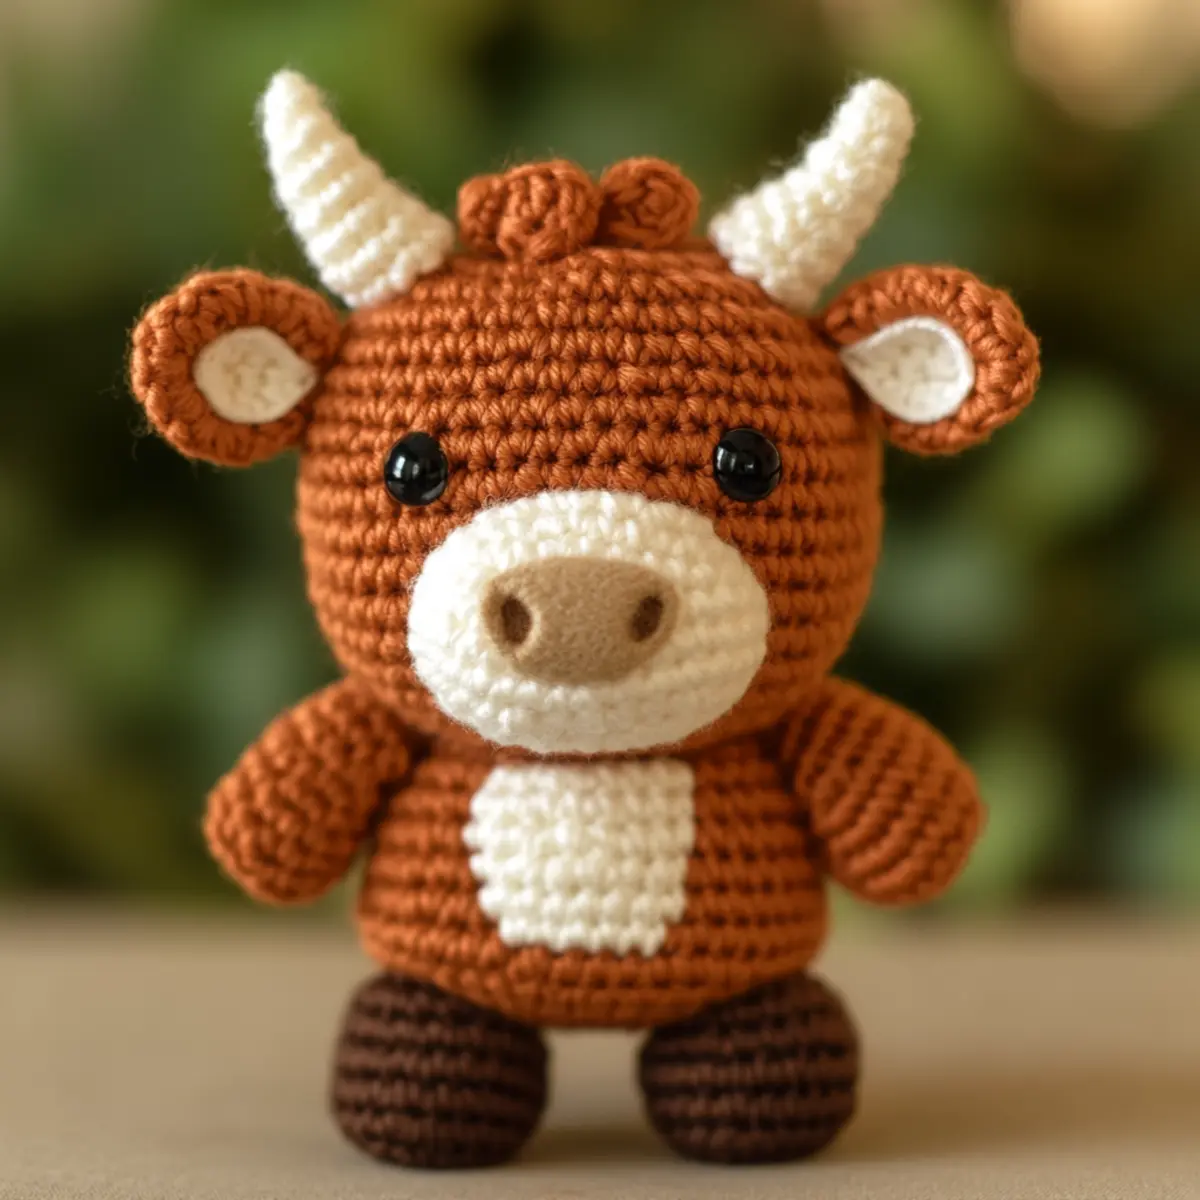
Crochet Cow Amigurumi Materials & Tools
Yarn
- Worsted weight yarn – Choose acrylic or cotton for a soft, durable finish; you’ll need about 200-300 yards for the entire cow amigurumi.
- Accent yarn – A small amount of contrasting colors for details like horns and spots can add special charm.
Tools & Notions
- Crochet hook (size E to G) – Use a 3.5mm (E) or 4.0mm (G) hook for tightly stitched amigurumi.
- 12mm safety eyes – Provides a cute, child-safe feature for your amigurumi.
- Yarn needle – Essential for stitching parts together securely.
- Stitch markers – Keep track of your rounds when amigurumi making to maintain consistent tension and avoid losing count. Use these materials to craft an enchanting crochet cow amigurumi that you’ll be proud to showcase!
Why You’ll Love This Pattern
Simplicity is the heart of this crochet cow amigurumi pattern, making it ideal for intermediate crafters eager to explore new textures without complex techniques. Texture takes center stage as you work with worsted weight yarn, giving your amigurumi a plush and huggable feel that kids will adore. Additionally, this pattern is highly customizable; swap out colors or add unique embellishments like scarves or hats for a personalized touch. As a great stash-buster, it allows you to use up leftover yarn, promoting sustainability while enjoying a playful craft. Plus, the quick construction lets you finish it in a single weekend, making it an excellent last-minute gift option for celebrations. If you’re intrigued by more charming crochet projects, check out our Crochet Flowers Delightful for added inspiration!
Gauge & Sizing Notes for Crochet Cow Amigurumi
To ensure your crochet cow amigurumi turns out perfectly, checking your tension is essential. A standard gauge measurement is 4×4 inches (10×10 cm) in the round, typically using worsted weight yarn with a size E (3.5mm) or G (4.0mm) crochet hook. If the tension is too loose, your stitches may create gaps, and if too tight, it may alter the finished shape. To resize the amigurumi, adjust the starting chain or rounds according to your gauge; you can increase the yarn weight or crochet hook size for a larger cow or use a lighter yarn for a smaller version. If your gauge swatch doesn’t match, don’t hesitate to experiment until you achieve the specified stitch count. This adaptability allows for a custom fit, ensuring your crochet cow amigurumi is delightful in any size!
Step-by-Step Pattern for Crochet Cow Amigurumi
Row 1: Start the Head
Begin with a magic ring and work 6 sc into the ring. Pull the ring tight to close it. This foundation creates a solid base, ensuring the head of your crochet cow amigurumi has a firm start. (6)
Row 2: Increase the Stitch Count
Work 2 sc in each st around for the entire round. This will increase your total stitch count to 12, giving a nice, rounded shape to the head. Keep your tension consistent to avoid gaps between stitches. (12)
Row 3: Continue Increasing
In this round, work 1 sc in the first st, then 2 sc in the next st. Repeat this pattern around. This method is known as an increase and it will expand your piece to 18 stitches. (18)
Row 4: Increase Again
For this round, work 1 sc in the first two st, followed by 2 sc in the next st. Continue this pattern until you complete the round, ending with a total of 24 stitches. This technique shapes out your cow’s head beautifully. (24)
Row 5: Stabilize the Shape
Now, simply work 1 sc in each st around for this round. Maintaining 24 stitches allows the head to gain strength without losing its nice rounded form. Check for any loose areas and adjust your stitches accordingly. (24)
Row 6: Begin Shaping the Neck
In this round, decrease to form the neck. Start with 1 sc in the first 2 st, then dec in the next. Repeat this sequence until you complete the round. Your new stitch count should be 18. (18)
Row 7: Neck Continuation
Continue the decrease process by working 1 sc in the first st, then dec for the next two. This round reduces the stitch count further to 12, shaping the neck of the crochet cow amigurumi nicely. (12)
Row 8: Finish the Head
To complete the head, work 1 sc in each st around. The stitch count remains at 12, providing a stable finish before you transition to the body of the amigurumi. (12)
Row 9: Start the Body
Transition to the body by working a magic ring again and make 6 sc into the ring. This starts the body section, laying the foundation for your crochet cow amigurumi’s body. (6)
Row 10: Turn Up the Volume
Increase as before: 2 sc in each st around, which brings your count back to 12. This quick rise will set up the body nicely, ready for further shaping. (12)
Row 11: Body Expansion
In this round, work 1 sc in the first st and then 2 sc in the next. Follow this pattern around to reach a total of 18 stitches; this gives the body more width. (18)
Row 12: Keep Forms Smooth
For final shaping, repeat the process of even stitching: 1 sc in each st until the end of this round. Keep your stitch tight to maintain a well-formed body. The stitch count stays at 18. (18)
Row 13: Decrease Body
Start decreasing with 1 sc in the first 2 st, followed by dec until the end of the round. This will bring your total back to 12, beginning the tapering of the body towards the lower half. (12)
Row 14: Final Touches
Continue this decreasing method, working 1 sc in the first st, and dec next to create a tidy end to your crochet cow amigurumi body. Your final round should keep the stitch count at 6. (6)
Row 15: Assembly Preparation
Ensure all parts are ready for assembly. Each section should be shaped and sized correctly to provide a seamless finish as you stitch them together, offering a delightful final figure. The final steps will involve using a yarn needle for secure attachment.
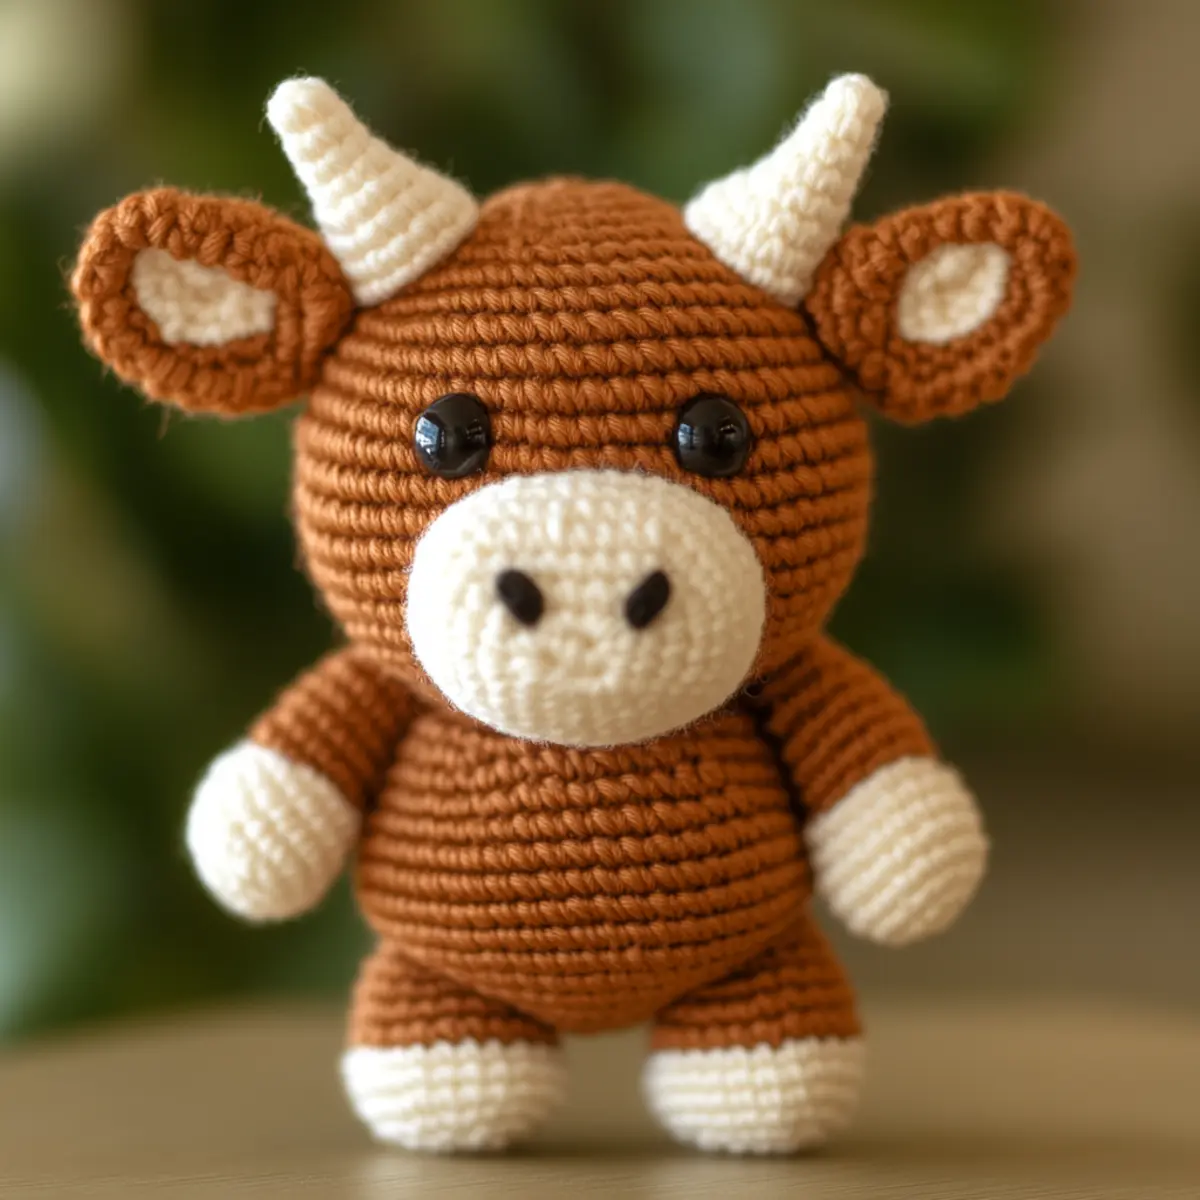
How to Wash and Care for Your Crochet Cow Amigurumi
Machine Washing: If needed, place your crochet cow amigurumi in a mesh bag and use a gentle cycle with cold water to avoid agitation and preserve its shape.
Hand Washing: For delicate care, hand wash with lukewarm water and mild detergent. Gently press without wringing and avoid full submersion to maintain structure.
Drying: Always lay your amigurumi flat to dry. This will prevent stretching and help it retain its original shape, keeping your crochet cow looking its best.
Storage: Store in a dry, cool place away from direct sunlight to prevent fading. Use a breathable fabric storage container to keep dust off your crochet cow amigurumi.
crochet cow amigurumi Variations
Feel free to make your crochet cow amigurumi as unique as you are! Experimenting with different materials will enhance its charm:
- Color-blocking: Use bright contrasting colors for the body and limbs to create a vibrant cow with personality.
- Size variation: Opt for a bulky yarn and larger hook for a bigger cuddly version; a lovely squishy friend!
- Yarn alternatives: Swap the worsted weight yarn for a bamboo blend for a softer, breathable finish, ideal for warm weather.
- Texture change: Incorporate bobble or popcorn stitches in certain areas for a playful, three-dimensional effect.
- Embellishments: Knit a tiny scarf or hat for your amigurumi cow to personalize it even more; a great way to express creativity!
- Animal friends: Consider creating a whole farmyard of amigurumi animals; crochet horses or pigs to accompany your cow by following Crochet Flowers for ideas.
- Gift sets: Make a set of adorable amigurumi—think cows and sheep for a cute barnyard collection.
- Different features: Alter the safety eyes’ size for different expressions; larger eyes make for a more whimsical look.
With these variations, your crochet cow amigurumi can tell stories, display creativity, and truly shine as a unique piece of art.
Tips for the Best Crochet Cow Amigurumi
Count Your Stitches: Keep an eye on your stitch count after each round, as it’s easy to lose track during intricate amigurumi patterns.
Use Stitch Markers: Utilize stitch markers to distinguish your rounds. This is especially useful for beginners and helps in maintaining consistent tension.
Avoid Twisted Chains: Ensure your foundation chain is not twisted to prevent shaping issues later. Start with a relaxed hand to keep the foundation even.
Maintain Tension: Consistent tension is crucial for a uniform look. Practice with swatches if you’re adjusting yarn or hook sizes to find your comfort level.
Careful Assembly: When stitching different parts together, make sure they are in proper alignment to give your crochet cow amigurumi a polished look.
Experiment with Colors: Consider different yarn colors and textures to create unique variations of your crochet cow amigurumi, enhancing its charm.
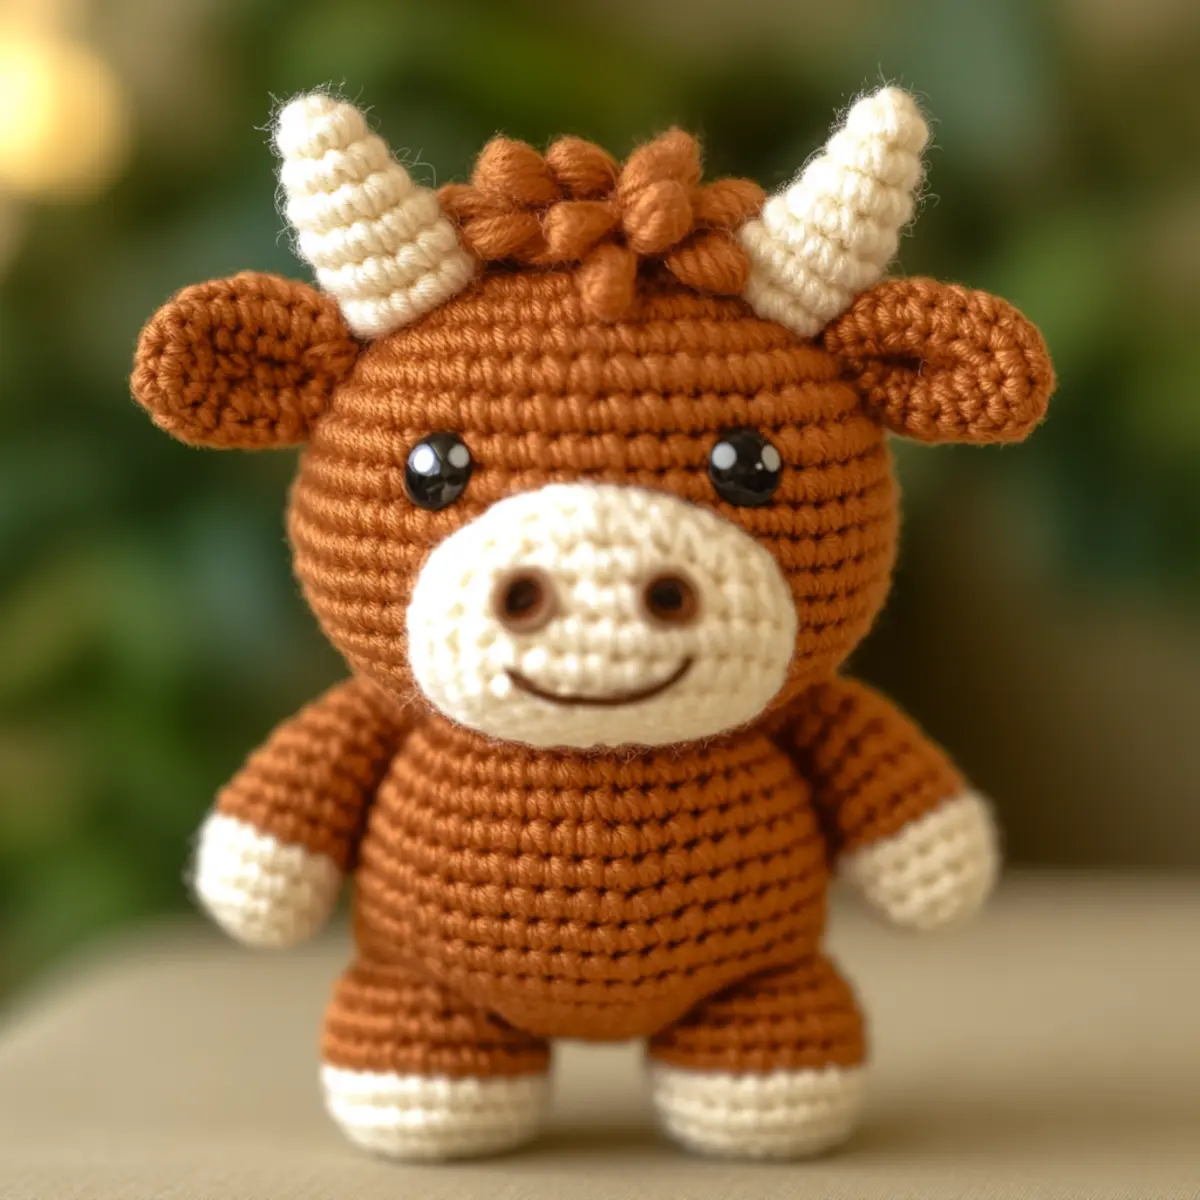
Crochet Cow Amigurumi FAQs
Can I substitute the yarn?
Absolutely! You can substitute a different yarn as long as it’s a worsted weight. Just make sure to adjust your hook size if the new yarn has different thickness.
How do I adjust the size of my amigurumi?
To resize, use a thicker yarn and larger hook for a bigger cow or thinner yarn for a smaller version. You can also increase or decrease the starting rounds accordingly.
What if my stitches are curling?
Don’t panic! Curling often occurs when tension is too tight. Try loosening your grip, or use a larger hook to avoid creating a tight fabric in your crochet cow amigurumi.
What hook size should I use for this pattern?
For best results, use a 3.5mm (E) to 4.0mm (G) hook. This range typically works well with worsted weight yarn for tight stitches necessary for amigurumi.
How can I fix dropped stitches?
If you spot a dropped stitch, carefully pull back to that point, and rework the stitches to recover. Using stitch markers can help prevent this from happening.
Can I add embellishments to personalize it?
Absolutely! Adding hats, scarves, or different stitching techniques can customize your crochet cow amigurumi and make it uniquely yours.
Leave a Reply