
As I sat on the couch, enveloped in a cozy blanket, the sweet idea of creating a special piece for my little one sparked joy within me. That’s how the Crochet Bunny Baby Hoodie was born! This whimsical hoodie, complete with adorable bunny ears, is not only irresistibly cute, but it also works up quickly, making it a fantastic option for beginner crocheters and busy parents alike. With this free pattern, you’ll embark on a delightful crafting adventure that’s sure to become a treasured keepsake. Stitch by stitch, you can create a cozy garment that wraps your baby in warmth and charm, perfect for snuggles and adventures. Ready to let your creativity bloom with this enchanting design? Let’s dive in!
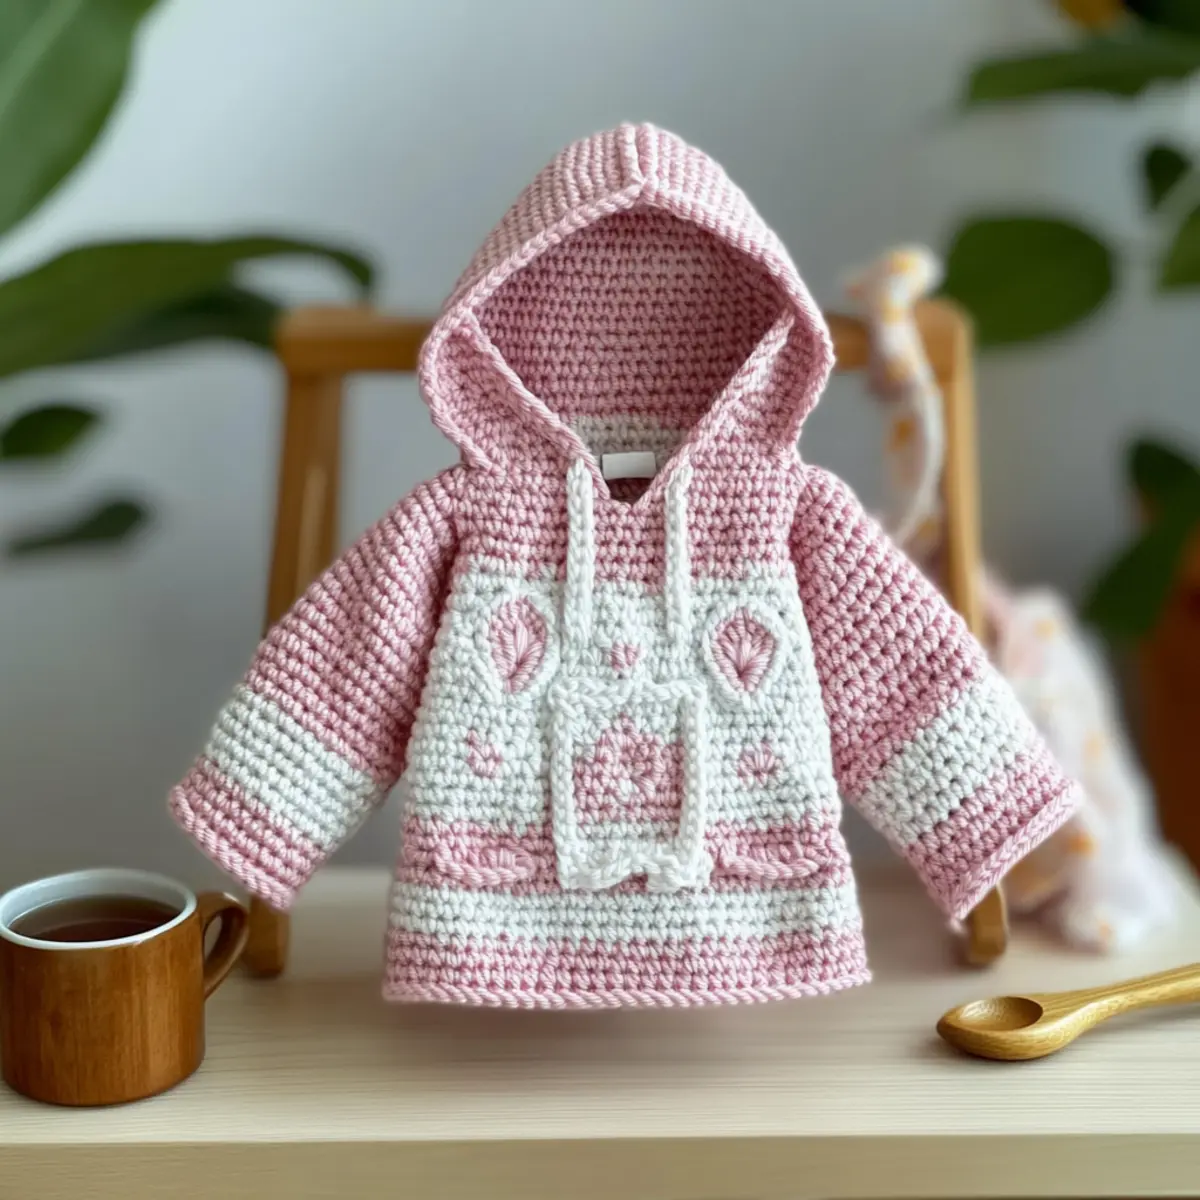
Cozy Crochet Bunny Baby Hoodie Materials & Tools
• Ideal for new parents or gift-givers looking for a quick project!
Yarn
- Category #3 / Light Worsted Yarn – You’ll need 3 balls for 0-3 months (Stylecraft Naturals Bamboo & Cotton, 273yds/100g) and 4 balls for 6-12 months (Stylecraft Special Aran, 214yds/100g).
Hooks
- 4mm (G) Hook – Use this size for the hoodie in the 0-3 months version.
- 5mm (H) Hook – Needed for the 6-12 months version.
- 3mm Hook – Essential for the bunny applique to create those cute features.
Notions
- 15mm Buttons – Requires 4 for 0-3 months size; 20mm buttons needed for 6-12 months (also 4).
- Tapestry Needle – Perfect for weaving in ends and adding the final touches.
- Stitch Markers – Helpful for keeping track of your stitches during assembly.
Gather these materials, and you’re all set to create the cozy crochet bunny baby hoodie that will surely become a cherished piece!
Why is the Bunny Hoodie Special?
Uniqueness in Design: The playful bunny ears and whimsical appliques make this hoodie a charming standout, perfect for any baby’s wardrobe.
Quick Project: With simple stitches and a fast assembly, you’ll find yourself finishing this adorable piece in no time—ideal for those last-minute gift needs!
Cozy Comfort: Made with lightweight yarn, the hoodie provides a snug but breathable fit, ensuring your little one stays warm without overheating.
Beginner-Friendly: Equipped with clear instructions, this pattern is perfect for novice crocheters, helping you build confidence as you create something special.
Customizable Colors: You can easily adapt the colors for the hoodie and appliques, allowing for a unique personal touch tailored to your style!
So gather your yarn and hooks, and let’s begin this joyful crafting journey together!
Gauge & Sizing Notes
Don’t skip the gauge swatch! For the cozy Crochet Bunny Baby Hoodie, ensuring the correct gauge is essential for achieving a snug yet comfortable fit for your little one. For the 0-3 months size, your gauge should measure 26 stitches and 15 rows to make a 4×4 inch (10×10 cm) square in double crochet. Conversely, for the 6-12 months size, strive for 20 stitches and 12 rows. If your tension is too tight and your swatch is smaller, consider going up a hook size for better results. To adjust the sizing, simply increase your starting chain in multiples of 4 to create a larger size, keeping the final measurements in mind for your adorable bunny design!
Step‑by‑Step Pattern for Cozy Crochet Bunny Baby Hoodie
Row 1: Start the Body
Chain 64 using your chosen lightweight yarn. In the second chain from the hook, work a double crochet (dc). Continue dcing in each chain across the row, making sure to count your stitches as you go. This row sets the foundation, and your work should lie flat and even at this point (63 dc).
Row 2: V-Stitch Pattern
Turn your work, chaining 3 (counts as first dc). In the next stitch, work 1 dc, then skip one stitch and create a V-stitch (dc, ch 1, dc) in the following stitch. Repeat this pattern across the row to the last stitch, finishing with a dc. Your stitches should form a lovely V-shape, creating texture (31 V-stitches).
Row 3: Continue V-Stitch
Turn your work and chain 3. Repeat the V-stitch pattern, placing a V (dc, ch 1, dc) in each ch-1 space from the previous row, while ending with a dc in the top of the starting ch-3. This repetitive sequence builds depth and dimension while maintaining an enjoyable rhythm (31 V-stitches).
Row 4: Shaping the Body
Begin to decrease for the armholes by placing a dc in the first 6 stitches as before. Then work a V-stitch in the next ch-1 space and repeat until 7 stitches remain. Finish with a dc in the last stitches. Your work should now have a slight curve mimicking the body shape (56 sts).
Row 5: Complete Body Length
Continue in rows of V-stitch for about 12 inches or until the desired body length is reached. Make sure to check that the fabric stays consistent. This is where the cozy crochet bunny baby hoodie starts to take form, bringing it closer to being ready for your little one (varying counts as needed).
Step 1: Armholes Division
At the height of the body, divide the stitches for armholes by marking 14 stitches from each side of the work. Chain 1, turn, and work back across the remaining stitches using the V-stitch until you achieve about 5 inches tall for the front and back panel. Your work should now have a clear separation for armholes (28 sts).
Step 2: Create Sleeves
With your markers still in place, attach your yarn at the armhole and chain 1. Work in rounds making 1 dc in each stitch around, and increase 1 dc every 5 stitches until you reach 33 stitches. The sleeves should begin to form a gentle bell shape that adds comfort to the hoodie (33 sts).
Step 3: Sleeve Length
Continue working in rounds until sleeves reach approximately 8 inches or to your desired length. Be sure to measure as you crochet to ensure a perfect fit. This part contributes to your cozy crochet bunny baby hoodie’s charming style and allows for mobility for your little one (33 sts).
Step 4: Start the Hood
Attach yarn to the neck edge and chain 1. Work 1 dc across the neck opening. Then, to create the hood, begin working in rows, increasing 1 dc at each end to create a rounded shape, until the hood measures about 10 inches tall. Your work should transform into a soft hood that frames the baby’s face nicely (varied counts).
Step 5: Finishing the Hood
Once the hood is tall enough, fold it in half and seam the top. Secure the ties with a slip stitch if desired. This will give structure to the cozy crochet bunny baby hoodie. Now your hood is nicely shaped and ready for some adorable bunny ears (finished shape).
Step 6: Applique and Assembly
Create bunny appliques as directed in your chosen pattern, attaching them to the front of the hoodie. Make sure to sew securely and position them symmetrically. Finishing touches ensure that your charming hoodie has its special details coming to life, blending beauty with functionality.
Step 7: Edging and Final Touches
Using a contrasting color, add a decorative border around the edges of the body and hood with slip stitches. This adds a polished finish to your cozy crochet bunny baby hoodie. Finally, weave in any remaining ends, and add any buttons as desired to complete your oh-so-cute creation!
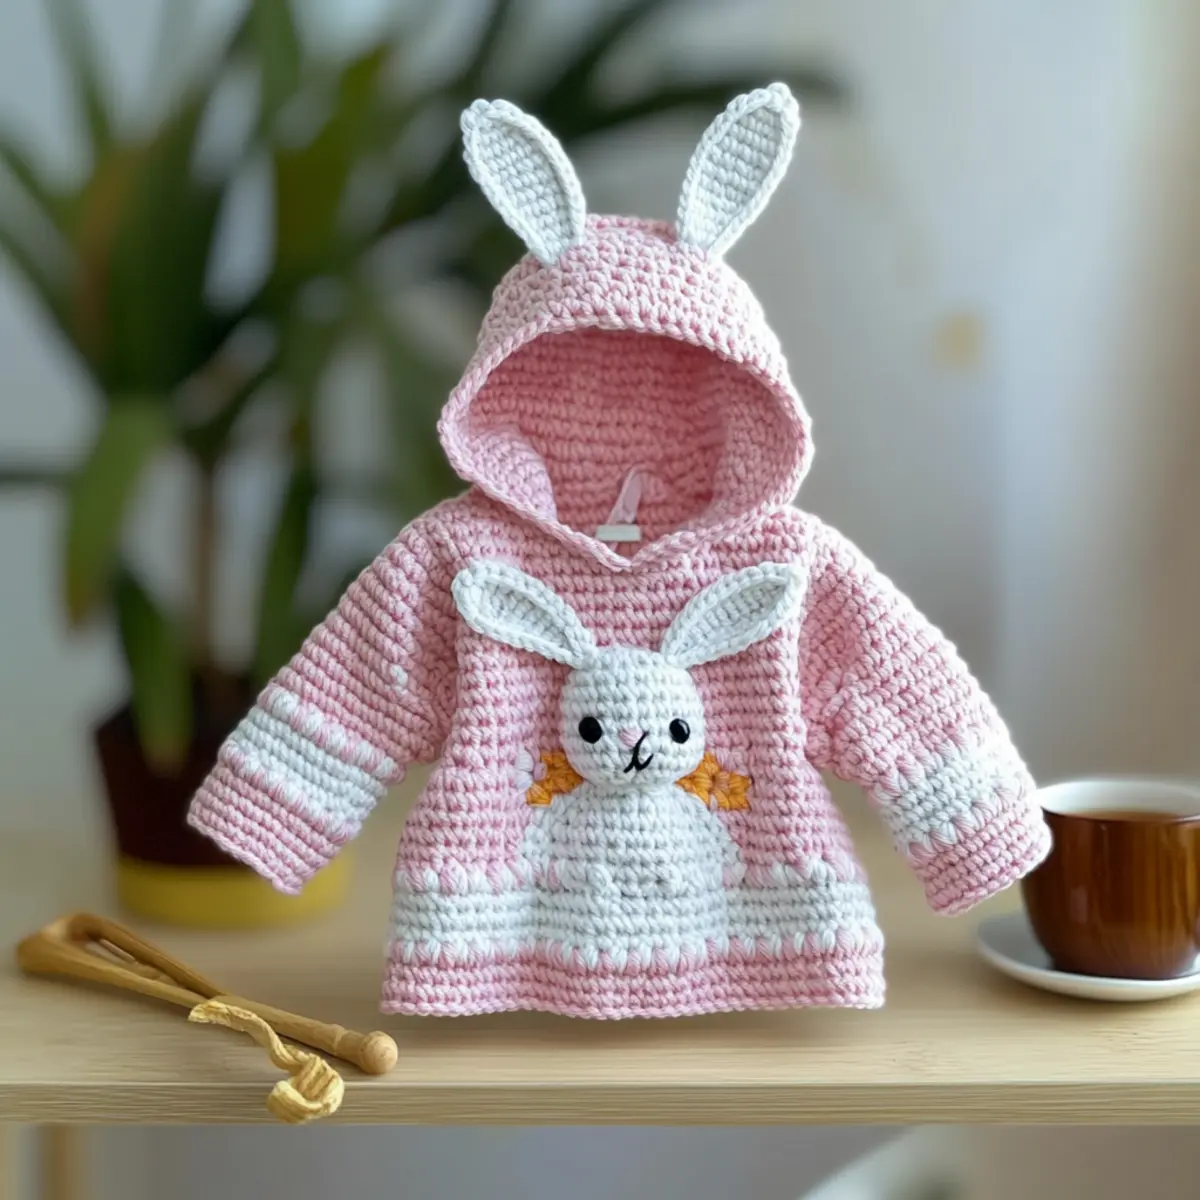
Washing & Care for Your Bunny Baby Hoodie
-
Hand Washing: Gently hand wash your Bunny Baby Hoodie in cold water with a mild soap. Avoid twisting or wringing to preserve the fabric’s shape and softness.
-
Drying/Blocking: Lay the hoodie flat on a clean towel to dry. This helps maintain the structure of the bunny ears and prevents any stretching or distortion.
-
Storage: When not in use, store the hoodie in a cool, dry place. Avoid hanging, as this can stretch out the fabric; instead, fold it neatly to keep its cozy shape.
-
Avoid Heat: Never use a dryer or expose the finished hoodie to high heat, as this can cause shrinkage or damage to the yarn’s fibers.
Expert Tips for the Bunny Baby Hoodie
-
Check Tension: Ensure you check your gauge before starting to maintain consistency throughout the project. This is vital for achieving the perfect fit for your little one.
-
Count Stitches: Keep a close eye on your stitch count at the end of each row, as losing track can affect the overall shape of the Bunny Baby Hoodie.
-
Secure Ends: When weaving in your ends, make sure to use the tapestry needle to secure them well; this prevents unraveling and creates a clean finish.
-
Beware of Ears: When adding the bunny ears, keep in mind that they can pose a slight hazard. Always monitor your baby while wearing the hoodie.
-
Add Decorative Edge: Consider using a decorative edging technique around the front panels and hood for a lovely finishing touch that enhances the overall cute design of the hoodie.
-
Customize Wisely: If altering length or colors, aim to maintain the integrity of the design—which contributes to the charm of this free pattern.
Variations & Substitutions for Bunny Hoodie
Feel free to explore your creativity and personalize the Crochet Bunny Baby Hoodie for a truly unique creation.
-
Yarn Substitutions: Opt for cotton yarn for a softer touch. Cotton is breathable and perfect for warmer climates.
-
Color Block: Use contrasting colors for the body and sleeves. It adds a playful twist and lets you express your artistic style.
-
Larger Sizes: Modify the pattern for older babies by simply increasing the stitch count in multiples of 2 for your desired size.
-
Textural Interest: Add a plush pom-pom on the hood for a whimsical look, bringing extra charm to your cozy design.
-
Fringe Finish: Consider adding a fringe around the sleeves or bottom hem for a boho twist that makes the hoodie even cuter.
-
Mix Yarn Weights: Combine a #3 light worsted with a #5 bulky yarn for a super comfy, lofty effect—ideal for colder days!
-
Bunny Face Applique: Create a little more dimension by adding a bunny face with buttons for eyes, giving your hoodie a friendly character.
-
Sleeve Length Adjustment: Extend or shorten the sleeves to match your baby’s growth; this ensures you get more wear out of this adorable piece!
Embrace the opportunity to make this project your own by trying out these ideas! If you’re looking for more decorative techniques, check out our guide on adding unique textures for your crochet projects, or read about color theory in crochet to spark even more inspiration.
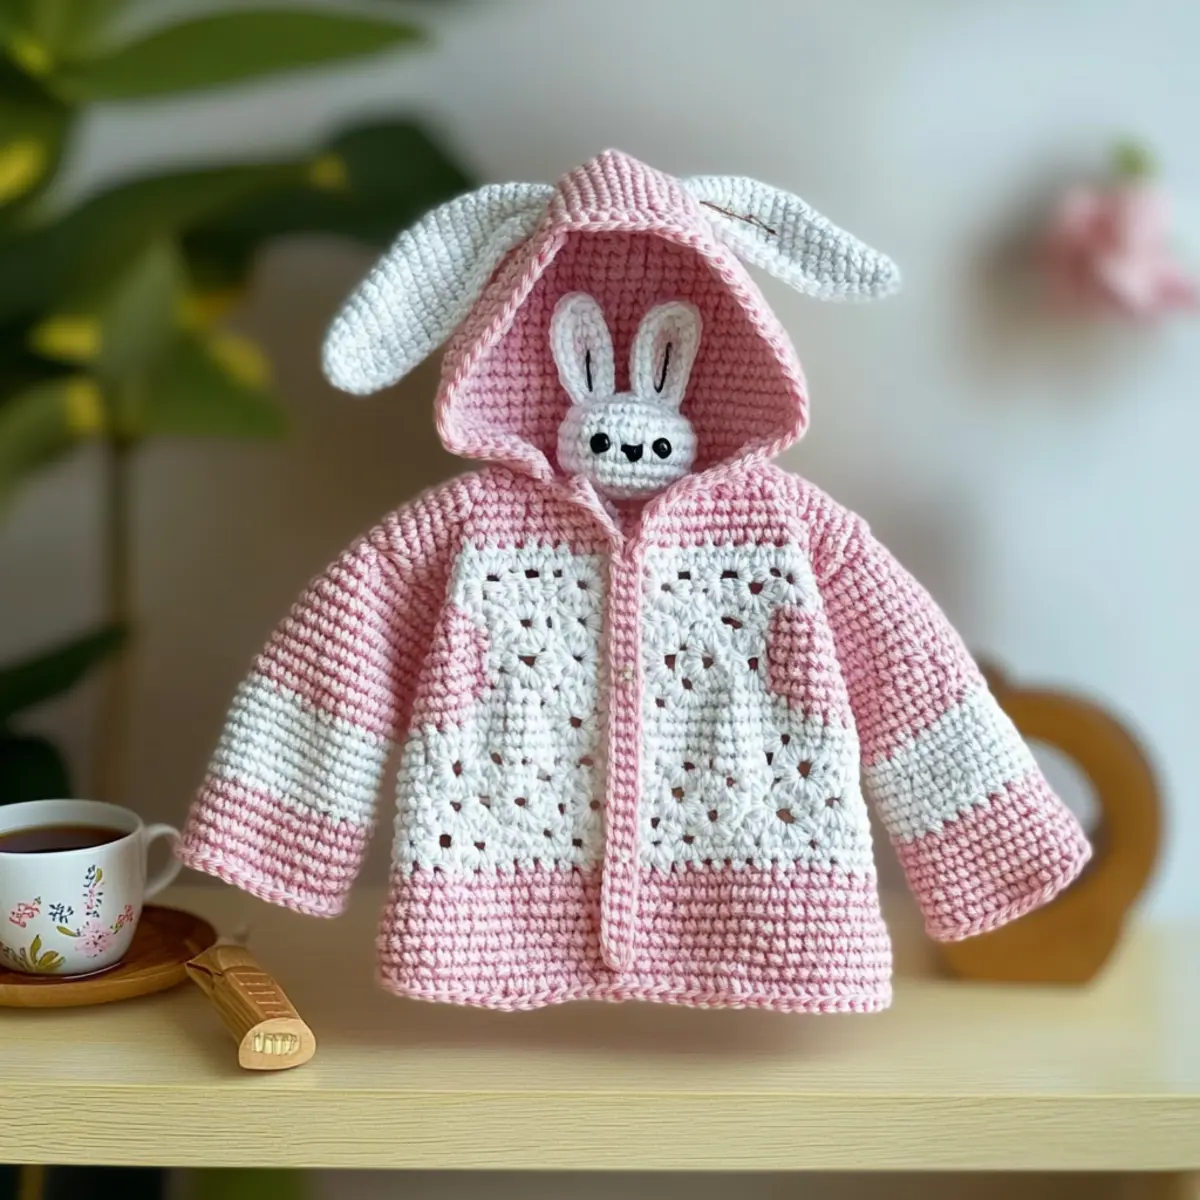
Crochet Bunny Baby Hoodie FAQs
Can I use a different yarn than what is specified?
Absolutely! Feel free to substitute yarns, but be sure to check that the new yarn is suitable for baby clothing—soft and breathable materials, like cotton or bamboo blends, are great options. Keep in mind that if you switch to a different weight, you might need to adjust your hook size and gauge.
How do I resize the Bunny Baby Hoodie?
If you want to make the hoodie bigger or smaller, simply adjust your starting chain accordingly. For each size increase or decrease, aim for multiples of the stitch pattern (for example, if using a V-stitch, chain in multiples of 3 + 1). It’s always a good idea to check your gauge, especially for fit adjustments!
Why is my work curling?
Don’t panic! Work can curl if your tension is too tight or if the stitches are uneven. If your piece seems to be buckling like a bowl, you might want to try using a larger hook size or crochet more loosely. Blocking your finished piece can also help to flatten it out.
What hook size should I use for this project?
For the Bunny Baby Hoodie, use a G (4mm) hook for sizes 0-3 months and an H (5mm) hook for sizes 6-12 months. Don’t forget to use a smaller 3mm hook for the bunny appliqué to ensure it holds its shape nicely!
How do I fix dropped stitches?
It’s an easy fix! Just gently pull the yarn below the dropped stitch until it presents clearly, then use your hook to pull the stitch back up through the fabric. If you’re unsure, you can always refer to tutorials for step-by-step visuals—there are plenty of helpful guides out there!
What’s the best way to wash the finished hoodie?
To keep your Bunny Baby Hoodie looking its best, hand wash it in cool water and lay it flat to dry. This method helps maintain the integrity of the fabric and the adorable shape, ensuring it remains a treasured keepsake for the little one!
Leave a Reply