
There’s something undeniably charming about tiny creatures that bring a smile to your face, and that’s exactly what this adorable beginner-friendly crochet bumblebee offers! Perfectly snuggly at just 2.5 inches long, this delightful pattern not only works up quickly but helps you build confidence in your crochet skills. With vibrant yellow and black stripes, you’ll find this little cutie to be a fantastic addition to your amigurumi collection or the perfect gift for someone special. Get ready to indulge your creativity and let the joy of crafting buzz around you! Are you ready to make your own cozy crochet companion?
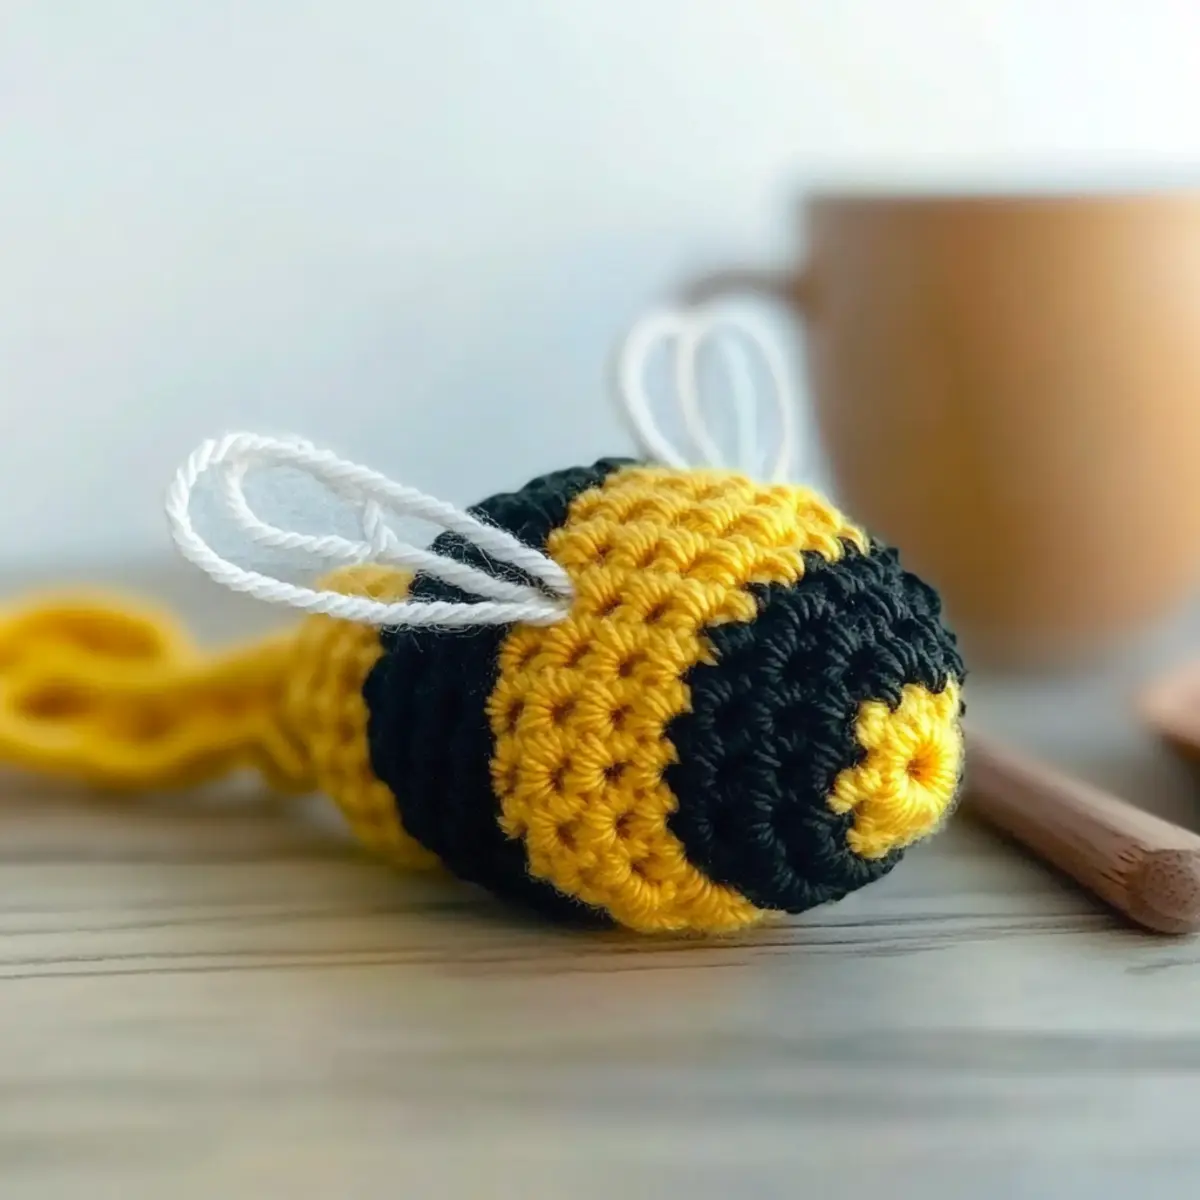
Cute Crochet Bee Materials & Tools
Note: Gather these materials to create your adorable beginner-friendly crochet bumblebee!
Yarn
• Yellow Worsted Weight Cotton Yarn – 100 yards are needed for a bright and cheerful look.
• Black Worsted Weight Cotton Yarn – 50 yards create those cute stripes that stand out.
• Ivory Worsted Weight Cotton Yarn – 20 yards are perfect for crafting the charming wings.
Tools & Notions
• 3.5 mm (US E) Hook – This size gives your stitches a lovely finish for your bee project.
• Safety Eyes (10mm) – Securely attach these to give your bumblebee a friendly face!
• Tapestry Needle – Ideal for weaving in ends and assembly, ensuring a polished look.
• Stitch Markers – Use these to keep track of your rounds with ease.
• Fiberfill Stuffing – Make your bumblebee cozy and plush with just the right amount of stuffing!
Why is this bumblebee pattern a must-try?
Quick & Easy: This pattern is designed with beginners in mind, letting you quickly whip up an adorable bumblebee without a steep learning curve.
Charming Design: With its vibrant yellow and black stripes, this cute creature adds a pop of color to any amigurumi collection.
Portable Project: Perfect for crafting on the go, this bumblebee can be easily tucked into your bag for those moments of inspiration.
Skill Builder: Enhance your crocheting skills while creating something delightful—it’s a great chance to practice magic rings and color changes!
Have fun experimenting with yarn colors or check out our guide on joining yarn smoothly to master those vivid stripes. Embrace the creative journey and enjoy every stitch!
Gauge & Sizing Notes
Don’t skip the gauge swatch! It’s essential to ensure your adorable beginner-friendly crochet bumblebee turns out just right. For this project, your gauge should measure 4×4 inches (10×10 cm) and consist of 12 single crochets and 14 rows. If you want to make your bee larger, simply adjust your starting chain for the body by working in multiples of 6 + 2; this way, you can effortlessly scale your creation! Conversely, if your swatch is too small, don’t worry—if you crochet tightly, try going up a hook size to achieve the perfect measurements for your bumblebee. Happy crocheting!
Step‑by‑Step Pattern for Adorable Beginner-Friendly Crochet Bumblebee
Row 1: Start the Body
Begin with a magic ring and work 6 sc into the ring to form the base of your bumblebee. Pull the tail of the magic ring to close it tightly. This gives you a compact starting point for your amigurumi. Your work should form a small circle (6 sts).
Row 2: Increase in Stitches
For the next round, crochet 2 sc in each st around to expand the body. This will give your bumblebee a nice plump shape. Remember to count your stitches to ensure you’re on track! By the end of this round, you should have 12 sts.
Row 3: Begin Shaping
In this round, work *sc in the next st, then 2 sc in the following st; repeat from * around. This pattern helps to gradually widen the body while still maintaining a cute and round form. After completing this row, you will have 18 sts.
Row 4: Maintain Shape
Continue with sc in each st around for two more rounds. This plain sc will help create the bumblebee’s rounded body. As you complete this step, your work should feel fuller and softer (18 sts each round).
Row 5: Change to Black
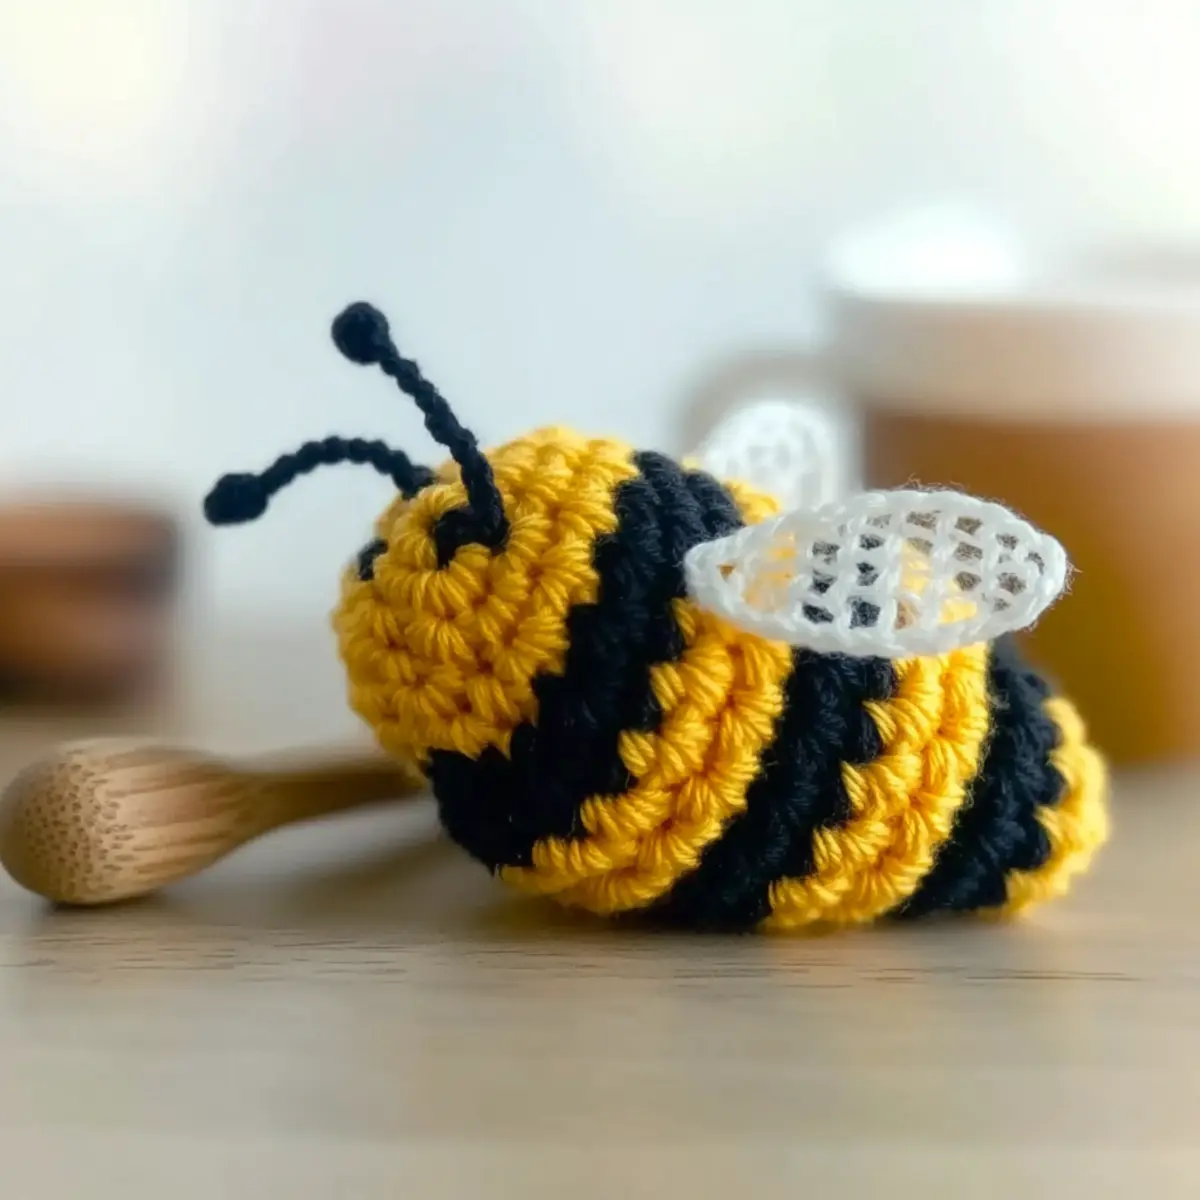
Switch to black yarn and sc around for two rounds. This introduces the first stripe color in your bumblebee. Make sure to keep your stitches tight for a clean look. You will continue to have 18 sts for each of these rounds.
Row 6: Go Back to Yellow
Change back to yellow and sc all around for four rounds, creating the distinct yellow stripes of the body. The transitions should be smooth and your work should showcase alternating colors beautifully (18 sts each round).
Row 7: Create the Final Stripe
Now, switch back to black yarn and sc around for one round. This round will create the final stripe before tapering off. Your bumblebee should now have a charming striped pattern visible (18 sts).
Row 8: Begin Decreasing
For this round, work *sc in the next st, then sc the next 2 sts together; repeat from * around to start shaping the top of your bumblebee. This will gradually narrow the opening. When finished, you should have 12 sts remaining.
Row 9: Close the Body
Next, sc the next 2 sts together around until you have 6 sts left. This step is crucial for closing up the body of your amigurumi bumblebee, ensuring it is secure and plush.
Row 10: Fasten Off
To finish, sc the last 2 sts together to leave you with 3 sts. Fasten off and leave a long tail for sewing. Your bumblebee’s body should now be complete and ready to be stuffed and sealed.
Step 1: Assemble the Body
Before closing your bumblebee completely, insert safety eyes between R2 and R3 of the body. Stuff firmly with fiberfill, ensuring it holds its shape but is cuddly. Once stuffed, use the yarn tail to sew the opening closed and secure it tightly.
Step 2: Add Antennae
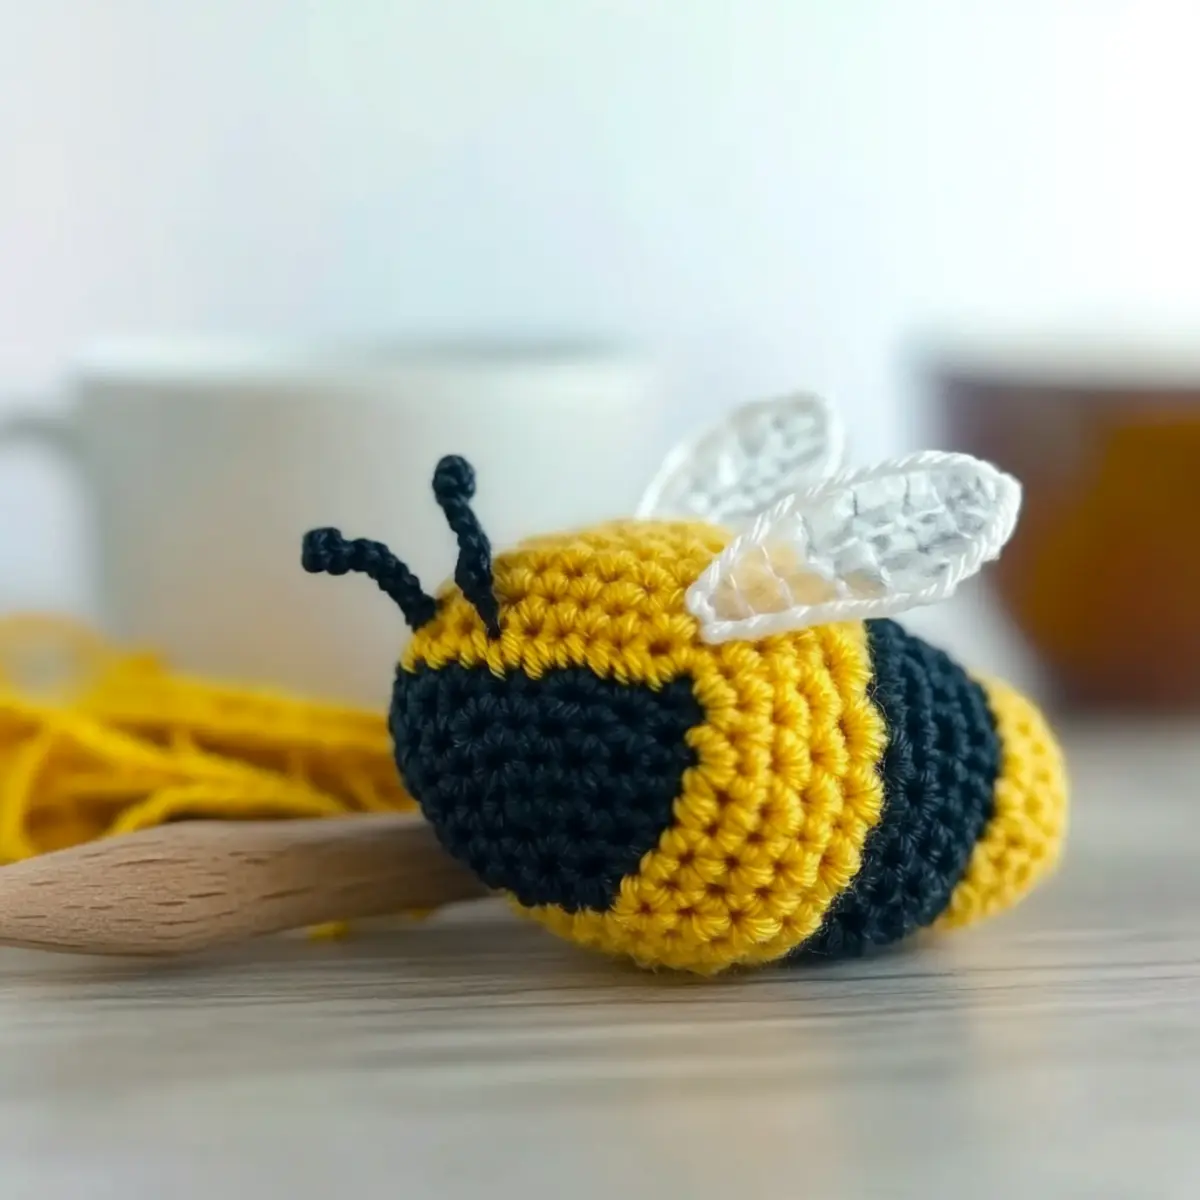
To create the antennae, chain a short length of black yarn, then fold it and attach to the top of your bumblebee’s head with a few stitches. This adds a fun finishing touch to your adorable beginner-friendly crochet bumblebee!
Step 3: Make the Wings
For the wings, start with a magic ring, then work 1 sc, 1 hdc, 1 dc, 3 tr, 1 dc, 1 hdc, and 1 sc in sequence before fastening off. These delicate wings will really make your bumblebee pop! Attach them securely to the back of your completed body.
How to Wash and Care for Your Amigurumi Bee
Hand Washing: Use cold water and mild soap to gently clean your bumblebee. Avoid aggressive rubbing to keep the plush texture intact.
Drying/Blocking: Lay your bumblebee flat on a clean towel to dry naturally. Avoid direct sunlight to prevent color fading and maintain its adorable shape.
Storage: Store your amigurumi bee in a cool, dry place. Avoid damp environments to prevent mildew and keep your little friend cozy.
Regular Care: Give your crochet bee a quick dusting with a soft brush occasionally to keep it looking fresh and vibrant!
Crochet Bee Variations & Substitutions
Feel free to let your creativity take flight with these charming twists on the classic bumblebee pattern!
-
Color Swaps: Experiment with different colors like pastel shades or even a glittery yarn for a whimsical vibe.
-
Fiber Alternatives: Try using cotton instead of acrylic for a softer touch. This can enhance the bumblebee’s overall cuddly feel.
-
Size Adjustments: For a larger bee, opt for a bulkier yarn and a bigger hook. It will make adorable decor or a perfect companion!
-
Texture Enhancements: Add a fluffy pom-pom for the tail or a cute fringe for the wings, creating unique textures with every stitch.
-
Pattern Extensions: Create a mini hive by crocheting additional bees with varied sizes. It’s a lovely family of buzzers to display together!
-
Embroidery Additions: Add simple embroidered facial features or patterns on the wings for extra personality. Check out our guide on simple embroidery techniques to enhance your projects!
-
Tail Modifications: Create a longer chain for the antennae or add cute bows or beads to the tips for a charming finish.
-
Stripes Alteration: Instead of traditional stripes, play with polka dots or zig-zags using changing colors. This playful approach brings a new dimension to your bumblebee.
Your crafting journey can really take off with these delightful variations—let the creativity buzz!
Expert Tips for Your Amigurumi Bee
• Count Those Stitches: Always keep track of your stitch count at the end of each round to avoid losing your place or creating an irregular shape.
• Tension Matters: Maintain an even tension to ensure your bumblebee’s body is snugly stuffed but not overly tight, preventing stuffing from poking through.
• Secure Attachments: Double-check that safety eyes are firmly placed before closing the body. Misplacement can lead to a lopsided bumblebee!
• Color Changes: When switching colors, use a jogless join technique for seamless transitions in your vibrant stripes. This ensures a polished look for your final amigurumi bee.
• Stuffing Strategy: For the best squishy feel, make sure to stuff your bee evenly. Fill it softly to avoid bulging and create a cuddly finish!
These tips will help you create a delightful amigurumi bee with confidence—enjoy every moment of your crochet journey!
Adorable Beginner-Friendly Crochet Bumblebee FAQs
Can I use a different yarn instead of worsted weight cotton?
Absolutely! While the pattern calls for worsted weight cotton, you can substitute with acrylic yarn or even bamboo for a different texture. Just ensure the thickness is similar, and keep an eye on your tension!
How do I adjust the size of my bumblebee?
If you’re aiming for a bigger bee, consider using a thicker yarn and a larger hook—like a 4.5 mm (US 7). For a smaller version, opt for lighter weight yarn and a smaller hook, and adjust your stitch count as needed, just remember to keep your proportions in mind!
Why is my bumblebee curling?
Don’t panic! If your work is curling like a bowl, it may be due to uneven tension or not enough stitches in your foundation row. Try relaxing your grip, or adding a few more stitches in the initial magic ring to give it more body.
What hook size should I use for this pattern?
For this adorable beginner-friendly crochet bumblebee, a 3.5 mm hook (US E) is recommended. This size balances nicely between tight stitches and ease of maneuvering. Always try a gauge swatch first, especially if you substitute yarn!
How can I fix a dropped stitch?
It’s an easy fix! Simply pull the yarn back to create a loop with the dropped stitch and reinsert your hook, making sure to work it back into the row as you continue. Don’t worry, we all have those days!
What should I do if my stuffing is showing through?
If you notice stuffing peeking out, it might be due to loose tension. I recommend checking your tension and possibly using a tighter stitch. You can also add more stuffing—just be careful not to overstuff!
Leave a Reply