
As the warm sun beckons and summer adventures call, I felt a surge of inspiration to create something special. Enter the Coastal Charm Crochet Beach Bag, a delightful blend of functionality and beachy vibrance. Instantly, this project transforms the typical crochet routine into a charming display of creativity. With its lightweight design and stylish motifs, this crochet beach bag is not only a practical companion for sunny outings but also a fantastic stash-buster for those of us with a closet full of yarn. Each stitch breathes life into the bag’s coastal theme, making it equally suitable for carrying to the local beach or simply for everyday errands. This project invites beginners and seasoned crafters alike to infuse personal touches, selecting colors that resonate with their unique style. If you’re looking for a satisfying and cozy crochet project that’s sure to be the envy of your beach friends, I can’t wait to share the steps with you. Let’s dive deeper into what makes this coastal gem so irresistible!
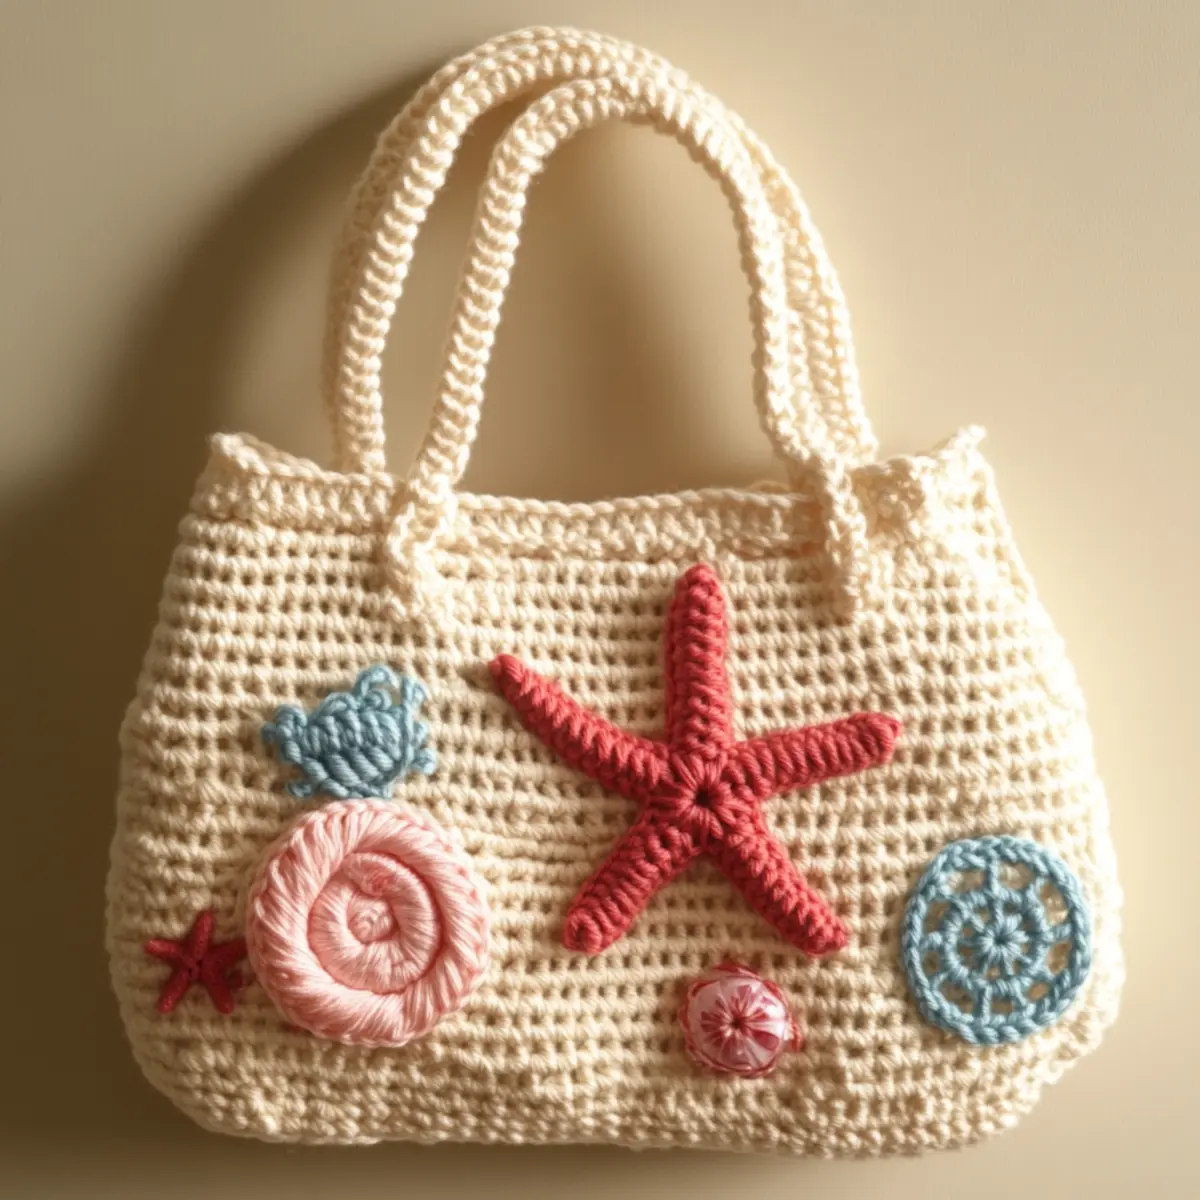
Crochet Beach Bag Materials & Tools
Yarn
— Medium-worsted cotton or cotton blend – Aim for about 200-300 yards for the crochet beach bag. Opt for a breathable fiber for airy texture.
Tools & Notions
— 5 mm (H-8) crochet hook – This size helps achieve a flexible yet sturdy construction for your crochet beach bag.
— Stitch markers – Keep your stitch counts accurate as you work on the cheerful decorations.
— Clasp – A cute clasp will help secure your jellyfish charm, adding personality to your finished piece.
Why You’ll Love This Pattern
Simplicity reigns supreme with this design, making it accessible for crocheters of various skill levels. Each stitch leads seamlessly into the next, inviting you to enjoy the process as you create. Aesthetic appeal shines through with beach-themed motifs like starfish and jellyfish that bring an artistic charm to the bag. Plus, it’s a stash-friendliness boon—perfect for using up those leftover yarns! Crafting this bag also allows for customizability, meaning you can personalize your project in colors or embellishments that mirror your style. As you venture into this project, discover more about creating enchanting textures with popcorn stitches, a key technique that elevates your adorable designs. Not to mention, this pattern is designed with time-saving in mind, allowing you to whip up a summer essential in just a few evenings. Your finished work will effortlessly blend quality with enjoyment, and who doesn’t love that?
Gauge & Sizing Notes for Crochet Beach Bag
Checking your tension is crucial to achieving the perfect fit and style for your crochet beach bag. Aim for a gauge of 12 dc by 8 rows to equal a 4×4 inch (10×10 cm) square. This will ensure that your bag has the lightweight, airy feel that is essential for summer outings. If your swatch doesn’t meet this measurement, consider adjusting your hook size; a larger hook will yield a looser fabric while a smaller one creates denser stitches. When resizing, you can modify your starting chain accordingly by adding or subtracting stitches in multiples of 2 to maintain the mesh pattern. Remember that maintaining a consistent gauge will enhance both the look and durability of your beautiful crochet beach bag. The estimated finished dimensions should be around 12 inches in width, 8 inches in height, and 3-4 inches in depth, making it spacious enough for all your beach essentials.
Step-by-Step Pattern for Crochet Beach Bag
Row 1: Foundation Chain
Create a foundation chain of 40 stitches (ch). This base will determine the width of your crochet beach bag. Make sure the chain isn’t too tight, allowing flexibility for the upcoming rows.
Row 2: Base Rows
Begin the first row by working a single crochet (sc) into the second chain from your hook, then across the foundation chain (39 sc total). This establishes a sturdy base for your bag, which will be about 12 inches wide.
Row 3: Mesh Design
For the next row, chain 3 (counts as your first double crochet). Work a double crochet (dc) in the next stitch, then skip one chain; continue this pattern across the row, ending with a dc. You should have 20 mesh spaces at the end.
Row 4: Repeat Rows
Continue working in rows of double crochet, maintaining the mesh style. Each new row will have you work in each space created from the previous row. Repeat until the bag body measures around 8 inches in height.
Row 5: Top Border
To finish the top of the bag, switch to slip stitches (sl st) around the top edge for a neat border. This tightens the top and provides a clean finish. Make sure to sl st into each dc at the edge, securing your bag’s structure.
Row 6: Creating the Handles
For the handles, chain 60 and sc in each chain across to create a sturdy strap. Repeat this for a second handle, which can be attached later. These handles will provide strength and ease when carrying the bag.
Row 7: Attaching Handles
Sew both handles evenly spaced onto the top of your crochet beach bag using a whip stitch or your preferred method. Make sure they are secure to balance your bag’s weight properly.
Row 8: Adding Embellishments
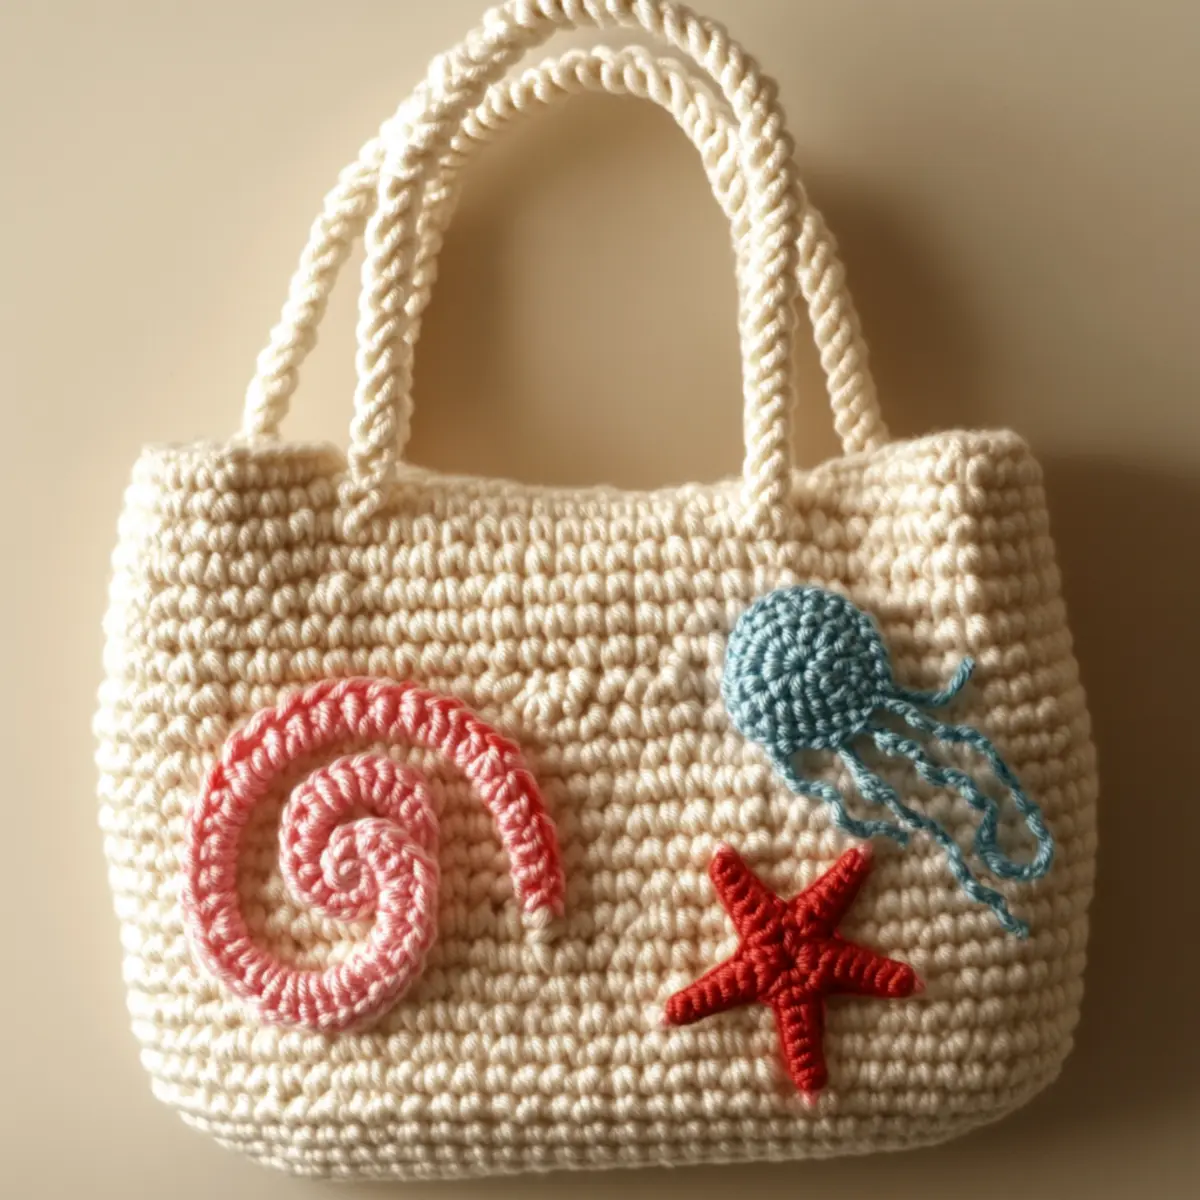
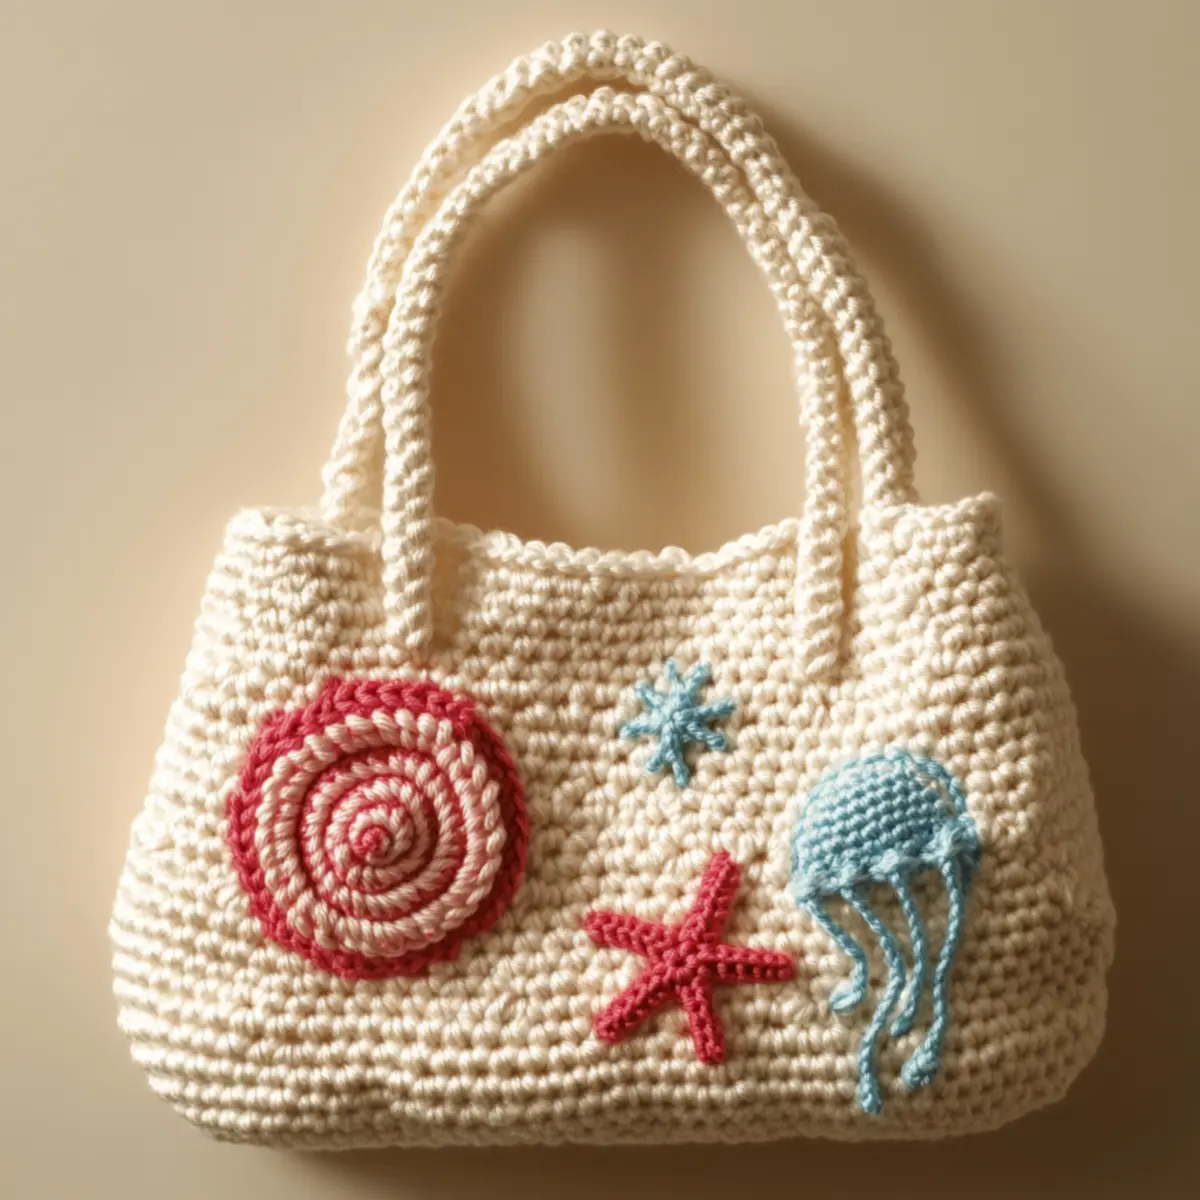
Create the charming jellyfish charm. Start with 5 ch, and into the 3rd chain from your hook, work 1 hdc, followed by 2 dc in the same. Now, ch 3 for the tentacles and sl st back across the base. Repeat to create additional decorations like shells and starfish using similar techniques.
Row 9: Securing Embellishments
Once all motifs are made, securely attach them to the crochet beach bag using a sewing needle and yarn. Make sure each is firmly in place so they withstand use. Their placement should be artistic but balanced.
Row 10: Final Touches
Check your bag for loose ends, sewing them in to ensure a polished look. Additionally, consider blocking your finished piece to give it a neat finish and help shape the bag.
Row 11: Adding Closure
Position a cute clasp near the top to secure your jellyfish charm. This will not only be functional but also add a playful element to the crochet beach bag. Ensure it is firmly attached.
Row 12: Ready for the Beach
Once everything is secured and darning is complete, you’re ready to show off your delightful crochet beach bag! Fill it with your beach essentials and enjoy the sun, sand, and compliments from fellow beachgoers.
Expert Tips for Your Crochet Beach Bag
Count Carefully: Always double-check your stitch count after each row to avoid losing track, especially with the mesh design of the crochet beach bag.
Consistent Tension: Maintain consistent tension while crocheting to keep your bag sturdy and avoid any sagging, particularly around the handles and mesh sections.
Blocking Essentials: Block your finished bag to even out stitches and help shape the bag perfectly, giving it a polished, professional look.
Foundation Chain: Make sure your foundation chain isn’t too tight; a loose chain will allow for easier stitches in the following rows, especially for the crochet beach bag’s mesh design.
Handle Strength: When attaching handles, ensure they are secured well to distribute the weight evenly, preventing any ripping or tearing from heavy items.
Embellishment Attachment: Be sure to securely attach all your beach-themed motifs to withstand wear and tear while maintaining the playful aesthetic of your crochet beach bag.
How to Wash and Care for Your Crochet Beach Bag
Machine Washing: If you choose to machine wash, do so on a gentle cycle in cold water to prevent damage and maintain the integrity of your crochet beach bag.
Hand Washing: For best results, hand wash your bag in lukewarm water with mild detergent, gently agitating to remove dirt without stretching the fabric.
Drying: Lay your crochet beach bag flat to dry in a shady area, avoiding direct sunlight which can fade colors; never place it in a dryer.
Storage: Store your crochet beach bag in a cool, dry place. Avoid cramming it into small spaces to maintain its shape and prevent creases.
Crochet Beach Bag Variations
Feel free to let your creativity shine through with these fun customized ideas!
- Turquoise Swap: Change the bag’s cream background to a vibrant turquoise for a striking beach scene.
- Recycled Yarn: Opt for recycled cotton yarn to create an eco-friendly version of your beach bag.
- Crossbody Style: Alter the shape of the bag to a trendy crossbody design for a modern twist.
- Charming Charms: Experiment with different beach-themed charms like suns or palm trees to reflect various coastal styles.
- Size Adjustment: Modify the dimensions to craft a mini bag for quick trips, making it an adorable accessory for tight essentials.
For an exciting twist, consider adding contrasting yarns to the mesh sections for a stunning color-blocked effect. These variations not only adjust the aesthetics but also engage with the different yarn weights and textures available in your stash, allowing your personality to shine through in your creation. Plus, adding special materials or charms will make your bag uniquely yours, and the possibilities are endless! You can explore more yarn options in our section on yarn types and discover more charming designs in our embellishments post.
Crochet Beach Bag FAQs
What type of yarn can I substitute?
Absolutely! You can substitute cotton yarn with a cotton blend or even a lighter acrylic, but ensure the weight is medium-worsted to maintain the bag’s structure and drape.
How can I adjust the size of the bag?
Don’t panic! If you want a larger or smaller crochet beach bag, simply adjust your foundation chain in multiples of 2. Make sure to check your gauge to ensure you’re on track!
What should I do if my stitches are curling?
Curling can happen. If your edges curl up, it might be due to tension issues. Try to keep your tension looser, especially when working in double crochet. Blocking your bag after finishing can help flatten the stitches too.
What hook size is recommended?
You should use a 5 mm (H-8) crochet hook as it provides the right balance between flexibility and strength for your crochet beach bag design.
How do I fix dropped stitches?
If you find a dropped stitch, simply use a crochet hook to pick it back up. Gently pull the yarn back through to repair the mistake without any panic.
Can I add more decorations to the bag?
Absolutely! Feel free to personalize your crochet beach bag further by adding more embellishments like shells or surfboards. Use different stitches to enhance the charm and character.
Leave a Reply