
As I sat wrapped in the comfort of my cozy corner, the gentle rhythm of my hook moving through vibrant yarn sparked an idea: what if I crafted something practical yet stylish? Enter the world of crochet backpacks! With six unique free patterns at your fingertips, these creations embody both functionality and flair. Perfect for crafters of all levels, each design is a fantastic way to use durable cotton yarn that’s easy on your hands and eyes. You’ll love how quickly these projects work up, making them a great stash-buster while adding a splash of creativity to your everyday haul. From vibrant granny squares to sleek modern designs, there’s a backpack to suit every personality. Are you ready to embark on this delightful stitching journey and create a piece that’s as unique as you are?
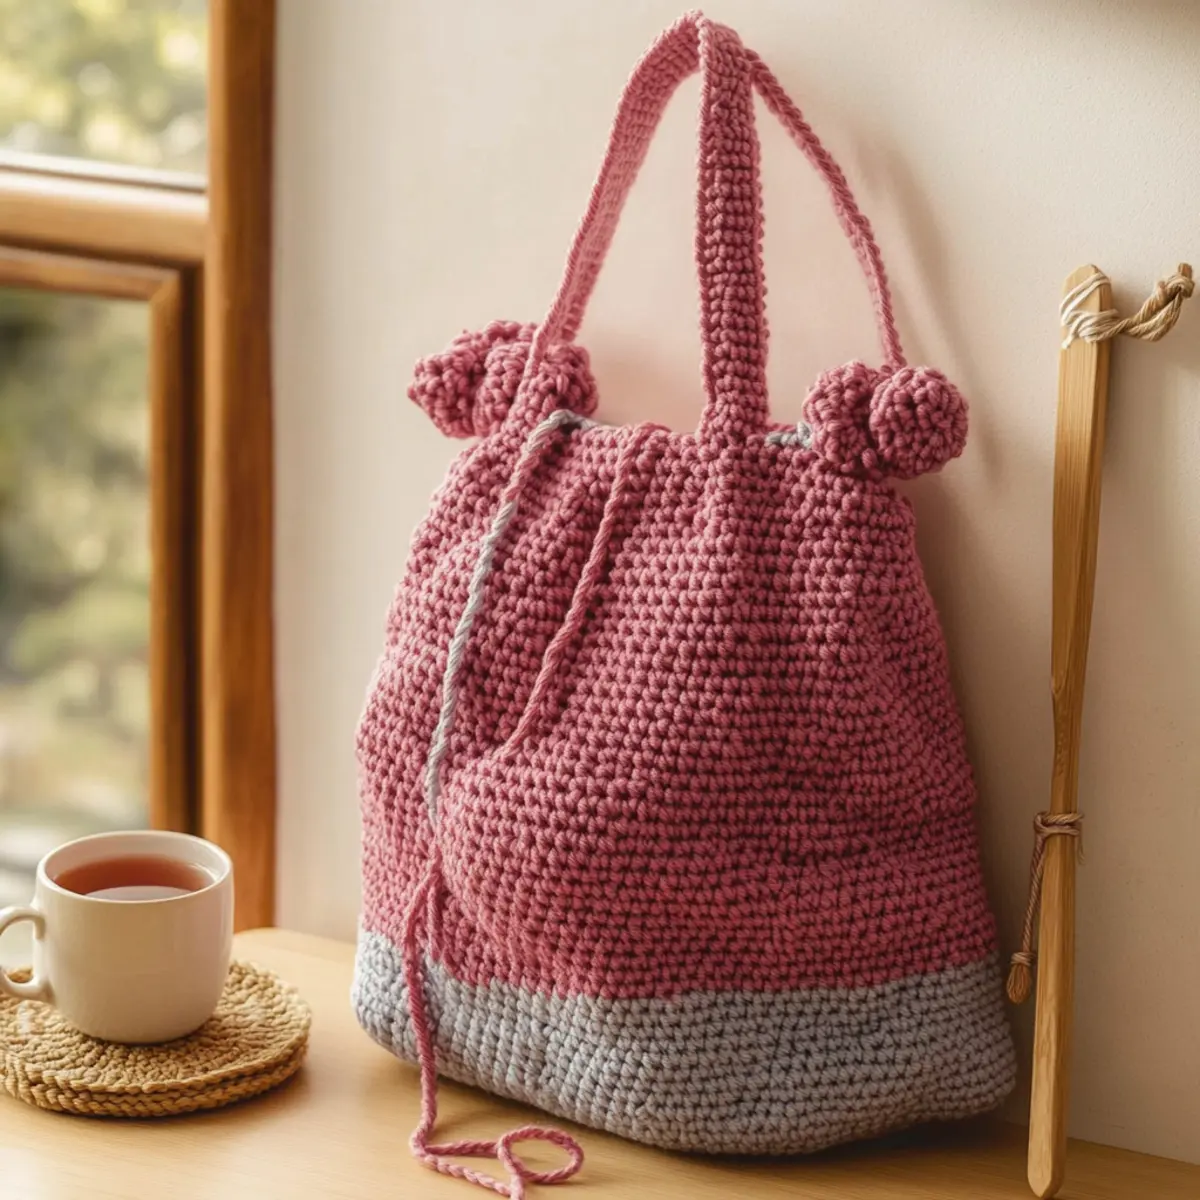
Crochet Backpack Materials & Tools
Get ready to create an amazing crochet backpack with these essentials!
Yarn
- Worsted Cotton Yarn – This durable yarn is perfect for structure and minimal stretch, ensuring your backpack holds its shape.
- Cotton Blend Yarn – For a softer feel, you can substitute with this blend that still maintains strength.
Yardage
- 200-400 Yards – Depending on the pattern chosen, this range will help you stock up on the right amount of yarn.
Hook
- 5.5 mm (I-9 US) Hook – Ideal for creating a sturdy fabric, ensuring your backpack is both durable and cute!
Notions
- Stitch Markers – Handy for keeping track of your stitch counts and pattern changes.
- Tapestry Needle – Essential for weaving in those ends and making your project look polished.
- Optional Nylon Webbing – Use these for reinforced straps if you plan on carrying heavier loads.
With these materials at hand, you’re all set to dive into crafting your own stylish crochet backpack!
Why Crochet Backpacks Are So Popular?
Versatile Designs: With six unique patterns, these crochet backpacks cater to all styles—from whimsical granny squares to sleek designs, offering something for everyone.
Beginner-Friendly: Each pattern is crafted with newbies in mind, ensuring that each project is easy to follow and execute, making it perfect for those just starting their crochet journey.
Functional Yet Stylish: These backpacks are not just pretty; they are practical, allowing you to carry your essentials while looking chic. You’ll love how easy it is to blend functionality with personal style.
Durable Materials: Crafted from sturdy cotton yarn, these bags are designed to withstand daily wear, maintaining their shape and beauty throughout your adventures.
Customizable Options: Feel free to experiment with colors and pattern adjustments, allowing you to create a truly one-of-a-kind accessory. Check out how to customize with adjustable strap lengths and other tweaks that fit your personality!
Quick to Make: Expect to see results in no time! These projects are perfect for stash-busting, enabling you to use up leftover yarn while creating something beautiful. Don’t forget to explore more tips on efficient crocheting to enhance your crafting experience!
Gauge & Sizing Notes
Don’t skip the gauge swatch! Ensuring your tension for the crochet backpacks is vital to achieve the desired fit and structure for your creation. Aim for a 4×4 inch (10×10 cm) square that measures approximately 12 stitches and 10 rows in single crochet. If you find that your tension swatch is too small, try going up a hook size, as it will help you attain that perfect fit. To make your backpack larger, simply increase your starting chain in multiples of 12; conversely, for a smaller version, decrease in multiples of 12. This way, your crochet backpack will turn out just right for your needs!
Step‑by‑Step Pattern for Drawstring Mini Backpack
Row 1: Foundation Chain
Begin by making a slip knot and chaining 30. This forms the base of your Drawstring Mini Backpack. Ensure the chain isn’t too tight; it should have some flexibility. Your first row should lay flat, creating a sturdy foundation for the next stitches (30 ch).
Row 2: Single Crochet Row
In the second chain from the hook, work a single crochet (sc) in each chain across. This will create a firm base for your backpack. Remember to keep your tension even, making the stitches tight enough to prevent gaps. At the end of this row, you should have 29 sc.
Row 3: Rising Up
Chain 1, turn your work, and sc in the first stitch. Continue to sc in each stitch across the row. This establishes the body of your Drawstring Mini Backpack, creating a solid, structured fabric. Your total should remain at 29 sts after finishing this row.
Row 4: Increase for Depth
Chain 1, turn, and this time work 2 sc in the first stitch, continuing with 1 sc in each subsequent stitch across. The two sc at the beginning will increase the depth of your piece. After completing this round, you should have 30 sc (30 sts).
Row 5: Continue the Body
Chain 1, turn, and sc in each stitch across. This will create the vertical height for your backpack. Maintaining a consistent stitch count is crucial for a balanced shape, so ensure you still have 30 sc by the end of this row.
Row 6: Shaping the Body
Repeat Row 5 for a total of 10 rows. This repetitive motion helps to form the backpack’s body, ensuring it feels sturdy yet flexible. Keep an eye on your tension, and your work should start to feel like an enclosed pocket for your essentials.
Row 7: Begin Drawstring Loop
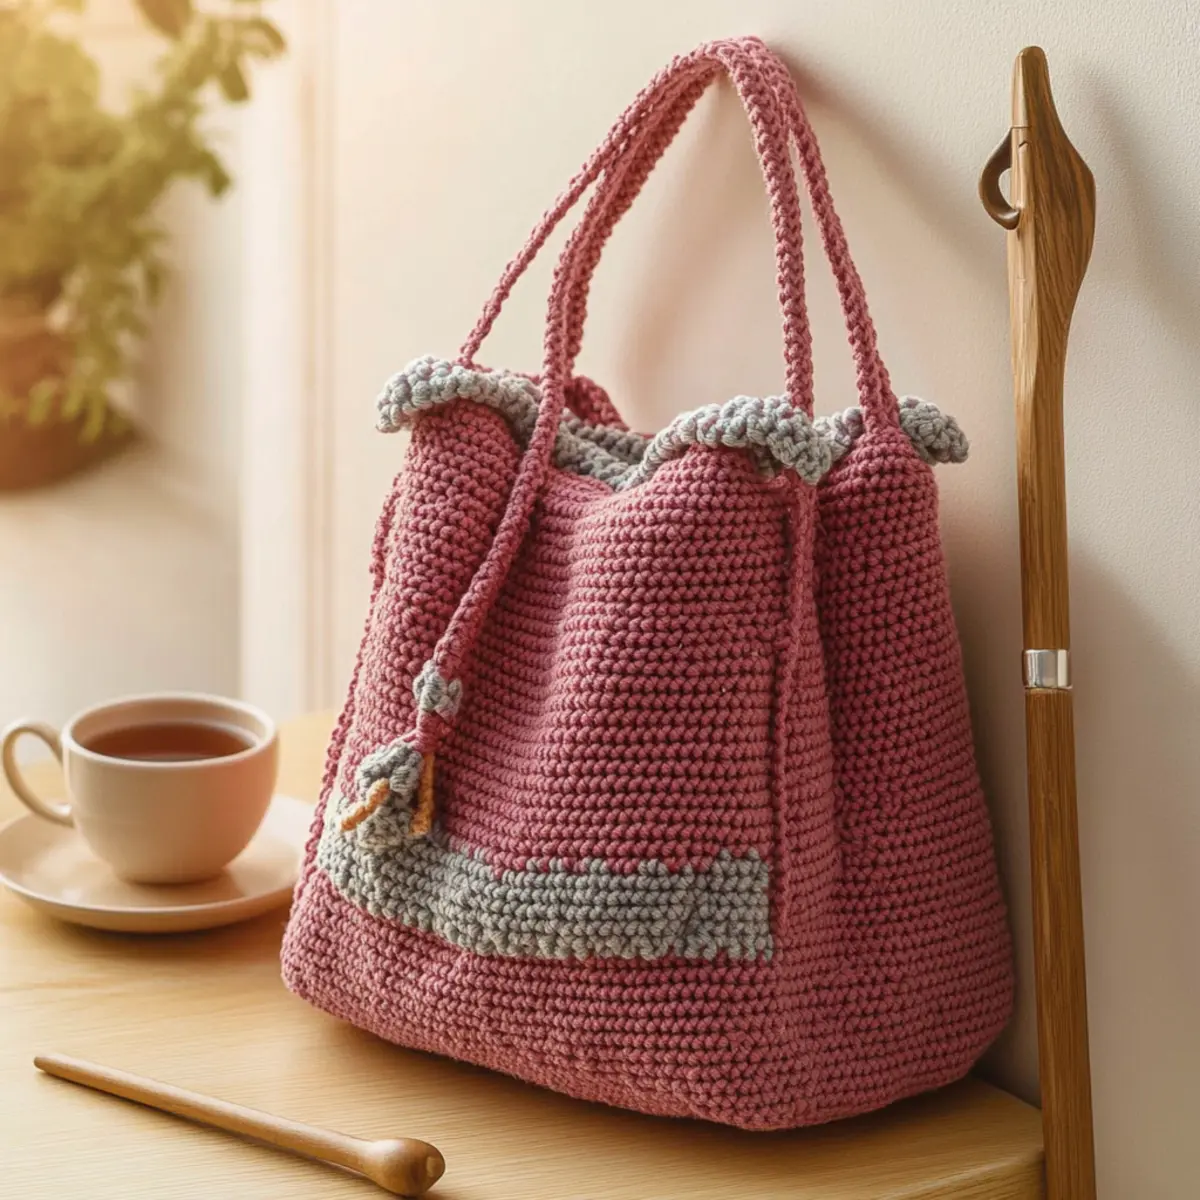
Once you reach the desired height, we’ll create the top edge for the drawstring. Chain 1, then in the first stitch, work a sc. In the next stitch, make 3 dc (double crochet) for a ruffled effect. Continue alternating between 1 sc and 3 dc all the way around to create a drawstring loop.
Row 8: Closing the Drawstring
After completing the last round for your loop, slip stitch to the first sc to close it up. To finish this step, pull the stitch tightly to secure the loop and avoid any gaps. Your drawstring opening should show clear ruffles and be ready to hold the string!
Row 9: Adding the Drawstring
Create the drawstring by chaining 80. This length allows it to adjust comfortably and fit through the ruffled edge. Make sure to keep the chain consistent and avoid twisting it as you work.
Row 10: Finishing Touches
To complete the Drawstring Mini Backpack, weave the completed drawstring through the loop created in Row 7. Pull both ends evenly to gather the fabric—this will help close the top of your backpack securely. Finally, tie a knot at the ends of the drawstring for added stability.
Step 11: Assembly
To finish, fold your backpack body to create the shape. Using a tapestry needle, stitch the sides together, securing the side seams. Ensure a tight fit as you secure them. Your Drawstring Mini Backpack should now be taking shape and ready for personal customization!
Expert Tips for Crochet Backpacks
Stay Tension Consistent: Ensure a uniform tension while crocheting by regularly checking your gauge. This helps maintain the backpack’s shape and durability.
Count Your Stitches: Regularly counting stitches is crucial to avoid losing your place. This simple step guarantees that the design stays true to the pattern.
Secure Your Ends: Finish off your work neatly by weaving in ends securely with a tapestry needle. This prevents unraveling and keeps your backpack looking polished.
Reinforce Areas: For extra durability, consider reinforcing high-stress areas, like straps or corners, using stronger stitches or adding nylon webbing.
Block Your Backpack: After finishing, blocking your backpack can enhance its shape and structure, making it a more refined and professional-looking piece.
Experiment and Customize: Embrace creativity! Feel free to modify patterns for a truly unique backpack that reflects your style and flair, using the same techniques throughout.
Variations & Substitutions
Explore the delightful ways to personalize your crochet backpack journey! Each twist adds a unique charm to your creation.
- Yarn Substitutions: Choose a softer yarn blend for a plushier feel. Consider cotton, acrylic, or even bamboo for a different texture!
- Color Combinations: Play with color block patterns to make your backpack uniquely yours. Think bold contrasts or harmonious pastels!
- Strap Adjustments: Customize the length and width of your straps for the perfect fit. This way, it suits your carrying style seamlessly!
- Size Modifications: Want it bigger or smaller? Increase or decrease the rounds in the body for that perfectly tailored dream bag.
- Textured Touches: Add a pop of texture by incorporating fringe or a playful pom-pom at the top. It’ll bring your backpack to life!
- Embellishments: Incorporate fun appliqués or embroidery designs that reflect your personal style. Flowers, hearts, or initials can add a beautiful touch!
- Lining Options: For added durability, consider adding a fabric lining inside. This not only protects your bag but also elevates its aesthetic.
- Closure Variations: Swap out a traditional drawstring for magnetic snaps or a zipper for a more modern, secure look. Discover more on closure options that could complement your design!
Let your creativity flourish as you craft a one-of-a-kind backpack that tells your story!
Washing & Care Instructions for Crochet Backpacks
Machine Washing: Use a gentle cycle with cold water to avoid damage. Place your finished backpack in a mesh bag to protect it from agitation and felting.
Hand Washing: If preferred, hand wash your backpack in cold water with mild detergent. Gently squeeze out excess water without twisting to maintain the structure.
Drying/Blocking: Always lay your backpack flat to dry on a clean, dry towel. This helps maintain its shape and prevents stretching, preserving the integrity of your crochet creation.
Storage: Store your backpack in a cool, dry place away from direct sunlight. Avoid folding to prevent creases and maintain its stylish form.
Crochet Backpacks FAQs
Can I substitute different yarn types for my crochet backpack?
Absolutely! While I recommend using worsted cotton for its strength and durability, you could substitute with acrylic for a lighter option. Just be mindful of the stretch—acrylic can behave differently compared to cotton.
How can I adjust the size of my crochet backpack?
Don’t panic! To make your backpack larger, simply add extra rounds or stitches to the main body. If you’re looking to downsize, you can reduce the number of stitches in your starting chain by calculating the original pattern’s multiples.
Why is my crochet backpack curling at the edges?
If your work is curling like a bowl, it might be due to tight stitches. I recommend checking your tension and ensuring you’re using the right hook size. Blocking can also help flatten it out after you’re done!
What hook size should I use for my crochet backpack?
For a sturdy fabric, a 5.5 mm (I-9 US) hook is ideal. However, if you’re using a different yarn, always check the yarn label for recommended hook sizes and adjust accordingly for the best results.
How do I fix a dropped stitch in my crochet backpack?
It’s an easy fix—just pick up the dropped stitch with your crochet hook and pull the working yarn back through the stitch. Make sure to gently tighten the surrounding stitches if they seem loose!
Can I add features like pockets or lining to my crochet backpack?
Yes, indeed! You can add pockets by crocheting separate squares and stitching them onto the interior. A lining can enhance the backpack’s durability and structure; just choose a fabric that complements your yarn stylishly!
Leave a Reply