
As I sat on my cozy couch, the softness of a skein of yarn slipping through my fingers, I found myself daydreaming about the sweet little feet that will soon be wearing my latest creation. Introducing my adorable Crochet Baby Booties pattern—perfect for those last-minute baby shower gifts or simply to add a handmade touch to any nursery! These delightful booties not only work up quickly but also use small amounts of yarn, making them a fantastic stash-buster. With an enchanting bobble stitch detail, they offer a blissful texture that keeps tiny toes warm and stylish. Whether you’re a seasoned crocheter or just starting your yarn journey, these booties will captivate your heart and inspire countless stitches. Let’s dive into this joyful project and make something truly special together!
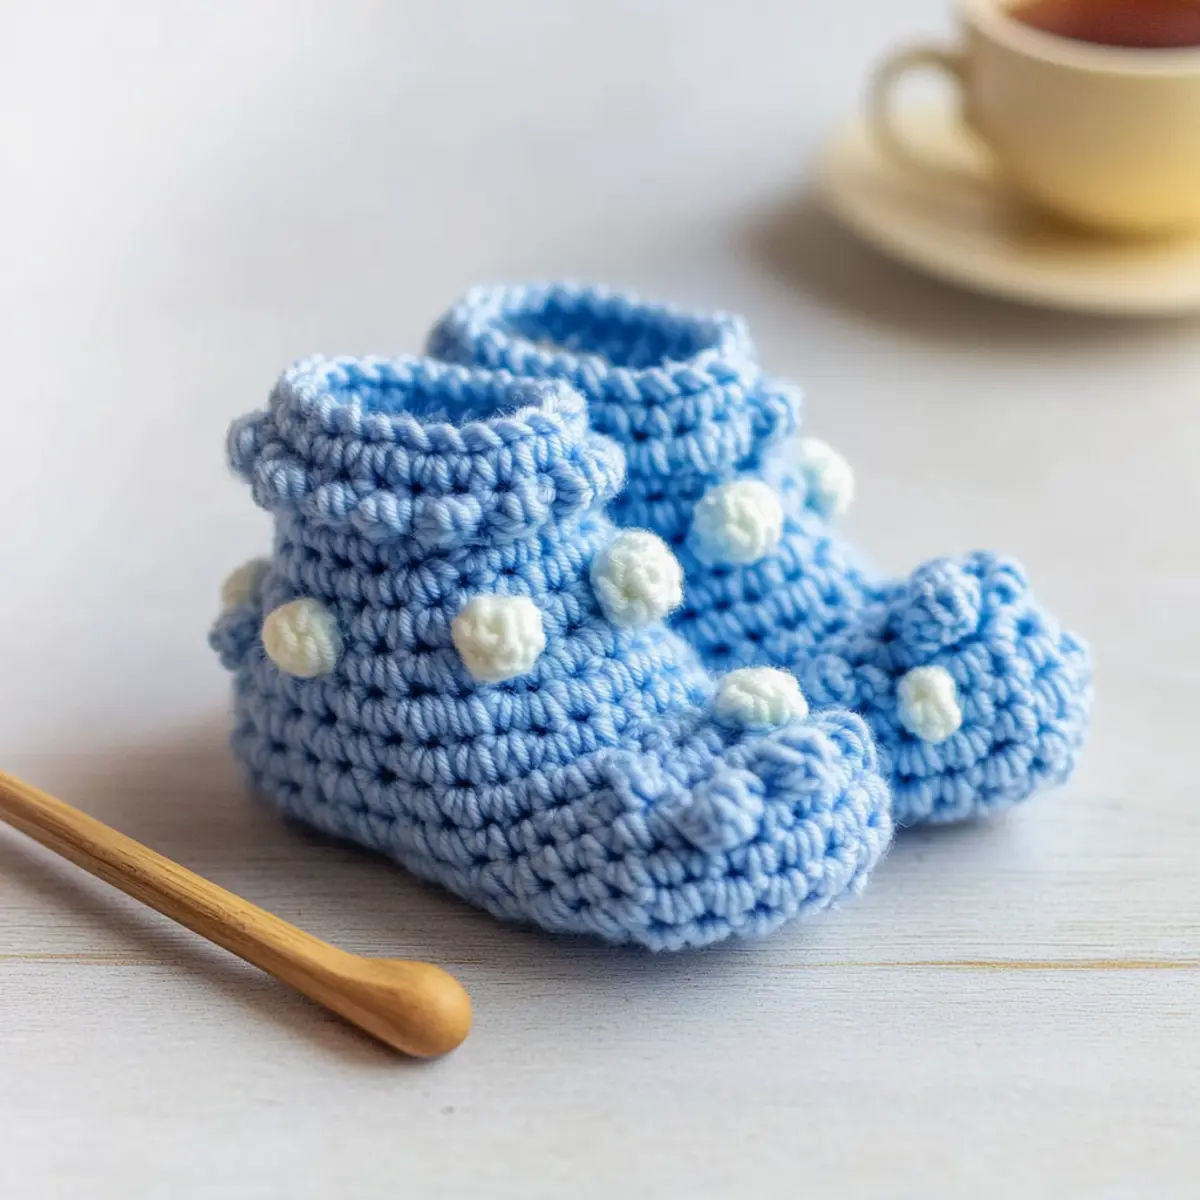
Crochet Baby Booties Materials & Tools
• Create your cozy booties with these delightful supplies!
Yarn
• Paintbox Yarns Baby DK – approximately 167 meters (183 yards) needed for sizes preemie to 3-6 months.
• Stylecraft Special Aran – approximately 196 meters (214 yards) needed for sizes 6-12 months to 18-24 months; a perfect choice for those cute Crochet Baby Booties!
Tools & Notions
• 3mm (US 2) Hook – for preemie to 3-6 months sizes.
• 4mm (US 6) Hook – for 6-12 months size.
• 4.5mm (US 7) Hook – for 12-18 months size.
• 5mm (US H) Hook – for 18-24 months size.
• Stitch Markers – use these to track your rounds easily.
• Tapestry Needle – perfect for weaving in those pesky ends.
• Safety Eyes (optional) – for an adorable touch to embellish your booties.
Why Are These Baby Booties Special?
Cute & Charming Design: The lovely bobble stitch adds whimsy and texture, making these booties not just functional but also adorable.
Quick Project: You can whip up a pair in just a few hours—perfect for last-minute gifts!
Eco-Friendly Stash-Buster: Use up those leftover yarns—ideal for eco-conscious crafters looking to minimize waste.
Versatile Sizing: Available in sizes from preemie to 24 months, these booties grow with your little one.
Beginner-Friendly: The pattern is accessible, perfect for those starting their crochet journey. Take a look at our beginner crochet tips for more insights!
Thoughtful Gift Idea: Nothing says love like a handmade gift—these booties will be treasured keepsakes for years to come.
Gauge & Sizing Notes
Don’t skip the gauge swatch! It’s essential for ensuring that your Crochet Baby Booties fit just right. For this project, aim for a gauge of 4×4 inches (10×10 cm) = 12 half double crochets by 14 rows. If your tension swatch yields different results, don’t fret! To make your booties larger, adjust your starting chain by multiples of 4; conversely, if you want a snugger fit, consider going down a hook size. If your swatch is too small, try moving up a hook size for those perfect tiny toes. Remember, achieving the correct crochet gauge is the key to crafting adorable, well-fitted baby booties!
Step‑by‑Step Pattern for Crochet Baby Booties
Row 1: Foundation Chain
Begin by making a slip knot and chaining 10. This foundation chain will establish the base of your booties. Make sure it’s not too tight; you want it to lay flat. Your chain should be even and straight, ready for the next step (10 ch).
Row 2: First Round
Work 1 hdc into the second chain from the hook, then hdc across the chain until you reach the end. You should have 9 hdc total. To finish the round, make 2 hdc in the last chain to help begin shaping the bootie. Your work will start to have a slight curve (11 hdc).
Row 3: Increase Round
Turn your work and continue by working in the back loops only. Start with 1 hdc in the first 3 stitches, then 2 hdc in the next stitch. Repeat this pattern for the remaining stitches, making sure to count as you go. You should finish with a total of 17 hdc, creating a gentle cupping shape (17 hdc).
Row 4: Bobble Stitches
This round introduces the delightful bobble stitch. Work 1 hdc in the first 4 stitches, then create a bobble in the next stitch by working (yo, insert hook, yo, pull up a loop) 4 times, then finish with a hdc in the following stitch. Repeat this pattern around the round, ensuring that your bobbles are evenly spaced (approximately 21 total stitches including bobbles).
Row 5: Stabilizing Round
Continue with the pattern by making 1 hdc in each stitch around. This stabilizing round will help secure the bobbles and create a smooth transition for the bootie. Count your stitches to ensure you maintain the shape integrity, aiming for 21 hdc in total (21 hdc).
Row 6: Final Shaping
Now, start to shape the toe of your booties. Work 1 hdc in the first 8 stitches and then decrease with inv hdc2tog (invisible half double crochet two together) in the next stitch. Repeat this until you reach the end of the round. You should have about 17 stitches remaining, and your booties will start to close at the toe (17 sts).
Step 7: Finishing Touches
To complete your crochet baby booties, work a slip stitch into each stitch for a clean finish. Cut the yarn, leaving a long tail for weaving in. Thread through a tapestry needle to weave in ends securely, being careful to tidy up any loose strands. Your adorable booties are now ready to be cherished (final finishing).
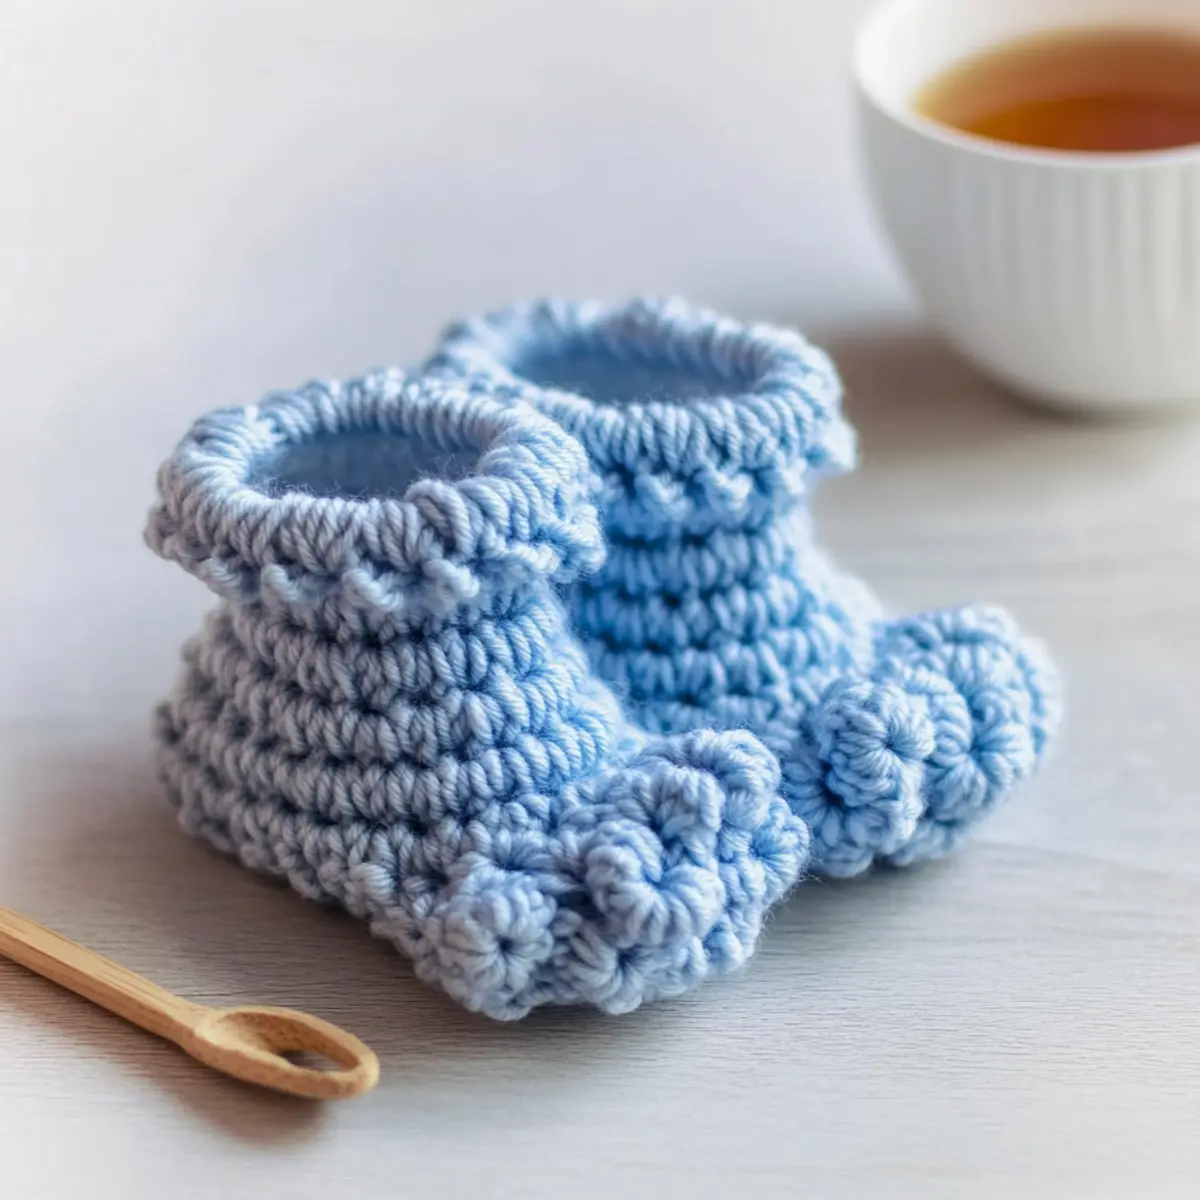
Washing & Care for Your Crochet Baby Booties
• Hand Washing: Gently hand wash your cute crochet baby booties in cold water with a mild detergent. Avoid excessive agitation to maintain the integrity of the bobble stitches and prevent felting.
• Drying/Blocking: Lay your booties flat to dry on a clean towel, reshaping them gently if needed. Avoid hanging them up as this could distort their shape.
• Storage: Store in a cool, dry place away from direct sunlight to preserve colors and textures. A breathable cotton bag works wonders to protect them while allowing air circulation.
• Maintenance: Keep an eye out for any pilling or loose ends over time. Regular gentle care will ensure your baby booties remain a cherished and comfortable pair for tiny feet!
Expert Tips for Crochet Baby Booties
• Stitch Counting: Always count your stitches at the end of each round. It helps maintain the correct shape and size, ensuring your cute baby booties fit perfectly.
• Gauge Check: If using different yarns, perform a gauge test before starting. This ensures that your tension matches the pattern and the booties will turn out as intended.
• Foundation Chain: Be careful not to twist your foundation chain when starting. A twisted chain can affect the booties’ fit and structure, resulting in an uncomfortable wear for tiny feet.
• Finishing Touches: After cutting your yarn, weave in ends securely to avoid any unraveling. A clean finish adds a professional touch to your cozy crochet baby booties.
• Bobble Stitch Tips: When integrating the bobble stitch, make sure you’re in the right round and place it precisely for that whimsical texture. This detail can elevate your project from simple to stunning!
Crochet Baby Booties Variations & Substitutions
Feel free to explore these delightful options to make your booties uniquely yours!
-
Yarn Alternatives: Try using organic cotton for a breathable option, perfect for warmer climates and baby-sensitive skin.
Consider using bamboo yarn as a gentle alternative that offers both softness and a lovely sheen. -
Color Blocked Booties: Create a fun design by alternating colors every few rounds. This playful twist adds a burst of personality to each pair!
Mix complementary colors to ensure your baby booties reflect your unique style while also coordinating with baby clothes. -
Mixing Yarn Weights: Use bulky yarn for a chunky, cloud-like pair perfect for colder weather. It’s a way to add warmth and a cozy flair that parents will love!
Experiment with lighter yarns for a more delicate, summer-ready bootie, ensuring breathable comfort in warmer months. -
Adding a Touch of Texture: Incorporate a cute pom-pom on the booties’ toes for an extra layer of charm and playfulness. It’s a simple way to elevate your crochet game!
Fringe around the top edge can also create a boho vibe, making these booties a standout accessory for any little one. -
Adjusting Sizes: For a snug fit on smaller babies, decrease stitch counts in the ankle area or adjust band sizing for a perfect grip. This is especially important for active little feet!
Conversely, you can widen the opening for ease of wear, allowing easy on-and-off functionality for busy parents. -
Special Occasion Booties: Personalize your booties for events by using colors or patterns that match a baby’s outfit for special occasions. This thoughtful detail adds a heartfelt touch!
Craft matching sets with coordinating hats using similar colors or patterns, making the perfect gift for baby showers or birthdays.
Explore these variations and find even more inspiration in our collection of quick crochet projects. Each twist adds a special touch, ensuring your creations are as unique as the tiny feet they adorn!
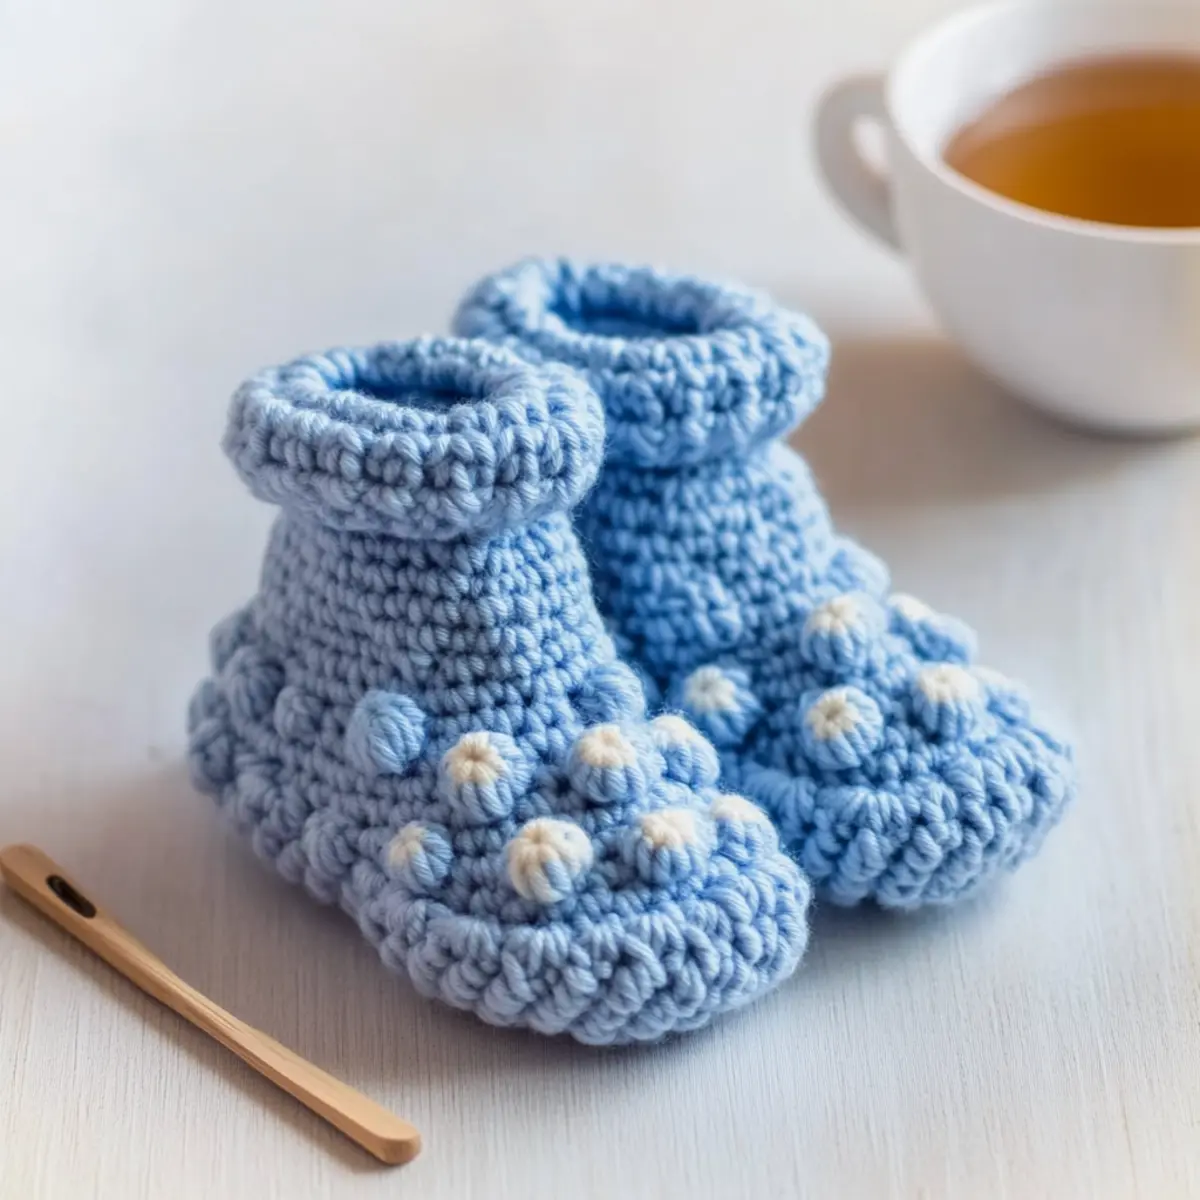
Crochet Baby Booties FAQs
Can I substitute yarn types?
Absolutely! For the booties, you can swap Paintbox Yarns Baby DK with any light worsted (Category #3) yarn or opt for Stylecraft Special Aran if you prefer a thicker feel. Just remember to check your gauge to ensure a proper fit!
How can I adjust the size of the baby booties?
Don’t panic! If you’d like to make the booties larger or smaller, you can adjust the foundation chain and the number of rounds. For example, adding stitches in multiples of 3 will help maintain the bootie’s dimensions as you increase or decrease.
What should I do if my booties are curling?
If your booties are curling up like a bowl, this could mean your tension is too tight, or you need to add more rounds. Loosen your grip a bit while crocheting, or check that you’re following the stitch counts correctly. It’s an easy fix!
What hook size should I use for each size of booties?
For our crochet baby booties, use a 3mm (US 2) hook for preemie to 3-6 months sizes, switch to a 4mm (US 6) for 6-12 months, a 4.5mm (US 7) for 12-18 months, and finally a 5mm (US H) for 18-24 months. Each hook size ensures the booties fit snugly and comfortably.
How do I fix dropped stitches?
If you spot a dropped stitch, don’t worry! You can easily pick it back up with your hook and crochet over it to secure it. Make sure to keep an eye out as you work; a quick stitch count review can help you catch any mistakes early!
Can I add embellishments to the booties?
Of course! Adding embellishments like safety eyes or decorative buttons can make your booties even more delightful. Just ensure they are securely attached and safe for the little ones who will wear them.
Leave a Reply