
As I watched my friend’s little one bundle up for the chilly morning, my heart warmed at the sight of a cozy handmade bonnet adorning their head. The Rudy Bonnet is that perfect project—stylish and functional, it’s ideal for every budding crochet enthusiast. This beginner-friendly pattern effortlessly transforms a simple rectangle into a snug accessory that beautifully hugs the neck, making it a thoughtful gift for any little one. Not only does it work up quickly, but its gender-neutral design ensures it’s perfect for babies and toddlers alike. Whether you’re using up your favorite DK yarn or looking to expand your skills, this charming bonnet invites you to create with love. Ready to make something special? Let’s dive into the joy of crochet!
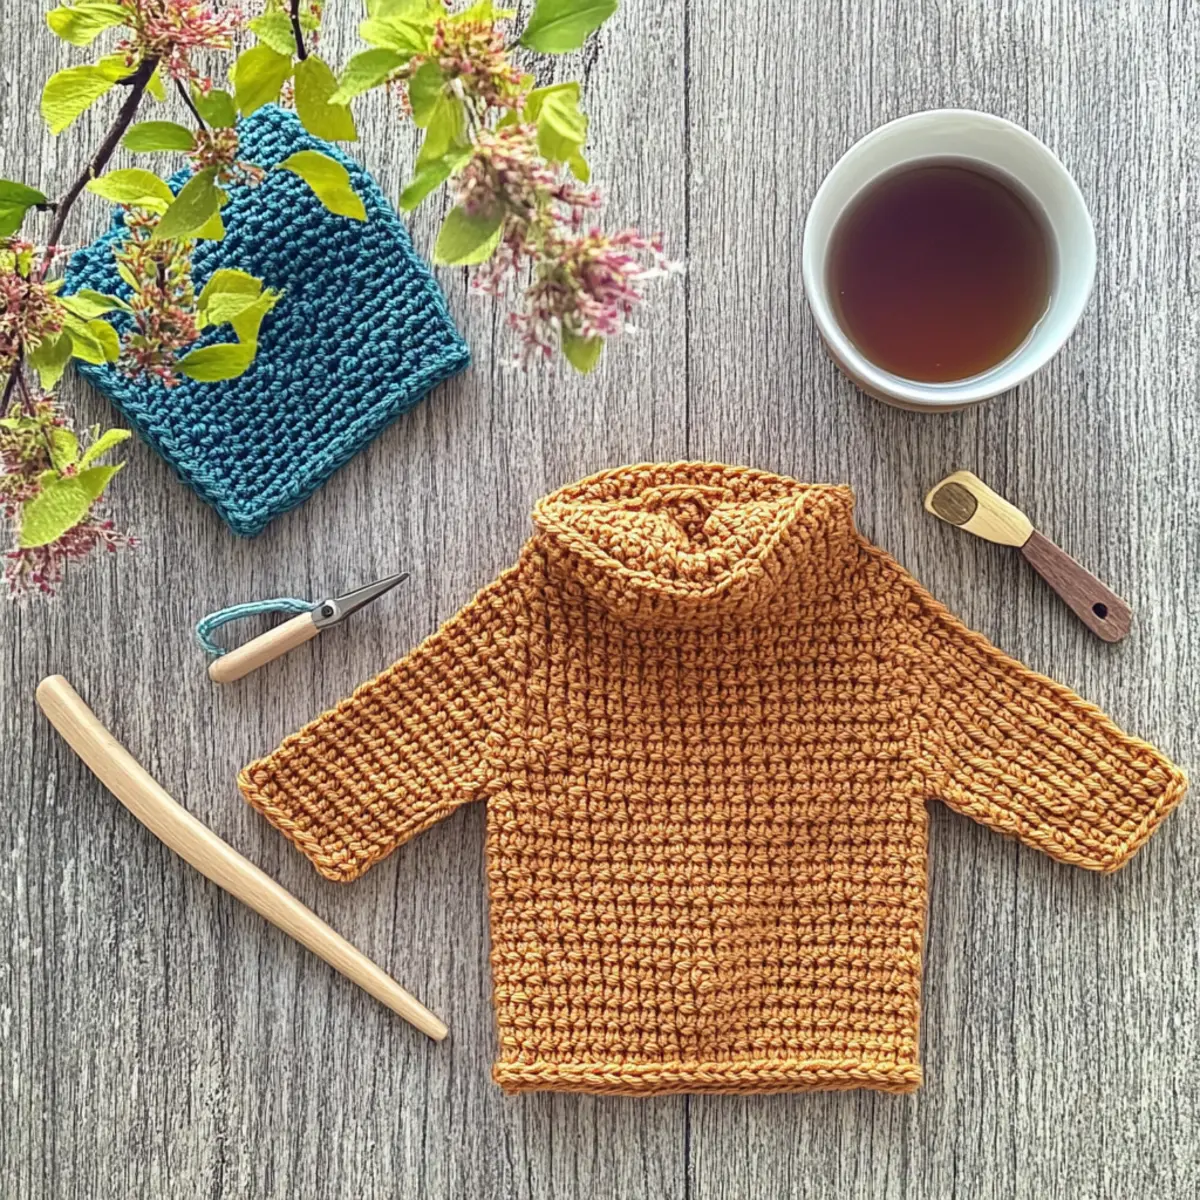
Rudy Bonnet Materials & Tools
-
Yarn
• DK Weight Yarn – A total of 165m/180yds/50g will make a lovely baby bonnet. Consider using Rico Baby Classic DK for its softness. -
Tools & Notions
• 4.00mm (U.S. G-6) Hook – Use this size or adjust to achieve the correct gauge for a snug fit.
• Tapestry Needle – Essential for weaving in ends and sewing seams for that polished finish.
Why is this baby bonnet a must-make?
Simplicity at Its Finest: The straightforward construction of the Rudy Bonnet makes it the perfect choice for beginners eager to practice their crochet skills without feeling overwhelmed.
Quick Project: This pattern works up faster than you think, allowing you to create a cozy accessory in no time—ideal for last-minute gifts or cozy photo ops!
Adorable & Gender-Neutral: Crafted to look stylishly cute while being suitable for any infant, this bonnet is a charming addition to any wardrobe.
Easily Customizable: Tweak the size and colors with simple adjustments; it invites creativity and personalization that’s perfect for any crafter!
Ready to explore more beginner projects to complement your new skills? Check out our collection of fun and easy crochet patterns like this [beginner-friendly crochet hat]() to keep the creativity flowing!
Gauge & Sizing Notes
Don’t skip the gauge swatch! Ensuring your tension is correct is essential for creating a cozy fit with your Rudy Bonnet. For this pattern, your gauge should measure 19 stitches and 12 rows in a 4×4 inch (10×10 cm) square using half double crochet (hdc) and crossed double crochet (dc). If you’d like to adjust the sizing, you can add or reduce starting chains in multiples of 2 to achieve the perfect fit for your little one. If your swatch is smaller than the gauge, consider going up a hook size for a looser fabric. Happy crocheting, and enjoy the process of making this adorable bonnet!
Step‑by‑Step Pattern for Beginner-Friendly Crochet Baby Bonnet
Row 1: Start with the Foundation
Ch 22, then hdc in the 3rd ch from the hook and continue to hdc across the chain. You should have a total of 20 hdc stitches at the end of this row. Your work will lay flat and form the base for the cozy body of the Rudy Bonnet.
Row 2: Create Texture
Ch 2, then dc in the first st, followed by alternating dc into the next st and skipping the next st across the row. This pattern will give a lovely texture to your work, resulting in 20 total stitches. Continue to check that your work remains even and flat.
Row 3: Smooth with Half Double Crochet
Ch 1, then hdc in each st across. You should still have 20 hdc stitches by the end of the row. At this point, your Rudy Bonnet will start to take shape with a nice, smooth surface.
Row 4: Repeat for Height
Repeat Row 2 and Row 3 in succession. You will do this until your work reaches a total of 12 rows for the desired height of the bonnet. Ensure you keep counting your stitches for a neat finish, with each row contributing to the cozy design.
Step 5: Finishing Touches
Fold your work in half and sew the back seam using a tapestry needle. Attach a ribbing band if desired, which can be created using sc stitches around the edge for added snugness. This step will give your bonnet a polished appearance, completing the Rudy Bonnet beautifully.
Step 6: Create the Straps
To secure the bonnet, make 2 straps by chaining 20, then working 1 sc into each chain across. Attach each strap to the sides of the bonnet to ensure a comfortable fit. Your final adjustments will make the bonnet functional and adorable, perfect for that special little one!
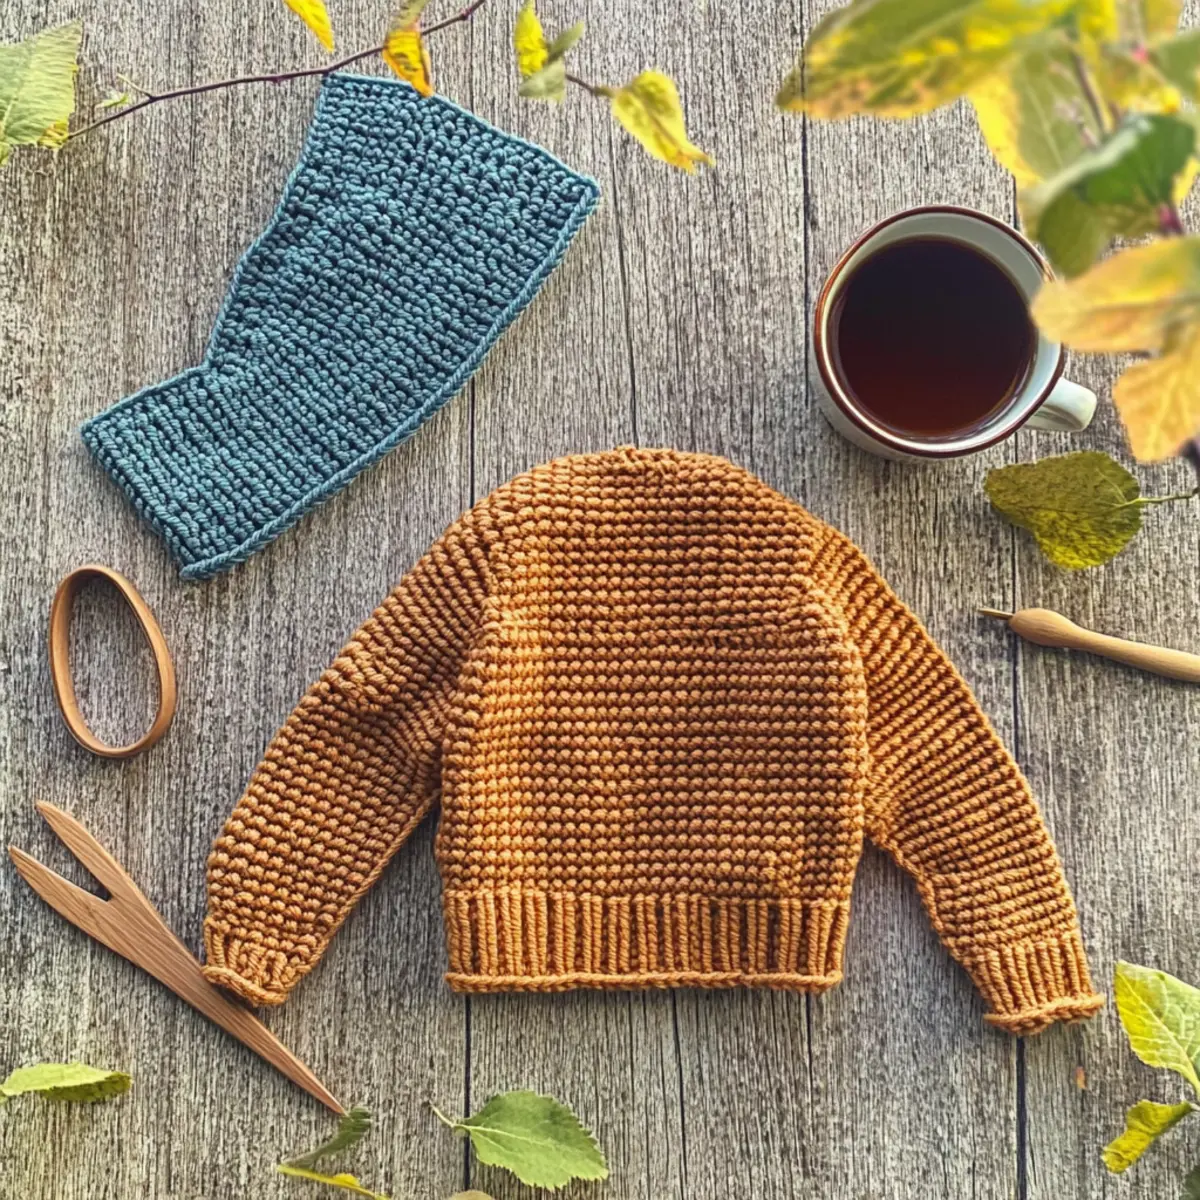
Baby Bonnet Variations & Substitutions
Feel free to sprinkle your unique creativity into this delightful crochet pattern and make it truly yours!
-
Yarn Weight Swaps: Use worsted weight yarn for a fuller look, ensuring the gauge remains consistent for size.
-
Fiber Alternatives: Opt for soft cotton yarn for a breathable summer version that’s perfect for warmer days.
-
Color-Blocking Ideas: Create a two-tone effect by adding a contrasting color for ribbing or borders. It’s a fun way to personalize your bonnet!
-
Sizing Adjustments: To cater to different ages, simply add or remove rows until you achieve your desired height and fit for little heads.
-
Textured Additions: Enhance the bonnet with playful textures like pom-poms on the top or fringe along the edges for added whimsy.
-
Fun Stripes: Incorporate alternating stripes for a vibrant, eye-catching design. Choose cheerful colors that reflect your little one’s personality!
-
Embellished Stitches: Add details like scalloped edges or shell stitches to give your bonnet an extra touch of charm and style.
-
Functional Ties: Replace basic straps with long braided cords for a sweeter, playful look that won’t easily slip off during wear.
Embrace your crafting journey and explore our other projects! If you’re looking for machine-washable yarn options, consider exploring cotton vs acrylic materials for your next project. Each choice invites its own unique story to your crochet adventures, blending warmth and creativity seamlessly!
Washing and Care for Your Rudy Bonnet
Hand Washing: Gently hand wash your crochet bonnet in cool water using a mild detergent to maintain its cozy structure and avoid any felting.
Drying: Lay the bonnet flat on a clean towel to dry, reshaping it as needed to keep its snug fit. Avoid hanging or wringing to prevent distortion.
Storage: Store your finished bonnet in a dry, cool place to prevent any moisture buildup, and consider using a breathable bag to keep it dust-free.
Spot Cleaning: For minor stains, spot clean using a damp cloth and mild soap to preserve the bonnet’s beauty without compromising its design.
Expert Tips for the Rudy Bonnet
-
Stitch Counting: Always count your stitches at the end of each row to maintain the rustic shape of the bonnet and avoid uneven edges.
-
Tension Matters: Keep your tension consistent throughout the project. A gauge swatch helps you achieve the right size and avoid sizing issues with your cozy crochet pattern.
-
Edge Finishing: When attaching ribbing, make sure to sew the edges neatly to create a polished finish. This enhances the overall appearance of your bonnet.
-
Practice Makes Perfect: If you’re new to crochet, don’t shy away from practicing techniques like half double crochet and cross double crochet before starting your bonnet.
-
Be Mindful of Straps: Ensure that your straps are securely fastened using chain and single crochet stitches. This will ensure they hold up during wear and keep your bonnet snug and secure.
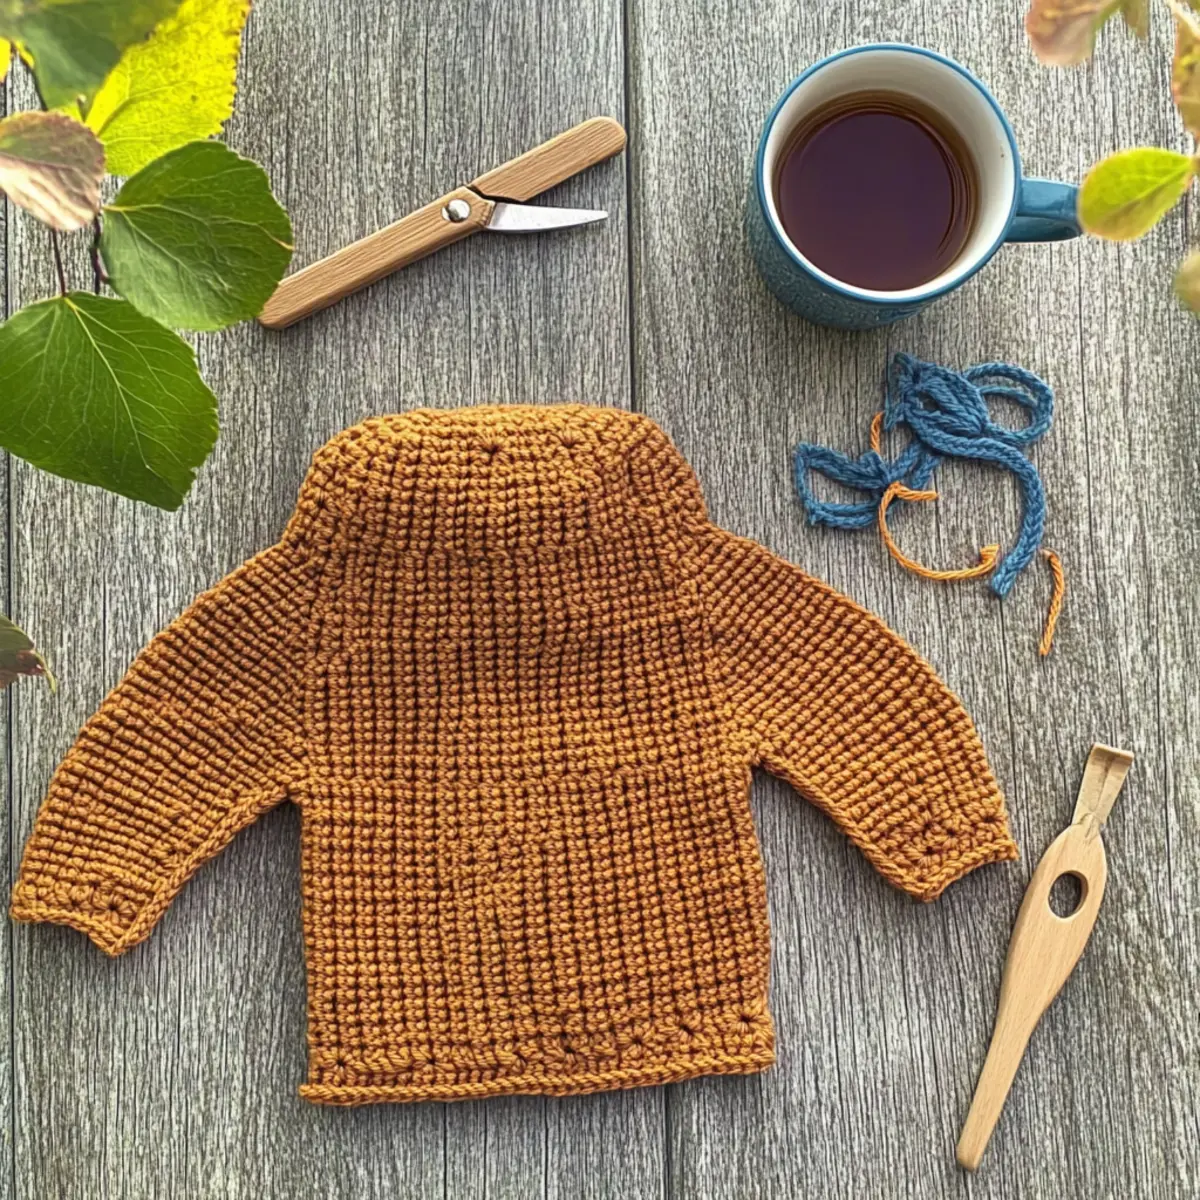
Beginner-Friendly Free Crochet Baby Bonnet Pattern – The Rudy Bonnet FAQs
Can I use a different yarn weight instead of DK?
Absolutely! While DK weight yarn is recommended for the Rudy Bonnet, you can use worsted weight yarn for a thicker and cozier feel. Just be sure to adjust your hook size accordingly and do a gauge swatch to ensure the fit remains true to size.
How can I make the bonnet smaller or larger?
Don’t panic! To adjust the sizing, simply add or reduce the number of rows in your pattern. Each row contributes to the height, so if you want it smaller, try skipping a few rows. Conversely, for a larger size, add a couple of extra rows as needed.
What should I do if my work is curling?
If your work is curling like a bowl, check your tension! An overly tight stitch may be the culprit. Try using a larger hook or crocheting with a looser tension, ensuring that it lies flat as you go.
What size hook should I use?
The pattern calls for a 4.00mm (U.S. G-6) crochet hook, but make sure to crochet a gauge swatch first! If your swatch doesn’t match the suggested gauge of 19 stitches/12 rows in 10cm x 10cm (4″x4″), you might need to adjust the hook size accordingly.
How do I fix a dropped stitch?
It’s an easy fix! Just use your tapestry needle to pick up the dropped stitch and pull it through to reinsert it. Make sure to weave in the loose ends carefully so they don’t unravel further. Practice makes perfect, and soon you’ll be a pro at troubleshooting!
Can I add a design or embellishment to the bonnet?
Absolutely! Consider adding little flowers or pom-poms to the bonnet for a whimsical touch. You can easily crochet these separately and sew them on for a personalized flair that makes your bonnet even more special.
Leave a Reply