
As chilly winds begin to whisper, it’s the perfect time to cocoon your little one in warmth and style with a delightful winter accessory. This free crochet pattern for a cozy Baby Beanie Hat is designed to be both quick and easy, making it ideal for both beginners and seasoned crocheters. Not only will you love the soft, fluffy brim that adds a touch of charm, but you’ll also appreciate the flexibility of five available sizes, ensuring a snug fit for ages from newborn to two years. Plus, you can create matching items like a hooded baby coat and adorable mittens, completing a lovely winter layette ensemble. Ready to wrap your little one in warmth and creativity? Let’s dive into those stitches!
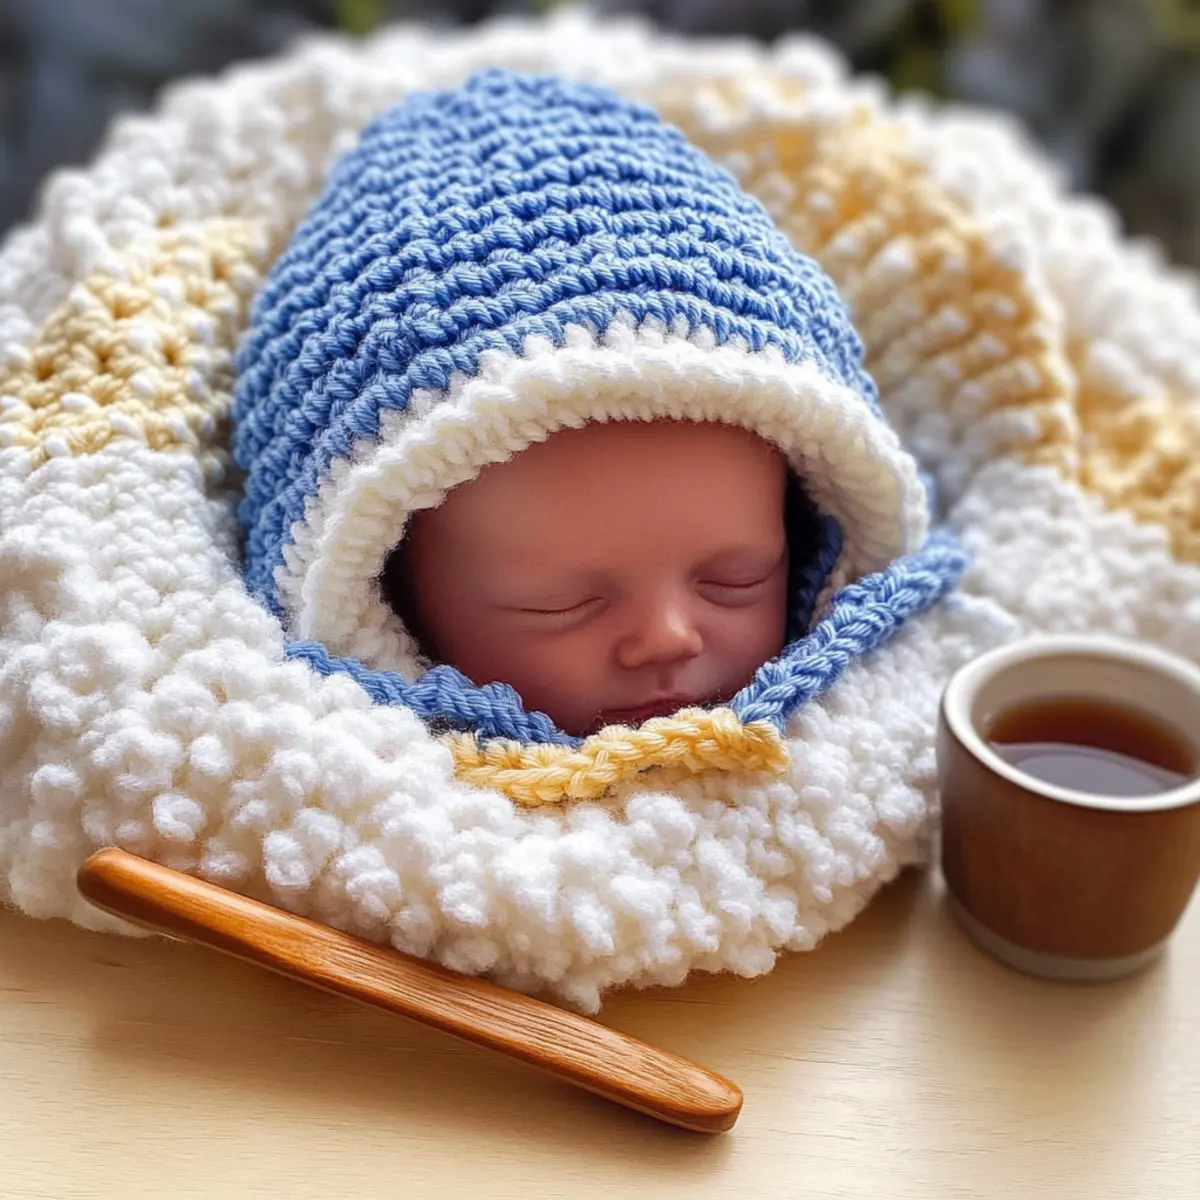
Crochet Baby Beanie Materials & Tools
Get ready to unleash your creativity with this cozy crochet baby beanie!
Yarn
- Debbie Bliss Rialto DK – Perfect for a snug and warm body with approximately 115 yds per 1.8 oz skein.
- Sirdar Snowflake Chunky – Use this fluffy yarn for the brim; approximately 50g will do the trick.
- Alternative Yarns
- Premier Basix DK – A budget-friendly option that works beautifully for the beanie.
- Cascade 220 Superwash – Soft and versatile, this yarn adds durability.
- Paintbox Yarns Simply DK – A vibrant choice for those looking to add a splash of color.
Hooks
- 4 mm (G/6) Hook – For crafting the main beanie with Yarn A.
- 3.5 mm (E/4) Hook – Ideal for working with Yarn B to create a snug brim.
Notions
- Stitch Markers – Handy for keeping track of your rounds and ensuring a smooth workflow.
- Tapestry Needle – Essential for weaving in those ends and finishing your cozy crochet baby beanie beautifully.
Get ready to stitch your way to a delightful winter accessory that keeps your little one warm—this baby beanie pattern is sure to bring smiles all around!
Why Is This Baby Beanie Pattern a Must-Try?
Quick & Easy: The design utilizes basic crochet stitches, making it perfect for beginners and busy crafters who want to whip up a cozy accessory in no time.
Warmth Guaranteed: With a fluffy brim paired with a snug fit, this beanie is sure to keep your little one toasty during the winter months.
Versatile Sizing: Spanning five sizes, this pattern offers a snug fit for newborns to toddlers, ensuring every little one can enjoy this stylish hat.
Matching Accessories: Pair the beanie with the coordinating hooded baby coat, mittens, and booties—create an adorable winter ensemble with ease! For additional matching items, don’t miss out on our cute hat and mittens pattern.
Customization Options: Feel free to experiment with colors or switch up the yarns for personalized flair; this project is as flexible as your creativity!
Gauge & Sizing Notes
Don’t skip the gauge swatch! Ensuring your tension is accurate is essential for the perfect fit of your cozy crochet baby beanie hat. Aim for a gauge of 4×4 inches (10×10 cm) square, which should equal approximately 16 double crochets by 10 rows. If you find your baby beanie is too small, simply adjust your starting chain by increasing in multiples of 2 to make it larger. Conversely, if your swatch is too big, try using a smaller hook size. Remember, checking your crochet gauge can make all the difference in achieving that snug, adorable look for your little one!
Step‑by‑Step Pattern for Cozy Crochet Baby Beanie Hat
Round 1: Create the Crown
Begin with a magic ring, ch 3 (counts as first dc). Work 11 dc into the ring, then pull the tail to close. Join with a sl st to the top of the ch 3. Your work should be a snug circle with 12 sts total (12 sts).
Round 2: Increase for a Flatter Shape
Ch 3 and make 1 dc in the same stitch. Then, 2 dc in each stitch around. Join with a sl st to the top of the ch 3. This round should give you a wider crown, totaling 24 sts (24 sts).
Round 3: Continue Expanding
Ch 3 and make 1 dc in the same stitch. Now, 1 dc in the next stitch, 2 dc in the following stitch, and repeat around. Join with a sl st. Your work should begin to look like a lovely crown with a total of 36 sts (36 sts).
Round 4: Shape the Crown
Ch 3 and 1 dc in the same stitch. Then, 1 dc in the next 2 stitches, 2 dc in the next stitch, repeat around. Close the round with a sl st to the top of the ch 3. Your piece should flare out beautifully with 48 sts in total (48 sts).
Round 5: Final Crown Round
Ch 3 followed by 1 dc in the same stitch. Next, 1 dc in the next 3 stitches, 2 dc in the next stitch, and continue this pattern around. Join with a sl st. You’ll have a rounded shape starting to form with 60 sts by the end of this round (60 sts).
Round 6: Switch to Fluffy Yarn
Change to the fluffy yarn for the brim. Ch 1, then sl st into the first dc from the previous round. Work a series of hdc around, placing one in each dc from round 5. Join with a sl st. The brim should start to show texture as the fluffy yarn emerges (60 hdc).
Round 7: Fluffy Texture Continuation
Ch 1 and hdc in the same stitch, then 1 hdc in each of the next 2 stitches, continue around. Join your round with a sl st. Your beanie will begin to take on a delightful fluffy look, maintaining 60 hdc throughout this round (60 hdc).
Round 8: Final Fluffy Brim Round
Ch 1 and work 1 hdc in the same stitch, then 1 hdc in the next 3 stitches. Repeat this pattern until you reach the end, securing with a sl st. The brim should now be full and cozy, keeping 60 hdc all around (60 hdc).
Step 9: Finishing Touches
After completing the final round, fasten off and weave in the ends using a tapestry needle. If desired, add a pom-pom to the top for an extra cute touch! The Cozy Crochet Baby Beanie Hat is now complete and ready to keep your little one warm.
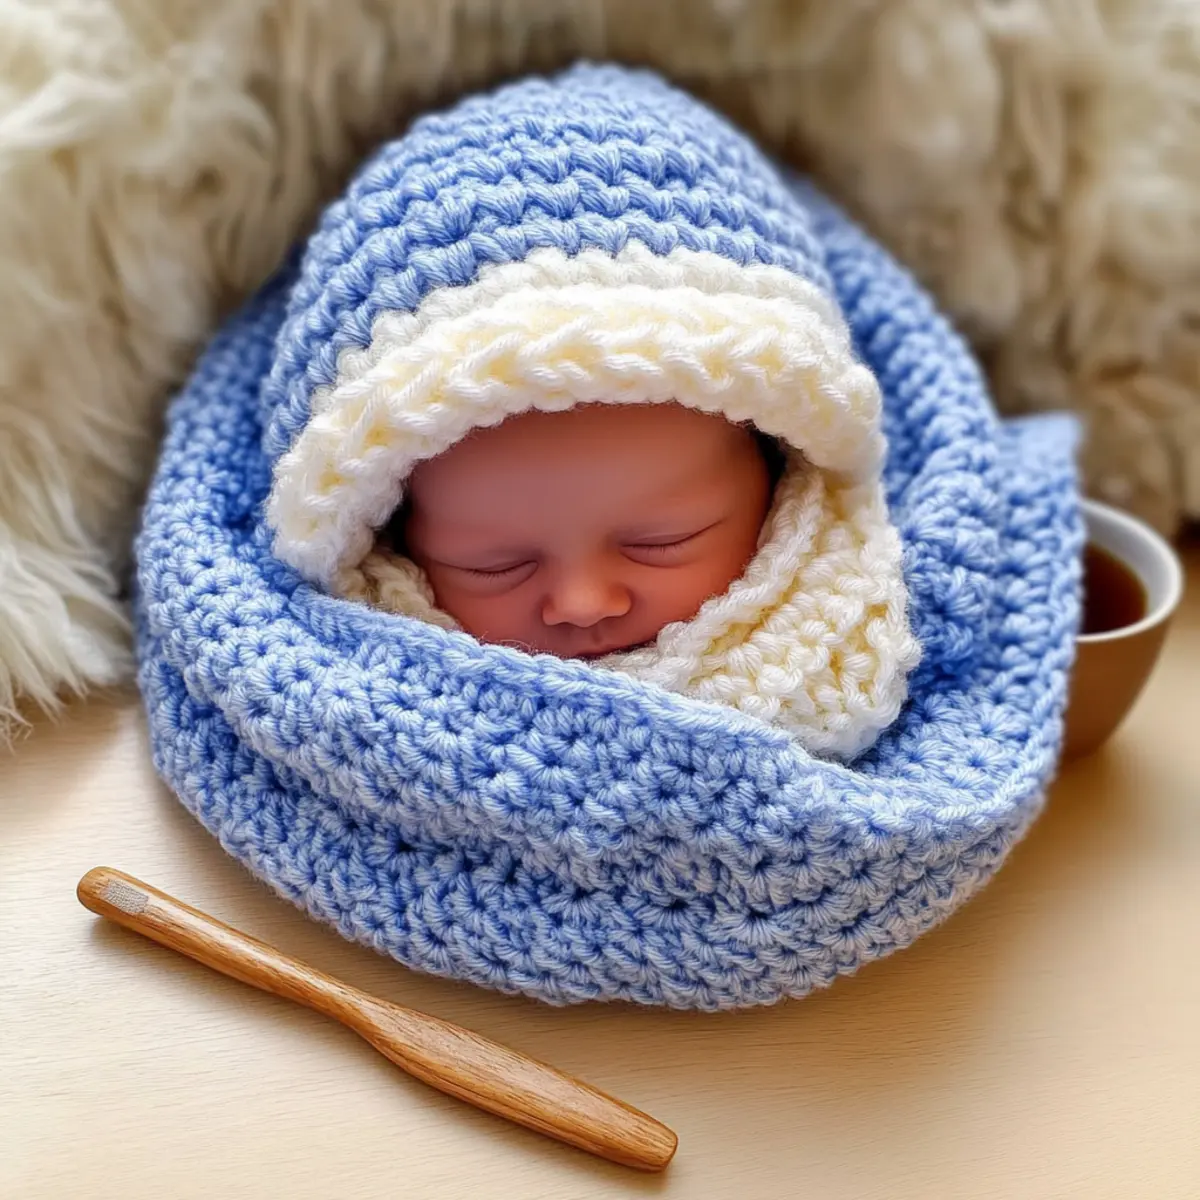
How to Wash and Care for Your Baby Beanie
Hand Washing: Gently hand wash your cozy baby beanie in cold water with a mild detergent to maintain the shape and texture. Avoid agitating, as it may cause felting.
Drying: After washing, lay the beanie flat on a clean towel to dry. This prevents deformation and helps preserve the fluffy brim’s lovely appearance.
Storage: Store the beanie in a cool, dry place, ideally in a cotton bag or box, to protect it from dust and moisture when not in use.
Avoid Heat: Keep your baby beanie away from direct sunlight and heat sources, as these can cause fading or damage to the yarn fibers.
Baby Beanie Pattern Variations
Feel free to let your creativity shine by customizing this adorable crochet pattern for a truly unique touch!
- Yarn Weight Swap: Experiment with a heavier yarn for extra warmth, perfect for chillier days.
- Color Experimentation: Choose vibrant hues or soft pastels for a seasonal twist, adding personality to your beanie.
- Texture Addition: Try adding a chic fringe around the brim for a modern take; it adds playful movement and flair!
- Fluffy Yarn Alternatives: Use a cotton blend instead of fluffy yarn for a more breathable option in transitional weather.
- Size Alteration: Adjust the number of rounds for a longer beanie—great for older toddlers who enjoy wearing slouchy styles.
- Mixing Yarns: Combine multiple colors in stripes for a fun, custom look; your little one will be the trendsetter!
- Pom-Pom Swap: Top off with a contrasting pom-pom for a fun accent; it’s the perfect final touch for your winter accessory!
- Cute Borders: Finish with a decorative border for an extra polished look—this is like icing on a crochet cake!
Expert Tips for the Cozy Baby Beanie
-
Stay Tension Aware: Consistent tension is key for a well-fitting baby beanie. Keep your stitches even to ensure the beanie hugs the head comfortably.
-
Count Every Stitch: It’s easy to lose track while crocheting. At the end of each round, double-check your stitch count to maintain the correct size.
-
Fluffy Yarn Switch: When changing to the fluffy yarn, crochet into the spaces between stitches to avoid ruffling. This will keep your brim looking neat and tidy.
-
Pom-Pom Perfection: Adding a pom-pom can be a fun finishing touch! Make sure to securely attach it at the top to withstand all your little one’s adventures.
-
Weaving Ends: Don’t neglect to weave in your ends properly. It ensures a clean finish and prevents any unraveling, keeping your baby beanie in tip-top shape.
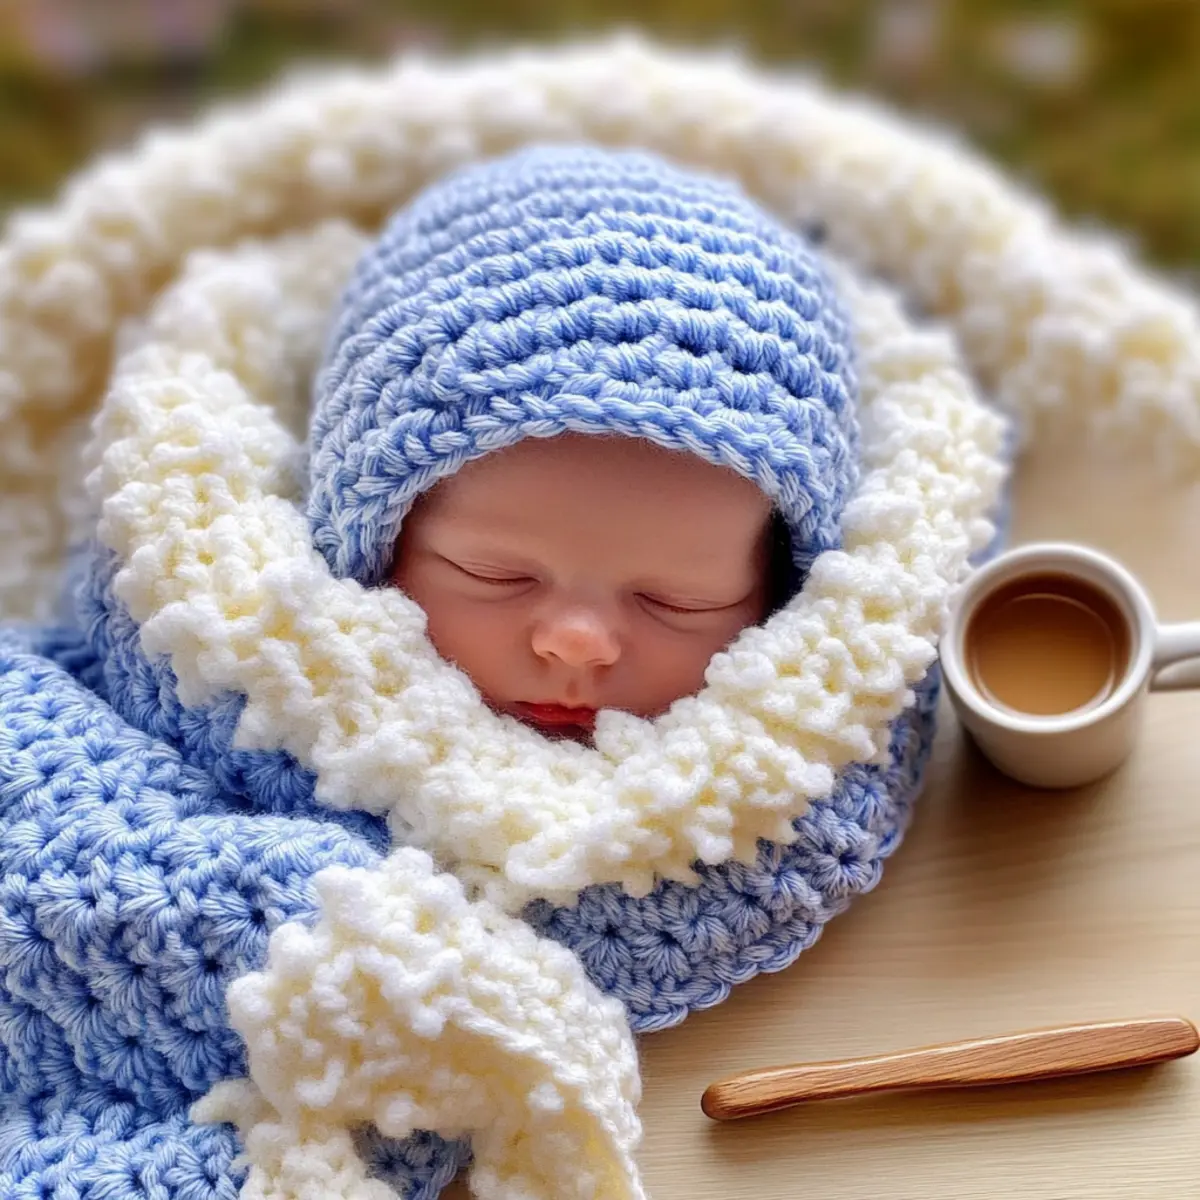
Cozy Crochet Baby Beanie Hat FAQs
Can I use a different type of yarn?
Absolutely! While the pattern calls for a DK weight yarn and a fluffy yarn for the brim, you can certainly substitute with similar weight options like Premier Basix DK or Cascade 220 Superwash. Just keep in mind that the texture and appearance may vary slightly, which can be a delightful twist!
How do I adjust the size if I want it larger or smaller?
Don’t panic! To make the beanie bigger, you can simply add extra rounds to the crown until you reach your desired diameter. For smaller sizes, you can reduce the number of rounds or use a lighter weight yarn to get a tighter fit. Remember to check your gauge for the best results!
Why is my crochet work curling up?
If your beanie is curling like a bowl, it’s likely due to tension issues or stitches being too tight. Make sure to keep a looser grip on your yarn and check your tension as you go. You might also want to skip a hook size up to give the edges a bit more ease.
What hook size should I use for this pattern?
For Yarn A, a 4 mm (G/6) hook is recommended, while a smaller 3.5 mm (E/4) hook is ideal for the fluffy yarn. If you find your stitches too loose or tight, consider adjusting by a half-size up or down. Finding the right hook can make all the difference!
How do I fix a dropped stitch?
It’s an easy fix! Just grab your tapestry needle. You can reinsert the dropped stitch back onto your hook or use the needle to discreetly weave it back into place. Make sure to work the yarn back into the stitch pattern so it blends seamlessly.
Can I add a pom-pom, and how do I attach it securely?
Yes, adding a pom-pom is a fantastic way to embellish your beanie! To attach it securely, thread a length of yarn through the center of the pom-pom and pull it through to the top of your beanie. Make a strong knot underneath to keep it in place, and your beanie is now even more adorable!
Leave a Reply