
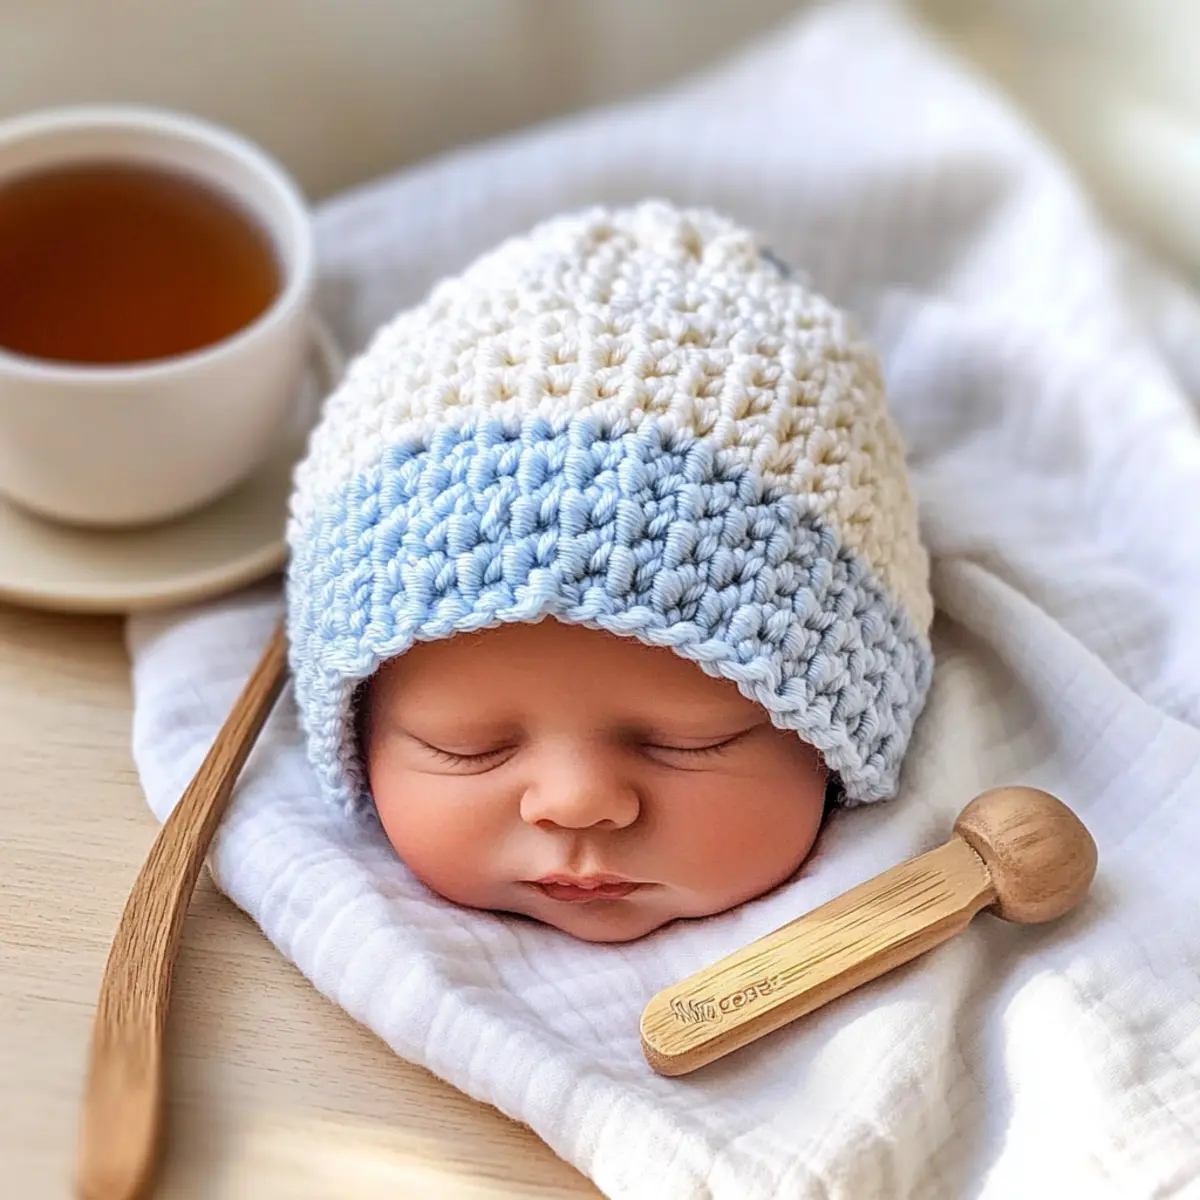
A delightful sense of warmth envelops me as I bring my crochet hook to life with soft, luscious yarn, and this two-toned crochet baby hat is just the project to spark that cozy feeling. Designed to be a perfect fit for little ones from newborns to five-year-olds, this baby hat pattern is as cute as it is practical, making it a wonderful gift idea for baby showers or even a sweet treat for charitable causes. Not only does it whip up quickly, but it’s also beginner-friendly, ensuring that every crafter, no matter their experience level, can enjoy creating this charming accessory. Finished with a playful pom pom, this head-turning hat is certain to become a cherished keepsake. Ready to dive into the world of cozy, colorful stitches? Let’s get started!
Baby Hat Materials & Tools
Dive into creating this cozy two-toned baby hat with the perfect supplies!
Yarn
- Light Worsted/DK Yarn – 1 ball (273yds/3.5oz) in Main Color (for a soft look, try Stylecraft Naturals Bamboo & Cotton).
- Worsted/Aran Yarn – 1 ball (214yds/3.5oz) for sizes 6-12 months and 0-3 months (Stylecraft Special Aran is a great option).
- Bulky/Chunky Yarn – 1 ball (157yds/3.5oz) for sizes 3-5 years (check out Stylecraft Special Chunky for a plush feel).
Hooks
- G (4mm) Hook – Perfect for the 0-3 months size to create snug stitches.
- H (5mm) Hook – Ideal for the 6-12 months size, allowing for comfortable draping.
- J (6mm) Hook – Best suited for the 3-5 years size for that cozy fit.
Notions
- Stitch Marker – (optional) great for keeping track of rounds and ensuring neatness in your work.
- Pom Pom Maker – (like Clover) perfect for adding a playful touch to your finished baby hat.
- Tapestry Needle – Essential for weaving in ends and giving your hat a polished look.
Get ready to enjoy this cozy accessory project—perfect for gifts or your little one!
Why Is This Hat Pattern Perfect?
Versatile Sizes: With seven different sizes covering ages from newborn to five years, this pattern ensures a snug fit for every little one.
Quick Project: Ideal for last-minute gifts, this baby hat works up fast, making it a go-to choice for busy crafters.
Beginner-Friendly: Designed for all skill levels, even crochet newbies will feel confident tackling this cozy accessory.
Charming Details: The two-toned design adds a unique touch to your work, while the playful pom pom elevates the hat’s aesthetic.
Gift-Worthy: Perfect for baby showers or thoughtful donations, this project is a heartfelt way to share your crafting passion.
Ready to create something special? Explore more tips on beginner crochet projects and make this adorable hat your next favorite creation!
Gauge & Sizing Notes
Don’t skip the gauge swatch! It’s essential to ensure your cozy two-toned baby hat fits just right, no matter the size you’re making. For this pattern, a standard gauge is a 4×4 inch (10×10 cm) square that should measure approximately 12 double crochets by 10 rows. If your swatch is smaller, consider going up a hook size; if it’s larger, try a smaller hook. To adjust your starting chain for size alterations, increase in multiples of 6 for a wider fit or reduce your starting chain by the same multiples for a snugger size. Happy crocheting!
Step‑by‑Step Pattern for Two Toned Crochet Baby Hat
Round 1: Begin the Crown
Start by creating a magic circle or chain 4 and join with a slip stitch (sl st) to form a ring. Work 12 single crochet (sc) into the magic circle, ensuring the ring is snug. You’ll want to pull the tail to tighten, and your work should lay flat (12 sts).
Round 2: Increase for Shape
In this round, you will increase each stitch for a nice rounded crown. Work 2 single crochet (sc) in each stitch around. By the end of this round, you will have 24 stitches for the baby hat’s crown, which should begin to curve nicely (24 sts).
Round 3: Continue Increasing
For this round, make 1 sc in the first stitch, then 2 sc in the next; repeat this pattern around. This will help to gradually enlarge the hat. You should have 36 stitches at the end of this round, with your crown taking shape (36 sts).
Round 4: Final Crown Increase
Now, work 1 sc in the first two stitches, followed by 2 sc in the next stitch all around. Keep counting your stitches as you work to ensure consistency. You will end this round with 48 stitches, and the crown should be nicely rounded (48 sts).
Round 5: Establish the Body
Transition to working in double crochet (dc) for the body of the hat. Simply dc in each stitch around, ensuring to maintain the stitch count of 48. Your work should begin to rise vertically, showcasing the cozy texture (48 sts).
Rounds 6-10: Build the Body Height
Continue to work even in double crochet (dc) for the next 5 rounds. After completing these rounds, your hat will have a lovely length for the body. You can adjust depending on size preferences, but aim for 3-4 inches in height to fit snugly for little ones.
Round 11: Begin the Brim
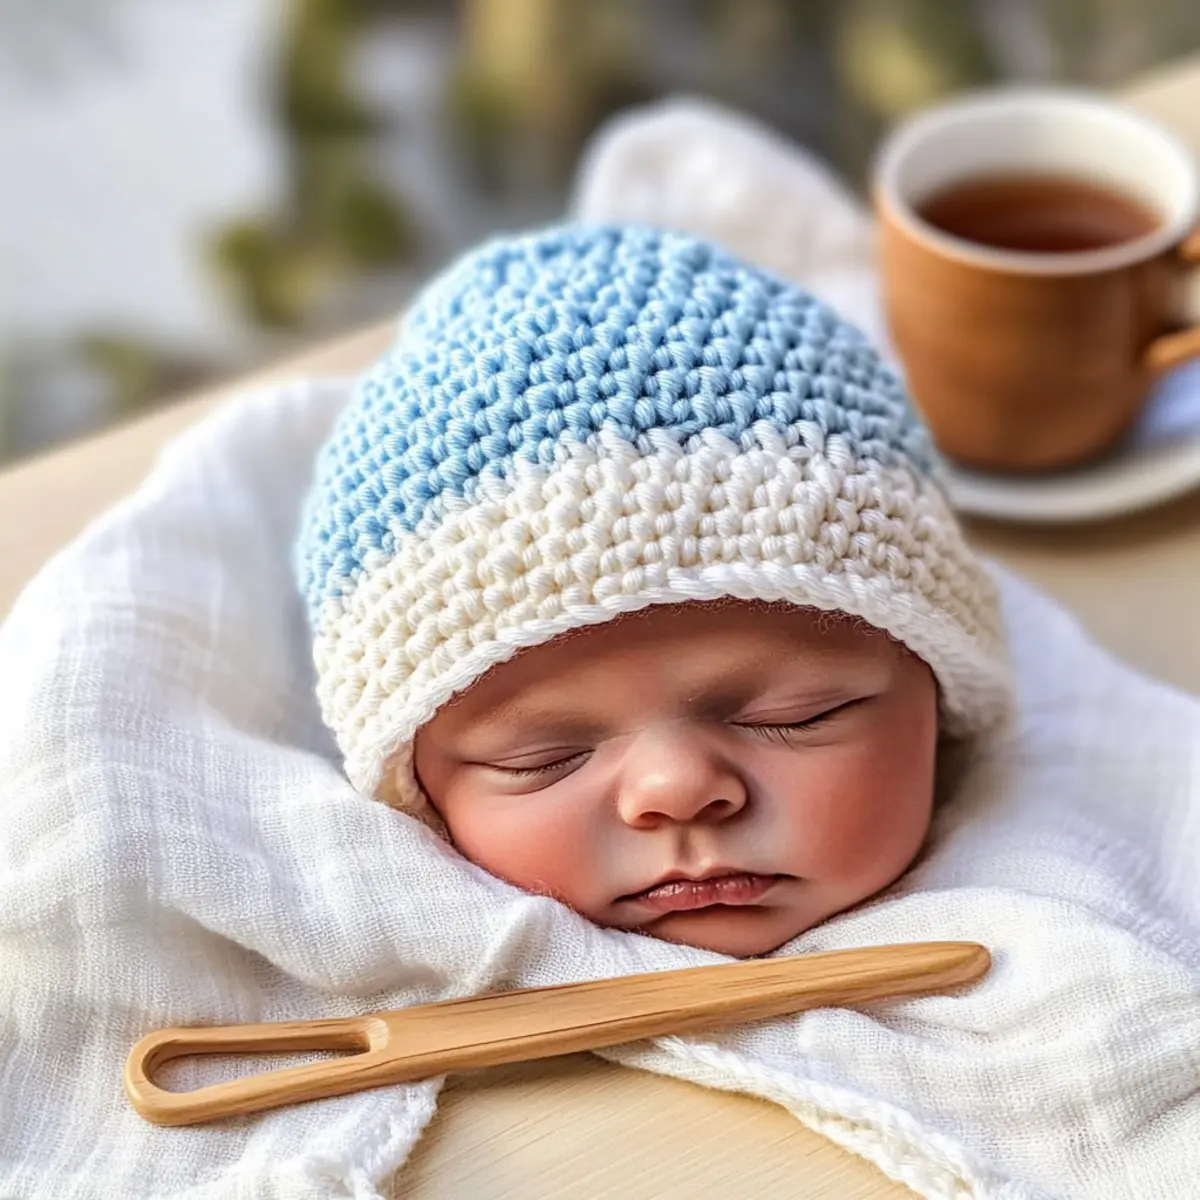
Change to your contrasting color yarn for a stylish brim. Start this round with front post double crochet (FPdc) around, which adds a textured appearance and elasticity. Your stitch count remains the same at 48 stitches, and the brim should start to form a nice edge.
Round 12: Complete the Brim
Now switch to back post double crochet (BPdc) in this round. This alternating pattern gives a sleek finish to your baby hat while providing structure. After completing this round, your brim should have a distinct look, still maintaining the existing stitch count (48 sts).
Final Round: Pom Pom Attachment
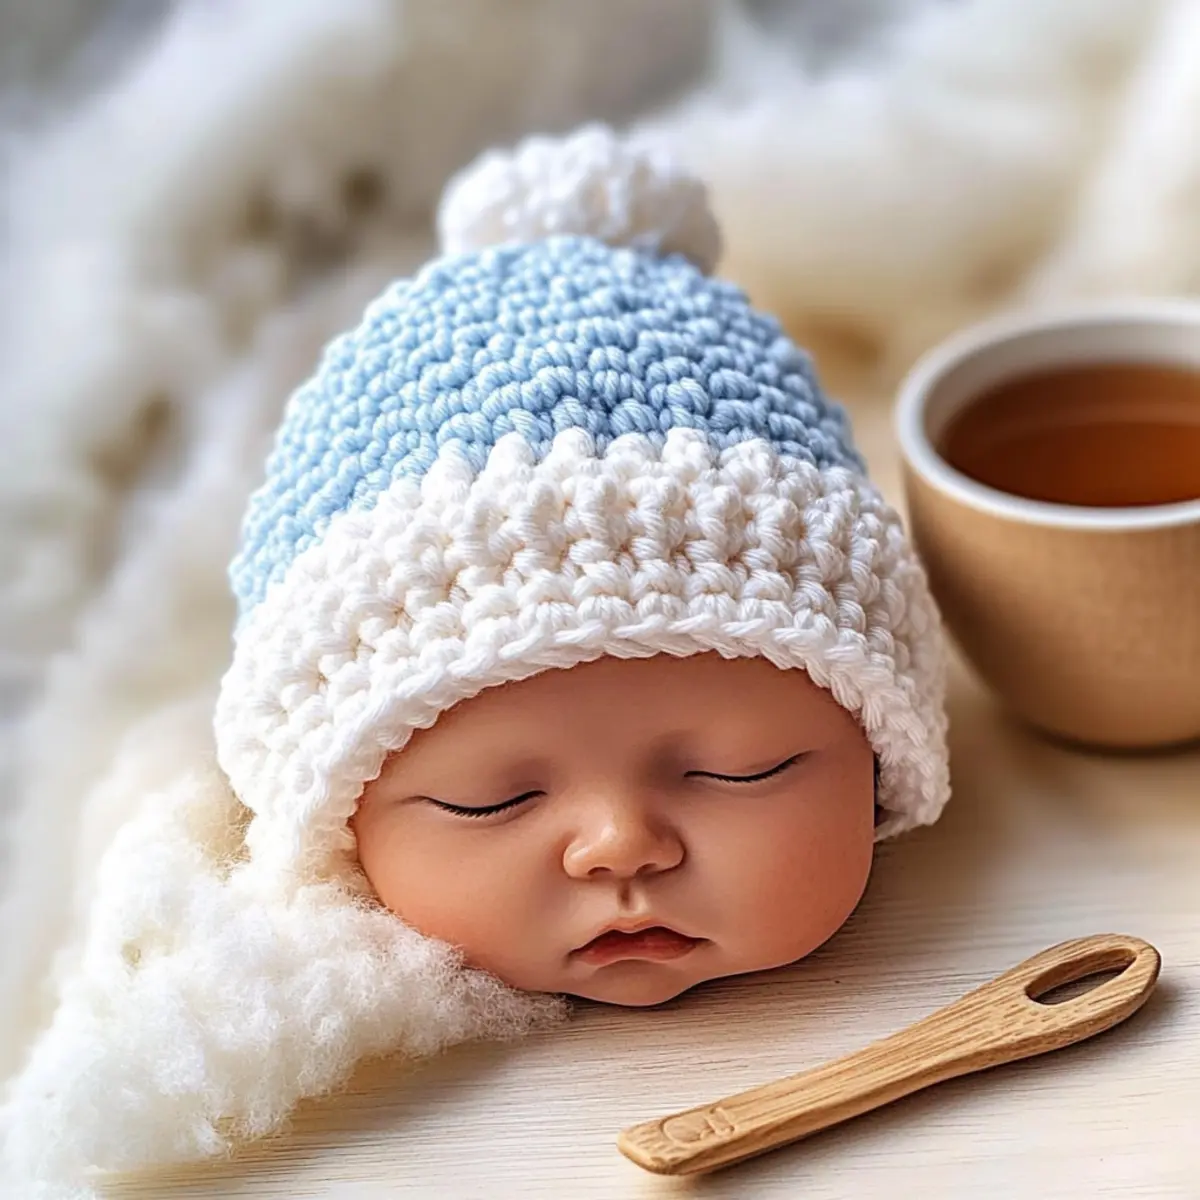
Finish off your hat with a slip stitch (sl st) in the first stitch from your last round and cut the yarn, leaving a tail for sewing. Create a cute pom pom using the pom pom maker, attaching it securely to the top of the crown. Your two-toned crochet baby hat is now ready to shine!
Washing & Care for Your Two Toned Crochet Baby Hat
-
Machine Washing: Use a gentle cycle in cold water to avoid felting or pilling. Make sure to place the two-toned crochet baby hat inside a mesh laundry bag for extra protection.
-
Hand Washing: If you prefer, hand wash the hat in cold water with a mild detergent. Gently squeeze the water out without wringing, preserving the hat’s shape.
-
Drying/Blocking: Lay the hat flat on a clean towel to dry. Avoid hanging it up, as this can stretch the fabric. Shape it gently back into form if necessary.
-
Storage: Store your cozy baby hat in a cool, dry place. If you’ve made multiple hats, consider using acid-free tissue paper to keep them from losing their shape.
Helpful Tricks for Baby Hat
-
Stitch Counting: Always count your stitches at the end of each round. This helps avoid accidental increases or decreases, ensuring a cozy baby hat fits perfectly.
-
Mark Your Start: Use a stitch marker to indicate the beginning of each round. This keeps your pattern neat and prevents confusion when working in the round.
-
Gauge Matters: Check your gauge before starting to ensure the right fit. A mismatch can lead to either a too-tight or too-loose baby hat that won’t keep little heads warm.
-
Pom Pom Perfection: For a beautiful finish, make a fluffy pom pom using a pom pom maker. Ensure it’s securely attached for durability during playtime!
-
Secure Your Ends: When you finish, weave in all ends properly with a tapestry needle to avoid unraveling. This will keep your cozy hat looking neat and adorable.
Crochet Baby Hat Variations
Feel free to explore your creativity and personalize your crochet project with these delightful modifications.
-
Yarn Substitutions: Try using a soft cotton yarn for a breathable option on warmer days, ensuring comfort for your little one.
-
Color Combinations: Embrace softer pastel shades or bold primary colors to craft a unique look; experiment until your heart is content!
-
Extra Length: Add a few more rounds to accommodate older children, allowing for a style that grows with them.
-
Texture Enhancements: Introduce a lacy border; this simple twist can add an elegant flair while redefining the hat’s overall aesthetic.
-
** pom-pom Variations:** Adjust the pom pom size or try a playful tassel for a fun twist. The finishing touches can make all the difference!
-
Matching Sets: Use the same yarn shades to create cozy booties or a blanket. A matching set not only looks adorable but is also a treasured gift idea!
-
Seasonal Adaptations: Swap out the two-toned design for a single hue, or add stripes for a fun, seasonal flair.
-
Production Efficient: If you’re making gifts for multiple babies, consider working in assembly line style to speed up the process – one step at a time!
For more inspiration, check out these beginner crochet projects that will warm your heart and your hands.
Two Toned Crochet Baby Hat FAQs
Can I substitute the yarn recommended in the pattern?
Absolutely! While the pattern suggests specific yarn categories, you can substitute with any similar weight yarn. Just ensure that you check your gauge to maintain the correct size. For instance, using a soft acrylic instead of cotton is perfectly fine; just keep in mind that the drape and feel might differ.
How do I adjust the size of the baby hat if I want it bigger or smaller?
Don’t panic! To make the hat larger, you can add extra stitches in your foundation chain, usually in multiples specified by the pattern, like groups of 3 plus 1. For smaller sizes, simply decrease the number of rounds or the stitch count in the crown. Be sure to keep your gauge in check.
Why is my work curling at the edges?
Curling edges are common and can happen if the tension is too tight. A simple fix is to ensure you are not over-tightening your stitches. If your circle is buckling like a bowl, try working a few extra rows to see if it flattens out. Additionally, using a different hook size can also help ease the tension.
What size hook should I use for this baby hat?
The hook size varies by the hat size you’re making. Use a G (4mm) for sizes 0-3 months, an H (5mm) for 6-12 months, and a J (6mm) for sizes 3-5 years. Always do a quick gauge check with your chosen yarn to ensure the fit is just right!
How do I fix dropped stitches in my work?
It’s an easy fix! Simply go back to the dropped stitch, pick it up from the row below, and use your hook to pull the yarn through to create the stitch again. If you’re really struggling, you can weave in a new piece of yarn and secure it into place to make a seamless transition.
What’s the best way to attach the pom pom securely?
For pom pom perfection, use a yarn needle to thread the ends of the pom pom into the top of the hat, pulling them through a few stitches. Make sure it’s snug and secure—no one wants a pom pom going missing during playtime!
Leave a Reply