
As I sat on my couch, a soft ball of yarn nestled in my lap, a delightful idea sprouted in my mind—a cozy baby beanie! This “Cozy Baby Beanie with Textured Ears” pattern is not only a stitcher’s dream but a heartwarming gift for new parents or baby showers. With its beginner-friendly instructions and quick stitch patterns, you’ll be able to whip up this adorable hat in no time. Imagine wrapping your little one in its snug embrace, where every stitch reminds them of the warmth and love that went into creating it. Plus, the combination of textured stitches adds a cozy depth that feels oh-so-good against baby skin. Whether you’re a seasoned pro or just starting your crocheting journey, this project is perfect for building your skills and keeping those tiny heads warm. So, let’s dive into the stitches and make something special together!
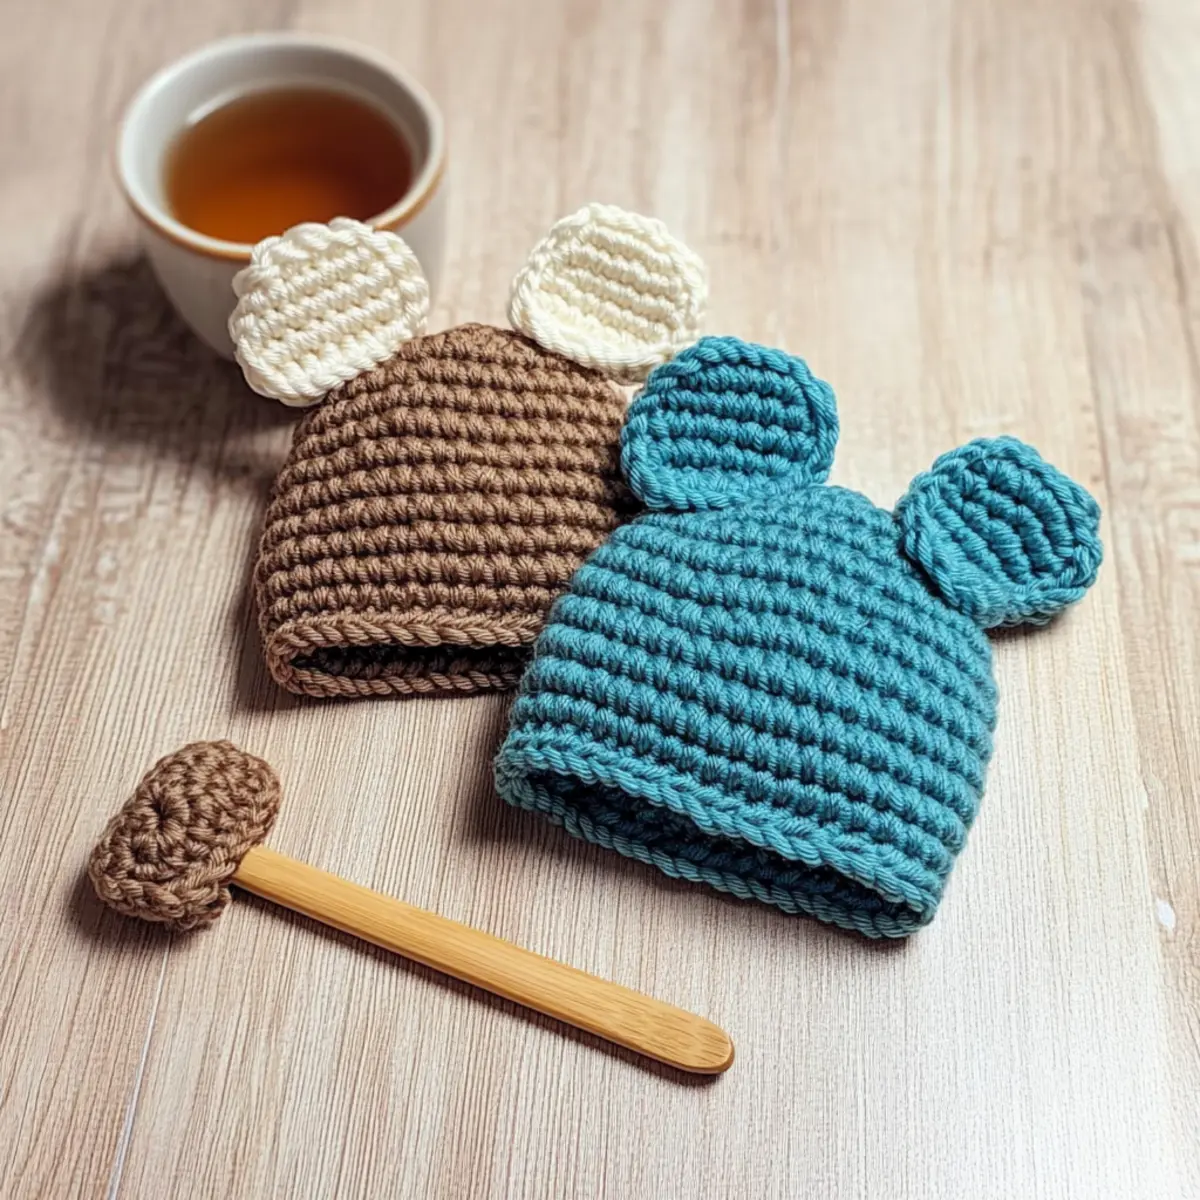
Cozy Baby Beanie Materials & Tools
Yarn
- Worsted Weight Yarn – Choose soft acrylic or cotton, about 150-200 meters for the hat and ears.
Hook
- 5.5 mm (US I-9) Hook – This size is perfect for achieving a snug fit with textured stitches.
Notions
- Stitch Markers – Use these to mark the beginning of each round for easy counting and consistency.
- Tapestry Needle – Essential for weaving in ends and finishing your project seamlessly.
Creating this cozy baby beanie with textured ears is not only fun but also a perfect way to shower little ones with warmth and love!
Why is This Baby Hat So Special?
Adorable Design: The combination of cozy textures and playful ears makes this beanie a must-have for any baby wardrobe.
Easy to Follow: With straightforward rounds and a magic ring start, beginners will find this project a breeze to complete.
Perfect for Gifting: Delight new parents with a heartfelt baby shower gift that showcases your creativity—who wouldn’t love this stylish little hat?
Soft and Snug: Made with worsted weight yarn, the beanie ensures a gentle fit that keeps little heads warm without irritation.
Time-Saving Delight: Stitch up this hat quickly and enjoy the satisfaction of finishing a project in no time—ideal for last-minute crafting!
Customize Your Palette: Play around with colors to create a unique look for every little one—imagine colorful stripes or a cute mix of pastel shades!
Gauge & Sizing Notes
Don’t skip the gauge swatch! Ensuring your tension is just right is crucial for the perfect fit of your Cozy Baby Beanie with Textured Ears. To achieve your desired size, aim for a gauge of 4×4 inches (10×10 cm), which should equal 12 stitches by 10 rows in double crochet. If you’d like to customize the size of your beanie, you can adjust your starting chain or number of rounds; for example, add 2 rounds to increase the height or begin with multiples of 2 for a wider fit. If your tension swatch doesn’t match, don’t worry—simply go up a hook size for a looser gauge, or down a size for a tighter fit.
Step‑by‑Step Pattern for Cozy Baby Beanie with Textured Ears
Round 1: Start with Magic Ring
Begin your Cozy Baby Beanie by creating a magic ring. Chain 2, then work 10 double crochet (dc) stitches into the ring. Pull the ring tight to close it, and join with a slip stitch (sl st) in the top of the first dc to form the round. Your work should start off small and tightly cinched (10 dc).
Round 2: Increase for Shape
Chain 2 to begin the next round. Make 2 dc in each stitch around, which will double the stitch count. Join with a sl st at the top of the first dc to close the round. The beanie will start to take shape as it expands (20 dc).
Round 3: Establish Pattern
Chain 2, then work [2 dc in the first stitch, 1 dc in the next] repeating this pattern around. Join with a sl st to close the round. Your beanie should be quite round now, with a total of 30 stitches (30 dc).
Round 4: Continue Increasing
Chain 2 to begin. In this round, work [2 dc in the first stitch, 1 dc in the next 2 stitches] around. Join with a sl st at the top of the first dc to finish. The beanie should start to show a nice dome shape (40 dc).
Rounds 5-8: Build the Body
For Rounds 5 through 8, chain 2 and continue to work 1 dc in each stitch around. Make sure to join with a sl st at the end of each round. As you complete these rounds, the beanie will grow in height while maintaining its round shape (40 dc in each round).
Rounds 9-10: Add Texture
Start each of these rounds with a chain 2. For Round 9, work [front post double crochet (fpdc) in the first stitch, back post double crochet (bpdc) in the next] all the way around. Continue the same stitch pattern for Round 10 before joining with a sl st. You’ll notice a lovely texture forming (40 dc).
Finish off Hat:
After completing Round 10, finish off your Yarn, leaving a long tail for weaving in. Weave in all loose ends with a tapestry needle, ensuring your Cozy Baby Beanie is neat and secure before moving on to the ears.
Round 1 (Ears): Magic Ring
To create the ears, start with a magic ring. Chain 2, and work 10 dc into the ring. Pull the ring tight. Join with a sl st at the top of the first dc. The circle should be small and tightly closed, just like the bottom of the beanie (10 dc).
Round 2 (Ears): Increase
Chain 2 to start. In this round, make 2 dc in each stitch around, joining with a sl st at the end. The ear shape should start to emerge with a total of 20 stitches (20 dc).
Round 3 (Ears): Start Shaping
Begin this round with a chain 2, then work [2 dc in the first stitch, 1 dc in the next] around. Join with a sl st to close it up, allowing the ear to take form (30 dc).
Round 4 (Ears): Further Shaping
Chain 2, then work [2 dc in the first stitch, 1 dc in the next 2 stitches]. As you join with the sl st, your ear should be visibly larger and ready for the next steps (40 dc).
Rounds 5-10 (Ears): Build Height
For Rounds 5 through 10, chain 2 and work 1 dc in each stitch around, finishing with a sl st after each round. This portion gives the ears their height and fullness, perfectly complementing the hat (50 dc in each round).
Rounds 11-12 (Ears): Add Texture
Complete these final rounds by chaining 2. Next, alternate between fpdc in the first stitch and bpdc in the next stitch all the way around. Joins with a sl st at the end of each round to finish beautifully. The texture adds a delightful detail to your little ears (50 dc).
Finish off Ears:
After completing Round 12 on both ears, finish off yarn leaving a long tail to attach to the beanie. Weave in any loose ends with the tapestry needle to keep your work tidy. Your Cozy Baby Beanie with Textured Ears is now ready to bring warmth and joy to a little one!
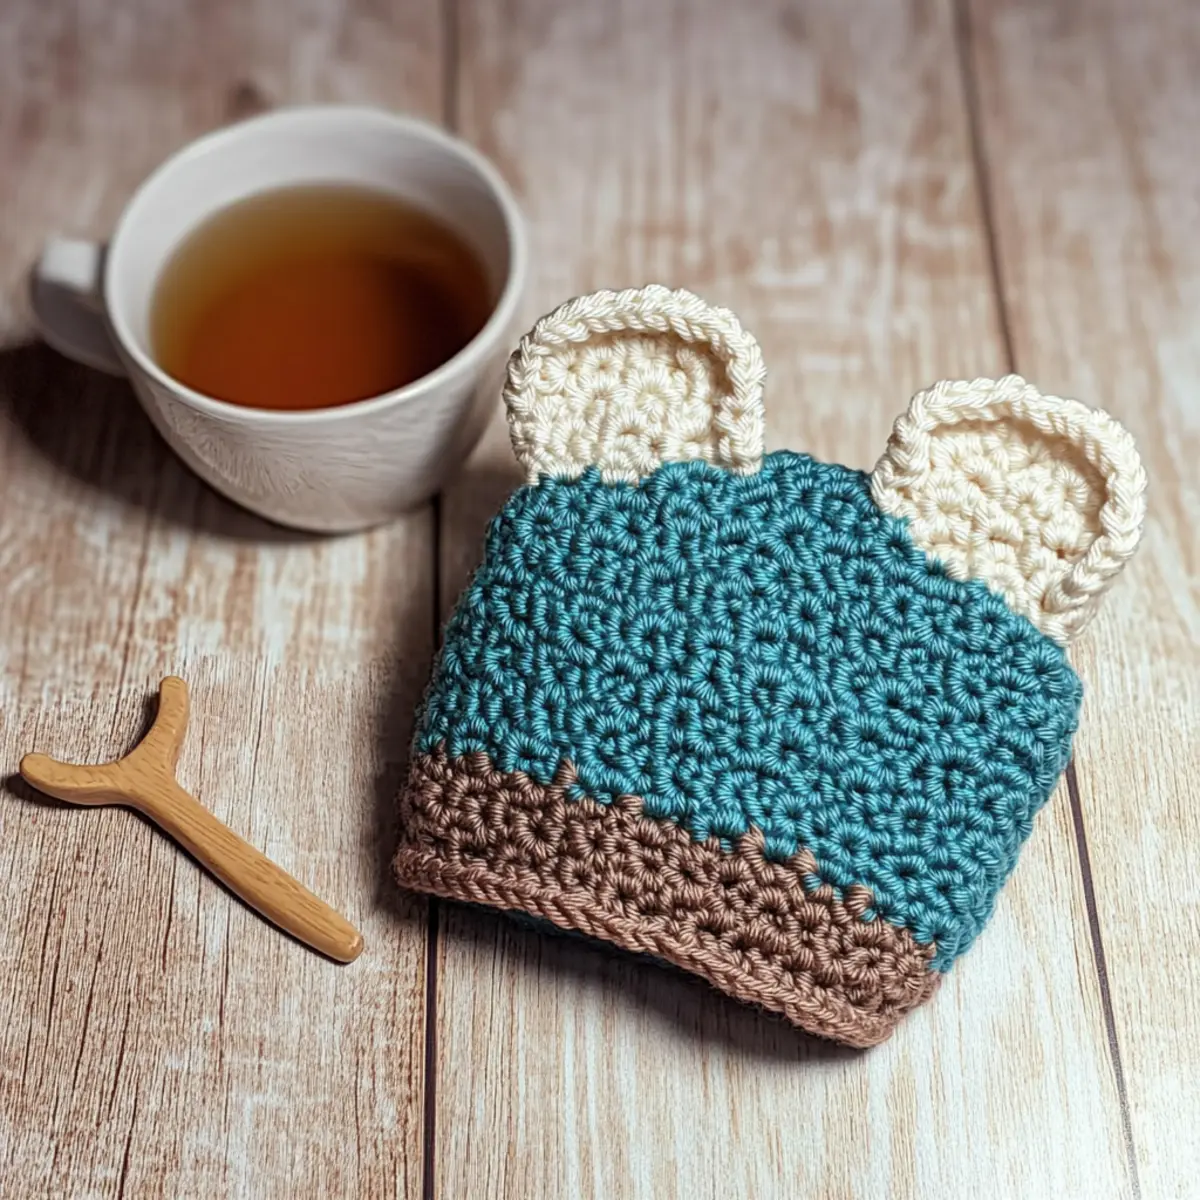
Variations & Substitutions for Your Baby Hat
Feel free to sprinkle a dash of your creativity on this adorable baby beanie!
-
Yarn Substitutions: Consider using cotton yarn for increased breathability and a softer feel against tender skin.
Imagine the difference as cotton keeps your cozy creation cool and gentle for little ones. -
Color-Blocking: Use two or three complementary colors to create a playful color-blocked effect.
A mix of hues adds a joyful touch, making the hat even more delightful for gifting or dressing up! -
Larger Sizing Options: Increase the overall height by adding extra rounds for older infants or toddlers.
Adjusting the size will ensure prolonged use as your little one grows—saving both time and effort! -
Texture Additions: Enhance the beanie’s charm by adding a cute pom-pom on top or fuzzy ear tips for extra flair.
These small touches can transform your creation into a unique keepsake, full of personality! -
Fringe Details: For a fun twist, try adding fringes at the base or on the ears to bring some whimsy.
Textures can stimulate little hands and eyes, making the beanie more interactive. -
Mix Yarn Weights: Try using a sport weight yarn for a lighter feel, perfect for warmer months.
This adjustment keeps your project versatile and practical, allowing for year-round use. -
Special Care Instructions: Hand wash in cold water, lay flat to dry—but consider adding a fabric softener for cotton!
This will help maintain that soft touch, ensuring your beanie stays lovely wash after wash. -
Pattern Details: Consider using a front post double crochet stitch to create more pronounced texture for the hat.
This simple switch can elevate your project, giving it a professional finish that’s sure to impress!
As you brainstorm your tweaks, don’t hesitate to explore other projects, like our textured crochet patterns or tips for beginner-friendly stitches. Let your imagination run wild!
Expert Tips for the Best Baby Hat
-
Stitch Markers: Always use a stitch marker to indicate the start of each round. This will help you keep track and avoid losing your place!
-
Counting Stitches: Regularly count your stitches after each round to ensure the hat maintains its intended shape. Mistakes can lead to an uneven beanie!
-
Tension Matters: Create a tension swatch before starting the cozy baby beanie. This ensures your gauge matches the pattern, leading to the perfect fit!
-
Foundation Chain Reminder: Be careful when beginning with a magic ring. A well-formed ring is crucial for a neat look; avoid twisting your foundation.
-
Finishing Touches: When finishing off, weave in your loose ends carefully to secure the stitches. This will give your cozy baby hat a polished appearance!
How to Wash and Care for Your Cozy Baby Beanie
-
Hand Washing: Gently wash in cold water using a mild detergent to keep your cozy baby beanie looking its best without damaging the texture.
-
Avoid Agitation: Do not wring or scrub the beanie, as this may cause felting or pilling; treat it with care for longevity.
-
Drying: Lay flat on a clean towel to dry completely, reshaping if necessary to maintain the adorable ear design and overall fit.
-
Storage: Store in a cool, dry place away from direct sunlight to preserve colors and textures—ensure your cozy creation stays fresh for future wear!
Cozy Baby Beanie with Textured Ears FAQs
Can I substitute the yarn for this baby hat?
Absolutely! While worsted weight acrylic or cotton yarn gives the best results, you can substitute with a similar weight yarn. Just ensure it has the softness needed for a baby’s delicate skin. If you decide to use a different fiber, be mindful that it may change the final texture or warmth.
How do I adjust the size of the baby beanie?
Making sizing adjustments is a breeze! For a larger size, simply add more rounds before the textured stitches. You can also increase the number of stitches in each round by following the pattern’s math rules, like adding stitches in multiples of 5 for additional rounds. For smaller sizes, reduce the number of rounds or skip the last couple of rounds.
Why is my work curling up at the edges?
Don’t panic! Curling often occurs if your tension is too tight. I recommend checking your gauge and loosening your tension. Additionally, try a few rows of single crochet before starting the main design, as this can help anchor your edges.
What hook size should I use for this pattern?
For the Cozy Baby Beanie, it’s best to use a 5.5 mm (US I-9) hook. If you’re new to the magic ring technique, consider using a larger hook for that first chain to make it easier to pull the yarn without straining.
How do I fix dropped stitches in my beanie?
It’s an easy fix! Take your tapestry needle and go back through the dropped stitch, pulling it through to secure it. If it’s a new stitch and you’re further along, gently tug the yarn back to the last good stitch to reconnect. Always keep a close eye on your stitch count to avoid these mishaps!
What’s the best way to wash the finished baby hat?
To keep your Cozy Baby Beanie looking great, hand wash it in cold water instead of tossing it in the machine. Lay it flat to dry, as this will help maintain the shape and softness of the stitches.
Leave a Reply