
As I snuggled under my favorite crochet blanket, I couldn’t help but feel inspired by the joy that comes from creating something special for the little ones in our lives. That’s exactly what the “Adorable Crochet Sprig Baby Outfit Set” embodies—a delightful cardigan and matching beanie designed specifically for babies aged 3-6 months. This charming pattern not only showcases an easy sprig stitch design that adds texture but also works up quickly, making it a fantastic option for a last-minute gift or to stock up for an upcoming baby shower. Plus, the cozy double knitting yarn ensures your tiny treasure will stay warm and stylish, a perfect combination for those chilly days. Are you ready to make some heartwarming stitches? Let’s dive in!
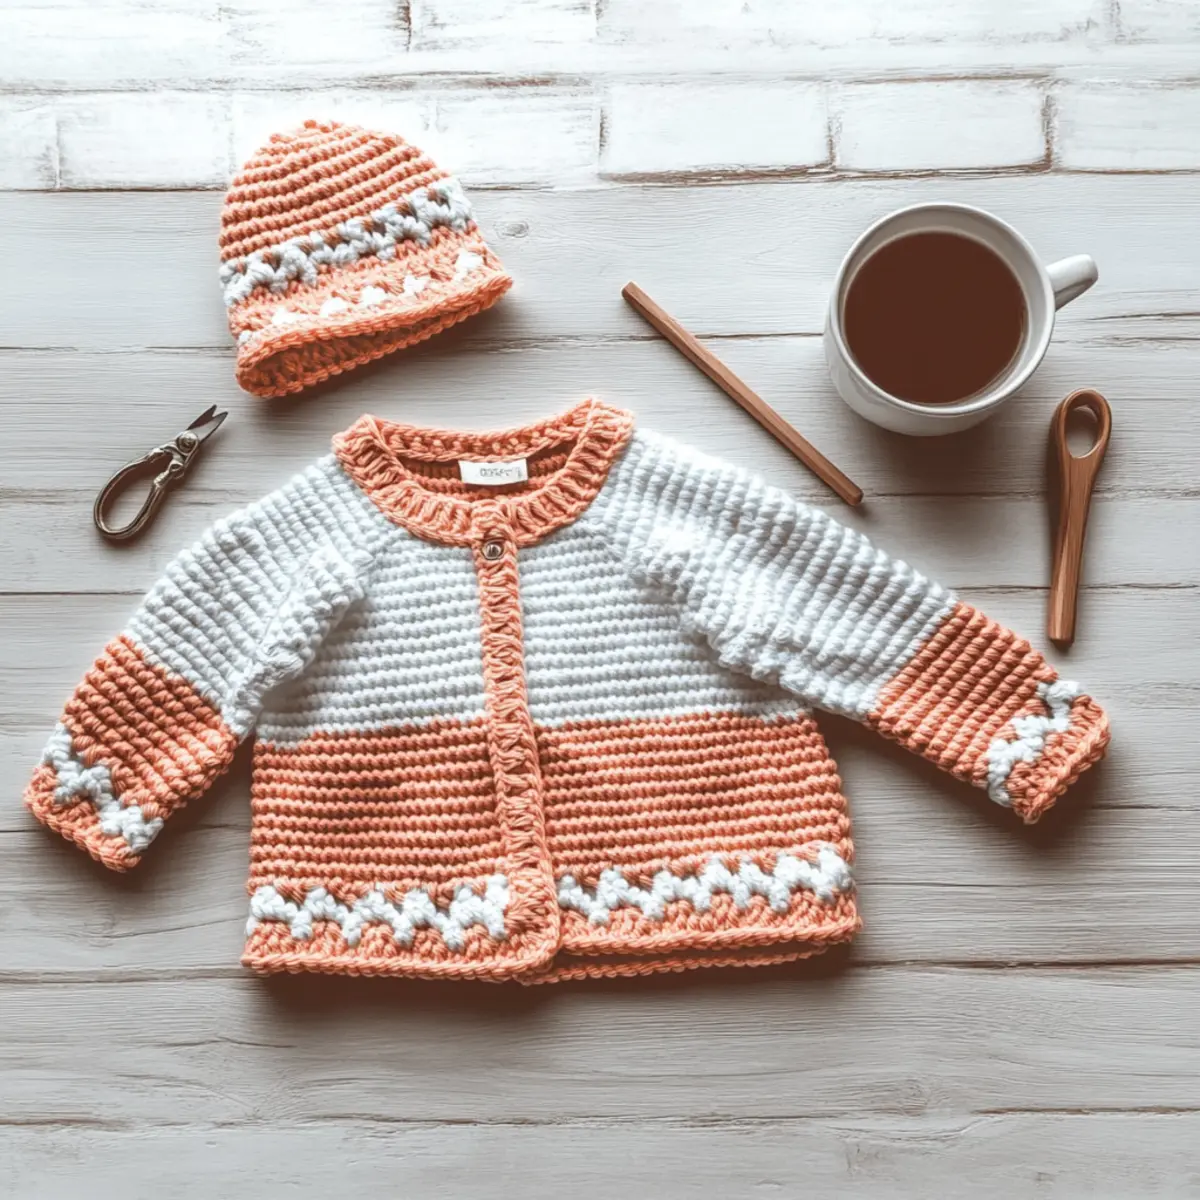
Cozy Sprig Baby Outfit Set Materials & Tools
Note: Get ready to bring warmth and style to your little one’s wardrobe with this delightful project!
-
Yarn
-
Stylecraft Special DK Yarn (Color 1) – 140 grams is needed for the cardigan, ensuring a soft and cozy fit.
-
Stylecraft Special DK Yarn (Color 2) – 50 grams adds a lovely contrast for extra charm.
-
Tools & Notions
-
4.00mm (G/6) Hook – Essential for the main work of both the cardigan and beanie.
-
5.00mm (H/8) Hook – Perfect for the skirt and beanie brim, giving you the right width and texture.
-
3 Small Buttons – These add a functional and cute touch to the cardigan.
-
Stitch Markers – Optional but helpful for keeping track of row increases and patterns.
-
Tapestry Needle – Used for weaving in ends and securing your beautiful stitches.
Dive into your crafting journey with these materials to create an adorable sprig baby outfit set that’s sure to be cherished!
Why Will You Love This Baby Set?
Adorable Design: The sprig stitch adds a playful yet sophisticated touch, making this outfit set perfect for stylish little ones.
Quick to Make: You’ll find this pattern works up quickly, ideal for last-minute gifts or baby showers.
Cozy & Warm: Crafted with double knitting yarn, the cardigan and beanie provide that extra warmth babies crave on chilly days.
Perfect for Gifting: A lovely, thoughtful choice for new moms, this set is functional and beautiful!
Customizable Options: Play around with colors and sizes to create a personalized touch, or even explore variations like adding appliqués for extra charm.
Unleash your creativity and warmth with this cozy project! Happy crafting—check out more tips on beginner-friendly crochet techniques to make the most of your stitching experience.
Gauge & Sizing Notes
Don’t skip the gauge swatch! Ensuring the correct tension is vital for your adorable crochet sprig baby outfit set, as it will determine the overall fit of the cardigan and beanie. A standard gauge for this project is approximately 4.5 treble crochets and 2 rows which should measure about 1 inch (2.5 cm) square. If you wish to make the cardigan or beanie larger or smaller, adjust your starting chain in multiples of 4 or modify the number of rows in your rounds accordingly. If your tension doesn’t match the pattern, and your swatch is too small, simply try going up a hook size to achieve the right fit. Happy stitching!
Step‑by‑Step Pattern for Adorable Crochet Sprig Baby Outfit Set
Row 1: Starting the Yoke
Begin by chaining 54. Work your first row in double crochet (dc) across the chain. Make sure to count your stitches to have a solid foundation. At the end of this row, you should have 54 dc, creating a sturdy base for your cardigan.
Row 2: Increasing for Yoke Width
In Row 2, ch 3 (counts as first dc), then repeat dc in each of the next 26 stitches, inc in the next stitch; repeat from * across the row. You will increase your stitch count to 58 by the end of this row, and your yoke should start to widen noticeably.
Row 3: Continuing Yoke Increases
Ch 3 to start Row 3, then dc in each of the next 27 stitches, inc in the next stitch; repeat from * to finish the row. This gives you a total of 62 dc (including the first ch 3). The shape should be curving more toward the shoulders now.
Row 4: Final Yoke Increase
For Row 4, ch 3, then dc in each of the next 28 stitches, inc in the next; repeat this pattern to end the row. You should have 66 dc total at the end of this row. The yoke should appear wider and ready for the body section.
Row 5: Begin Body of Cardigan
Ch 1 for Row 5, then sc in each st across. This row establishes the body, so make sure to keep it even. At the end of this row, you should have 66 sc, providing a solid base as you prepare for the skirt portion.
Row 6: Transition to Skirt
In Row 6, ch 3, then work clustering by dc in the same stitch, skip 2 stitches, and dc in the next stitch. Repeat this pattern across the row. You’ll create a lovely textured look and maintain your total of 66 stitches, enhancing the aesthetic of your cardigan.
Row 7: Repeating Skirt Patterns
Continue with Row 7 by chaining 3, then dc in the next st, cluster as in Row 6. Repeat until the end of the row. This establishes your skirt’s ruffle pattern, visually stunning and cozy. You should maintain 66 stitches.
Row 8: Armhole Shaping
For Row 8, ch 1, and sc in the first 22 stitches, then ch 10 to create the armhole gap. Skip the next 22 stitches and sc in the final 22 stitches. You are creating armholes, so be sure to visualize the cardigan’s structure.
Step 1: Finishing the Body
To finish the body, complete Rows 9-15 (or desired body length) by repeating Rows 5-7 alternatingly. For each of these rows, maintain your increasing stitch pattern up to 66 sc or clusters. Your body should have a nice drape and sit comfortably on a baby.
Step 2: Assembly of Sleeves
After completing the body, take the remaining yarn, and for each sleeve, ch 30 for the foundation. Create a sleeve by working in rows of dc, increasing by 1 dc at the beginning and end of each of the next two rows until you reach the desired sleeve width.
Step 3: Adding Edges and Buttonholes
For the front edges, use the 5.00mm hook and sc around the openings, adding 3 buttonholes evenly spaced. Make sure to secure your button edges well. The edges should look neat and stylish, perfectly framing the cardigan.
Step 4: Making the Beanie
To start the matching beanie, create a magic circle and sc 10 into the circle. Pull tightly to close. This magical beginning creates a cozy foundation for your beanie, raising excitement for the completion of this adorable baby outfit set.
Step 5: Increasing Beanie Size
In Round 2, ch 1 and then inc (sc into the same stitch) in each stitch (20 sc). Continue increasing by adding sc in next stitch, inc in the following stitch for Round 3 (30 sc); your beanie will begin to take shape.
Step 6: Form the Brim
For the brim, ch 1 and sc in each stitch for the next rows, working in the back loops only to create a stretchy brim. Continue until desired beanie height is achieved. The cozy brim will give the beanie a lovely finish, perfect for keeping little ears warm.
Step 7: Final Assembly
For the final assembly, weave in all yarn ends using the tapestry needle, ensuring everything is neatly finished. Attach buttons to the cardigan and make sure everything is securely fastened. Your adorable sprig baby outfit set is ready to spread warmth and joy!
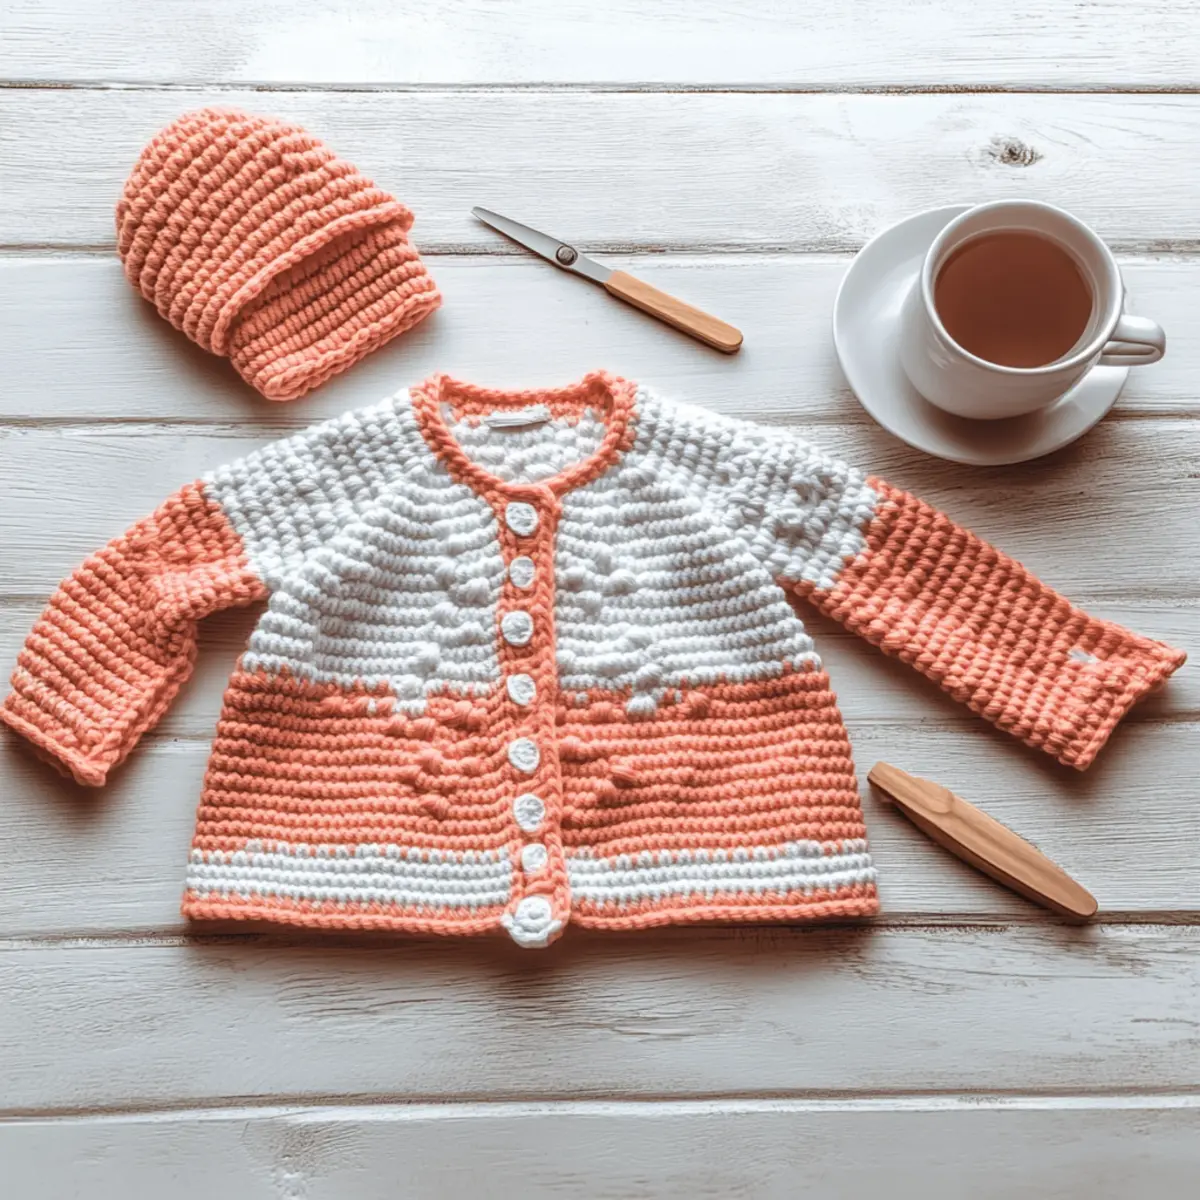
Washing & Care for Your Baby Outfit Set
Hand Washing: Gently hand wash the cardigan and beanie in cold water using a mild detergent to maintain the delicate fibers of your sprig stitch design.
Drying/Blocking: Lay the pieces flat on a clean, dry towel to reshape and dry naturally, avoiding direct sunlight to preserve color vibrancy.
Storage: Store in a cool, dry place, folding the cardigan and beanie neatly to prevent creasing and maintain their cozy look for gifting.
Avoid Agitation: Do not wring or twist the fabric, as this can cause unwanted felting or pilling, jeopardizing the beautiful finish of your baby set.
Customizations & Variations
Inviting you to sprinkle some magic into your crochet creation! Explore these delightful ideas to make the baby outfit set uniquely yours.
- Yarn Weight: Consider swapping to a lighter DK yarn for a breezier effect, perfect for warmer weather wear.
- Fiber Alternatives: Use a soft cotton yarn instead of acrylic for a breathable, hypoallergenic garment.
- Color Block: Get playful with color-blocking! Alternate between colors in the body or sleeves to create a vibrant look.
- Length Adjustments: Add or reduce rows for both body and sleeves, shaping the cardigan to fit any playful style.
- Pom-Pom Fun: Top the beanie with a cute pom-pom for an extra pop of charm that babies will love!
- Fringe Finish: Add a fringed border to the bottom of the cardigan for a boho touch that is all the rage.
- Embellishments: Embroider or attach adorable appliqués like little animals or flowers to create a truly whimsical piece.
- Matching Accessories: Create a matching set by designing booties or mittens in the same sprig stitch for a full outfit experience.
With these creative tweaks, your unique baby outfit set will shine as a treasured gift. Want more guidance? Check out our tips on choosing the perfect yarn, or enhance your skills with basic crochet techniques to make every stitch count!
Expert Tips for the Baby Outfit Set
• Stay Mindful of Tension: Consistent tension is key; practice a gauge swatch to ensure a proper fit and drape for your cardigan and beanie.
• Count, Count, Count: Keep track of your stitches as you work through each row or round to prevent any unfortunate adjustments and maintain the sprig stitch integrity.
• Secure Your Ends: Use a tapestry needle to weave in and secure all yarn ends properly, especially in areas that will be handled frequently by tiny hands.
• Yarn Matters: Stick to the recommended double knitting yarn for optimal warmth and aesthetics. Different yarns can alter the look and fit of your design.
• Check for Size: Before finishing, try the cardigan on a similar-sized doll or stuffed animal to ensure the fit is just right for your sweet little gift recipient.
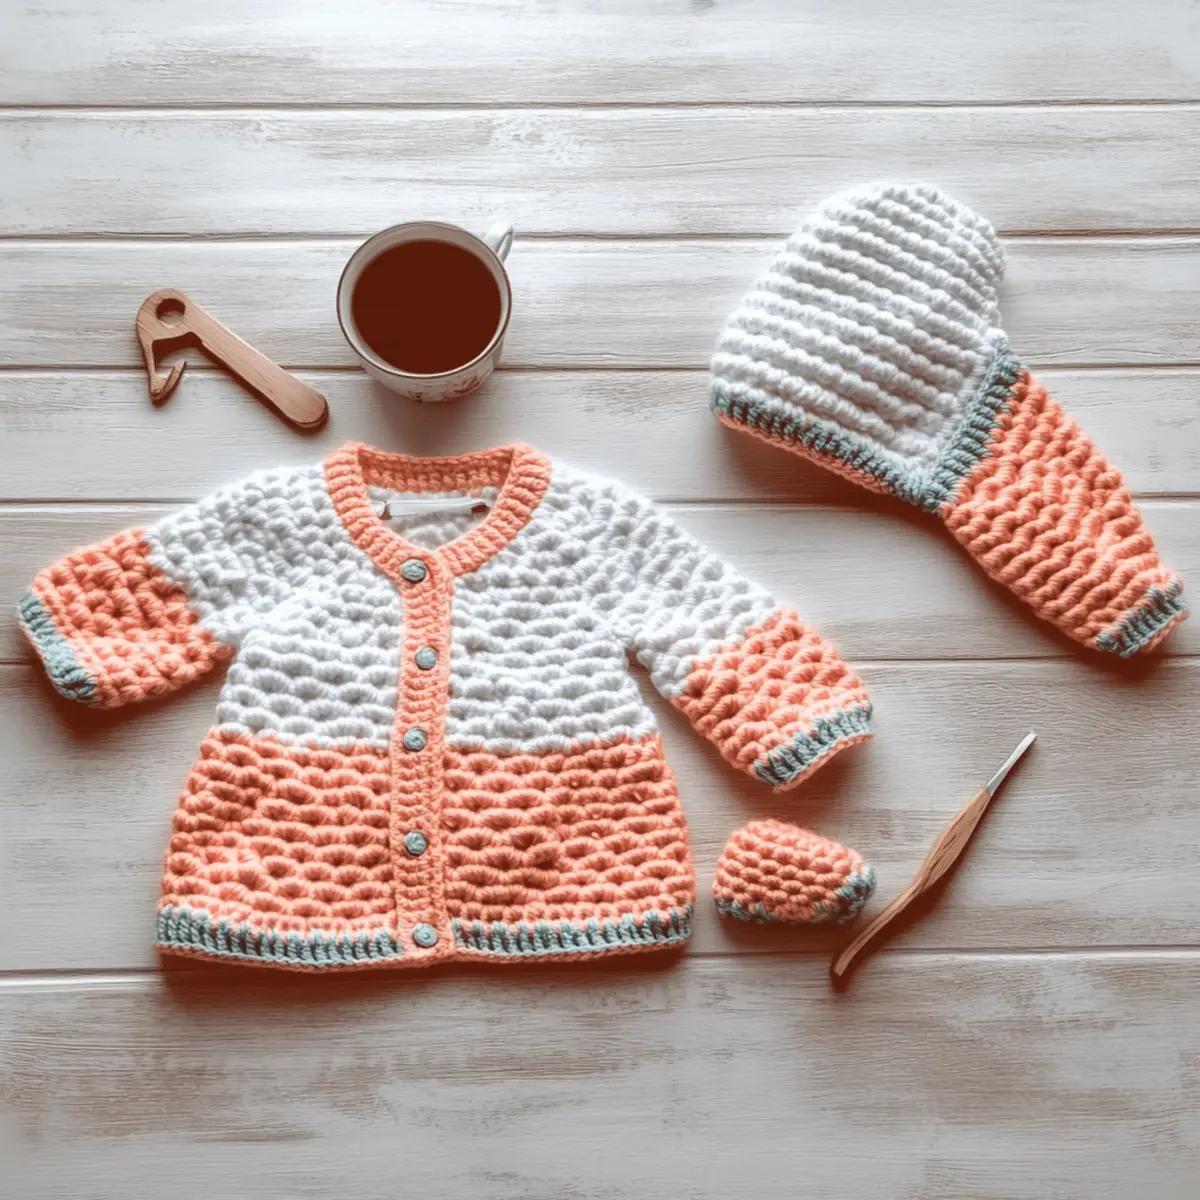
Adorable Crochet Sprig Baby Outfit Set – Cardigan and Beanie FAQs
Can I substitute acrylic yarn with cotton for this project?
Absolutely! While I recommend using double knitting yarn for this lovely set, you can substitute acrylic with cotton. Just keep in mind that cotton may drape differently, so it’s best to swatch first to ensure your gauge is correct.
How can I adjust the size of the cardigan?
To adjust the size, you can add or subtract rows when working through the body. A good rule of thumb is to add or remove stitches in increments of 2, as the sprig stitch has a specific repeat. If you want it wider, increase your starting chain by multiples of 2 as needed.
Why is my work curling at the edges?
Don’t panic! Curling often happens when the tension is too tight or the wrong hook size is used. Check your gauge and consider using a larger hook for the base stitches to help flatten out those edges. Alternatively, adding a border in a contrasting stitch can also give it a beautiful finish while minimizing curl.
What size hook should I use for the beanie?
For this adorable beanie, a 5.00mm (H/8) hook is generally best for the brim. However, since the beanie’s body may need a tighter fit, sticking with a 4.00mm (G/6) for the initial rounds can help maintain structure. Just remember to test your tension!
How do I fix dropped stitches in the cardigan?
It’s an easy fix! If you notice a dropped stitch, carefully pull the yarn at the top of the stitch to reveal the loose loops and use your crochet hook to reinsert the loop back onto the hook. Simply continue crocheting as normal, and for extra security, weave the yarn in later.
How can I make the beanie fit a little tighter?
If you feel the beanie might be too loose, try decreasing a few stitches in your increase rounds. Aim for 1-2 less stitches in each round to help create a snugger fit. Alternatively, you could add a few more rounds to trim down the brim size slightly for a customized fit!
Leave a Reply