
As I was organizing my yarn stash, a delightful vision of cheerful, colorful amigurumi danced through my mind. And that’s when I knew it was time to create the “Adorable No-Sew Mallard Duck Amigurumi Pattern”! This beginner-friendly pattern allows you to shape a charming duck without any sewing involved, making it a stress-free adventure in crochet. With its learning stitches and playful design, this project is not only quick to complete but also perfect for showcasing your unique style. Whether you plan to gift it or add it to your own collection, I promise this sweet little duck will bring smiles and cozy vibes wherever it goes. Are you ready to make your own whimsical Mallard? Let’s dive in!
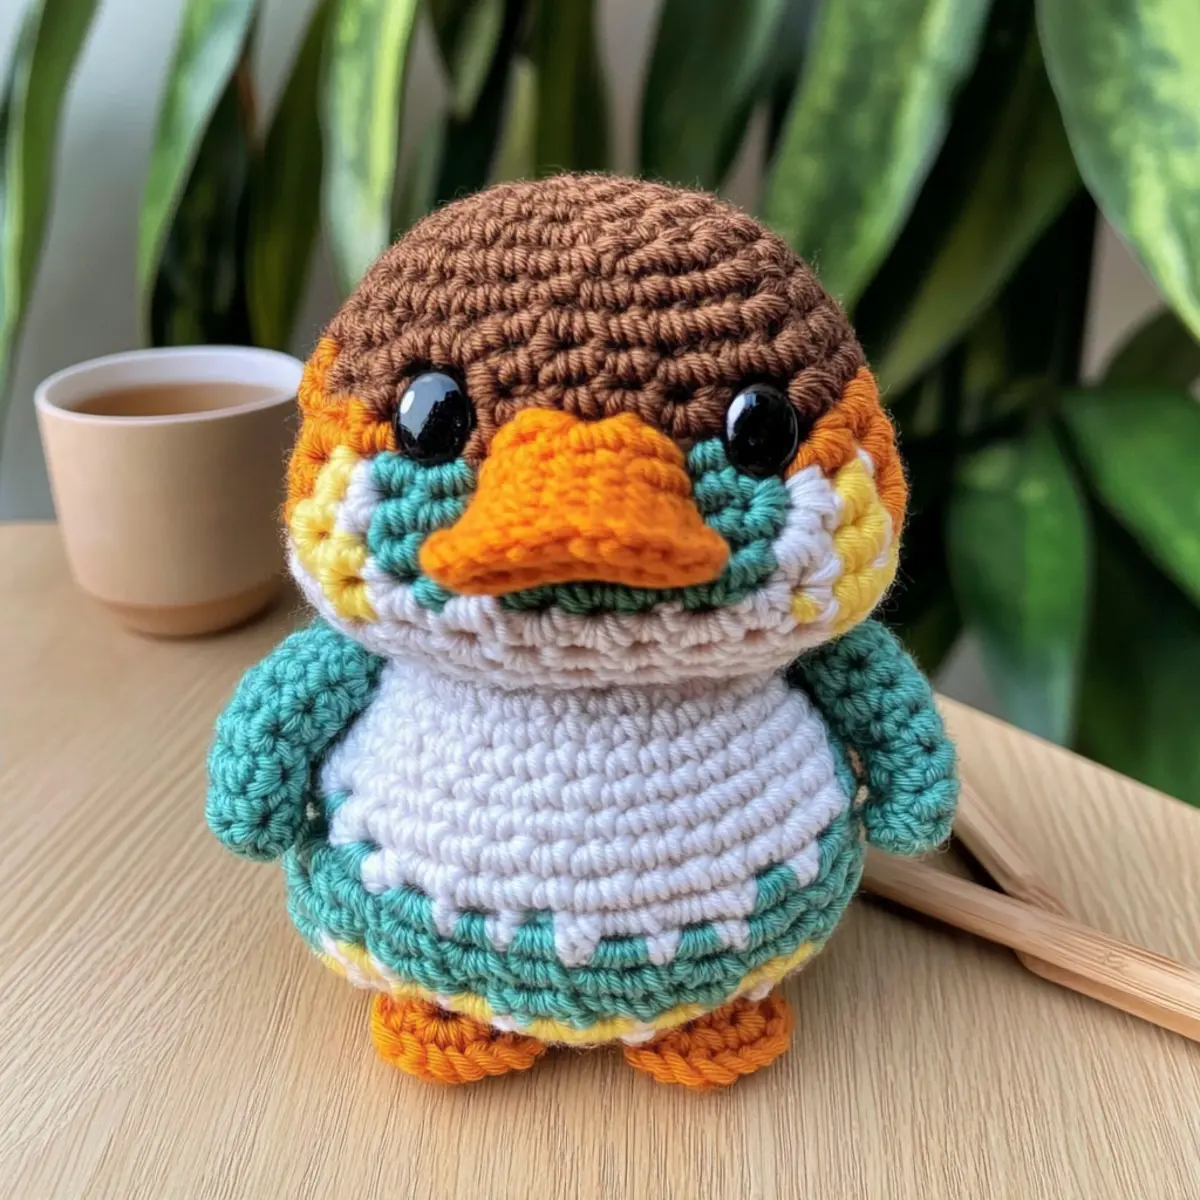
Cozy No-Sew Mallard Duck Materials & Tools
Get ready to gather your crochet supplies for this adorable project!
Yarn
• Worsted Weight Yarn – Choose vibrant colors like Green, Yellow, White, Brown, and Orange to bring your Mallard Duck to life!
• DK Weight Yarn – For a mini keychain version, this lighter yarn will help you create a cute companion.
Tools & Notions
• 4.00 mm (G/6) Hook – Recommended for working with worsted-weight yarn, allowing for a comfy stitch.
• 3.00 mm (C/2) Hook – Perfect for your smaller duck version to keep everything proportionate.
• Stitch Markers – Essential for keeping track of your rounds as you crochet this playful little bird.
• Tapestry Needle – Use this for weaving in any ends, ensuring a neat finish for your amigurumi.
• Safety Eyes – Recommended for a fun, detailed look; just be sure to choose an appropriate size for your duck!
Why Is This Duck Amigurumi Special?
No-Sew Convenience: Quickly create your Mallard Duck without the fuss of sewing parts together, making it perfect for beginner crocheters.
Fun Learning Experience: Dive into a world of stitch combinations that enhance your skills while crafting a cute design.
Versatile Size Options: Easily customize the duck to your preferred size, whether you want a cuddly plush or a mini keychain version.
Charming Aesthetic: The vibrant colors and playful features make this amigurumi an eye-catching addition to any collection or a thoughtful gift.
Video Tutorial Available: Feel supported throughout your crochet journey with an accompanying video tutorial, ensuring a seamless crafting experience.
Perfect for Gifting: This adorable duck makes for a unique, heartfelt gift that’s sure to delight friends and family. Plus, complement your crochet skills by checking out our guide on beginner-friendly projects.
Gauge & Sizing Notes
Don’t skip the gauge swatch! Checking your tension is crucial for ensuring your “Adorable No-Sew Mallard Duck Amigurumi” turns out perfectly. Ideally, aim for a gauge of 4×4 inches (10×10 cm) with 16 single crochets and 8 rows. If you want your duck to be larger or smaller, consider adjusting your starting chain accordingly; for example, increase your chain in multiples of 4 to widen it. If your tension swatch is smaller than desired, try using a larger hook size to achieve a cozy and inviting result. Remember, a little tweaking can make all the difference in your charming new creation!
Step-by-Step Pattern for Adorable No-Sew Mallard Duck Amigurumi
Row 1: Starting the Body
Begin by creating a magic ring or chaining 2. Work 6 sc into the ring to form the first round, pulling the ring tight as you go. This will be the base for your Mallard Duck’s body. Your work should appear as a small circle at this stage (6 sts).
Row 2: Increasing the Base
In this round, make 2 sc in each stitch around to increase the size of the body. You’ll have a total of 12 stitches now. Remember, your circle will begin to puff up as it rounds out (12 sts).
Row 3: Adding More Stitches
Continue working in the round, making 1 sc in the first stitch, then 2 sc in the next (inc). Repeat this pattern around, gradually increasing the body size of your duck. Now you should have a round with 18 stitches, and the structure should feel fuller (18 sts).
Row 4: Expanding the Body
This round will enhance the shape further. Make 1 sc in each of the first 2 stitches, then 2 sc in the next stitch (inc). Repeat this as you go around. Your work should start to take on a cup shape, and you should have 24 stitches by the end (24 sts).
Row 5: Creating the Duck’s Shape
For this round, make 1 sc in each stitch around, maintaining the 24 stitches. This solid round will form the bulk of your duck. Your project should feel stable and rounded (24 sts).
Row 6: Introducing the Beak Color
Change to your yellow yarn for the beak. Work 1 sc in the first 3 stitches, then switch to front loop only (FLO) for the next 3 stitches, completing a total of 6 stitches. This round will establish the foundation for the duck’s adorable beak (6 sts).
Row 7: Shaping the Beak
In FLO, make 2 sc in the first stitch, then 1 sc in the next stitch, and repeat for the rest of the beak. This shaping should form the distinct duck contour. You’ll now see a lovely beak taking shape with 9 stitches (9 sts).
Row 8: Finalizing the Beak
Continue to work in the back loops of previous rows, ensuring you maintain the texture. For this row, work 1 sc in each stitch around to complete the beak section, keeping up the visual and textual effect. You will have 9 stitches confirmed (9 sts).
Row 9: Completing the Body
Switch back to your primary body color and sc around in each stitch for the following 3 rounds, maintaining the 24 stitches. This re-establishment creates a cohesive look and reinforces the main body of your Mallard Duck. Your amigurumi should feel plush and inviting (24 sts).
Step 10: Forming the Wings
To create the wings, chain 6, and then make 1 dc into the 4th chain from the hook, followed by 2 dc in the next chain. This will give a nice shape. Skip the next chain and sl st into the last chain, creating one wing. Finish with a second wing identical (6 stitches each).
Step 11: Assembling the Duck
Now, lay the wings on the body at your desired positions. Use the tapestry needle to securely stitch them in place, ensuring they are evenly aligned for a charming finish. Remember to place the safety eyes before closing the body; your duck should start to look complete.
Step 12: Final Assembly
Fill your Mallard Duck with stuffing, making sure it’s soft yet shaped nicely. Once filled, whip stitch the opening closed securely. Check the features and adjust to ensure your duck is displaying its adorable character. Your cozy no-sew Mallard Duck amigurumi is ready for cuddles!
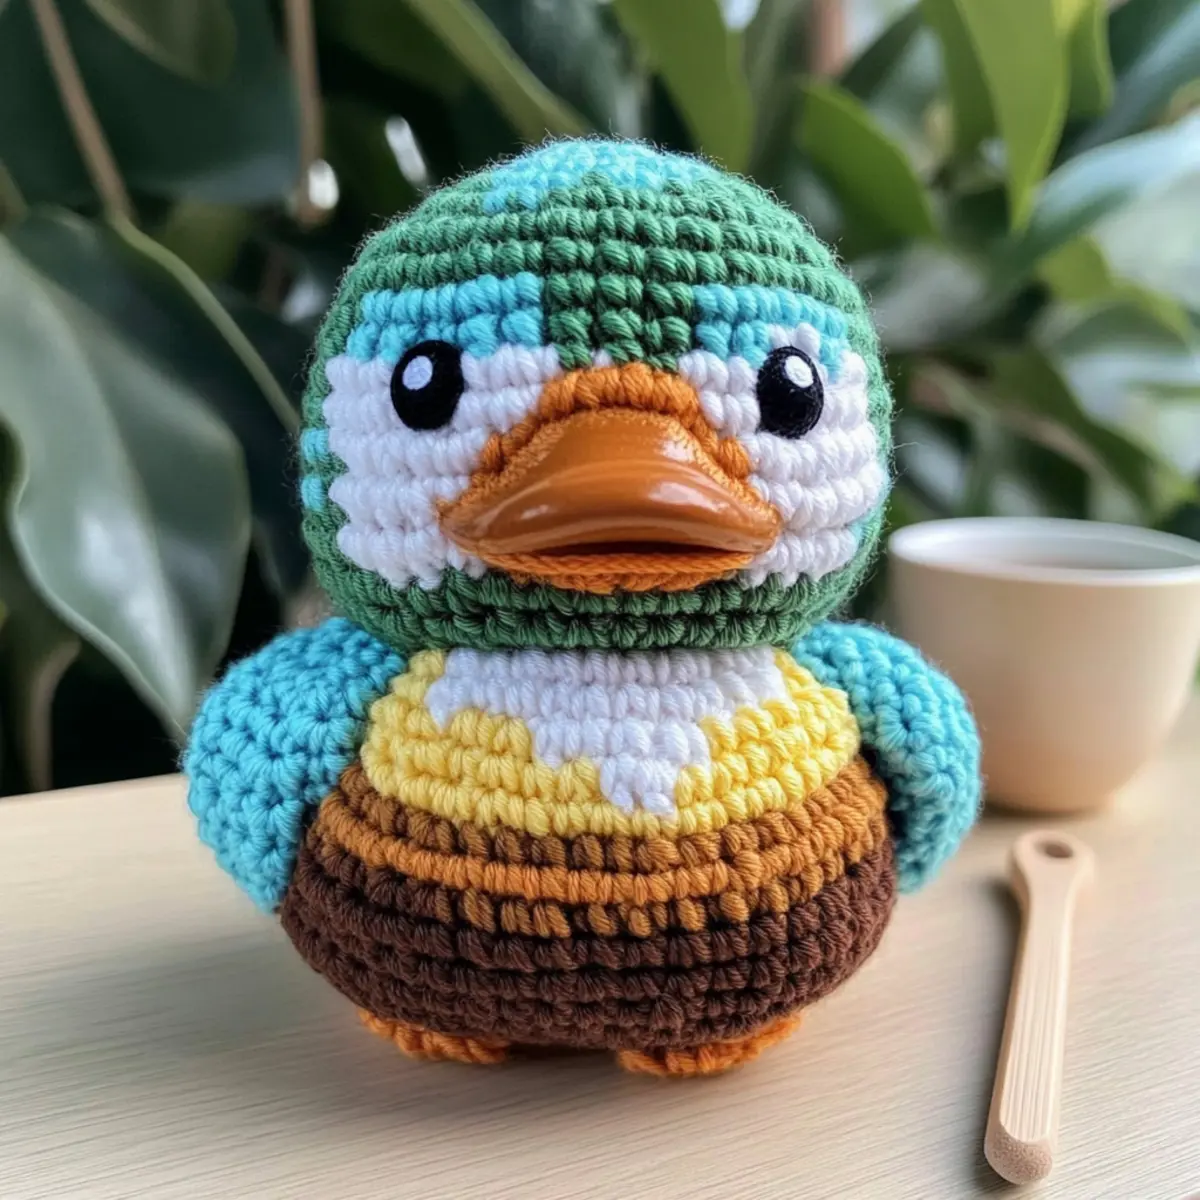
Care Instructions for Your Amigurumi Duck
Hand Washing: Gently wash your Mallard Duck amigurumi in cold water with mild soap to preserve its shape and color. Avoid agitation to prevent pilling.
Drying: Lay your duck flat on a clean, dry towel to air dry completely. This method helps maintain its plush integrity and prevents distortion.
Storing: Keep your finished amigurumi in a cool, dry place, away from direct sunlight to avoid fading colors. A soft storage bag can protect it from dust.
Maintenance: Occasionally fluff your duck by gently squeezing it to restore its original shape. Enjoy cuddling and displaying your cozy creation!
Cozy No-Sew Mallard Duck Amigurumi Variations
Feel free to express your creativity by customizing this adorable crochet pattern in delightful ways!
-
Yarn Weight Swap: Experiment with a lighter or heavier yarn for varied sizes; bulky yarn can create a plush giant duck!
A larger duck may take more material and time, but the smiles it brings will be worth the effort! -
Color Combinations: Choose unexpected colors or a pastel palette to give your duck a unique flair, breaking away from traditional tones.
Consider a rainbow duck for an eye-catching twist, perfect for any whimsical decor! -
Mini Keychain Version: Use DK weight yarn to shrink your project into a portable keychain. This adorable mini will bring joy wherever you go!
Adding a keychain loop transforms it from a plush to a fun, accessible accessory. -
Texture Additions: Experiment with fun textures by adding a pom-pom on the duck’s head or a fringe around its neck.
These playful features enhance the whimsy of your creation, making it even more charming! -
Border Enhancement: Add a decorative border using the contrasting color around the body for a unique finish.
This simple tweak elevates the overall look, infusing your amigurumi with a personal touch. -
Safety Eyes Alternative: If you prefer a softer look, consider using embroidery for the eyes instead of safety ones.
This modification not only changes the aesthetics but may also make it friendlier for small children! -
Sizing Adjustments: Modify the stitch count or yarn weight to create a duck that suits your needs, whether for cuddling or display.
Don’t hesitate to get creative—your ideal duck is just a few adjustments away! -
Accessorizing the Duck: Consider making tiny accessories like a scarf or a hat to add character to your Mallard.
Accessorizing sparks even more joy, allowing for endless possibilities in your creations!
With these variations, your Mallard Duck is sure to be one-of-a-kind, just like you! If you’re eager to dive deeper into creativity, explore more beginner-friendly crochet patterns for your next project!
Expert Tips for Amigurumi Success
-
Count Anew: Always count your stitches at the end of each round to ensure your Mallard Duck maintains its charming shape—it’s easy to lose track!
-
Tension Matters: Keep your tension consistent throughout the project to achieve a uniform and cuddly texture in your amigurumi.
-
Pinch to Measure: Use stitch markers to easily identify your rounds—this simple trick can save you from going back to fix mistakes.
-
FLO Tricks: When creating the beak, remember to crochet in the front loop only (FLO) to add delightful texture that will wow onlookers!
-
Watch and Learn: Feeling stuck? Don’t hesitate to refer to our handy video tutorial for visual guidance and clarification on tricky parts.
-
Finishing Touch: Weave in ends carefully to ensure your duck looks polished and ready for display or gifting; a neat finish is just as important as the crochet itself!
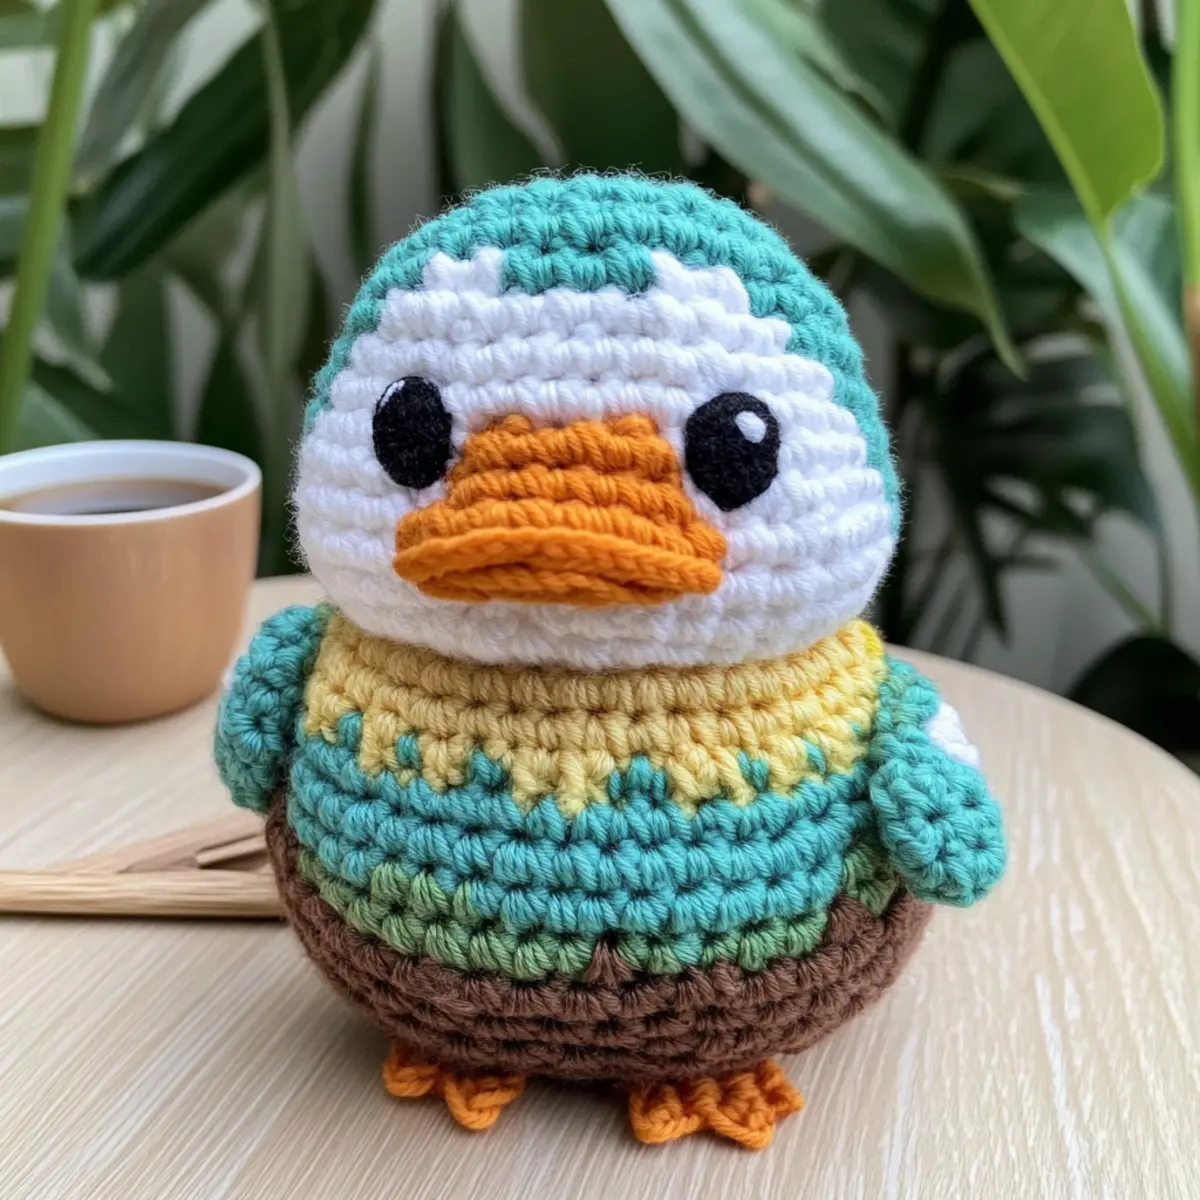
Adorable No-Sew Mallard Duck Amigurumi Pattern FAQs
Can I use a different yarn weight?
Absolutely! You can substitute your yarn with other weights, but be mindful that switching to a lighter yarn, like DK, will yield a smaller duck. Just ensure your hook size corresponds with the yarn weight!
How do I make my duck bigger or smaller?
It’s simple! To scale your duck, adjust your yarn weight or modify the stitch counts. For example, if you prefer a larger duck, try using bulky yarn and a larger hook, or increase the number of stitches in each round by adding extra increases wherever applicable.
Why is my work curling?
Don’t panic! Curling can often happen if your tension is too tight. To fix this, loosen your grip on the yarn or switch to a larger hook size. If your circle is buckling like a bowl, make sure you’re following the recommended increases in each round; that will help maintain a flat shape.
What hook size should I use for this duck?
You will want to use a 4.00 mm (G/6) hook for the worsted-weight yarn or a 3.00 mm (C/2) hook for the mini keychain version. Always check your gauge and adjust according to the yarn you choose!
How do I fix dropped stitches?
It’s an easy fix! If you drop a stitch, gently pull on the yarn near the drop point to loosen the surrounding stitches, and maneuver the loop back onto your hook. Always keep a close eye on your stitches after each round to catch any inconsistencies early!
Can I personalize my duck with different colors?
Absolutely! Feel free to get creative! Experimenting with color combinations will certainly give your duck a unique personality. Use your favorite color palette to make the amigurumi truly your own!
Leave a Reply