
As the leaves begin to turn and a hint of chill creeps into the air, there’s something uniquely satisfying about curling up with your favorite yarn. Enter the Spooky Strips Halloween Mile-a-Minute Crochet Blanket, a project that captures the essence of cozy autumn nights while being incredibly quick to assemble! With the vibrant colors of pumpkin orange, rich oatmeal, and deep obsidian, this blanket is not only a joy to make but a fantastic way to add a touch of seasonal charm to your home. Crafted from super bulky yarn, this beginner-friendly pattern works up fast, making it both a perfect stash-buster and an ideal choice for those last-minute gift-giving occasions. Ready to embrace the spirit of the season and create something special? Let’s dive into this delightful crochet adventure!
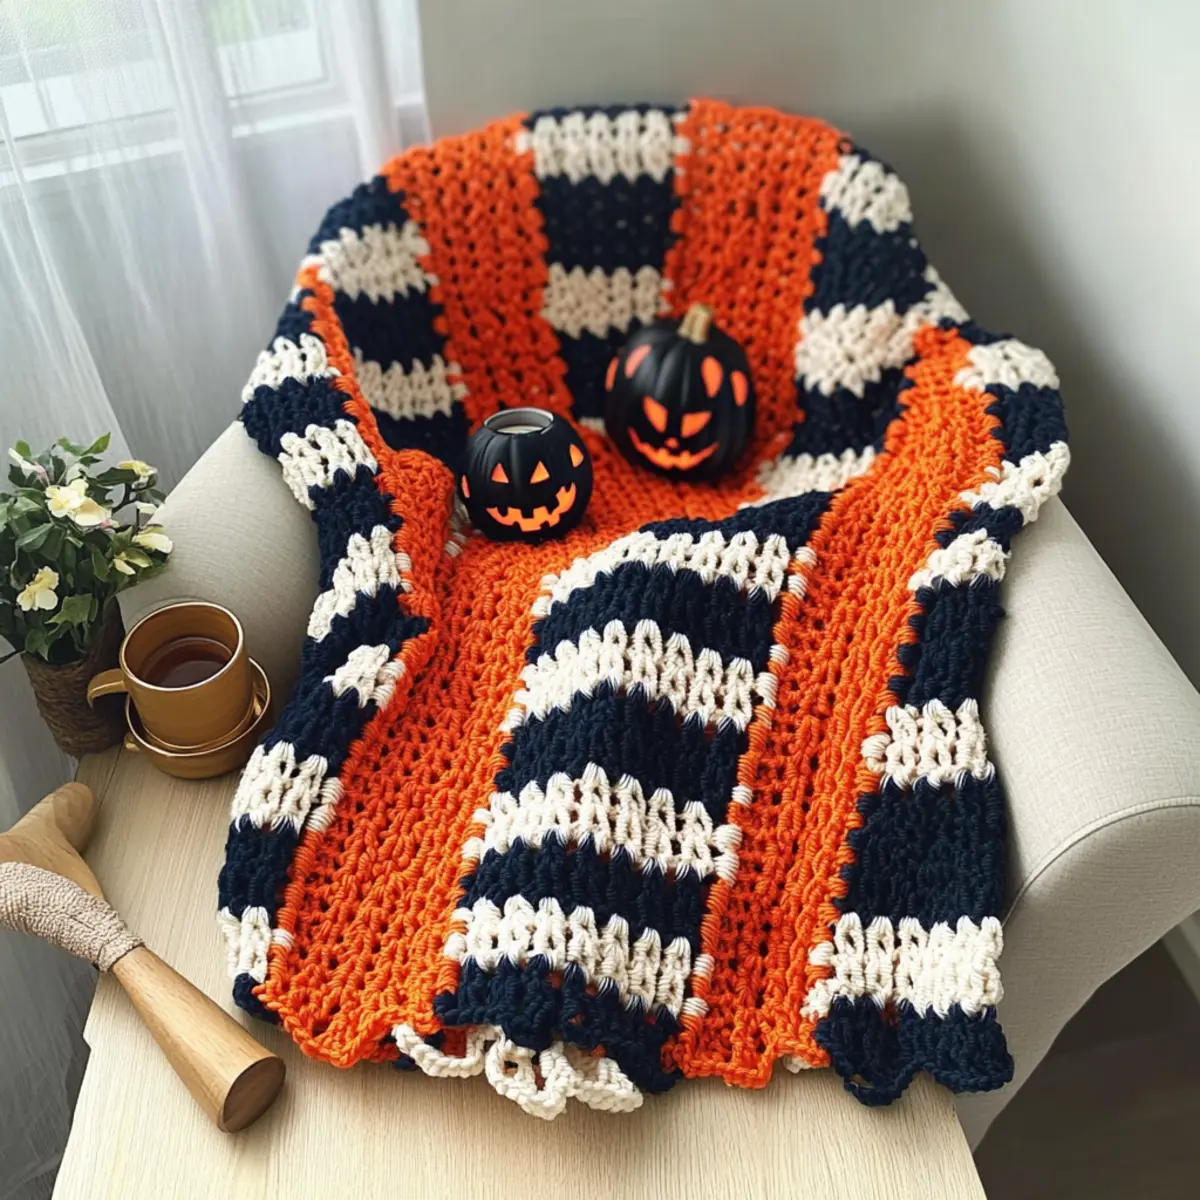
Cozy Halloween Blanket Materials & Tools
Yarn
• Super Bulky Yarn (#6) – A wool/acrylic blend offers both warmth and texture, perfect for this Halloween project.
- Yarn A – Pumpkin: 4 balls (344 yds required).
- Yarn B – Oatmeal: 3 balls (255 yds required).
- Yarn C – Obsidian: 5 balls (525 yds required).
Tools & Notions
• 12mm (N) Hook – Ideal size for working with super bulky yarn; ensures a quick and enjoyable crafting experience.
• Stitch Markers (Optional) – Helpful in keeping track of your rows and pattern repeat.
• Tapestry Needle – Perfect for weaving in those yarn ends and finishing your blanket neatly.
• Scissors – Essential for cutting yarn, making your crafting journey smooth and easy.
With these materials, you’ll be set to create your cozy Halloween Mile-a-Minute Crochet Blanket in no time!
Why is This Crochet Blanket Perfect?
Beginner-Friendly: Even if you’re new to crochet, this pattern is crafted with you in mind! The mile-a-minute technique simplifies the process, allowing you to focus on enjoying your stitches.
Quick to Assemble: Made with super bulky yarn, this project works up in no time—ideal for crafters looking for immediate results.
Cozy & Inviting Texture: The combination of thick yarn and simple stitches creates a plush, warm fabric that’s perfect for snuggling up during chilly evenings.
Seasonal Elegance: With its vibrant Halloween colors, this blanket adds a festive touch to any home while remaining versatile enough for year-round use.
Easily Customizable: Choose your preferred strip lengths for any size you need, whether it’s a cozy throw or a child’s blanket. Don’t forget to check out our guide on crochet customization ideas.
Jump into this delightful crochet project, and you’ll have an eye-catching blanket that showcases your creativity!
Gauge & Sizing Notes
Don’t skip the gauge swatch! Checking your crochet gauge is essential for the Spooky Strips Halloween Mile-a-Minute Crochet Blanket to ensure your final dimensions turn out just right. Aim for a tension of 4×4 inches (10×10 cm) that measures 12 stitches by 10 rows using a 12mm (US size N) hook. If you find your swatch isn’t matching this gauge, don’t worry! To alter the width of your blanket, increase your starting chain in multiples of 7. If your swatch is smaller, simply try going up a hook size until you reach that cozy, festive fit you desire. Enjoy crafting your perfect autumn blanket!
Step‑by‑Step Pattern for Spooky Strips Halloween Mile-a-Minute Crochet Blanket
Row 1: Foundation Chain
Start your Spooky Strips blanket by chaining 7 (ch 7). This foundation chain sets the base for your first strip. Ensure it’s loose enough to comfortably work into but not so loose that it becomes unraveled. Your chain should lay flat without twisting, ready to build upon, giving you a strong start.
Row 2: Begin the First Row
In the 4th chain from your hook, work 3 double crochets (dc). This creates your first shell; then chain 2 (ch 2) for spacing. Next, work 3 dc in the same chain. This forms a shell with three pairs, producing a lovely curve on your strip. At the end of Row 2, you will have 6 dc and 1 ch-2 space (1 shell).
Row 3: Continue the Pattern
Ch 3 to begin Row 3, turn your work. In the ch-2 space from the prior row, work 3 dc and ch 2 once again. Follow this with another set of 3 dc in the same ch-2 space. The shell expands, making it fluffy and more textured. Repeat this process, completing this row with another shell at the end.
Row 4: Expanding the Strip
For Row 4, ch 3 and turn your work. Just like before, in the ch-2 space of your last shell, make 3 dc and ch 2. Work another 3 dc in the same space. To finish this row, you’ll add shells within the ch-2 space, which keeps your blanket growing and gives it a nice wave effect.
Row 5: Adding Color
To switch colors, finish off your last stitch from Row 4. Attach Yarn B (Oatmeal) in the top of any shell. Work 3 dc in the first shell, ch 2, then another 3 dc in the same shell. Your first color transition is complete! Continue creating shells as before, maintaining the same rhythm for a vibrant strip.
Row 6: Changing Yarn Again
For Row 6, repeat Row 5’s steps until you reach the end of your desired strip length. This time, use Yarn C (Obsidian). As you craft each shell, you will see the delightful mix of colors unfold. Paying attention to rows will help ensure your blanket maintains its structure.
Step 7: Joining Strips
Once your strips are the desired length, it’s time to join them. Lay your completed strip side by side with another. Use a slip stitch (sl st) to connect the two at the end of the last shell. Your blanket will begin to come together beautifully, with each strip firmly attached to build a cozy masterpiece.
Step 8: Final Edging
To finish your Spooky Strips Halloween Blanket, add a final round of edging. Attach Yarn A and work a round of single crochet (sc) around the entire blanket. Make sure each corner has 3 sc to maintain the shape. This final touch adds a clean finish and enhances the visual appeal of your blanket.
Step 9: Weaving in Ends
Complete your project by weaving in all yarn ends. Use a tapestry needle to secure any loose threads from color changes or junctions. This step ensures your Spooky Strips Blanket looks neat and polished while ready to embrace the warmth and spirit of the season!
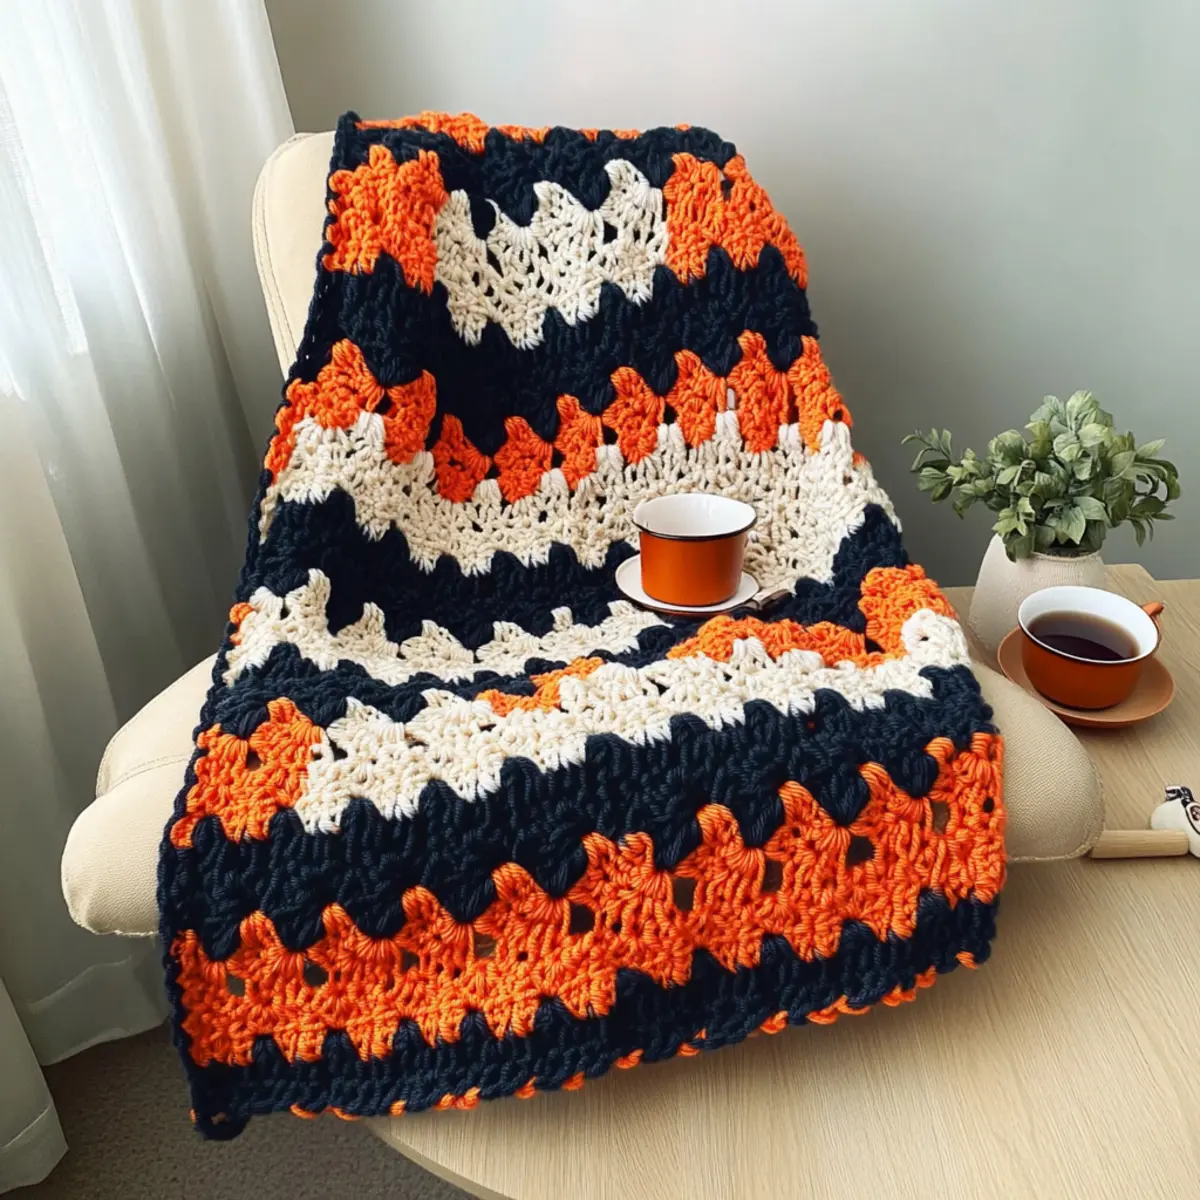
How to Wash and Care for Your Spooky Strips Blanket
-
Machine Washing: Use a gentle cycle with cold water to keep your cozy blanket looking fresh without causing damage or felting.
-
Hand Washing: For a more delicate approach, hand wash your Spooky Strips Blanket in cold water with mild detergent, gently squeezing without agitating.
-
Drying/Blocking: Always lay your blanket flat to dry; this preserves its shape and texture, ensuring it remains a plush delight for many autumn nights.
-
Storage: When not in use, store your blanket in a cool, dry place, away from direct sunlight to prevent fading and to keep it cozy for future snuggles.
Halloween Blanket Variations & Substitutions
Feel free to play with this crochet pattern and explore creative twists that suit your style!
-
Yarn Weight Swaps: Use bulky (#5) yarn instead of super bulky for a lighter, airy effect while maintaining warmth.
-
Fiber Alternatives: Try a cotton blend for a breathable option, perfect for transitional weather and easy care.
-
Color-Blocking: Instead of a solid color scheme, alternate colors every few rows to craft a lively, patchwork design.
-
Sizing Adjustments: Add or subtract strips to easily customize the size, making it a quick and cozy baby blanket or a spacious throw.
-
Texture Modifications: Enhance your blanket by adding a playful fringe along the edges for an extra touch of whimsy.
-
Seasonal Reimagining: Switch out Halloween colors for festive reds and greens to transform it into a delightful Christmas blanket!
-
Pom-Pom Fun: Add pom-poms to the corners of your blanket for a touch of charm—perfect for adding character to your décor.
-
Border Treatment: Finish your blanket with a simple scalloped or shell stitch border to give it a polished and elegant frame.
Once you’ve personalized your blanket, remember to check out our crochet customization ideas and elevate your crochet game!
Expert Tips for Your Spooky Strips Blanket
-
Count Stitches: Regularly count your stitches at the end of each row to maintain consistent tension and keep your blanket’s dimensions accurate.
-
Mind the Hook: Ensure your hook size matches your super bulky yarn to avoid splitting while crocheting. If the stitches feel tight, opt for a larger hook.
-
Foundation Chain Care: Pay close attention to your foundation chain; make sure you don’t twist it, as this will affect the final look of your blanket.
-
Seam Seamlessly: When joining strips, work on a flat surface to ensure you’re evenly aligning the seams, creating a smooth and polished finish.
-
End Weaving: Don’t skip weaving in those loose ends! Use your tapestry needle to weave them securely into the fabric for a clean and professional look.
Follow these expert tips to create a stunning Spooky Strips Halloween Mile-a-Minute Crochet Blanket that is sure to impress!
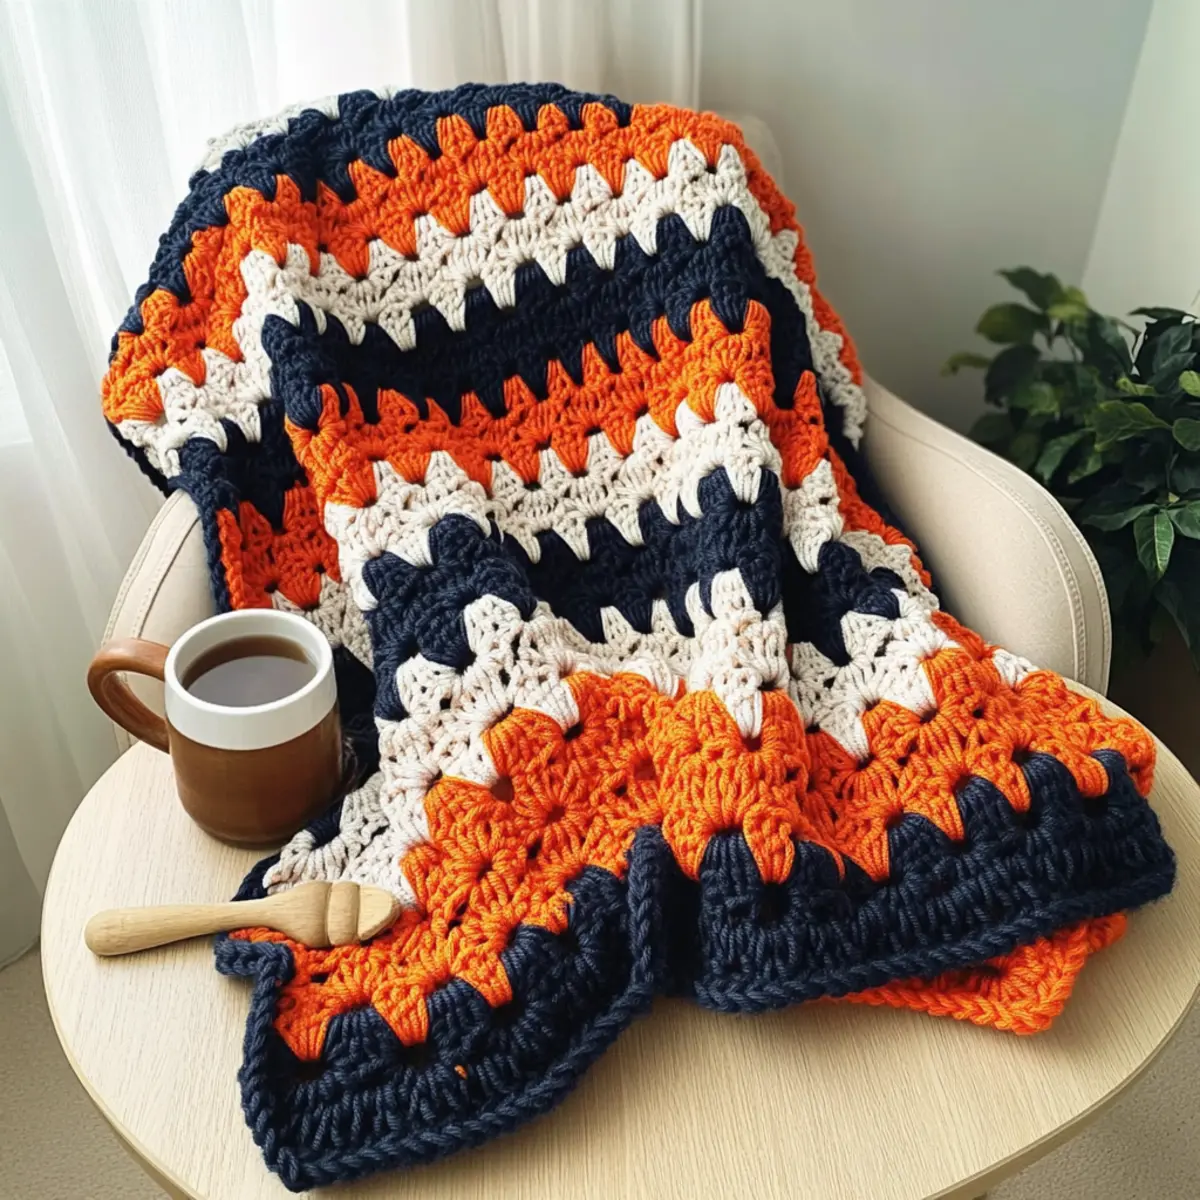
Spooky Strips Halloween Mile-a-Minute Crochet Blanket FAQs
Can I use a different type of yarn for this blanket?
Absolutely! While the pattern calls for a super bulky wool/acrylic blend, you can substitute with any soft, thick yarn, like a chunky cotton or another bulky blend. Just ensure it has a similar weight and feel to maintain the cozy texture.
How can I adjust the size of my blanket?
It’s an easy fix! To make the blanket larger, simply add more strips (each strip is worked separately), and you can also increase the length of each strip. If you want a smaller blanket, reduce the number of strips or make each strip shorter. Just remember, keep your foundation chain in multiples of 7 for a tidy finish!
Why is my work curling at the edges?
Don’t panic! Curling edges can often happen if your tension is too tight or if you’re not using the right hook size for your yarn. I recommend checking your gauge and adjusting your hook size to better match the yarn’s thickness. Remember to relax your grip while crocheting for a more even tension.
What hook size should I use for the best results?
For the Spooky Strips blanket, a 12mm (US size N) hook is recommended to achieve that plush, bulky feel. If you find your stitches are too tight or your yarn is splitting, consider moving up to a 15mm hook for a looser gauge, giving your blanket a softer drape!
How do I fix dropped stitches after I’ve worked several rows?
Fixing dropped stitches might seem daunting, but it’s simple! Gently pull the yarn to identify where the stitch dropped and use your tapestry needle to weave the yarn back into the fabric. If you’re unsure, refer to a tutorial on crochet repairs; once you do it a couple of times, you’ll be a pro!
What washing instructions should I follow for my blanket?
To keep your Snuggly Spooky Strips blanket in tip-top shape, machine wash it on a gentle cycle with cold water. After washing, always lay it flat to dry to maintain the cozy shape and texture of your blanket. Avoid using a dryer, as the heat can alter the fibers!
Leave a Reply