
As I settled into my favorite nook with a cup of tea, the warm colors of yarn were calling my name. Creating cozy items that wrap our little ones in warmth is a joy we crafters cherish, and that’s why I’m excited to share my Cozy Crochet Heart Baby Hat Pattern with you. It’s perfect for advanced beginners, featuring delightful heart colorwork that adds a whimsical touch! Not only does this hat make an adorably thoughtful gift for Valentine’s Day, but it also works up quickly, making it a standout stash-buster for your yarn collection. Ready to dive into some heartwarming stitches and create a beautiful keepsake? Let’s get started!
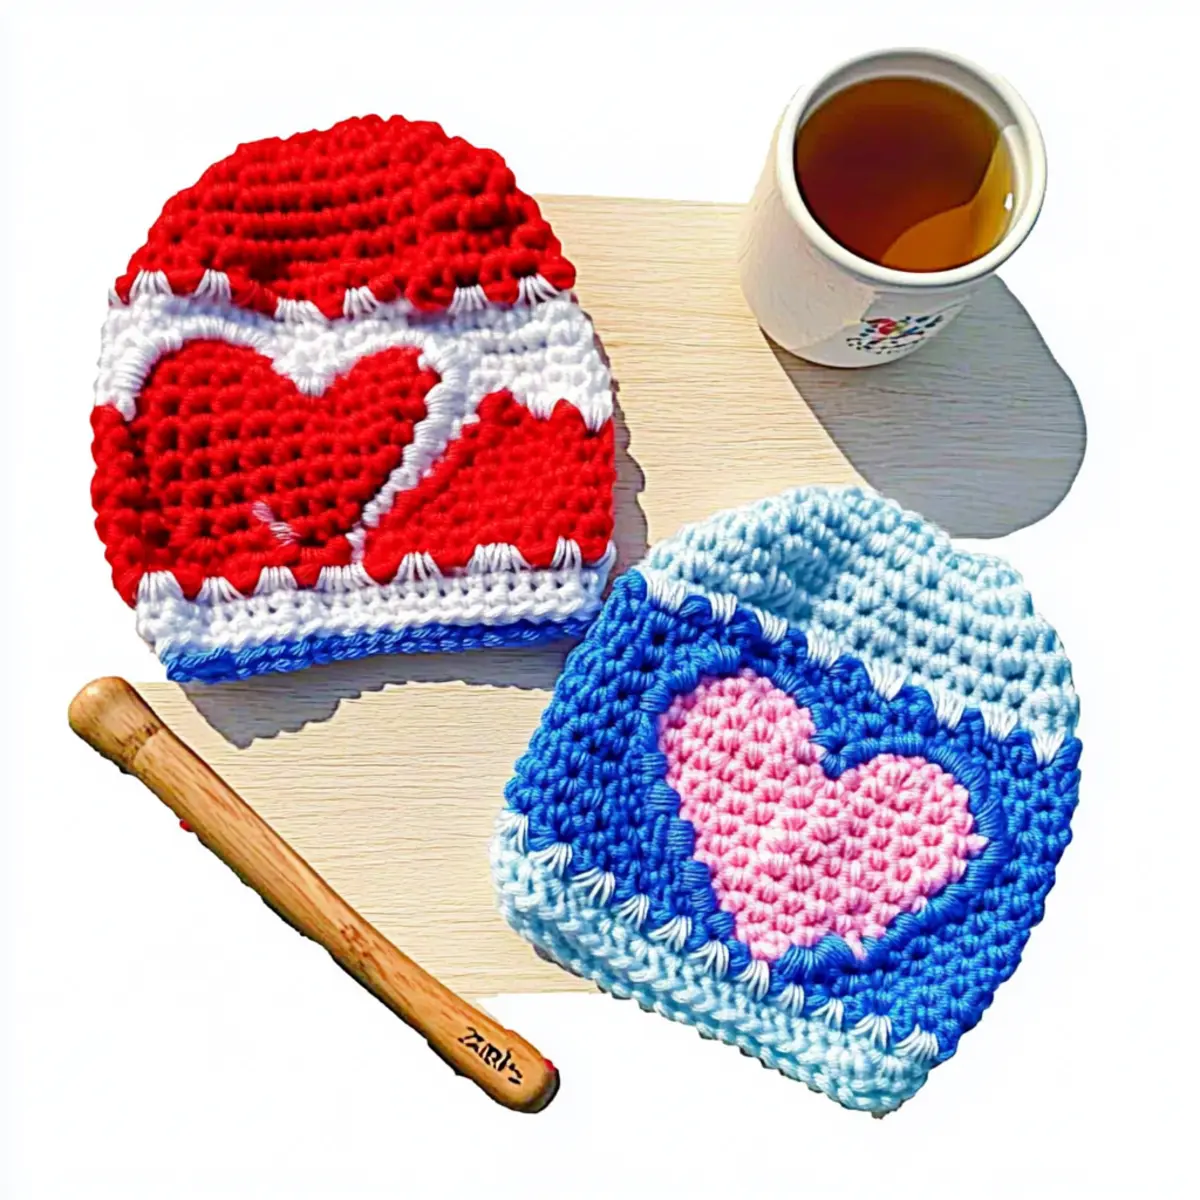
Cozy Heart Baby Hat Materials & Tools
Get ready to create a charming keepsake with these essential materials!
Yarn
- Worsted Weight Yarn – You’ll need approx. 100-150 yards for the main color and contrast colors, perfect for this cozy project.
Tools & Notions
- I-9 (5.5 mm) Hook – Adjust as necessary to meet gauge for those heartwarming stitches.
- Stitch Markers – These will help keep track of your rounds as you work through the pattern.
- Tapestry Needle – Use this for weaving in ends, ensuring a polished finish for your heart baby hat.
Happy crafting, and enjoy creating this sweet little project!
Why is this hat a must-make?
Advanced Beginner-Friendly: This pattern is ideal for those who have mastered basic crochet stitches but are ready for a delightful challenge.
Charming Colorwork: The heart design adds a sweet, whimsical element that will delight both you and the recipient.
Quick to Complete: With a straightforward top-down construction, you can whip this hat up in no time—perfect for last-minute gifting!
Perfect for Personalization: Get creative by adjusting colors or adding a pom-pom for that extra flair!
Cozy & Comfy: The soft texture ensures that little ones will stay snug and warm, making it perfect for everyday wear or special occasions.
You can explore more variations and customization tips in the post for an extra personal touch to your project!
Gauge & Sizing Notes
Don’t skip the gauge swatch! Checking your gauge is essential for the Cozy Crochet Heart Baby Hat to ensure it fits snugly and comfortably on your little one’s head. The standard gauge is a 4×4 inch (10×10 cm) square, which should consist of 16 stitches and 10 rounds in double crochet (dc). If you want to adjust the size, simply alter your starting chain or the number of increase rounds; for a larger hat, add multiples of 4 to the starting chain. If your swatch is smaller than the required gauge, consider using a larger hook size. Remember, getting the right tension will keep your cozy hat looking fabulous!
Step‑by‑Step Pattern for Cozy Crochet Heart Baby Hat
Row 1: Start the Magic Circle
Begin by creating a magic circle. Chain 2 (ch 2), then work 12 double crochet (dc) into the ring. Pull the tail to close the circle tightly. This forms the foundation of your cozy heart baby hat. Your work should be round and compact. Remember to count your stitches to ensure you have 12 dc by the end of this row.
Row 2: Increase for the Crown
For Row 2, ch 2, then work 2 dc in each stitch around. This will create a total of 24 dc (2 dc in each of the 12 sts from Row 1). You should notice your work starting to form a lovely bowl shape, perfect for the hat’s crown. Keep counting to maintain your stitch accuracy!
Row 3: Continue Increasing
In Row 3, ch 2, then work 1 dc in the first stitch, followed by 2 dc in the next stitch. Repeat this sequence around to result in a total of 36 dc (18 sts with 18 increases). Your work should be expanding beautifully, giving you the base for the cozy heart baby hat.
Row 4: Final Increase Round
For Row 4, ch 2, then work 1 dc in the first 2 stitches, followed by 2 dc in the next stitch. Repeat this pattern around, yielding 48 dc (24 sts with 24 increases). At this stage, the shape of your crown should be nicely rounded and increasing in size.
Row 5: Straight Rounds
For Row 5, ch 2 and work 1 dc in each of the 48 stitches around, maintaining a total of 48 dc. This is a straight round, and your work should be taller, revealing the lovely hat body. Keep the tension relaxed to ensure the fabric remains cozy and supple.
Row 6: Begin Colorwork
To start the heart colorwork, ch 2 and switch to your contrasting color yarn. Work 1 dc in the first 24 stitches (making half of the hat); then, change back to your main color and finish the remaining 24 dc. You are beginning the heart design, and your work should begin to show these lovely colors emerging.
Row 7: Heart Colorwork
For Row 7, ch 2 and repeat the color pattern. Work 2 dc in the first stitch, then 1 dc in the next 3 stitches. Alternate this around the row using color changes to create the heart shape. You should see a distinct heart pattern starting to form after completing this row, with a total of 48 dc.
Row 8: Continue Heart Design
In Row 8, ch 2 and continue the heart pattern by working 1 dc in the first 2 stitches, then 2 dc in the next stitch. Repeat around for a total of 48 dc (24 dc in the main color, 24 in contrast). Your cozy heart baby hat is taking lovely shape with a prominent heart visual!
Row 9: Finish Colorwork
For Row 9, repeat the colorwork sequence from Row 8, ensuring you maintain the same stitch counts. Continue alternating colors to complete the heart design, for 48 dc. Your work should be beautifully vibrant, and the heart will become fully visible, making your hat a charming creation.
Step 10: Tidy Edge
To conclude the hat, switch back to your main color and ch 1. Work 1 sc in each of the 48 stitches around to create a neat and tidy edge. This will finish off your cozy heart baby hat with a polished look. Ensure you have 48 sc at the end of this round, making your hat ready to wear or gift!
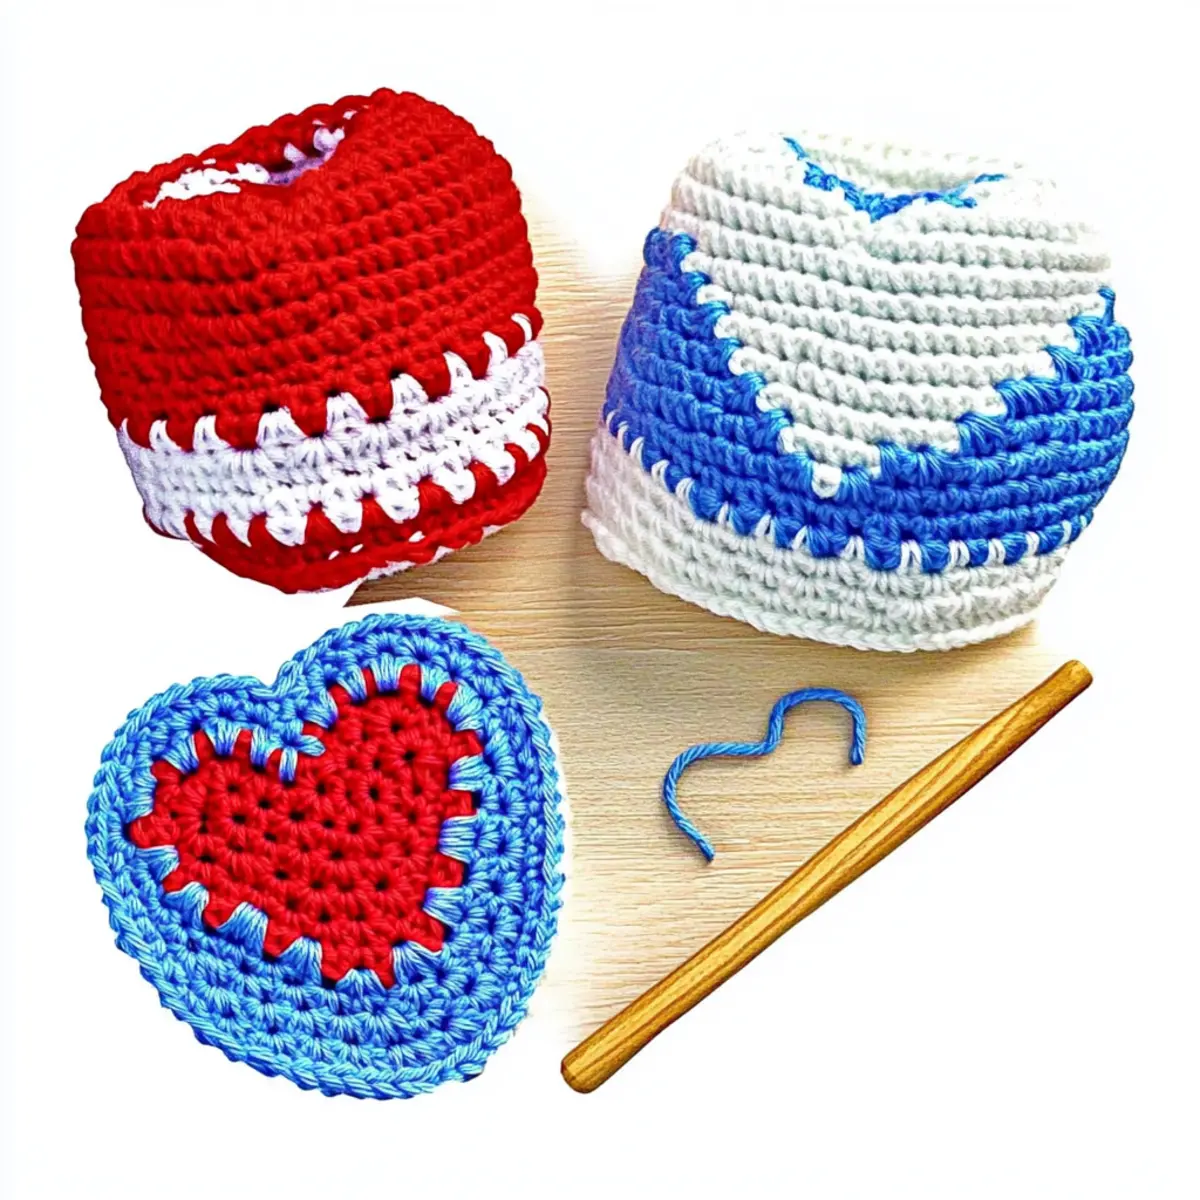
Expert Tips for the Cozy Heart Baby Hat
-
Tension Matters: Maintain an even tension throughout your stitches to ensure a smooth finish. Too tight can lead to a warped shape, so relax your grip!
-
Count Your Stitches: Regularly count your stitches at the end of each round. This prevents common mistakes like losing count, which can throw off your beautiful heart design.
-
Modify Hook Size: If you notice your hat is either too snug or too loose, examine your stitch count. Switch to a larger hook for too many stitches or a smaller hook for too few to achieve the perfect fit.
-
Sewing in Ends: After finishing, take the time to weave in all your yarn ends neatly. This keeps your cozy creation looking polished and professional, plus it prevents any snagging on little fingers!
-
Trial Rounds: Before committing to your color changes in the heart colorwork, try a few rounds of double crochet practice with your chosen colors to ensure they blend nicely and achieve your desired aesthetic!
Washing & Care for Your Cozy Crochet Heart Baby Hat
Machine Washing: Use cold water on a gentle cycle for most acrylic yarns to preserve the vibrant colors and soft texture of your cozy heart baby hat.
Hand Washing: For wool blends, hand wash in cool water with a mild detergent. Avoid agitation to prevent felting and maintain the lovely heart design.
Drying: Lay your finished hat flat to dry. This helps keep its shape while ensuring that it retains the snug fit perfect for little ones.
Storage: When not in use, store the hat in a dry, cool place away from direct sunlight to prevent fading and to keep it looking fresh for gifting!
Cozy Heart Baby Hat Variations
Enhance your crochet journey by infusing personal touches into this charming hat pattern.
- Yarn Swaps: Choose cotton or bamboo yarn for a lighter, breathable option perfect for warmer weather.
- Color Blocking: Alternate the main color with contrasting shades for striking stripes or playful patterns that brighten up the design.
- Pom-Pom Accent: Add a touch of whimsy by incorporating a fluffy pom-pom on top, making it even more delightful for babies.
- Fringe Details: Create a playful edge by adding fringe around the brim, providing a fun twist that little ones will adore.
- Sizing Adjustments: For a larger fit, simply increase your starting rounds or switch to a slightly larger hook size, allowing for more headroom.
- Seasonal Themes: Experiment with seasonal colors—think pastel hues for spring or warm tones for autumn—to celebrate different occasions.
- Textured Borders: Try adding a scalloped or shell stitch border for a lovely finishing touch that gives your hat a more intricate look.
- Ear Flaps: Provide extra warmth by adding ear flaps to the sides. Just follow the basic shaping and extend with simple stitches for a cozy design.
Let your creativity flow while making this cozy hat, and don’t forget to explore this adorable pom-pom tutorial for help on adding that charming touch!
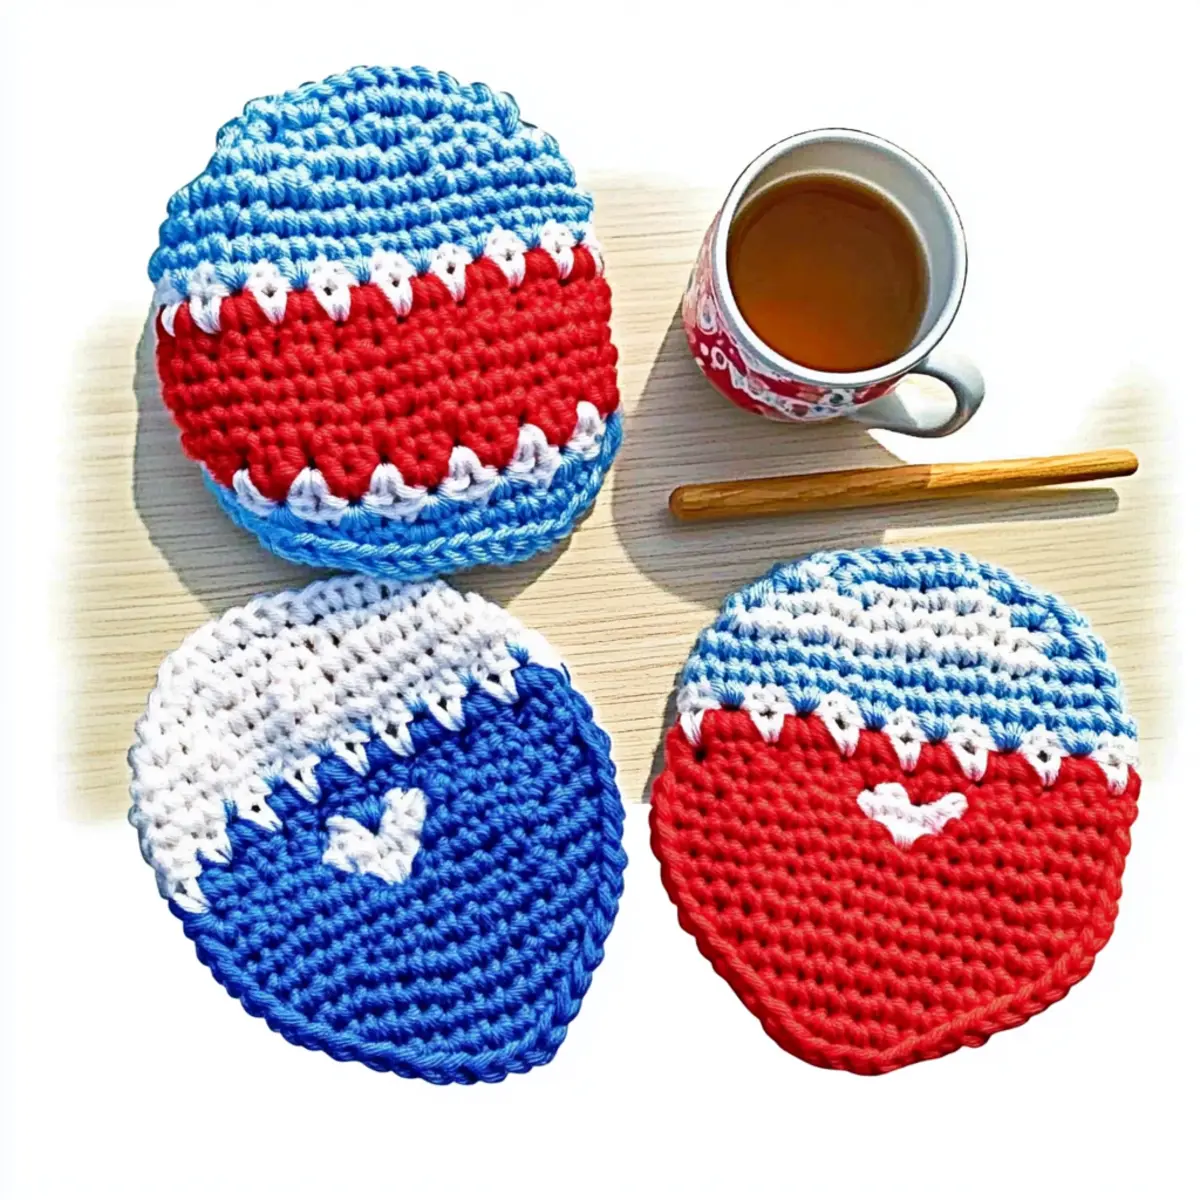
Cozy Crochet Heart Baby Hat FAQs
What type of yarn can I use instead of worsted weight yarn?
Absolutely! While I recommend using worsted weight yarn for this Cozy Crochet Heart Baby Hat, you can substitute with a lighter yarn, like DK, for a thinner hat. Just keep in mind that you will need to adjust your hook size and potentially your stitch count to maintain the overall shape and fit.
How can I make the hat bigger or smaller?
Don’t panic! To adjust the sizing, consider altering the number of increase rounds to create a larger hat or reducing them for a smaller fit. Additionally, you can change your hook size. For example, use a larger hook for a looser fit or a smaller hook if your hat is running too big.
Why is my work curling at the edges?
If your heart baby hat is curling up like a little bowl, it’s often due to tight stitches. Focus on maintaining a relaxed tension, especially when transitioning between double crochet and single crochet stitches. Taking a break and shaking out your hands can also help relax your grip!
What hook size should I use for this pattern?
You should use an I-9 (5.5 mm) hook for this project. However, it’s always a good idea to check your gauge first! If your hat is either too tight or loose after your first round, consider adjusting your hook size accordingly.
How do I fix a dropped stitch in the colorwork?
It’s an easy fix! If you spot a dropped stitch, gently pull on the working yarn to bring the stitch back up to the level of the other stitches. Use a tapestry needle to weave it back into place, being sure to secure it properly. Regularly counting your stitches can help prevent this problem in the first place!
What do I do if I run out of yarn before finishing the hat?
If you find yourself short on yarn, don’t worry! You can either purchase an additional skein of the same color or get creative by adding stripes with a contrasting color. Just ensure to maintain a similar weight and texture for a cohesive look!
Leave a Reply