
With a sweet little bundle of joy on the way, the pressure’s on to create a perfect gift that says “welcome to the world”! That’s where this Cozy Chunky Baby Beanie with Ears comes in, offering both a snug fit and a delightful touch of whimsy. Crafted from chunky fibers, this project not only crochets up quickly but also makes for an ideal beginner-friendly endeavor. You’ll love how effortlessly it comes together, allowing you to focus on the anticipation of snuggling a tiny one in this adorable hat. Plus, whether for baby showers or just to spoil your own little nugget, the cozy texture ensures warmth and comfort during those chilly months. Ready to charm everyone with your crochet skills? Let’s dive into this charming project together!
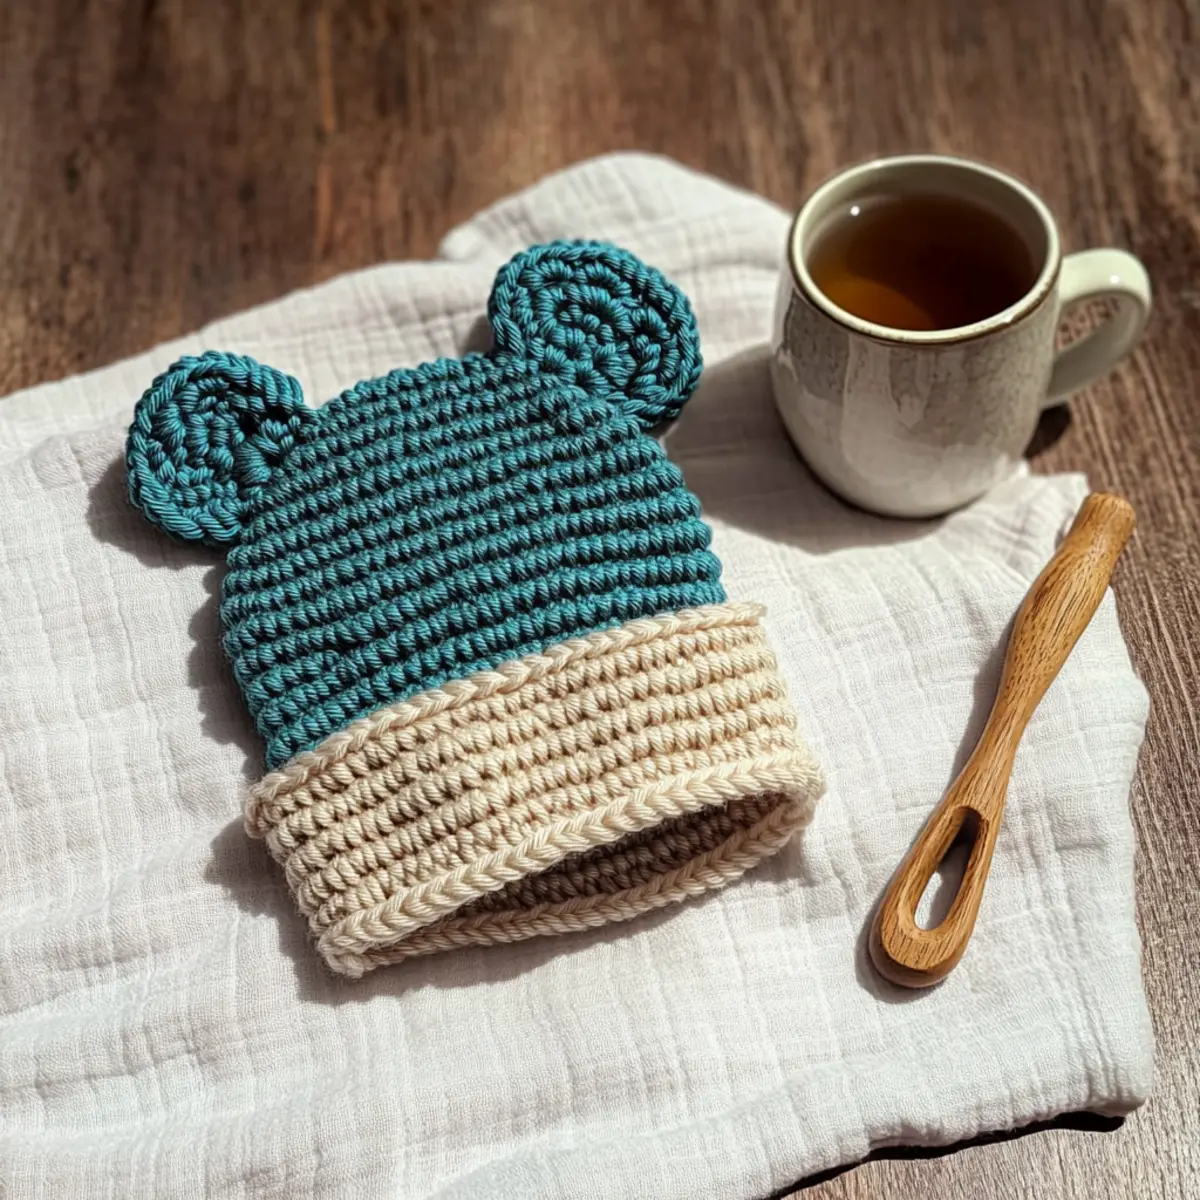
Cozy Chunky Baby Beanie Materials & Tools
• Whether you’re a beginner or a seasoned crafter, gather these essentials to create your cozy chunky baby beanie with ears!
Yarn
- Worsted Weight Yarn – Choose an acrylic or cotton blend for a soft and durable finish, with approximately 150-200 meters needed.
Tools & Notions
- 5.0mm (H) Hook – This hook size is perfect for achieving the right gauge and ensuring a comfy fit.
- Stitch Markers – Helpful for keeping track of your rounds, especially in the fun shaping phases!
- Tapestry Needle – Ideal for weaving in ends and securing your adorable beanie components.
- Optional: Safety Eyes – Add a cute touch to the ears with safety eyes for an extra whimsical design element.
Why is this baby beanie the best?
Beginner-Friendly: This pattern is designed for all skill levels, making it a breeze for beginners to tackle.
Quick Project: You’ll love how quickly this cozy hat comes together—perfect for last-minute gifts!
Chunky Texture: The thick, squishy fabric keeps little heads warm and snug while providing a cute, playful look.
Versatile Variations: Create your unique style by adding ears, experimenting with colors, or personalizing with embellishments!
Perfect Gift: Ideal for baby showers or welcoming new arrivals, this beanie combines function with adorable aesthetics.
Time-Saving: Enjoy a fulfilling and quick crochet experience, leaving ample time for those precious moments with your little one!
Gauge & Sizing Notes
Don’t skip the gauge swatch! Checking your tension is crucial for ensuring the perfect fit of your Cozy Chunky Baby Beanie with Ears. For this project, a standard gauge measurement is 4×4 inches (10×10 cm) = 12 double crochets by 10 rows. If you find your tension differs, you can adjust your starting chain in multiples of 2 to size up or down accordingly. For instance, if your swatch is too small, consider going up a hook size for a looser fit, and if it’s too large, try a smaller hook. Your cozy beanie will turn out just right for that little one!
Step‑by‑Step Pattern for Cozy Chunky Baby Beanie with Ears
Round 1: Start the Base
Begin by creating a magic ring. Chain 2 (this counts as your first double crochet), then work 10 double crochets (dc) into the ring. Pull the magic ring tightly to close and join with a slip stitch (sl st) into the first dc to form a circle. Your work should appear as a small, tight circle (10 dc).
Round 2: Increase the Stitches
Chain 2, then place 2 dc in each stitch around. Join with a sl st in the top of the beginning chain 2. This round expands the base of your beanie, giving it a nice, rounded shape. You should have 20 dc at the end of this round.
Round 3: Continue Increasing
Chain 2 to begin the round, then work 2 dc in the first stitch, followed by 1 dc in the next stitch. Repeat this pattern around until complete, and join with a sl st. This round creates the larger base needed for the body of the cozy beanie (30 dc).
Round 4: Add More Stitches
Start by chaining 2, then 2 dc in the first stitch, followed by 1 dc in the next 2 stitches. Repeat this sequence around, before joining with a sl st. After this round, your work should begin to take on a more defined shape, with 40 dc in total.
Rounds 5-8: Shape the Body
For the next four rounds, chain 2 and work 1 dc in each stitch around. This creates a solid body for the beanie, giving it a warm and cozy feel. After completing these rounds, your count should remain at 40 dc, and the beanie should start rising in height.
Rounds 9-10: Textured Finish
Begin each round with a chain 2. This time, alternate between front post double crochet (fpdc) in the first stitch and back post double crochet (bpdc) in the next. This will create a lovely texture. Join with a sl st at the end of each round; you will stay at 40 dc for both rounds. Your beanie’s texture should be visibly distinctive now.
Step 1: Making the Ears (Make 2)
Starting with a magic ring, chain 2, then work 10 dc into the ring. Pull the ring tightly to secure. Join the round with a sl st to the top of the beginning chain. Your first ear should form a small circle (10 dc).
Round 2: Ear Expansion
Chain 2 and place 2 dc in each stitch around. Slip stitch to join at the end of the round. This will give your ear a fuller shape, and you should now have 20 dc.
Round 3: Continue Ear Shaping
Chain 2, then work 2 dc in the first stitch and 1 dc in the next stitch all the way around. Slip stitch to join, and your ear will grow slightly wider with 30 dc at the end of this round.
Round 4: Final Ear Increase
Begin with a chain 2, then 2 dc in the first stitch, followed by 1 dc in the next 2 stitches. Continue this pattern until the round is complete, joining with a sl st. You’ll have an adequately shaped ear with a total count of 40 dc, perfect for adding whimsy to your cozy baby beanie.
Step 2: Assembly
Once both ears are complete, gently weave in all ends. Position the ears symmetrically on your beanie’s top. Use your tapestry needle to securely stitch them in place, securing both your cozy and delightful touches. Your cozy chunky baby beanie with ears is now ready to charm and warm!
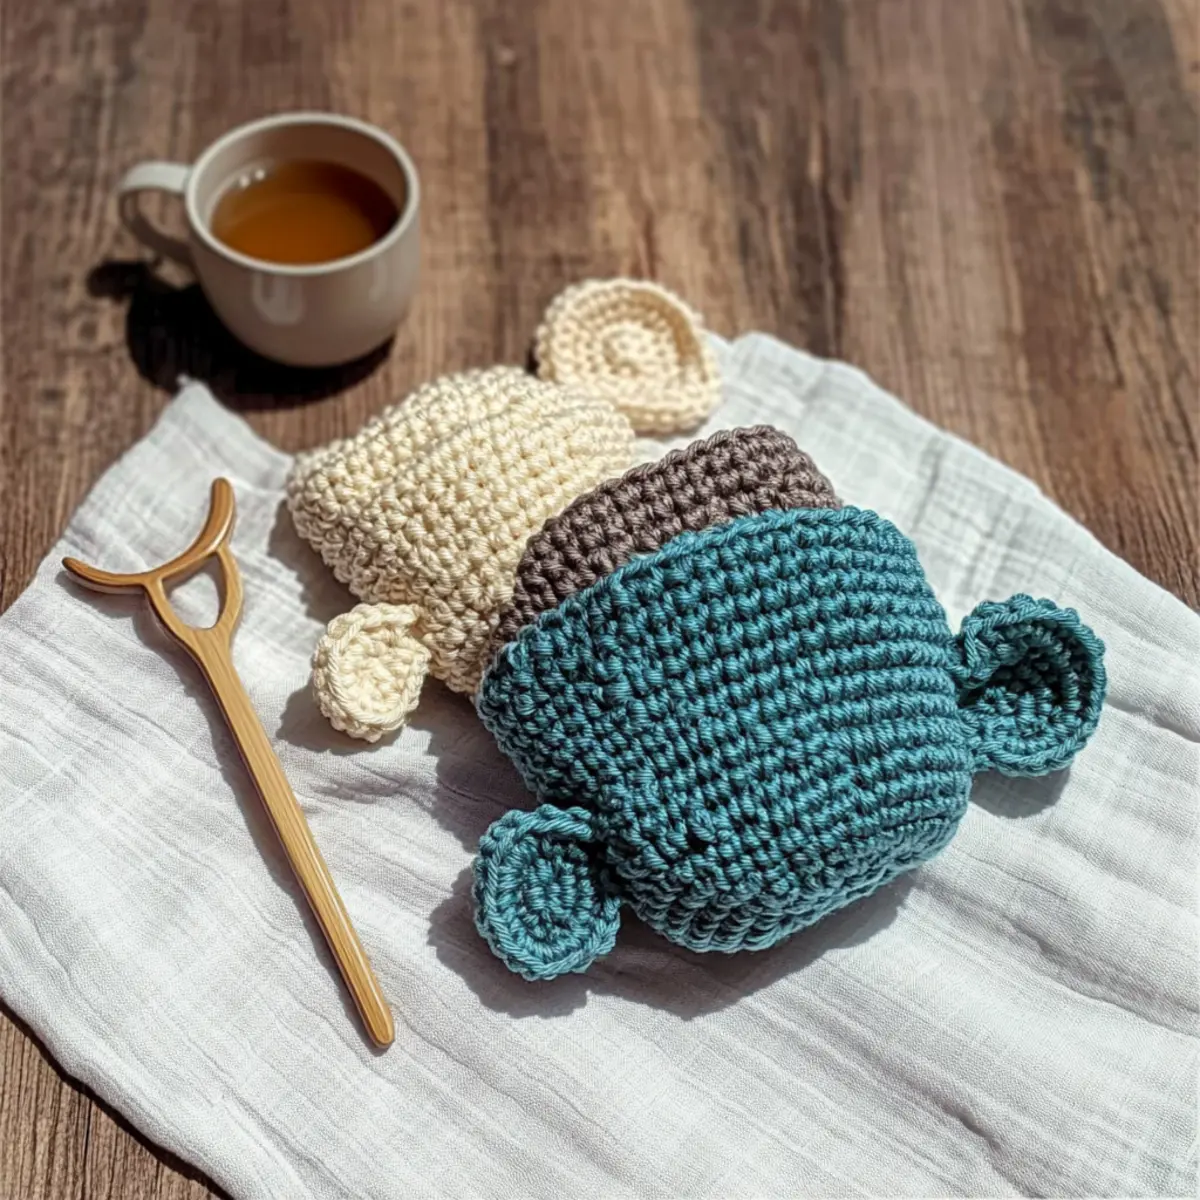
Expert Tips for Your Baby Beanie
-
Count Stitches: Always check your stitch count at the end of each round to maintain the shape of the Cozy Chunky Baby Beanie. A small mistake can lead to a misshaped hat.
-
Avoiding Tightness: If the fabric feels too tight as you crochet, try using a larger hook size in the initial rounds. Comfort is key for little heads!
-
Proper Tension: Maintain even tension throughout your work. This will help the cozy texture look uniform and professional when finished.
-
Finish Neatly: When completing your beanie, remember to weave in any loose yarn ends securely. This prevents any pesky unraveling later on.
-
Ears Placement: When attaching ears, experiment with placement to find the cutest look! Secure them well to ensure they stay in place during wear.
Variations & Substitutions for Your Beanie
Embrace your creativity and make this baby beanie even more special with some delightful variations!
-
Yarn Alternatives: Swap acrylic for a cotton blend for a softer, breathable option perfect for warmer seasons.
-
Color Play: Try a stunning color-blocking method! Use two or three contrasting colors to make your beanie pop with personality.
-
Chunky Twist: For a cozier vibe, use a chunky yarn instead. This will create an even thicker fabric, perfect for extra warmth.
-
Size Adjustments: Add 2-3 extra rounds before starting the ear assembly for a larger hat. This simple change creates a more oversized fit for older babies.
-
Textured Touch: Add a playful pom-pom on top for that extra flair! This delightful embellishment adds a fun texture and style to your beanie.
-
Fringe Fun: Attach fringe along the bottom edge of the beanie for a whimsical touch. Choose yarn that matches the body of your hat for a cohesive look.
-
Ear Enhancement: Experiment with ear shapes—consider floppy, pointy, or even flower-shaped ears for a unique twist.
-
Personalized Embellishments: Customize with buttons or embroidered initials on the front. These small details give your beanie a personal touch and make it truly one-of-a-kind.
For more crochet inspiration, check out our tips on color changes or browse through our collection of beginner-friendly patterns to continue crafting adorable projects!
Washing & Care Instructions for Cozy Chunky Baby Beanie
-
Machine Washing: Use cold water on a gentle cycle to clean your beanie. This helps prevent felting and maintains the cozy texture of your finished project.
-
Hand Washing: For best results, hand wash the beanie in cold water. Gently agitate to avoid stretching and damage to the fabric, ensuring it stays beautiful.
-
Drying/Blocking: Lay the beanie flat on a clean towel to dry naturally. Avoid hanging to prevent any distortion of the shape, allowing it to keep its snug fit.
-
Storage: Store your beanie in a cool, dry place when not in use. This helps to maintain its shape and cozy charm until it’s time to gift or wear it.
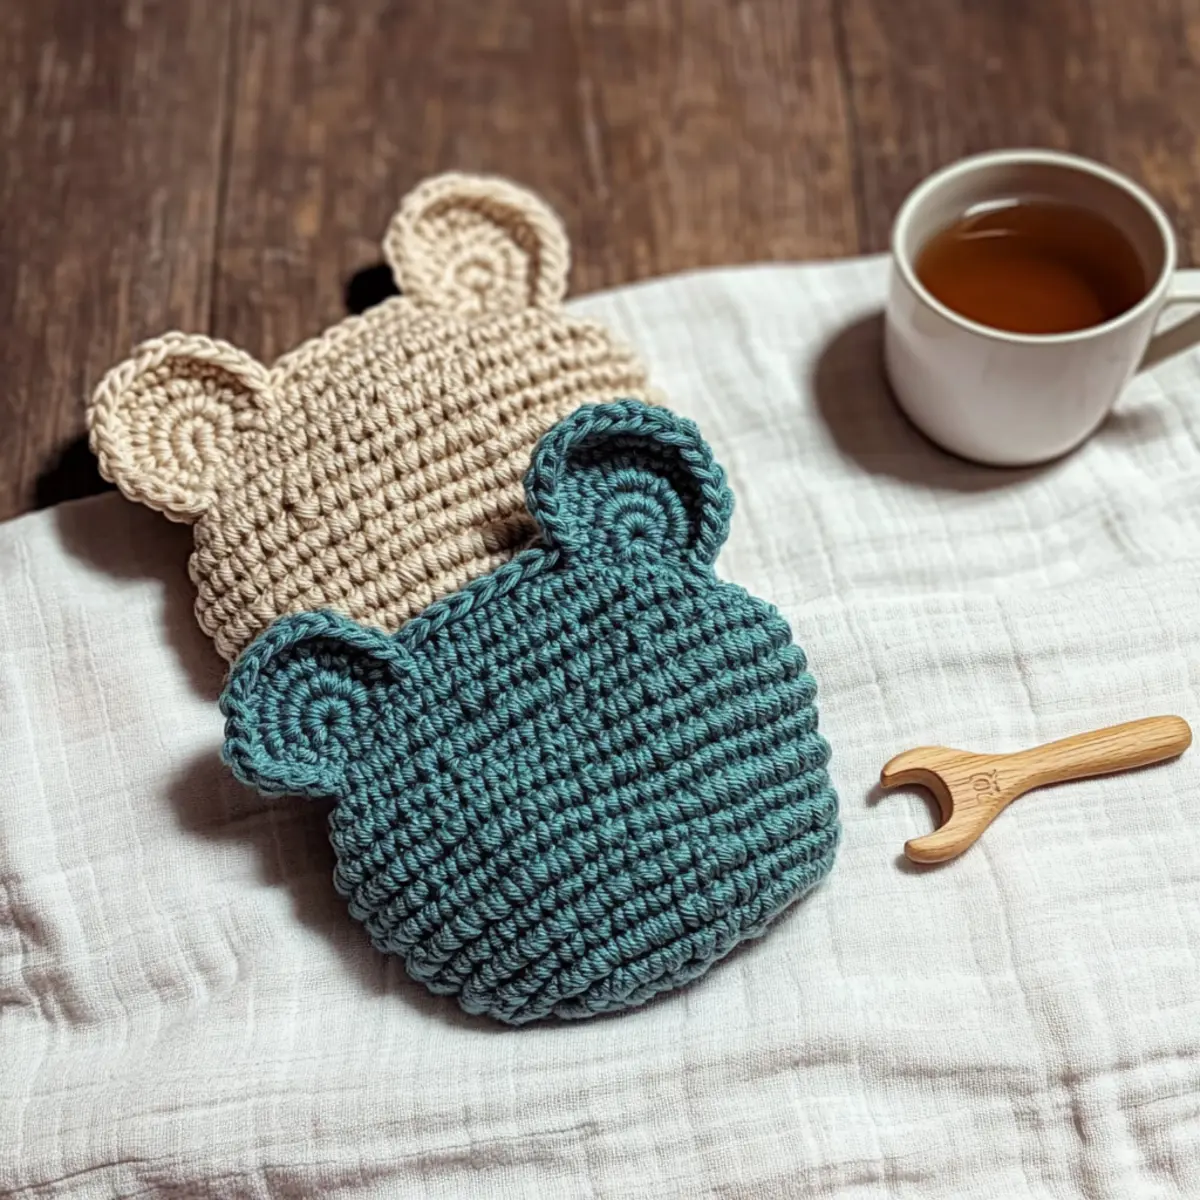
Cozy Chunky Baby Beanie with Ears FAQs
Can I substitute yarn types?
Absolutely! While the Cozy Chunky Baby Beanie is designed for a worsted-weight acrylic or cotton blend, you can experiment with other yarns. Just make sure to check your gauge to ensure the right fit. For example, using a bulky yarn may create a larger and chunkier beanie, while a lighter sport weight yarn may require you to adjust your hook size and stitch count.
How can I adjust the size for my baby?
Don’t panic! To make the beanie bigger or smaller, simply add or remove rounds. Each round contributes to the height of the beanie, so you can rework the pattern until you’re satisfied with the fit. A good rule of thumb is to add 2-3 extra rounds if needed for a larger hat. Just remember to maintain your stitch count for the right shape!
Why is my work curling at the edges?
If you notice your beanie curling like a bowl, it could be due to too tight of a tension or missing foundation stitches. Focus on maintaining an even tension throughout your work, and ensure you follow the initial chain count carefully. If you feel your stitches are too tight, consider using a larger hook during those starting rounds.
What hook size should I use for this pattern?
For the Cozy Chunky Baby Beanie, you’ll need a 5 mm (H/8 USA) crochet hook. However, if you find your finished work is too tight, don’t hesitate to switch to a larger hook, especially in the first few rounds. It’s all about comfort for those little ones!
How do I fix dropped stitches?
It’s an easy fix! If you notice a dropped stitch, simply use your tapestry needle to weave the loose end back through the previous stitches, securing it in place. It’s a good idea to check your work regularly as you go to catch these little mistakes before they become a bigger issue!
Can I embellish this baby beanie?
Absolutely! You can personalize your Cozy Chunky Baby Beanie with fun embellishments like bows, buttons, or even playful pom-poms. Just ensure that these additions are securely fastened and safe for little ones. This way, you get to showcase your creativity while keeping your project adorable!
Leave a Reply