
As I sat down with my yarn, a delightful idea sparked—what could be cuter than a pair of bobble crochet baby mittens? These adorable little mittens are not only fast to make but also utilize very little yarn, making them a fantastic stash buster. With a cozy texture and modern design, they are perfect for welcoming new life or for those babbling baby showers. Available in multiple sizes, you can whip up a matching set of accessories for an extra charming touch. Whether you’re a seasoned pro or just starting your crochet journey, this pattern promises both comfort and style. Ready to create something special for the tiny hands in your life? Let’s get stitching!
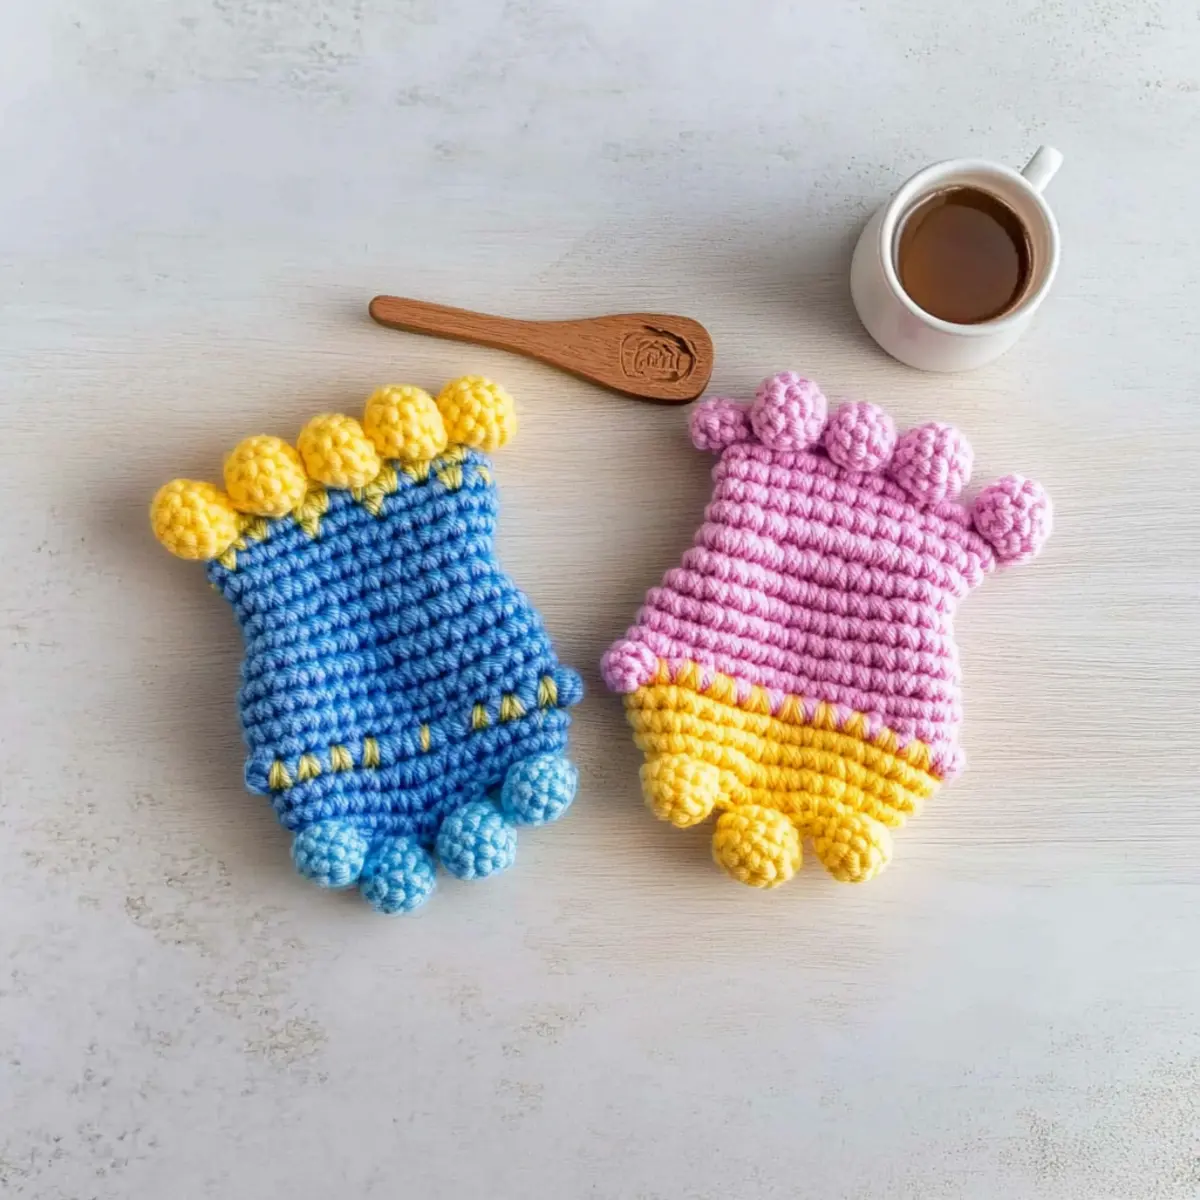
Bobble Crochet Baby Mittens Materials & Tools
Yarn
• Worsted Weight Yarn – Choose a soft, baby-friendly acrylic or cotton blend; approximately 80 yards (73 meters) needed.
Tools & Notions
• 5 mm (H-8) Hook – This size works perfectly to create a cozy texture for your mittens.
• Stitch Marker – Use this to mark the beginning of each round for easy tracking.
• Tapestry Needle – Essential for weaving in those pesky ends and finishing your project neatly.
Create magic with these cozy materials, and watch those adorable mittens come to life! Happy crocheting!
Why Are These Mittens a Must-Crochet?
Fast & Fun: This pattern comes together in no time, making it perfect for last-minute gifts—to delight any new parent!
Adorable Design: The charming bobble accents add a playful touch, sure to make these mittens a favorite for both babies and parents alike.
Versatile Sizing: Available in four sizes—from preemie to 3-6 months—you can create just the right fit for the little one in your life.
Stash-Busting Treasure: With only 80 yards of yarn required, you can easily use up those leftover skeins and make something delightful. For more colorful ideas, check out our tips on stashing yarn.
Cozy Texture: The combination of half double crochet stitches and bobbles creates a squishy, comfortable knit that keeps tiny hands warm on chilly days.
Matching Accessories: Elevate your gift by pairing these mittens with a matching hat or blanket to create an adorable set—perfect for baby showers!
Gauge & Sizing Notes
Don’t skip the gauge swatch! Ensuring the correct tension is crucial for the perfect fit of your cozy bobble crochet baby mittens. A standard gauge for this project is a 4×4 inch (10×10 cm) square that measures 12 half double crochets (hdc) by 10 rows. If you find that your mittens are too snug or loose, it’s easy to adjust the sizing; simply add or reduce your starting chain in multiples of 12 to make it wider or narrower. If your swatch turns out too small, consider going up a hook size to achieve the right tension. Happy crocheting!
Step‑by‑Step Pattern for Adorable Bobble Crochet Baby Mittens
Round 1: Create the Foundation Ring
Begin by making a magic ring (or a chain 3 and slip stitch to form a ring). Work 8 hdc into the ring, pulling the ring closed as you go. This creates the base of the mitten, and your work should be snug yet open enough to start shaping. Check your stitch count; you should have 8 hdc (8 sts).
Round 2: Increase for the Body
Start by chaining 2 to begin the round. Now, make 2 hdc in each stitch around for a total of 16 hdc. This round will start to give shape to the baby mitten, and your work should begin to feel fuller (16 sts).
Round 3: Continue Increasing
Ch 2 to begin the round. In this round, work 1 hdc in the next stitch, 2 hdc in the following stitch across the round. You’ll increase the total stitch count again, ensuring it maintains a nice round shape. By the end, you will have 24 hdc (24 sts).
Round 4: Establish the Mitten Body
Ch 2 to start the next round. Continue working in hdc around for this entire round, focusing on keeping your tension even as you create the main body. Your work will feel substantial, and you should have a total of 24 hdc (24 sts) at the end again.
Round 5: Maintain the Body Shape
Repeat Round 4 by chaining 2 to begin and working 1 hdc in each stitch around. You’re building up the mitten, keeping it compact for tiny hands. At this point, ensure your work is maintaining the right shape and size, with 24 hdc (24 sts).
Round 6: Continue with Mitten Body
Ch 2 to begin the round once more. We will repeat the previous round of working hdc in each stitch around. Take your time to ensure there are no gaps that could let chilly air in—your total should still reflect 24 hdc (24 sts).
Round 7: Finalize the Body
Ch 2 to start. Again, work 1 hdc in each stitch around. This is your last round before adding the fun bobble stitch detailing, which will give these adorable bobble crochet baby mittens their unique look. Your stitch count remains at 24 hdc (24 sts).
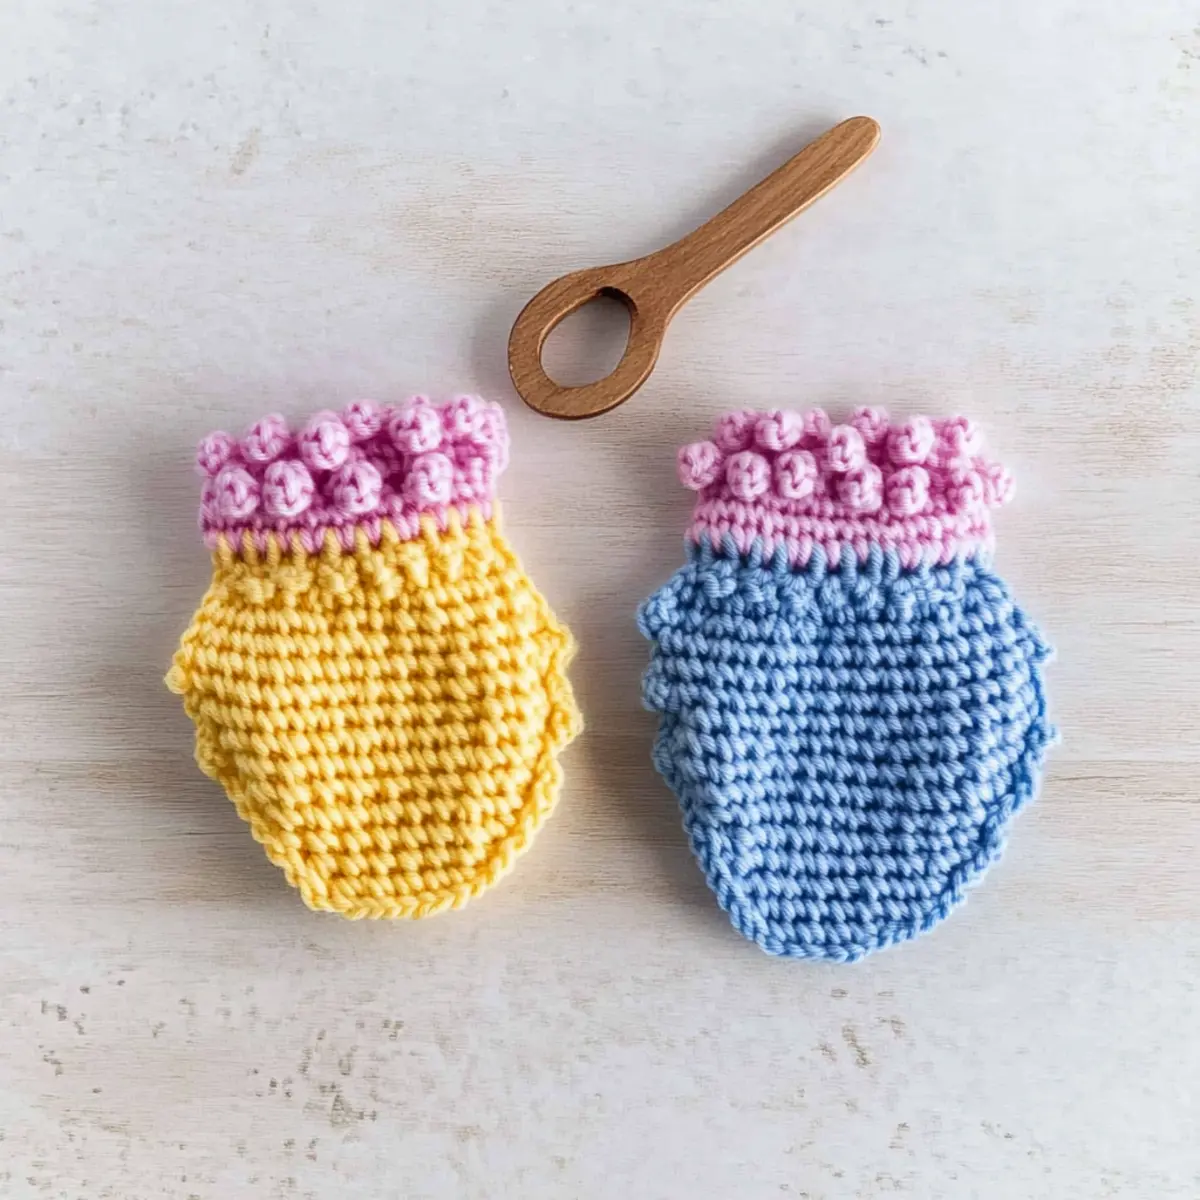
Round 8: Introduce the Bobble Stitch
Ch 2 and begin your first bobble stitch: (yo, insert hook into stitch, yo, pull up a loop) 4 times, then pull through all loops on hook to complete the bobble. Make 1 hdc in the next stitch, then repeat the bobble stitch across the round, ending with a bobble. Your round is now highlighted with these playful shapes, leading to a satisfaction total—even after creating the bobbles, keep 24 total sts.
Round 9: Complete Bobble Accents
Ch 2 to begin again. You’ll work another bobble into the next stitch following 1 hdc in between each bobble across the round. This combination creates texture and interest and will be a lovely feature of your finished mittens, totaling 24 stitches.
Round 10: Final Bobble Round
Ch 2 and once more introduce your bobbles alternating with hdc stitches for this final bobble round. This round solidifies the fun look and enhances the texture around the wrist area. Ensure to keep the count at 24 sts as round completion approaches.
Round 11: Transition to Ribbed Cuff
Ch 2 to begin the transition. Work hdc for the next few stitches, then switch to back post double crochet (BPdc) for the remainder of the round. This will start forming the ribbed cuff while maintaining the playful bobble accent. Count and confirm you have 24 sts at the round’s end.
Round 12: Build the Ribbed Cuff
Ch 2 and work hdc in the first stitch, then continue with BPdc in the following stitches around. This creates a snug, stretchy cuff for the baby mittens. As you finish up, your total should stay consistent at 24 sts.
Round 13: Finalize the Cuff
Ch 2 and continue alternating hdc and BPdc until the end of the round. This part of the bobble crochet baby mittens secures the fit around tiny wrists, creating a finished look that appeals beautifully to comfort and practicality. Ensure 24 sts at this round close.
Round 14: Secure the Ends
Ch 2, then keep alternating hdc and BPdc to finish your mitten. This last round consists of securing your work and ensuring it’s the right fit and finish. As you conclude, make sure to count and have 24 sts; then, fasten off and weave in your ends neatly.
Expert Tips for Bobble Crochet Baby Mittens
-
Stay Counted: Frequently count your stitches at the end of each round to ensure the mittens maintain their adorable shape without warping.
-
Hook Size Matters: If your mittens feel too tight or too loose, experiment with your hook size; it can make a difference in achieving that cozy texture.
-
Yarn Tension: Maintain even tension while crocheting to avoid gaps between stitches. This is crucial for a snug fit around those tiny fingers.
-
Secure Ends: When finishing, weave in your ends thoroughly to ensure durability and a polished look. You don’t want any loose yarn to unravel after all that work!
-
Gauge Check: Always test your gauge before starting. A 4×4 inch swatch of 12 hdc stitches by 10 rows helps ensure the mittens will fit perfectly.
-
Keep It Loose: Avoid pulling your yarn too tightly, especially on the bobble stitches; allowing a bit of looseness will give a more inviting texture to the mittens.
Variations & Substitutions
Embrace your creativity and make these mittens truly one-of-a-kind!
-
Yarn Weight Swap: Choose a lighter DK weight for more delicate mittens, perfect for warmer seasons. This provides a softer drape while still remaining adorable.
-
Color-Blocking Fun: Use multiple colors to create cheerful stripes or blocks. Alternate shades in each round for a playful vibe that delights both you and any little one!
-
Fiber Alternatives: Try a cotton blend for breathability or a wool blend for extra warmth. Each fiber brings a unique feel to your mittens, making them versatile for different climates.
-
Sizing Adjustments: Add extra rounds for larger toddlers or skip rounds for snug newborn mittens. Customizing size ensures the perfect fit while catering to various ages.
-
Textured Finish: Introduce a fringe or pom-pom at the cuff for an extra touch of whimsy. This provides a delightful visual element that enhances the mittens’ charm.
-
Matching Set: Pair with a coordinating hat or blanket using the same bobble stitch for a cohesive look. It creates a lovely gift set that’s bound to steal hearts.
-
Bobble Variations: Experiment with different bobble sizes or styles around the wrist for added dimension. Larger bobbles can turn these mittens into standout pieces in any baby wardrobe.
-
Border Enhancements: Finish off with a scalloped or picot border for a touch of elegance; it’s a quick addition that elevates your project beautifully.
By blending textures and colors, you’ll create a crochet masterpiece that showcases your individuality! For inspiration, visit our crochet color ideas or check out more on textured stitches.
Care Instructions for Bobble Crochet Baby Mittens
- Hand Washing: Gently wash in cold water with mild soap. Avoid wringing out the mittens to prevent stretching or felting the fabric.
- Drying/Blocking: Lay flat to dry on a clean, dry towel, reshaping carefully to maintain the adorable look of your mittens.
- Storage: Store in a cool, dry place away from direct sunlight to keep the vibrant colors from fading and to preserve the texture of your bobble crochet baby mittens.
- Avoid Bleach: Do not use bleach or harsh chemicals, as they can damage the yarn and alter the color of your lovely mittens.
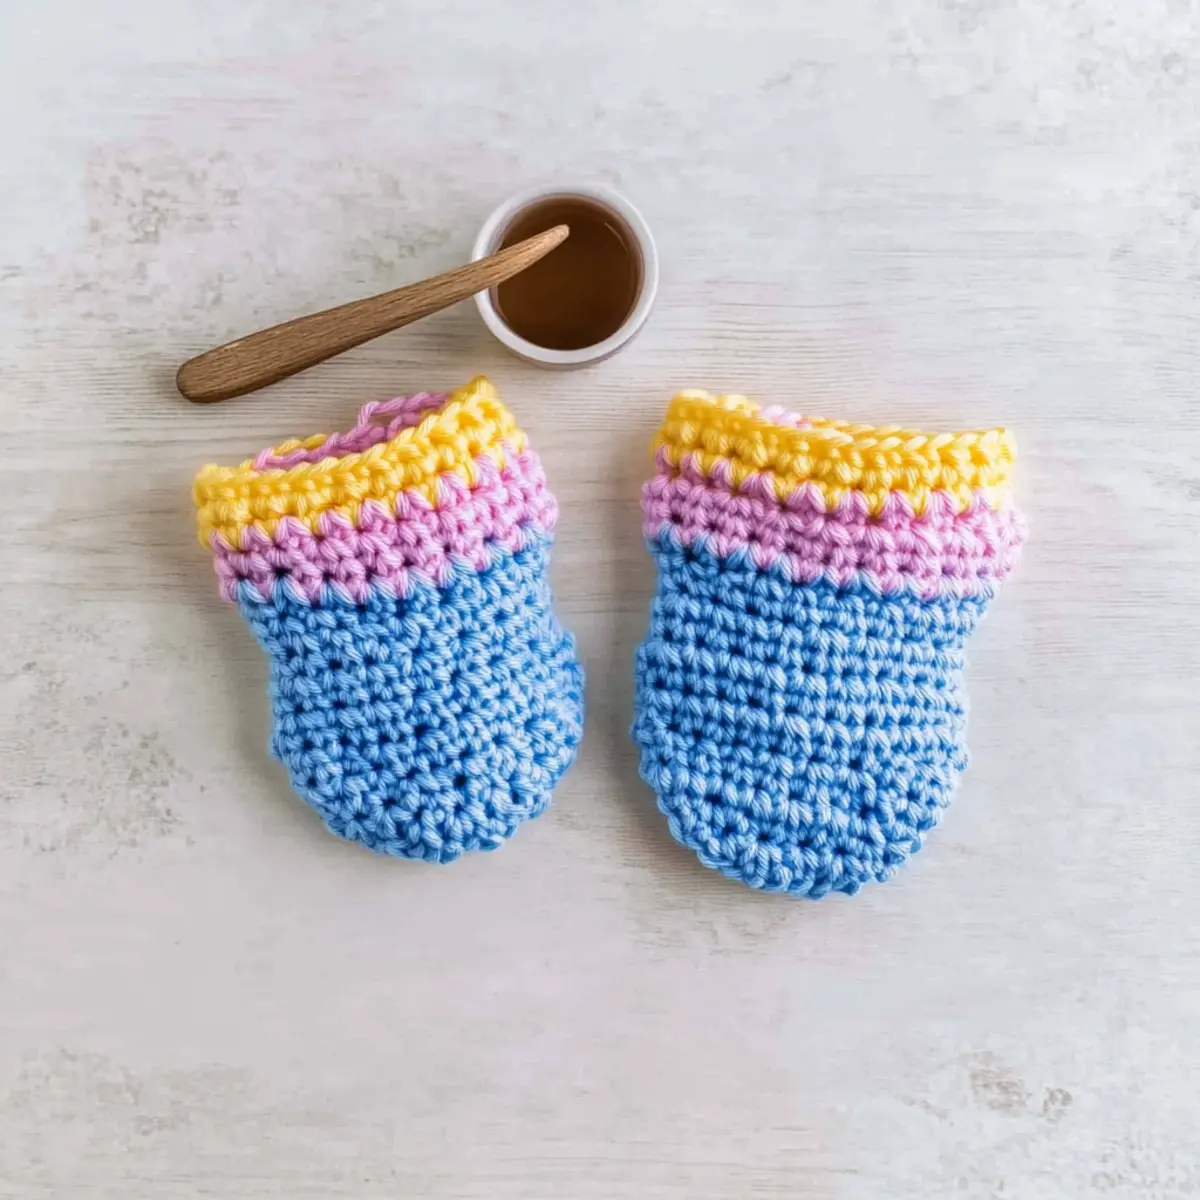
Bobble Crochet Baby Mittens FAQs
Can I substitute the yarn for a different type?
Absolutely! While worsted weight wool or an acrylic/cotton blend is ideal for these mittens, you can substitute with similar-weight yarns. Just ensure that it’s soft and baby-friendly. Keep in mind that the final texture and warmth may vary slightly.
How can I adjust the size of the mittens?
Don’t panic! To make the mittens larger, simply add more rounds before creating the ribbed cuff. Conversely, for a smaller fit, you can reduce the number of rounds in the hand section. Just remember to pay attention to your gauge to ensure the mittens fit as desired!
Why is my work curling at the edges?
If your mittens are curling up like a bowl, it can be due to too few stitches. Make sure you’re following the stitch count correctly and not pulling the yarn too tightly. If curling persists, try switching to a larger hook for a looser tension.
What hook size should I use for this pattern?
I recommend using a 5 mm (H-8) crochet hook, as it’s perfect for achieving that cozy texture. However, if your stitches feel too tight or too loose, feel free to adjust your hook size accordingly!
How do I fix dropped stitches?
It’s an easy fix! Simply use a tapestry needle to weave the loose yarn back into place, or rework the stitch by picking it back up with your hook if the dropped stitch is still within reach. Make sure to double-check your work frequently to catch these sorts of errors early.
What should I do if my gauge is off?
If your gauge doesn’t match the recommended 4×4 inches = 12 hdc stitches by 10 rows, adjust your hook size. A larger hook will create a looser fabric, while a smaller hook tightens your stitches. Don’t forget to redo a swatch after making adjustments to confirm your gauge!
Leave a Reply