
There’s something truly magical about turning simple yarn into a charming creature, and that’s exactly what you’ll experience with the whimsical Cinnamon Roll Turtle crochet project. While I was crafting this little delight, I could feel the joy bubbling within me, knowing that not only would I have a unique amigurumi piece, but I’d also be honing my crochet skills. This project stands out for its beginner-friendly approach and quick completion, making it perfect for anyone eager to expand their crafting toolkit. Plus, how adorable is a turtle that resembles a cinnamon roll? It’s a fantastic stash-buster as well, allowing you to use up those leftover yarns while creating something cozy and inviting. As I assembled the individual pieces, my excitement grew, anticipating the delight it would bring to anyone lucky enough to receive it as a gift. Who wouldn’t want a cuddly companion with a sweet twist? The soft texture and playful design of this amigurumi wonder offer not just a sense of achievement, but it also invites a sprinkle of whimsy into our lives. What will you do with your own Cinnamon Roll Turtle?
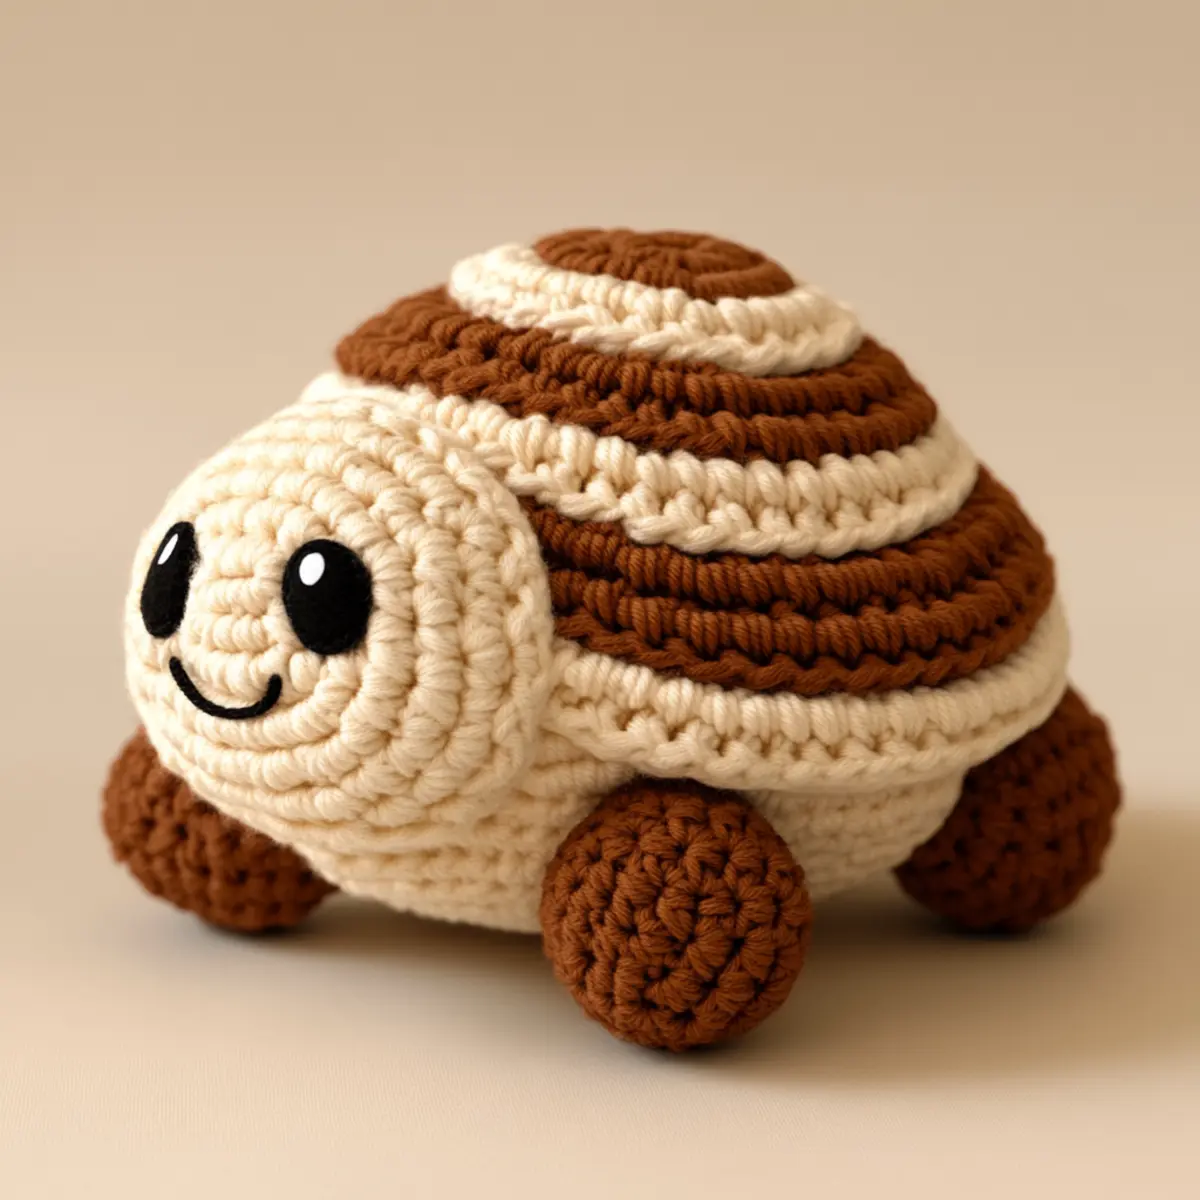
Cinnamon Roll Turtle Crochet Materials & Tools
Yarn
DK/8 Ply or Sport Weight Yarn – Choose a softness that feels good; about 100-150 yards in total will suffice for the entire cinnamon roll turtle crochet.
Felt or Embroidery Thread – Use these for adding fun facial details to make your turtle extra cute.
Tools & Notions
Crochet Hook (3.5 mm or 4.0 mm) – Ideal for this amigurumi project to ensure a tight stitch that holds its shape.
Safety Eyes – For the adorably expressive face, opt for appropriately-sized safety eyes that will stay secure.
Stitch Markers – These can be a lifesaver to keep your rounds organized and ensure your work maintains consistency.
Scissors – Sharp scissors for trimming any yarn tails neatly after finishing each piece.
Darning Needle – Perfect for sewing up the parts and weaving in ends seamlessly to complete your Cinnamon Roll Turtle.
Why You’ll Love This Pattern
Simplicity is at the heart of the Cinnamon Roll Turtle pattern, making it a fantastic choice for beginners or anyone wanting a quick and delightful project. Quick to complete, it allows you to produce a charming finished piece in just a few hours. The stash-friendliness of this design means you can use up all those little skeins lying around, transforming them into something adorable. You might even consider customizing your turtle with different colors and patterns, adding your own flair that sets your amigurumi apart. Plus, it’s an excellent opportunity to explore various yarn types, from soft acrylic to textured cotton blends. This whimsical pattern is sure to catch the eye, making it an attractive addition to any crafting collection, drawing inspiration from other projects like Free Amigurumi Doll or Amigurumi Duck Cozy. Trust me, once you start, you’ll find yourself dreaming up all sorts of variations for your Cinnamon Roll Turtle!
Gauge & Sizing Notes for Cinnamon Roll Turtle Crochet
Checking your tension is essential for the Cinnamon Roll Turtle crochet project to ensure consistent sizing and construction. For this pattern, a standard gauge should measure 4×4 inches (10×10 cm) with 18 sts and 24 rows using a 3.5 mm (E) or 4.0 mm (G) hook. If your gauge does not match, you may need to adjust your yarn or hook size—an error here may lead to a significantly different size of your finished turtle. If you want to resize your Cinnamon Roll Turtle, consider adjusting the initial chain or round counts by multiplying evenly based on your desired dimensions. Always strive for tight crochet stitches in amigurumi for optimal shape retention and durability. Once you settle on the right tension, you can focus on creating your whimsical turtle, ensuring it retains that adorable charm throughout the crafting process.
Step-by-Step Pattern for Cinnamon Roll Turtle Crochet
Row 1: Start the Head
Begin with a magic ring. Ch 1, then work 6 sc into the ring to create the head’s foundation (6). Pull tight to close the magic ring.
Row 2: Increase Head Size
Continue on the head by making inc in each sc from the previous row. You should have 12 sts after this round (12).
Row 3: Build More Shape
This row will help form the roundness. Work 1 sc in the first st, then inc in the next st. Repeat around (18).
Row 4: Add Definition
To further define the head, work 2 sc in each of the first three stitches, followed by 1 sc in the fourth. Repeat across for 24 total stitches (24).
Row 5: Start the Body Shell
Switch to the body shell. Work a magic ring, then make 6 sc in the ring again (6). This helps with the transition to the shell.
Row 6: Shell Expansion
In this round, inc in each st just like the head. You should now have 12 sc for the shell (12).
Row 7: Create the Swirl Pattern
Start building the shell design by alternating between 1 sc and 2 incs. This row should yield 24 stitches total (24).
Row 8: Spiral Design Enhancements
Continue working on the shell, making 1 sc, 1 inc, and 2 sc across. Repeat to maintain the spiral pattern (36).
Row 9: Form the Limbs
For the arms and legs, ch 1 and work 6 sc into a magic ring. These will create the charming limbs of your Cinnamon Roll Turtle (6).
Row 10: Finalize the Limbs
Work to lengthen the limbs. Create 5 more rows of 6 sc. This consistency will ensure they are sturdy (6X5=30).
Row 11: Create the Tail
For the tail, using the same process, create a smaller magic ring, and work 4 sc into it (4). Add 2 rows of 4 sc each to taper off the tail smoothly.
Row 12: Assemble the Parts
Sew each part together carefully. Start with the limbs and tail, ensuring they are evenly spaced for a balanced look on your Cinnamon Roll Turtle. Secure each attachment well.
Row 13: Add Facial Details
Using safety eyes and felt or embroidery thread, carefully sew the facial features on your finished turtle (as per your design). This adds character to your whimsical creation.
Row 14: Finishing Touches
Weave in all ends using a darning needle, trim any excess yarn, and lightly block the final piece to set its shape.
Row 15: Enjoy Your Completion
Once all parts are secured and finishes applied, your Cinnamon Roll Turtle crochet project is complete! Embrace its charm and enjoy gifting or displaying your delightful creation.
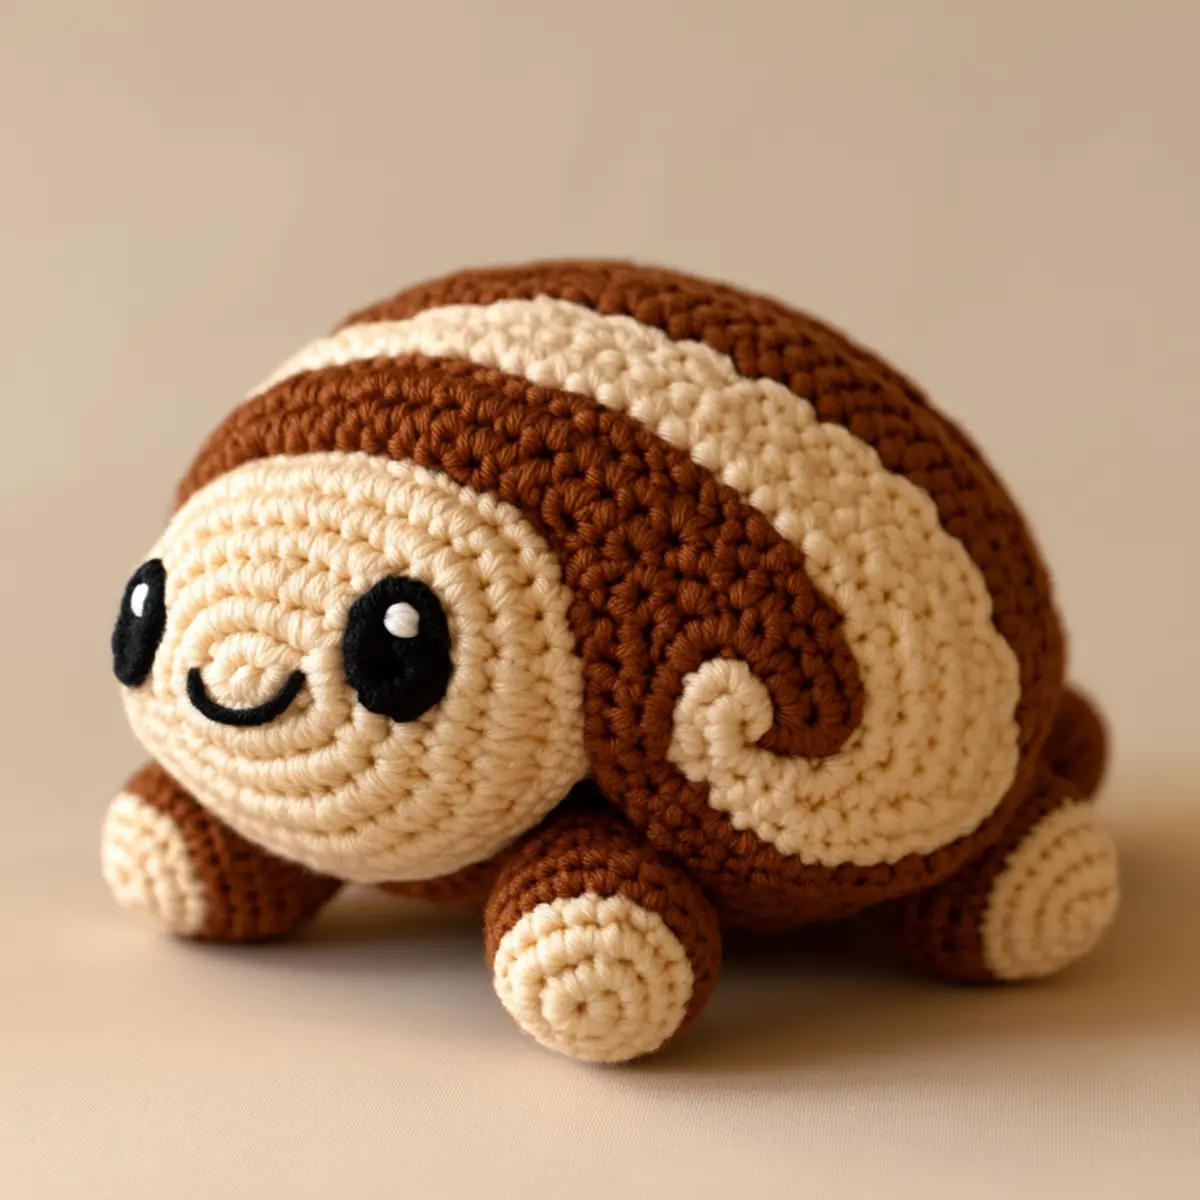
Tips for the Best Cinnamon Roll Turtle Crochet
Consistent Tension: Maintain even tension throughout your project to avoid uneven parts or misshapen features.
Use Stitch Markers: Mark your rounds when working on the shell and limbs, keeping your place and ensuring consistent stitching.
Count Often: Regularly check your stitch count, especially after increases, to prevent drops and confusion.
Practice Blocking: Lightly block your finished pieces before assembly to avoid curling and help with alignment.
Secure Seams: When sewing pieces, ensure each is snugly attached to maintain stability in your Cinnamon Roll Turtle.
Test Yarn Variations: Experiment with different yarns for unique textures and finishes on your adorable turtle.
Cinnamon Roll Turtle Crochet Variations
Feel free to get creative with your design and customize your Cinnamon Roll Turtle!
- Color Swaps: Use pastel shades for a vibrant and playful look that enhances the whimsical design of your turtle.
- Yarn Type: Experiment with cotton yarn for a firmer finish or plush yarn for extra softness—each will give your turtle its unique personality!
- Size Alteration: Scale up the turtle by using bulkier yarn and a larger hook, making a delightful oversized amigurumi that stands out.
- Texture Additions: Introduce textured stitches or surface crochet techniques to add visual interest to the shell, making it even more fascinating.
- Seasonal Accessories: Craft a mini scarf or hat to match special occasions or seasons, transforming your turtle into a themed character. The addition of accessories allows for endless creativity, letting you celebrate various festivities in style.
- Personalized Features: Add unique embroidery to the turtle’s shell or include your initials, adding a personalized touch to your amigurumi. Using felt and embroidery thread can make character facial features even more vivid!
- Enhanced Scale: For a fun twist, create a miniature version as a keychain or decorative piece. This smaller buddy will make an adorable addition to your crafting loft or as a cute gift for friends!
- Playful Modifications: Incorporate features from other amigurumi patterns, like adding fins to your turtle. This mix-and-match approach gives it a fun marine twist, perfect for ocean-themed decor. Check out our Free Amigurumi Pattern for inspiration.
What to Pair with / What to Make after Cinnamon Roll Turtle
After creating your Cinnamon Roll Turtle, consider these charming pairings!
- Amigurumi Duck: The cute and cuddly Amigurumi Duck makes a delightful companion for your turtle, providing contrasting shapes and textures.
- Miniature Accessories: Craft a tiny hat or scarf that can fit both the turtle and another amigurumi project. This dual-purpose pattern will unify your collection in style.
- Amigurumi Beetlejuice Doll: Inspired by the quirky character, this bright design will expand your storytelling through crochet. The fun contrasts with your Cinnamon Roll Turtle’s playful nature.
- Storybook Doll: Consider making Grandma Elara’s Enchanted Storybook Doll to create an entire plush story world, adding more whimsy to your collection.
- Harry Potter-themed Doll: A Free Amigurumi Doll allows you to incorporate your love for literature into your amigurumi world. Imagine your Cinnamon Roll Turtle hanging out with a wizard or witch!
- Amigurumi Doll in a Yellow Dress: This elegant piece brings a touch of charm and sophistication that perfectly complements the vibrant whimsy of the Cinnamon Roll Turtle.
How to Wash and Care for Your Cinnamon Roll Turtle Crochet
Machine Washing: If needed, use the gentle cycle with cold water to prevent damage. Avoid harsh agitation to keep your amigurumi safe.
Hand Washing: Gently wash with mild detergent in cool water, then rinse adequately to remove all soap residues for a clean finish.
Drying: Lay your Cinnamon Roll Turtle flat on a towel to dry, avoiding hanging or direct sunlight, which may alter its shape.
Storage: Keep in a cool, dry place away from direct sunlight to preserve colors and prevent fading; store in a breathable bag when not in use.
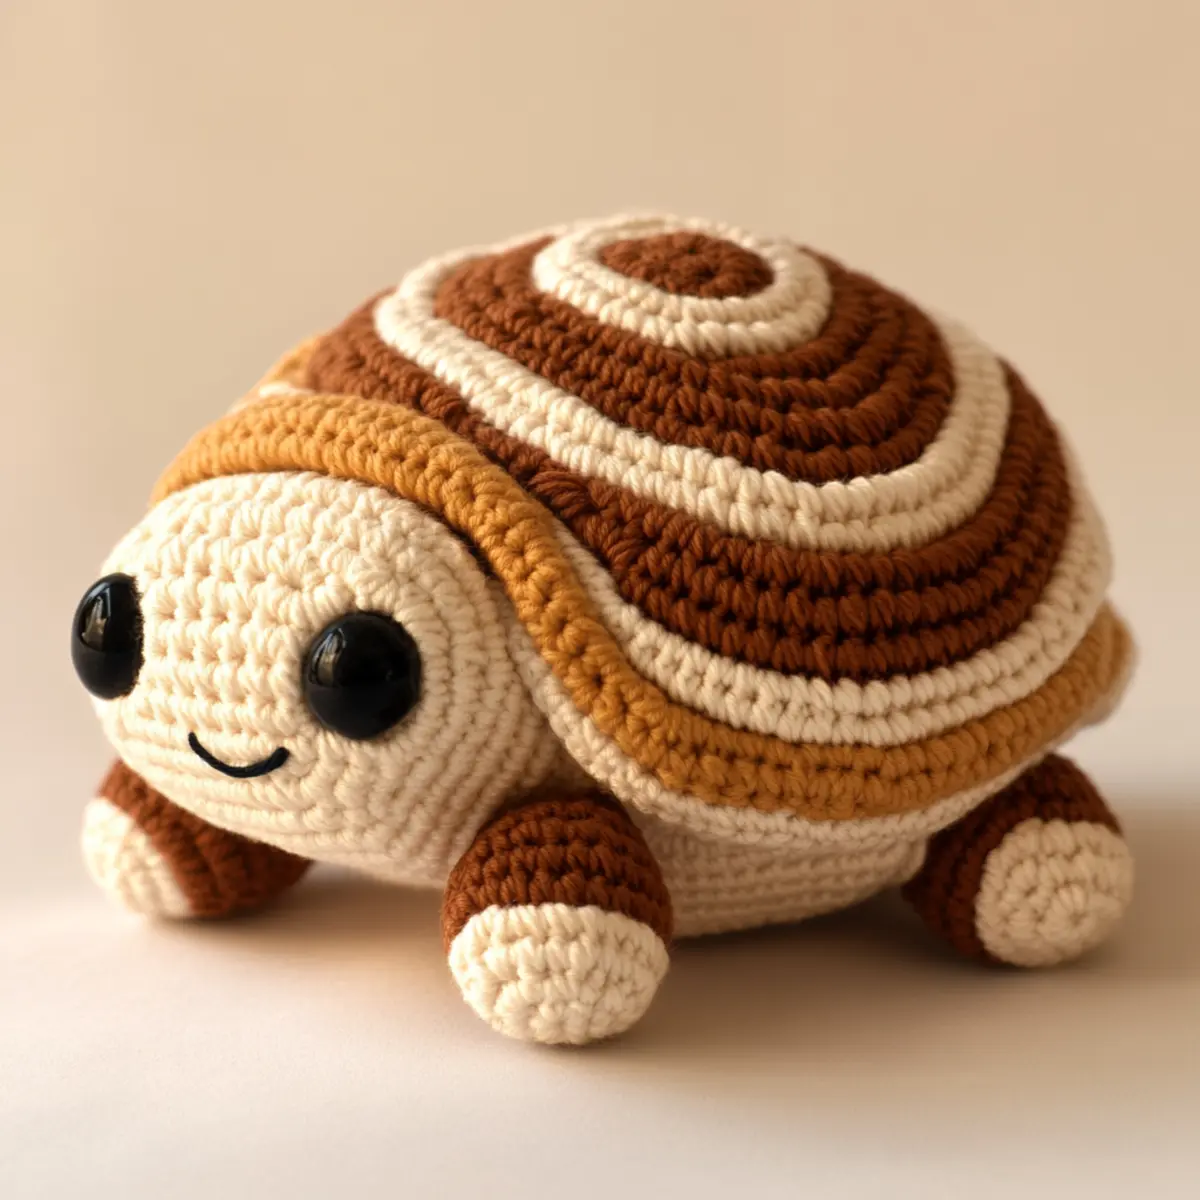
Cinnamon Roll Turtle FAQs
What type of yarn can I use?
Absolutely! You can use DK/8 ply or sport weight yarn for the Cinnamon Roll Turtle. Acrylic yarn is a great choice for softness and durability, but feel free to experiment with cotton for a different texture.
How can I adjust the size of my turtle?
Don’t panic! If you want to change the size, consider using a bulkier yarn and a larger crochet hook. You can also adjust the initial chain or round counts to achieve the desired dimensions.
What should I do if I drop a stitch?
If you happen to drop a stitch, don’t worry! Just carefully pull the working yarn back and reinsert your hook into the appropriate stitch. Make sure you are back on track with your stitch count.
Can I substitute materials?
Certainly! You can substitute the yarn with various blends, just check the weight for amigurumi. Different safety eye sizes can also give your turtle various expressions; however, ensure they are securely attached for safety, especially if intended as a toy.
Why does my turtle curl?
Curling can occur due to loose tension or inadequate blocking after finishing. Lightly blocking pieces before assembly can help shape them correctly. Ensure stitches are tight and even throughout your project for the best results.
What hook size should I use?
For your Cinnamon Roll Turtle crochet, a 3.5 mm (E) or 4.0 mm (G) crochet hook is ideal. This size helps achieve the recommended tension needed for the design. Be sure to adjust if necessary based on your own tensions.
Leave a Reply