
The moment I picked up the plush yarn to begin crafting my latest creation, Walida the Chubby Amigurumi Doll, I felt an immediate spark of inspiration. This delightful project not only fills your home with coziness but also serves as a perfect stash-buster, allowing you to use up those vibrant yarn scraps you’ve been hoarding. What truly sets this chubby baby doll crochet pattern apart is its beginner-friendly nature, making it ideal for those just embarking on their crochet journey yet challenging enough to keep seasoned crafters engaged. Each stitch brings out the doll’s whimsical charm, instantly lifting your spirits and adding a playful aesthetic to your collection. As you work through this pattern, the satisfaction of creating such an adorable piece will keep you hooked. Plus, crafting a unique gift for a loved one can turn any occasion into something special. And who wouldn’t want a cuddly companion or a charming decoration? So, are you ready to dive into this joyful crochet adventure and uncover the secrets to your own chubby doll creation?
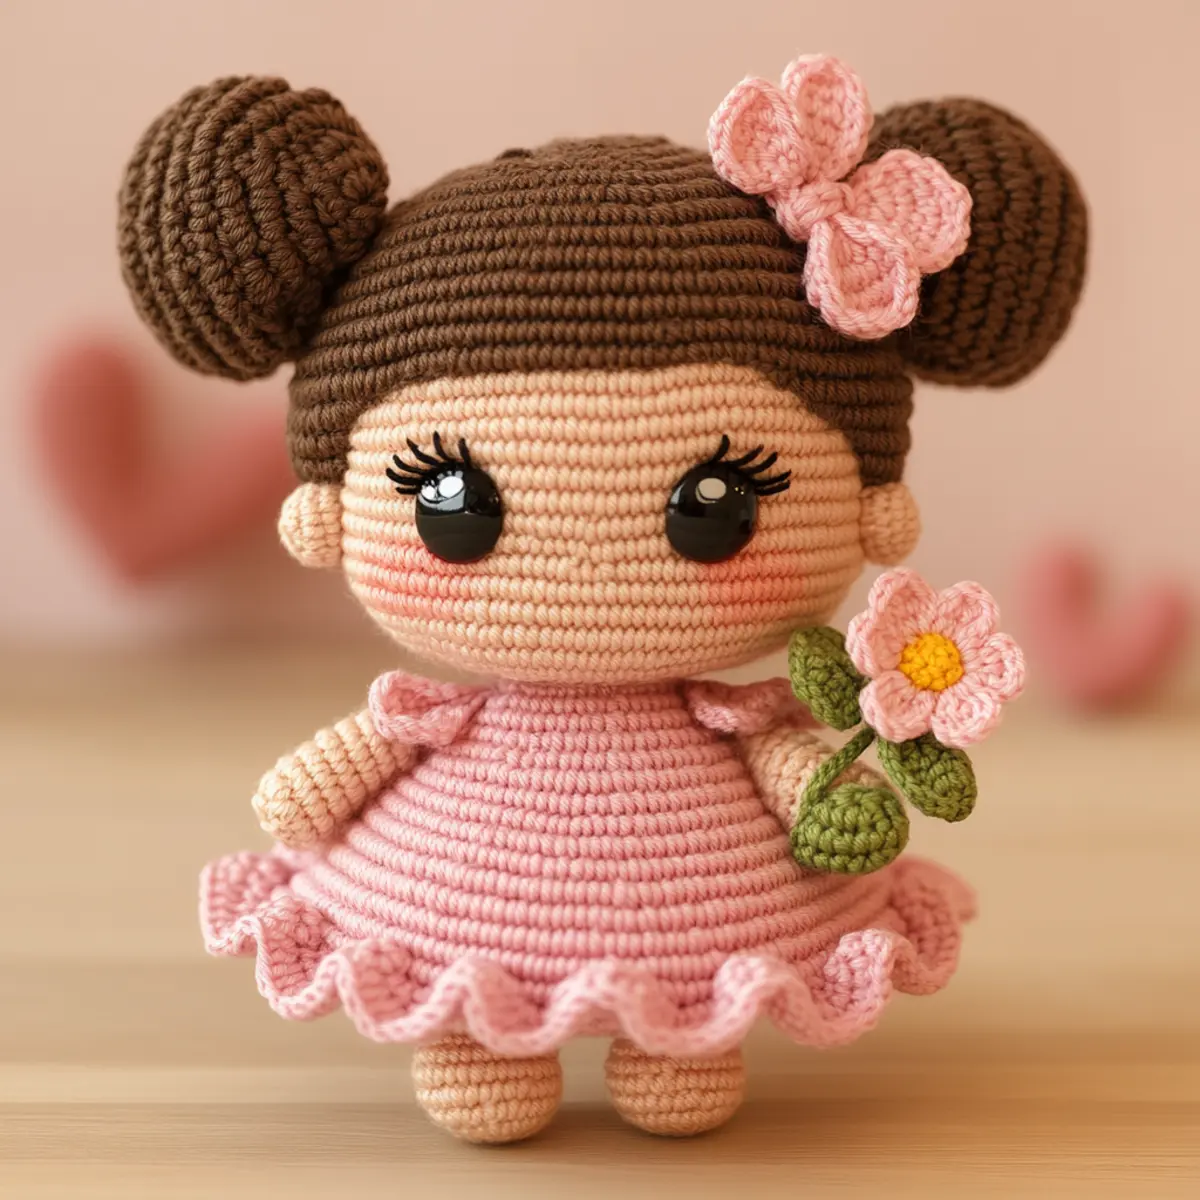
Chubby Baby Doll Crochet Materials & Tools
Yarn
Plush Chenille Yarn – Approx. 200-250 yards in various colors for the body, dress, and hair of your chubby baby doll crochet.
Medium or Bulky Yarn (4 or 5) – Ideal for achieving the soft and cuddly texture required for this doll.
Tools & Notions
4.0 mm (H/8 US) Crochet Hook – Perfect for working with the chenille yarn effectively.
Safety Eyes (14 mm) – These will add adorable charm while ensuring safety for children.
Polyester Stuffing – Essential for giving the doll a fluffy, huggable feel.
Yarn Needle – For sewing all parts together securely and neatly.
Safety Scissors – To trim yarn and finish threads cleanly.
Stitch Marker – Important for tracking rows, particularly while crafting the body and limbs.
Creating the chubby baby doll crochet project with the right materials and tools sets you up for a rewarding crafting experience!
Why You’ll Love This Pattern
Simplicity is at the heart of the Walida doll pattern, making it approachable for beginners and enjoyable for all skill levels. The textures created with plush chenille yarn give a wonderful tactile experience, enhancing its cuddly charm. This pattern is also incredibly stash-friendly, allowing you to explore various color combinations and utilize remnants of yarn from your collection. Plus, its customizability means you can make each doll a unique treasure that suits your style, perhaps even inspired by this cute customizable crochet project. When you take that next step to finish the doll, appreciation for your handmade creation will grow as you admire it upon completion. Lastly, this project is an excellent option for a time-saving experience, allowing you to whip up delightful gifts for special moments or just to brighten your space. The end result transports you to a world of warmth and charm, making the Walida doll a delightful addition to both your crafting repertoire and your home decor.
Gauge & Sizing Notes for Chubby Baby Doll Crochet
Checking your tension is essential when you embark on crafting the chubby baby doll crochet, as it will ensure your final product retains its delightful shape and size. A standard gauge measurement of 4×4 inches (10×10 cm) should yield approximately 14 stitches and 16 rows in single crochet when using the recommended medium-weight yarn. If you wish to resize your doll, you can adjust the starting chain or rounds; remember that increasing or decreasing the hook size or yarn weight can alter the overall dimensions. If your gauge swatch does not match, you can either switch to a smaller or larger hook size, adjusting the pattern as needed to achieve your desired outcome. Emphasizing accurate gauge allows for an ideal fit for this charming chubby baby doll crochet, making it perfect for little ones and collectors alike.
Step-by-Step Pattern for Chubby Baby Doll Crochet
Row 1: Start the Head Begin with a magic ring and work 6 sc into the ring. Pull the tail to close it tightly, ensuring no holes remain. (6)
Row 2: Increase Work 2 sc in each stitch around for a total of 12 stitches. This forms the base of the head. (12)
Row 3: Build Volume Continue with 1 sc in the first stitch, then inc in the next. Repeat around to increase your stitch count. (18)
Row 4: Keep Expanding 1 sc in the first 2 stitches, then inc in the next. Keep going until you reach 24 stitches total for a round face. (24)
Row 5: Shape the Head Work 1 sc in the first 3 stitches, then inc in the following stitch. Continue to do this around, leading to 30 stitches. (30)
Row 6-10: Straight Rounds For the next five rounds, just work even with 30 sc in each round to create the head’s height. (30 each round)
Row 11: Begin Decreasing Start shaping the head by working 1 sc in the first 3 stitches, then dec. Repeat this pattern to gradually close the head shape. (24)
Row 12: More Dec In this round, perform 1 sc in the first two stitches, then dec. Continue until there are 18 stitches. (18)
Row 13: Finalize Head Shape Work 1 sc in the first stitch, then dec. Complete this round until you’re left with 12 stitches and prepare to stuff. (12)
Row 14: Stuff and Close Fill the head with polyester stuffing firmly but not too tight. Work 6 dc to close the remaining stitches in front of you, closing the head. (6)
Row 15: Start the Body Shift to a new color yarn for the body. Attach it at the base of the head with a slip stitch. Work 1 sc in each stitch around, totaling 12 stitches to create a secure neckline. (12)
Row 16: Build the Body Increase again by working 2 sc in each stitch, giving a total of 24 stitches, maintaining a wide and cuddly form. (24)
Row 17-25: Body Rounds For the next nine rounds, keep adding 1 sc in each stitch to create the body’s bulk, finishing each round with the same stitch count. (24 each)
Row 26: Create the Legs At the appropriate point, switch to the legs, working downwards from the body. Each leg should have 12 sc worked across, following with rows to pull together the base. (12)
Row 27: Complete the Legs For shaping, alternate between adding and decreasing stitches until you shape the rounded foot for cuddly comfort. Complete and secure. (12)
All pieces will later be sewn together carefully for finishing touches, resulting in a charming chubby baby doll crochet project ready for cuddles and display.
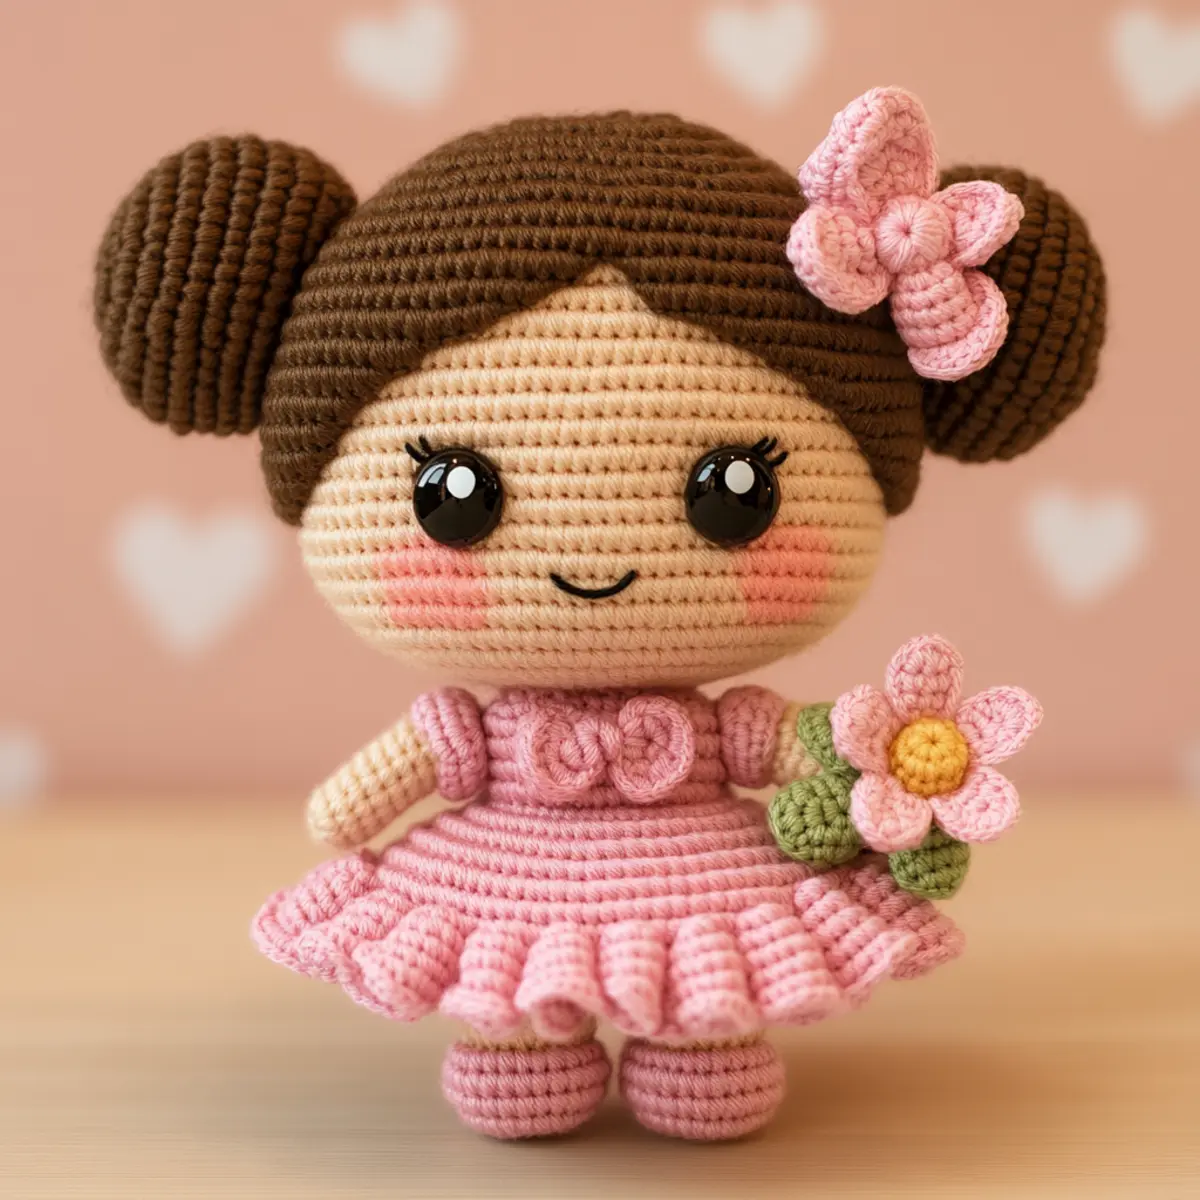
Chubby Baby Doll Crochet Variations
Explore fun ways to customize your Walida doll! This chubby baby doll crochet pattern offers plenty of opportunities to make it truly yours.
- Yarn Texture: Consider using cotton or bamboo yarn instead of chenille for a different feel and drape.
- Skin Tones: Create diversity with various yarn shades for skin tones, allowing for personalized representation.
- Custom Outfits: Dress your doll in seasonal outfits; a tiny winter coat or summer dress can bring new life to the same base doll.
- Accessory Fun: Add a bow, scarf, or even removable shoes to enhance the character. Consider cute details like buttons.
- Miniature Versions: Use lighter yarn and a smaller hook to create a pocket-size version of Walida, ideal for travel or gifts.
- Add Weight: Incorporate safety beads in the bottom for a weighted doll. This adds a soothing element, making it a great comfort toy.
- Hair Variations: Experiment with different hair styles such as pigtails or a bun. Furthermore, try various colors for a more whimsical look.
- Color-Blocked Body: Substitute blocks of colors in the body and limbs. This modern twist can make your doll more striking and deliberately playful.
These variations not only refresh the design but also provide endless crafting opportunities. Don’t forget to explore Simply Daisy Crochet for more ideas!
How to Wash and Care for Your Chubby Baby Doll Crochet
Hand Washing: Gently hand wash your doll in cold water using a mild detergent. Avoid rubbing to maintain the integrity of the stitchwork.
Drying: Always lay your chubby baby doll crochet flat to dry. Avoid hanging as it may distort its shape, especially with plush materials.
Storage: Store in a cool, dry place away from direct sunlight to prevent color fading and maintain the softness of the chenille yarn. Keep it away from damp areas to avoid mold.
Avoiding Agitation: If you choose to machine wash, set to a gentle cycle without agitation, as this could damage the delicate stitches and softness of the plush yarn.
Expert Tips for Chubby Baby Doll Crochet
Stitch Count Awareness: Keep a close eye on your stitch count to avoid losing track and ending up with a misshapen doll. Counting after each round ensures accuracy.
Magic Ring Practice: Master the magic ring technique before you dive into the project, as it sets the foundation for a secure head. Tightness can make a difference!
Stuffing Technique: Don’t over-stuff your doll! Aim for a balance between a full look and softness to ensure it remains cuddly without losing shape.
Staying Consistent: Maintain consistent tension throughout your project. Uneven tension can lead to a bumpy finish that detracts from the doll’s charm.
Utilize Row Markers: Employ a stitch marker for tracking your rows, especially when crafting the body and limbs; it helps keep your work uniform and neat.
Color Experimentation: Feel free to play with different yarn colors to personalize your chubby baby doll crochet. A change in hue can create a completely unique character!
Walida the Chubby Amigurumi Doll FAQs
Can I use different yarns for this project?
Absolutely! While plush chenille yarn is recommended for that soft texture, you can substitute with any medium-weight yarn. Just keep an eye on gauge changes.
How do I adjust the size of the doll?
To resize your chubby baby doll crochet, adjust your yarn weight or hook size. A larger hook and thicker yarn will lead to a bigger doll, while thinner yarn will yield a mini version.
What should I do if I drop a stitch?
Don’t panic! Simply identify the dropped stitch and carefully use a crochet hook to bring it back up to the current row. Secure it well to prevent future issues.
What hook size should I use?
A 4.0 mm (H/8 US) crochet hook is ideal for this pattern. Using a different size might affect the overall fit and look of your chubby doll.
Why does my doll curl at the edges?
Curling often occurs due to tension that’s too tight or if you’re using a hook that’s too small. Regular gauge checks can help you avoid this issue and ensure a smooth finish.
How can I personalize my doll?
Feel free to add accessories or customize the colors of the dress, hair, and facial features! Experimenting with embellishments will allow you to create unique, one-of-a-kind companions.
Leave a Reply