
As I sat by the window, the sun casting warm rays across my workspace, I couldn’t help but admire the simple elegance of crochet. One project that truly captures this charm is the daisy granny square. It’s a delightful blend of floral beauty and crafty nostalgia, perfect for both beginners and seasoned crafters. In this post, I’m excited to share not just one, but four unique techniques for creating this classic design, each introducing a charming 3D texture to your projects. Whether you’re looking for a quick stash-buster or a lovely piece for a cozy blanket, these daisy granny squares are bound to brighten up your yarn collection. Let’s explore how to bring these delightful patterns to life and fill our creations with a touch of nature!
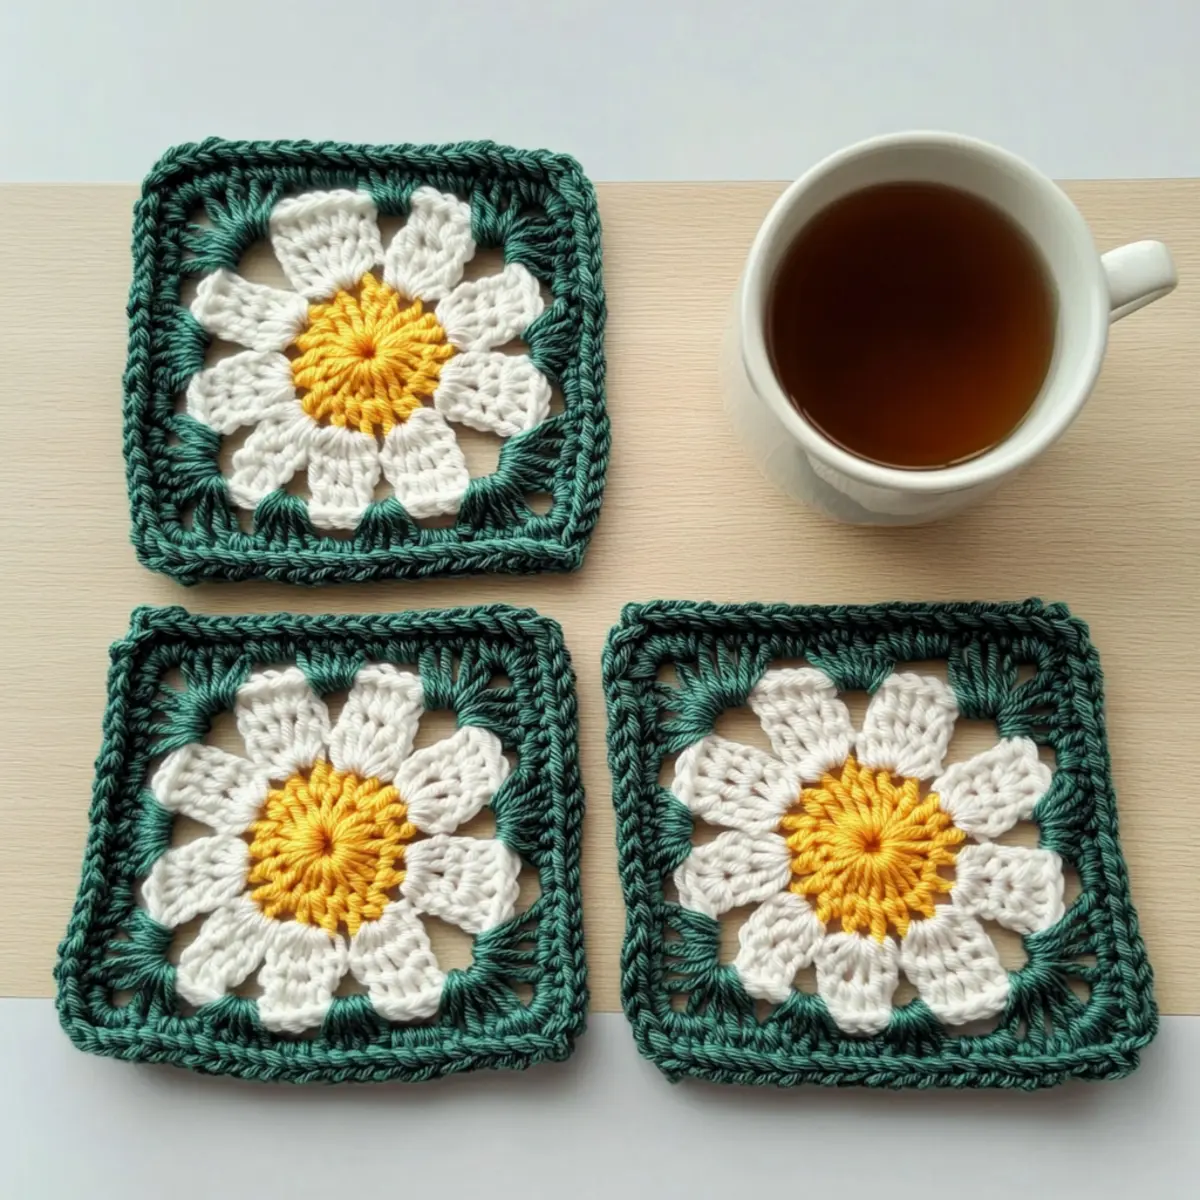
Daisy Granny Square Materials & Tools
Create your very own charming daisy granny squares with these essential supplies!
Yarn
• Medium Weight Yarn – Choose three colors that inspire you; about 50 grams of each should suffice for a few squares.
Hook Size
• 3.00 mm (D) Hook – This size works perfectly to maintain a neat tension in your stitches.
Tools & Notions
• Darning Needle – Essential for weaving in those pesky ends and securing your squares.
• Scissors – Keep a pair handy for easy yarn snipping as you create your floral masterpieces.
Embrace the joy of crochet and let your creativity bloom with these materials for your daisy granny squares!
Why Are Daisy Granny Squares So Special?
Versatility: These granny squares can easily be used in various projects, from blankets to bags, making them a practical choice for any crafter.
3D Floral Appeal: The unique techniques create that gorgeous three-dimensional look, adding a delightful touch to your creations.
Beginner-Friendly: With simple stitch variations, these patterns are perfect even if you’re just starting your crochet journey.
Quick & Fun: Each square can be completed in no time, making them ideal for quick gifts or satisfying crochet sessions.
Customization: You can mix and match colors and techniques to create a design that reflects your personal style. For more tips on experimenting, check out our post on crochet color combinations.
Crafting these daisy granny squares promises to be a joyful experience filled with creativity!
Gauge & Sizing Notes
Don’t skip the gauge swatch! It’s essential to check your tension for the Charming Daisy Granny Squares to ensure your final project turns out as beautifully as you envision. For this pattern, a standard gauge measurement is a 4×4 inch (10×10 cm) square that equals 10 double crochets by 10 rows. If you wish to adjust the size of your granny squares, simply increase your starting chain in multiples of 3 for each additional petal, or add additional rounds for a larger square. If your swatch ends up too small, don’t worry—just go up a hook size!
Step‑by‑Step Pattern for Charming Daisy Granny Squares
Row 1: Daisy Center
Begin by creating a magic loop. Ch 3 (this counts as your first dc), then work 11 dc into the loop. Once finished, pull the tail to tighten the loop. Sl st in the top of the first ch 3 to close the round. Your work should form a small circle filled with 12 stitches, a cozy start for your daisy granny square.
Row 2: Adding Daisy Petals – Bobble Stitch
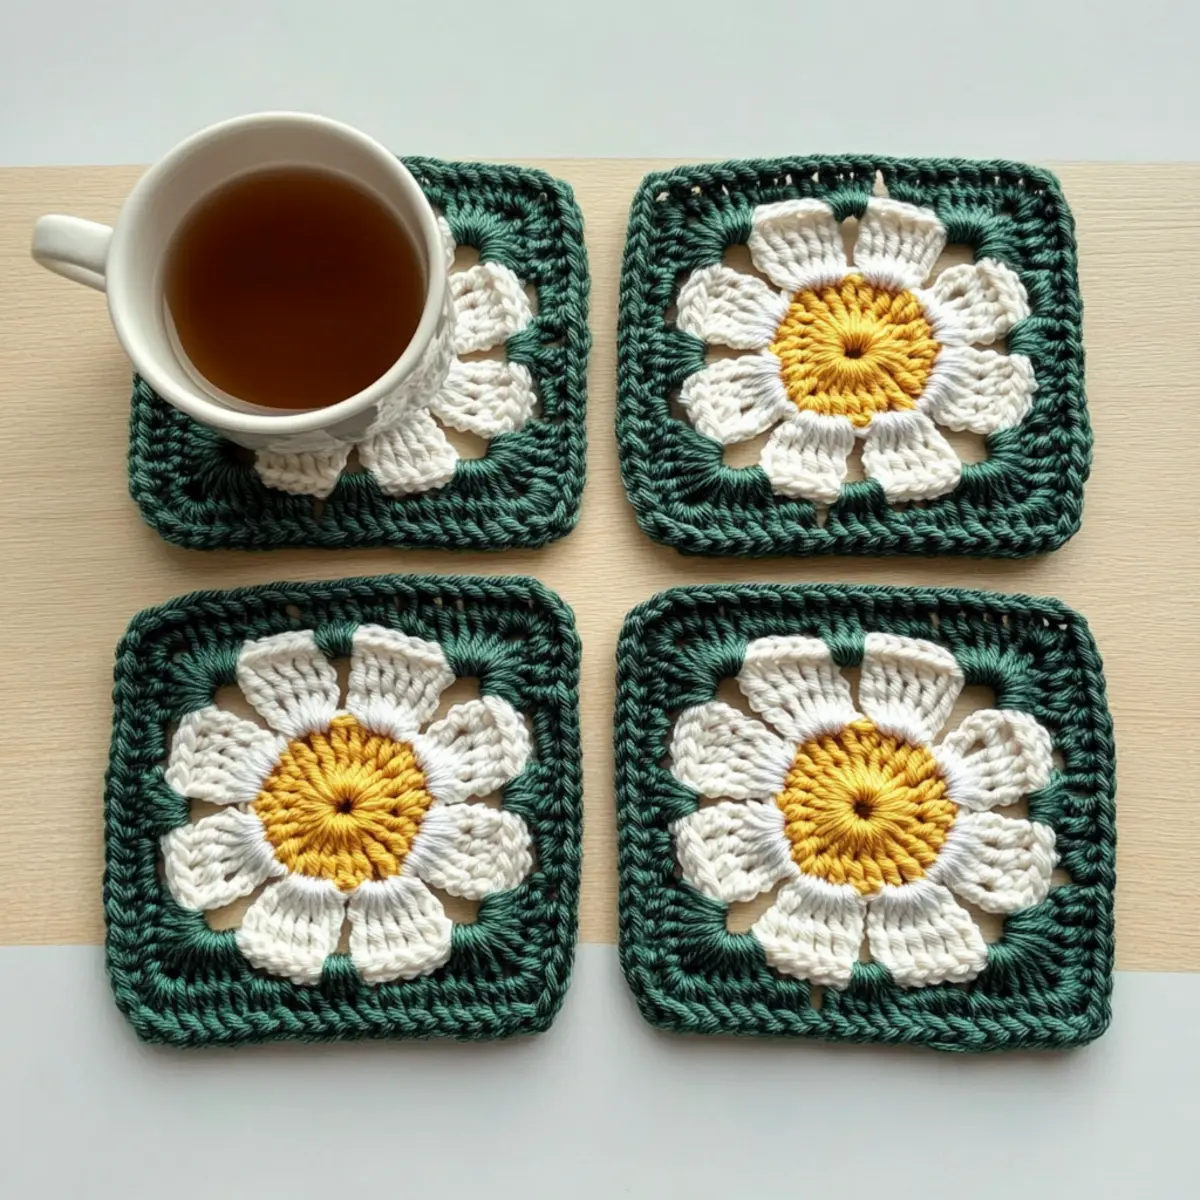
Join a new yarn color by making a ch 3 as a standing incomplete tr in any st. In the same st, make 3 incomplete tr, then pull through all loops on the hook to form the bobble. Sl st to the top of the first bobble, and repeat in each st around. Your work should have delightful, textured bobble petals, creating a charming flower effect (12 bobble petals).
Row 3: Adding Daisy Petals – Popcorn Stitch
Start by joining a new yarn color with a ch 4 as a standing tr in any st. Create 3 tr in the same st, then join back to the first tr with a sl st. Repeat this in each st around. Your work will now feature lovely popcorn petals, giving your daisy granny square a vibrant 3D appearance (12 popcorn petals).
Row 4: Granny Square Background – Basic Technique
To form the granny square background, join a new color yarn. In a ch-sp, work 3 dc. Continue working 3 dc in each corner ch-sp, and make 1 dc in each side’s st. Repeat this sequence for all four sides, finishing with a sl st in the top of the first dc. Your work should expand into a square shape, setting a perfect backdrop for the daisy motif (12 dc per side).
Row 5: Granny Square Background – Solid Technique
Change to a new color yarn, starting in a corner with 3 dc clusters in each ch-sp. Work each side by creating 2 dc in each st along the sides. Make sure to add 3 dc in each corner ch-sp to maintain the structure. Keep your stitches tight; the result should be a solid granny square background that beautifully frames your daisy (12 dc clusters per side).
Step 6: Finishing Up
To complete your charming daisy granny square, weave in all ends securely using a darning needle. Make sure each petal and edge maintains its shape; your work should reveal a delightful blend of textures and colors. Stand back and admire your beautiful creation, ready to be showcased in a project or gifted to a loved one!
Expert Tips for Daisy Granny Squares
-
Maintain Tension: Ensure consistent tension for even squares; practice before starting your main project to achieve a uniform look.
-
Count Stitches: Regularly count your stitches, especially when creating petals, to avoid losing your place and maintain the square shape.
-
Use Stitch Markers: Place a stitch marker at the beginning of each round to keep track of where your round starts, keeping your crochet neat and organized.
-
Secure Joining: When joining colors, ensure all ends are woven in securely to avoid unraveling; a darning needle helps achieve a tidy finish.
-
Practice Petal Stitches: Try both bobble and popcorn stitches separately before tackling the full square; this will build your confidence and improve your technique.
Embrace these tips to create beautiful daisy granny squares that showcase your unique craftsmanship!
Daisy Granny Square Variations and Substitutions
Get inspired to personalize your daisy granny squares and make them your own!
-
Yarn Weight Swaps:
Choose a lighter or heavier yarn to adjust the final size and drape. This simple change can create a different vibe in your project. -
Fiber Alternatives:
Switch cotton for soft acrylic for a cozy feel or use luxurious wool for warmth. Each fiber delivers a unique texture and appearance. -
Color-Blocking Ideas:
Experiment with contrasting colors for different layers, alternating between daisy and background shades. This technique adds a vibrant, modern touch to your squares. -
Additional Petals:
Craft more petals for a fuller daisy, creating a lush, garden-like effect. This simple modification enhances the 3D texture, making your squares pop. -
Add a Pom-Pom:
Attach a colorful pom-pom to the center of your daisy for an extra element of fun. This playful addition brings a whimsical charm. -
Fringe Technique:
Consider adding fringe to the edges of your granny squares for a boho style. This can infuse movement and added personality into your work. -
Border Styles:
Finish with a playful or elegant border to frame your square beautifully. Give your project a polished look that ties everything together seamlessly. -
Sizing Adjustments:
Modify the number of rounds to create larger or smaller squares. Adjusting size can open up a world of design possibilities for your next cozy project!
Have fun exploring these variations, and don’t forget to check out our guide on customizing crochet patterns for more creative ideas!
How to Wash and Care for Your Daisy Granny Squares
-
Machine Washing: Wash in cold water on a gentle cycle to preserve the integrity of your daisy granny squares and prevent any pilling or felting of the fibers.
-
Hand Washing: For a more delicate touch, hand wash with mild detergent in cool water; gently agitate without twisting to maintain those lovely 3D textures.
-
Drying/Blocking: Lay flat to dry on a clean, dry towel to help reshape and maintain the beautiful design of your daisy granny squares; avoid hanging to prevent stretching.
-
Storage: Store your finished pieces in a cool, dry place away from direct sunlight to prevent colors from fading and fibers from wearing out, ensuring they remain vibrant and lovely!
Charming Daisy Granny Squares: Frequently Asked Questions
Can I substitute yarn types for this project?
Absolutely! You can swap out the yarn type; just remember to pick a medium-weight yarn to maintain the look and feel of your daisy granny squares. If you prefer cotton over acrylic, that’s a fantastic choice too! Just keep an eye on your gauge to ensure your squares come out the right size.
How can I adjust the size of my granny squares?
Don’t panic! You can easily customize the size by adding or removing rounds of stitches. If you want larger squares, simply continue to add rounds evenly. When removing rounds, just make sure to keep the same stitch count in your corners to maintain that charming shape!
Why is my work curling up at the edges?
If your squares are curling like a bowl, it’s often due to tight tension or not enough stitches along the edge. Try loosening your tension, or ensure you’re working the correct number of stitches in each corner. Adding more stitches will help flatten your work out beautifully!
What hook size do I need for this pattern?
For the charming daisy granny squares, a 3.00 mm (US size D) hook works best. This size gives the right balance between creating a sturdy square and allowing those lovely petals to shine! If you’re unsure, check your gauge before fully diving into your project.
How do I fix dropped stitches in my granny squares?
It happens to the best of us! Don’t worry; it’s an easy fix. Use a darning needle to weave the yarn tail back through the dropped stitches, carefully reworking them into place. Just ensure you are consistent with your tension to keep your project looking fabulous!
What should I do if my stitches are uneven?
It could be a sign that your tension varies across your work. Taking time to practice tension before starting your squares can help! If you find uneven spots, try gently blocking your finished squares by laying them flat and squaring them up. This will help even out your stitches and give your squares a polished finish!
Leave a Reply