
In the world of crochet, few things bring more joy than creating an heirloom piece that carries the warmth of memories and love. The “Charlotte Dress” embodies this sentiment beautifully. With its dazzling ombré effect crafted from delightful shades of purple, this baby dress is perfect for those cherished special occasions, whether it’s a birthday celebration or family photos. Not only does it work up quickly for advanced beginners to intermediates, but this pattern also includes adorable matching accessories—a charming bucket hat and a beaded necklace—that complete the look perfectly. Each stitch will transport you to a world of cozy creativity, and I can’t wait for you to start on this enchanting journey with me. Ready to dive into stitches and create something unforgettable?
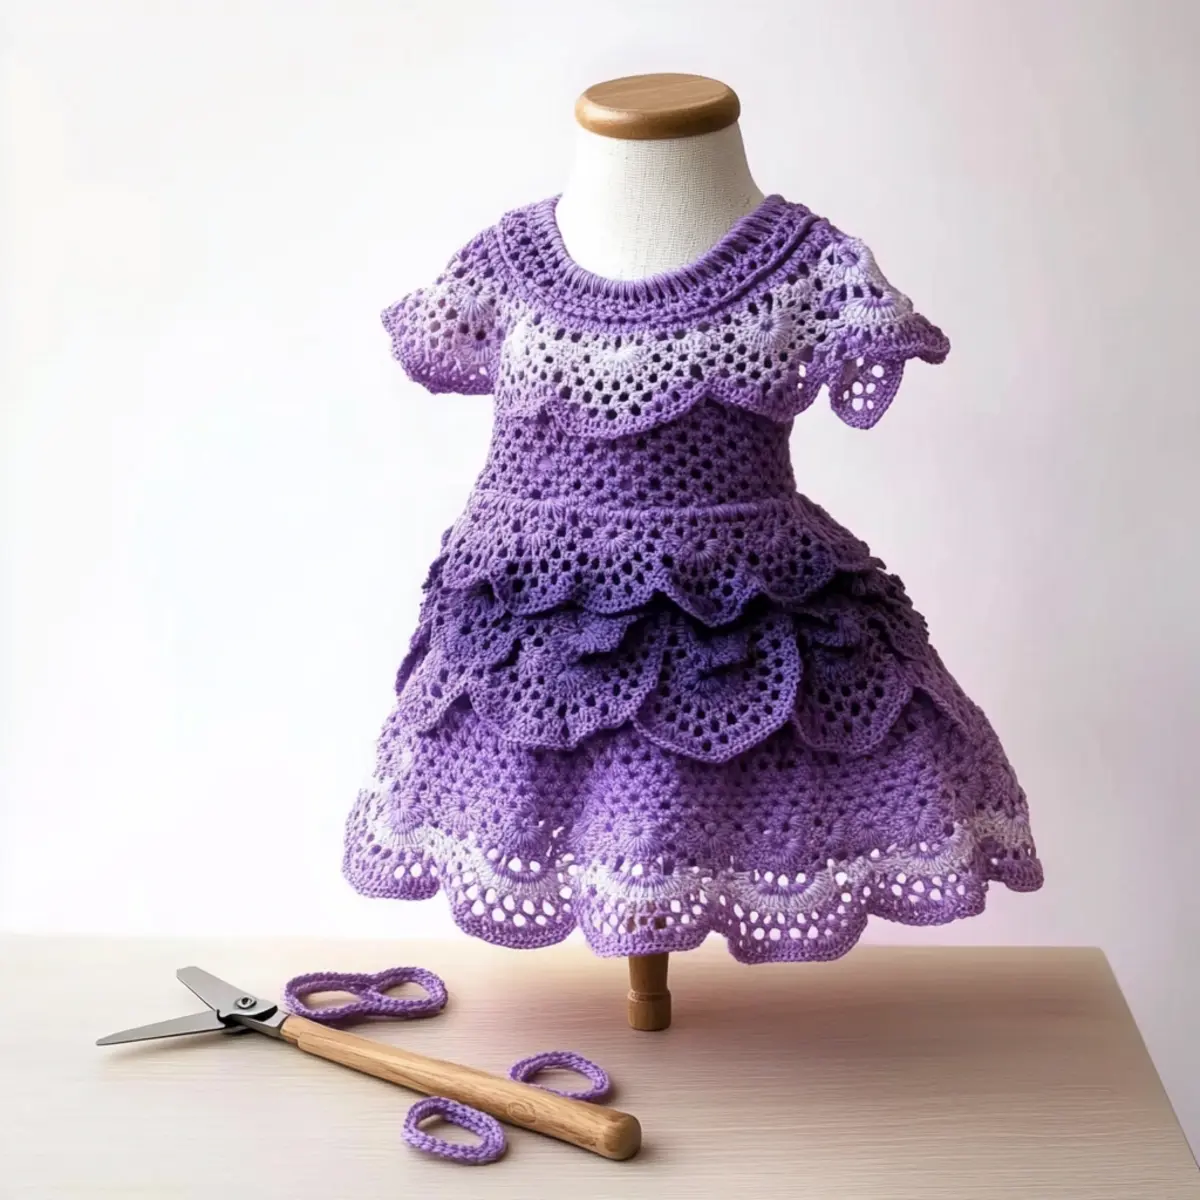
Charlotte Dress Materials & Tools
Get ready to create a stunning piece with the elegant Charlotte Dress!
Yarn
- DK Weight Yarn – Look for 100% acrylic or merino blend for a soft and machine-washable finish.
- Lion Brand Pound of Love – Pastel Lavender, Lilac, Purple are perfect for achieving the ombré effect.
- Paintbox Yarns Simply DK – Dusty Lilac, Wisteria Purple, Pansy Purple work beautifully together for a charming look.
- We Are Knitters The Petite Wool – Lilac, Lavender, and Eggplant create a rich, harmonious color palette.
Tools & Notions
- E-4 (3.5 mm) Hook – Use this size for the bodice to ensure a snug fit.
- F-5 (3.75 mm) Hook – Perfect for the lace skirt to create delicate stitches.
- Stitch Markers – Keep track of your rounds for flawless shaping and design.
- Tapestry Needle – Essential for weaving in ends and sewing pieces together.
- Buttons – Choose decorative buttons for the button band on the back.
- Craft Cord – Use for the necklace to add a special decorative touch.
- Beads – Adorn the necklace with beads for an extra sparkle.
- Satin Ribbon – Perfect for threading through the waist channel to give a lovely finish.
What Makes the Charlotte Dress Special?
Heirloom Quality: The Charlotte Dress is designed to be treasured, combining modern crochet techniques with timeless beauty.
Stunning Ombré Effect: Enjoy creating a breathtaking ombré design with varying shades of purple that evoke joy and charm in every stitch.
Accessory Perfection: This pattern isn’t just about the dress; it comes with a matching bucket hat and necklace that elevate the ensemble, perfect for any special occasion.
Beginner Friendly: Tailored for advanced beginners to intermediates, you’ll find that the straightforward instructions and tips make your crafting experience enjoyable and rewarding.
Light & Airy Texture: The beautiful lace tiers provide an elegant finish that is both whimsical and sophisticated, ensuring your little one looks adorable in it.
Optimize your crochet skills with this versatile pattern and dive into the world of heirloom crochet as you create something truly special!
Gauge & Sizing Notes
Don’t skip the gauge swatch! Properly checking your tension is crucial for ensuring the “Charlotte Dress” fits beautifully. Aim for a gauge of 20 single crochets by 24 rows in a 4×4 inch (10×10 cm) square, blocked. If you want to make the dress larger or smaller, you can adjust your starting chain in multiples of 12 for the bodice and add or subtract rows in the skirt tiers accordingly. If your tension swatch measures too small, try going up a hook size. Remember, achieving the right crochet gauge means your heirloom piece will look as perfect as you imagined!
Step‑by‑Step Pattern for Charlotte Dress
Row 1: Bodice Foundation
Start by chaining 50 (or desired width for the bodice). Work in the back loops only for the first row by making 1 hdc in the second ch from the hook, then hdc across to the end of the row (49 sts). Your work should have a slight ribbing effect.
Row 2: Shaping the Bodice
Ch 1, turn your work. In this row, you’ll create the neckline; hdc in the first 20 sts, ch 10 to form the opening, and then hdc in the last 29 sts (49 sts). Adjust to ensure the neck opening sits comfortably for your little one.
Row 3: Continue Bodice Shaping
Ch 1, turn and hdc in the first 21 sts, then dec by hdc in the next two sts, continue with hdc to end (48 sts). Your bodice will start to take shape, curving nicely for a snug fit.
Row 4: Complete Bodice
Ch 1, turn your work. Hdc across for the entire row (48 sts). This will solidify the bodice structure, giving you a firm foundation to attach the skirt later.
Row 5: Preparing for Skirt
Now, change to the skirt color A. Ch 3 (counts as dc), then dc in the same st, inc 1 dc in each st across (96 sts). This will form the first tier of your skirt, making your work flare beautifully.
Round 1: Skirt Tier 1
Ch 1, join color A to the bodice. Work in rounds: 2 dc in each st from the previous row (192 sts). This ruffled effect gives the skirt a lovely volume. Your skirt should be billowing out elegantly at this point.
Round 2: Transition to Lace
Ch 3, skip 2 dc, (dc, ch 2, dc) in the next st to form a fan, repeat around. Join with a sl st to close the round (rocking cute lacework should already be visible!). The lace will create beautiful texture in the skirt.
Round 3: Continue Lace Pattern
Ch 3, in the next ch-2 space, work (dc, ch 2, dc), repeat all around. Sl st to join (96 fan sections). Your lace pattern should begin to create the delicate tiered effect essential to the Charlotte Dress.
Round 4: Skirt Color Change
Change to color B, repeat the previous round for one more lace tier (96 sts). After this round, your skirt will have a lovely ombré effect beginning to show with the transition of colors.
Round 5: Final Skirt Station
Repeat the lace stitch pattern using color C for the last tier (96 sts). Lace tiers will stack up beautifully, forming a delightful scalloped edge that adds to the dress’s charm.
Step 1: Add Neckline Buttons
To finish off your Charlotte Dress, work a button band along the back edge of the bodice. Ch 1, sc evenly spaced for about 4 inches to hold buttons securely at the neck (counting for 4 buttonhole openings).
Step 2: Block and Finish
Gently block your dress to help maintain the lace’s shape and the bodice’s fit. Lay flat to dry, making sure all pieces align nicely, and enjoy your finished heirloom-quality Charlotte Dress!
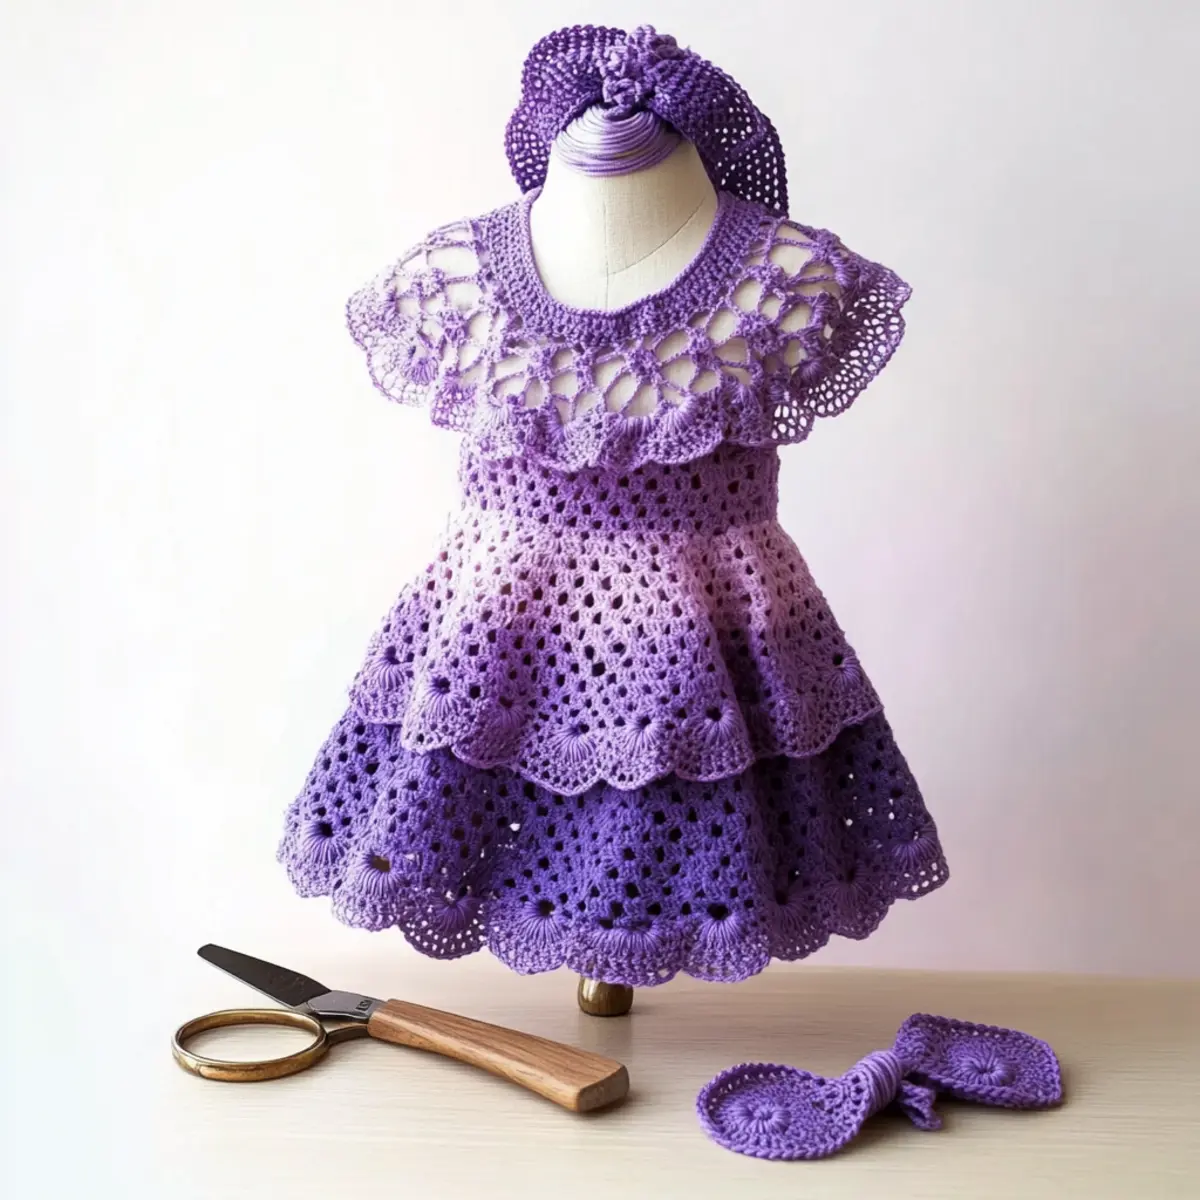
Variations & Substitutions for the Charlotte Dress
Feel free to explore creative options to make your “Charlotte Dress” uniquely yours, adding personal touches that make it even more special!
-
Yarn Substitutions:
Swap out the suggested yarn for a cotton blend for summer wear, perfect for warmer occasions. -
Length Adjustments:
Modify the skirt tiers by adding or removing rows to create a longer or shorter hem, suiting your little one’s needs. -
Color Experimentation:
Combine unexpected hues for the ombré effect, like cheerful pinks or serene blues, to match any celebration’s theme. -
Fiber Alternatives:
Consider bamboo yarn for a soft feel that’s breathable, making the dress comfortable for sensitive skin. -
Textured Details:
Add a fringe or pom-pom to the hat for a playful twist, transforming the look with just a few extra stitches. -
Sizing Changes:
Make adjustments to the bodice for a looser fit by increasing the number of starting foundation chains, giving more room to grow. -
Embellished Accessories:
Jazz up the beaded necklace with pastel beads that shine brightly under sunlight, adding extra sparkle to the ensemble. -
Layering Options:
Create a matching cardigan or long-sleeve top using the same lace pattern, providing elegance for cooler days.
By trying out these variations, you can create a stunning heirloom piece that will surely be cherished for years to come!
Expert Tips for the Charlotte Dress
• Gauge Matters: Ensure to crochet a gauge swatch for the bodice. Proper tension is crucial for achieving the right fit in this heirloom dress.
• Count Consistently: Always count your stitches at the end of each round. This helps maintain the shape and prevents any missed stitches during construction.
• Track Your Lace: For the pineapple fan lace stitch, keep a tally of your fan counts. A simple tally mark can save you from unraveling work later on!
• Perfecting the Finish: Don’t skip blocking the finished dress. This technique enhances the airy texture of the lace and helps the dress hold its beautiful shape.
• Secure those Straps: When attaching the button band at the back, ensure it’s securely sewn. A snug fit keeps little ones comfortable and stylish throughout the day.
How to Wash and Care for Your Charlotte Dress
Machine Washing: Use a gentle cycle with cold water and a mild detergent to keep the Charlotte Dress looking its best. Avoid harsh agitation that could damage the lace details.
Hand Washing: For extra care, consider hand washing in cold water. Gently squeeze (do not wring) the dress to remove dirt and keep its fabric integrity intact.
Drying: Lay the dress flat on a clean towel to dry, reshaping it as needed. Avoid direct sunlight to prevent the beautiful ombré colors from fading.
Storage: Store the dress in a cool, dry place away from direct heat or sunlight. Folding it gently or using a breathable garment bag will help maintain its heirloom quality.
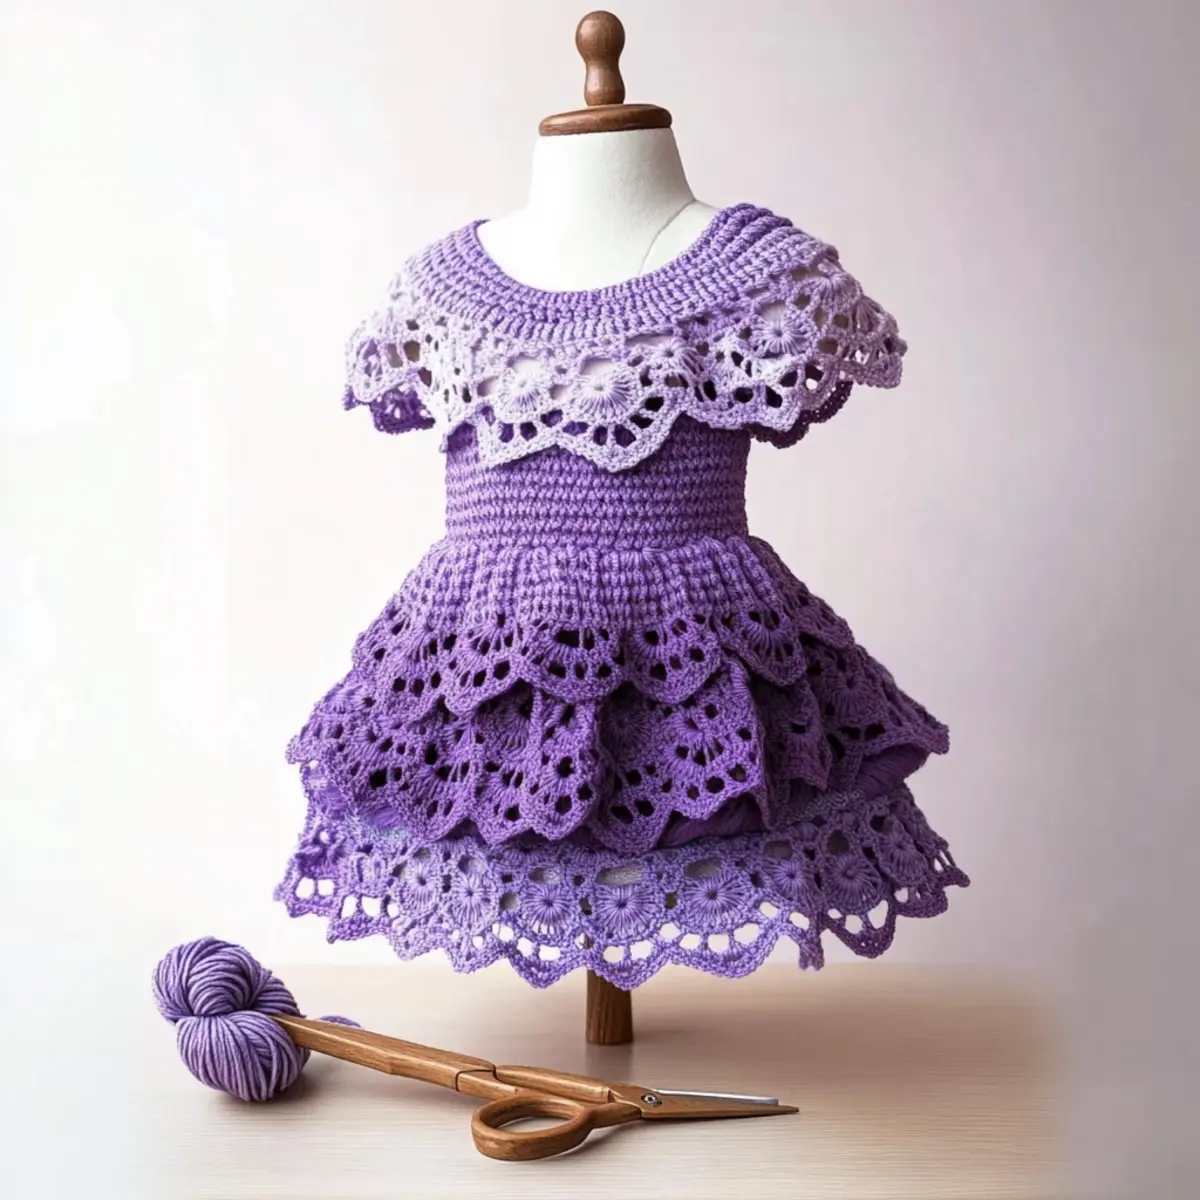
Charlotte Dress FAQs
Can I use a different type of yarn for the Charlotte Dress?
Absolutely! While the pattern suggests a DK weight acrylic or merino blend, you can experiment with cotton or bamboo yarn. Just keep in mind that this may alter the dress’s drape; for instance, cotton will have less give compared to acrylic. Always remember to check your gauge!
How can I make the Charlotte Dress larger or smaller?
To adjust the size, you can do a couple of things. For a larger dress, adding more rows to the bodice and skirt can help. Measure frequently and add stitches in multiples of your lace pattern. If you’re making it smaller, consider reducing the number of tiers in the skirt while ensuring you keep the lace stitch consistent.
Why is my lacework curling at the edges?
Don’t panic! Curling in lacework is common, and it usually happens if your tension is a bit too tight. Make sure to block your finished piece; this process will help flatten those edges beautifully. If it continues to curl even after blocking, try swapping to a larger hook size for your lace sections.
What hook sizes should I use for the Charlotte Dress?
For the bodice, you should use an E-4 (3.5 mm) hook, and for the lace skirt, switch to an F-5 (3.75 mm) hook. This subtle difference in size is crucial for achieving the structured bodice and airy lace tiers that define the dress’s charm.
How do I fix a dropped stitch while crocheting?
It’s an easy fix! If you notice a dropped stitch, carefully pull the yarn back to where the mistake happened. Use a tapestry needle to weave the yarn back through the surrounding stitches, making sure to follow the stitch path. This will help close up any gaps without compromising the integrity of your work.
What if my gauge doesn’t match the pattern?
If your gauge is off, don’t worry! I recommend adjusting your hook size accordingly—if your stitches are larger than the pattern, use a smaller hook, and if they’re smaller, go for a larger one. It’s always a good idea to make a swatch before diving into your project, as this will help ensure your finished Charlotte Dress fits beautifully!
Leave a Reply