
In the midst of a bustling baby shower prep, I found myself in a delightful mini crisis—what last-minute gift could add that personal touch and charm? Enter Bella the Bunny, my go-to crochet amigurumi pattern! Perfect for beginners, this quick project transforms soft yarn into an adorable teething toy that new parents will cherish. With its snuggly texture and easy-to-follow instructions, you’ll whip up this lovable companion in no time. Best of all, it works beautifully as part of a larger crochet set—think matching booties and a cute hoodie! So grab your hook and let’s dive into this delightful project that combines warmth with creativity. You won’t want to miss making Bella a part of your crochet journey!
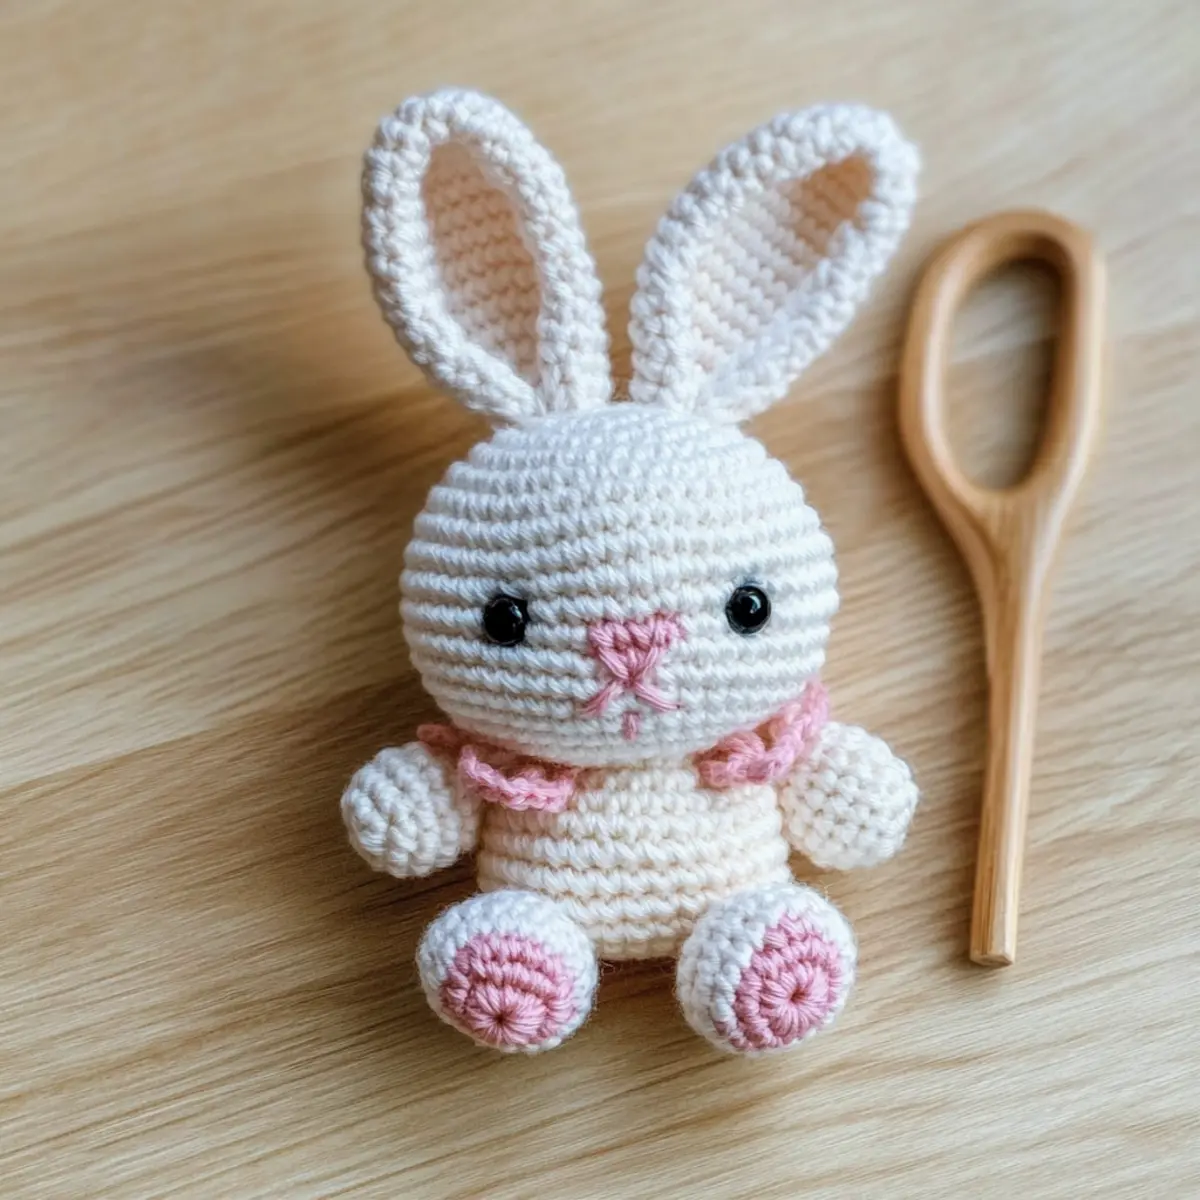
Bella the Bunny Materials & Tools
Create your very own Bella the Bunny with these beginner-friendly materials!
Yarn
• Weight 3 / Light Worsted / DK Yarn – You’ll need approximately 150m / 164 yds for a squishy bunny that’s perfect for little hands.
Hook
• 4.0mm (G) Crochet Hook – This size is just right for achieving a tight weave, ensuring safety and durability for baby use.
Notions
• Stitch Markers – Essential for keeping track of your rounds and ensuring your bunny’s shape stays on point.
• Tapestry Needle – Perfect for weaving in those pesky ends and stitching up your amigurumi.
• Safety Eyes – Opt for safety eyes or choose to embroider for a baby-friendly option.
• Polyester Stuffing – Use this to give Bella her adorable, soft shape without overstuffing, which could distort her look.
With these materials, you’re well on your way to crafting a delightful Bella the Bunny, an adorable addition to any baby gift collection!
Why Is Bella the Bunny a Must-Make?
Quick to Create: This pattern is not only beginner-friendly but also designed for efficiency, allowing you to create Bella in just a few hours—perfect for those last-minute gifts!
Adorable Gift: Bella makes a charming teething toy or keepsake for newborns, combining aesthetics and practicality in one lovely creation.
Soft & Safe: Crafted from soft, baby-safe yarn, this amigurumi is perfect for little hands to hold and snuggle.
Fun Customizations: Feel free to personalize your bunny with different yarn colors or playful collar designs to reflect your style.
Part of a Set: Bella fits beautifully alongside other projects like a cozy blanket or stylish booties, allowing for a cohesive gift set that new parents will adore.
Explore your creativity today, and don’t forget to check out our advanced tips for crocheting to make your project even more delightful!
Gauge & Sizing Notes
Don’t skip the gauge swatch! Ensuring you have the correct tension is essential for creating your Bella the Bunny amigurumi with the right fit and finish. The standard gauge measurement for this project is 4 inches (10 cm) = 22 stitches and 24 rows in single crochet. If you find that your swatch is too small, it’s a good idea to go up a hook size to achieve a larger tension. To make your bunny slightly bigger or smaller, adjust your starting chain or rounds in multiples of 4. Remember, a well-measured project leads to more enjoyable crafting, so take that extra step with your gauge!
Step‑by‑Step Pattern for Quick and Easy Crochet Amigurumi Pattern: Bella the Bunny
Round 1: Create the Head
Start by making a magic circle and ch 1. In your magic circle, work 6 sc (6 sts), pulling the circle tight. Use a stitch marker to mark the beginning of the round. Your work should be a small, tight spiral shape.
Round 2: Increase for Roundness
In this round, place 2 sc in each stitch around (12 sts). As you work, your circle will begin to expand and take on a rounded shape. Remember to keep the tension firm but not too tight, allowing the stitches to lay flat.
Round 3: More Increases for a Bigger Head
For round 3, work 1 sc in the next stitch, then inc in the following stitch around (18 sts). You should notice your head becoming even more rounded and beginning to take form. Keep the tension consistent for a beautiful finish.
Round 4: Continue to Expand
Now, work 1 sc in the next 2 stitches, then inc around (24 sts). At this point, your Bella the Bunny head will feel more substantial, with the stitches clearly defining its shape. This round sets the stage for the bunny’s adorable features!
Round 5-8: Build the Height
For rounds 5-8, simply work 1 sc in each stitch around (24 sts each round). After completing round 8, your head should look well-formed and have a height that makes it perfectly cuddly. Keep your stitches neat and even.
Round 9: Start Decreasing
Begin to decrease for the bunny’s head with 1 sc in the next 2 stitches, then inv sc dec around (18 sts). This round starts to taper the shape, giving it a softer look. Your work should feel satisfying and snug in your hands.
Round 10: Continue to Shape the Head
Work 1 sc in the next stitch, then inv sc dec around (12 sts). As you decrease, the head’s shape will tighten further, wrapping around the stuffing you’ll add later. You should see that your silhouette is coming together nicely.
Round 11: Finishing Up the Head
Stuff the head firmly but not too tightly, ensuring it keeps its shape. Then, finish with inv sc dec around to close up (6 sts). Securely weave in the end, and your head for Bella the Bunny is complete, looking adorable and ready for features.
Step 1: Making the Ears
For each ear, start with a magic circle and ch 1. Work 6 sc in the circle, then inc in each stitch around (12 sts). The ears should be slightly narrower than the head, providing that perfect bunny pop!
Step 2: Shape the Ears
In the next round, work 1 sc in the next stitch, then inc around (18 sts). The ears should start to elongate, giving them that characteristically adorable shape. This round progresses the construction to make them stand nicely.
Step 3: Finishing Ears
Continue on to round 3 by working sc in each stitch (18 sts) for 3 more rounds. After your final round, leave a long tail to sew the ears onto the head. Remember to keep the stitches tight for a sturdy ear structure.
Step 4: Ruffled Collar
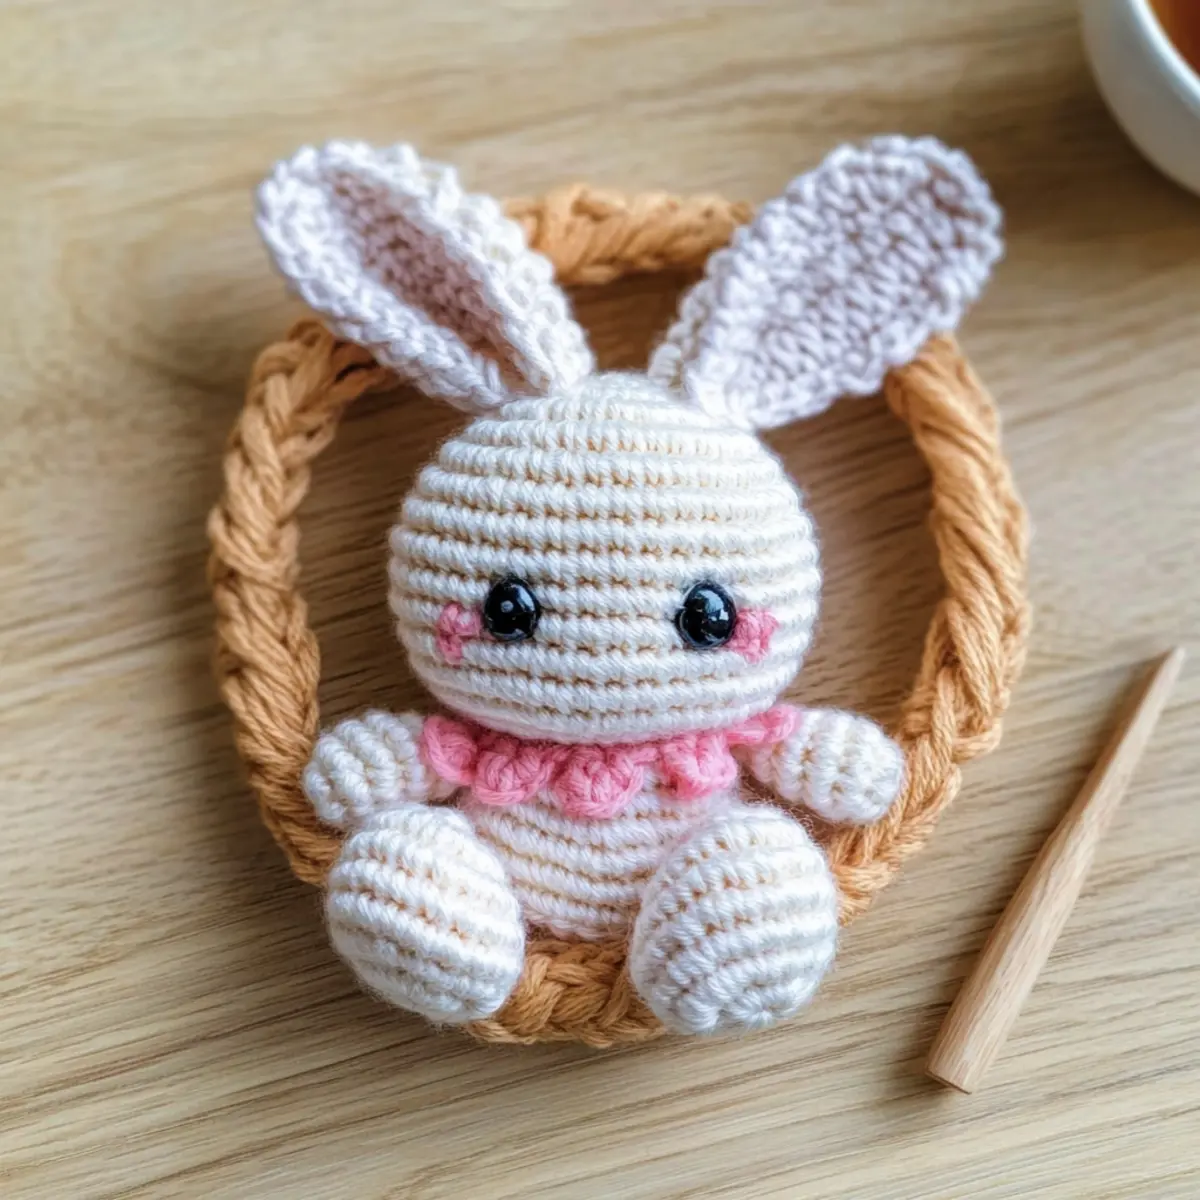
For the ruffled collar, ch 60 and turn. Work 3 dc in the 3rd ch from the hook, then sk 2 ch, 3 dc in the next ch until the end. Your ruffled collar will have that pretty frill and wrap perfectly around the teething ring.
Step 5: Assembly
Sew the ears onto the head securely, placing them evenly on top. Attach the ruffled collar around the neck, ensuring an even fit. Embroider the eyes and nose with care; practice those cute features will truly bring Bella the Bunny to life!
Expert Tips for Bella the Bunny
-
Track Your Stitches: Always use a stitch marker to keep track of the beginning of your rounds. Losing count can lead to uneven shaping in your bunny!
-
Check Your Tension: Aim for consistent tension while crocheting, as this affects the overall appearance and softness of your amigurumi. A loose fabric may sag, while a tight one can distort the design.
-
Avoid Stuffing Mishaps: Ensure you firmly stuff the head to maintain its shape, but don’t overstuff; this could misalign the features and affect Bella’s cute look.
-
Practice Facial Features: Embroidering the eyes and nose can be tricky. Practice on a scrap piece first to master your technique for a delightful expression on your bunny.
-
Seamless Assembly: When sewing on the ears, make sure to position them evenly and securely for a balanced finish. This will enhance the overall charm of your finished Bella the Bunny!
Dive into this beginner-friendly project and enjoy the cozy journey of making Bella a cherished companion!
How to Wash and Care for Your Bella the Bunny
-
Hand Washing: Always hand wash Bella in cold water using a gentle detergent to preserve her softness and structure. Avoid heavy scrubbing to maintain the integrity of the stitches.
-
Drying: Lay Bella flat to dry in a shaded area. Avoid hanging or wringing to prevent distortion, ensuring she stays cute and cuddly.
-
Storage: Store your Bella the Bunny in a cool, dry place, away from direct sunlight, to keep her colors vibrant and avoid any potential shrinking or fading.
-
Spot Cleaning: For minor stains, use a damp cloth and mild soap to spot clean Bella. This keeps her looking fresh without the need for a full wash.
Bella the Bunny Variations & Substitutions
Explore the delightful ways to customize your Bella the Bunny pattern and make it uniquely yours!
-
Yarn Color Swaps: Experiment with vibrant or pastel shades for a themed bunny that matches any occasion or decor.
-
Fiber Alternatives: For a twist, try cotton yarn for a cooler, breathable option or use a plush acrylic for extra softness.
-
Adding Size: Use bulkier yarn or a larger hook size to create a grand bunny that stands out as a statement piece.
-
Textural Fun: Incorporate fringe or pom-poms to the ears or collar for a playful touch that adds dimension and charm.
-
Personalized Collar: Design a one-of-a-kind collar using different crochet stitches or embellishments like sequins for a sparkly flair.
-
Gift Bundles: Coordinate your bunny with matching booties or a hoodie for a cozy baby gift set, adding warmth and thoughtful style.
-
Seasonal Themes: Craft seasonal versions of Bella with appropriate colors or patterns, such as fall shades or cheerful pastels for spring.
-
Embroidered Details: Add customized embroidery on the bunny or collar to create special messages or designs that enhance its uniqueness.
Dive into these creative options, and remember, by making small adjustments, you can turn your Bella the Bunny into a truly unique gift. For more detailed ideas on yarn choices, check out our post on yarn substitution tips for inspiring alternatives! Happy crocheting!
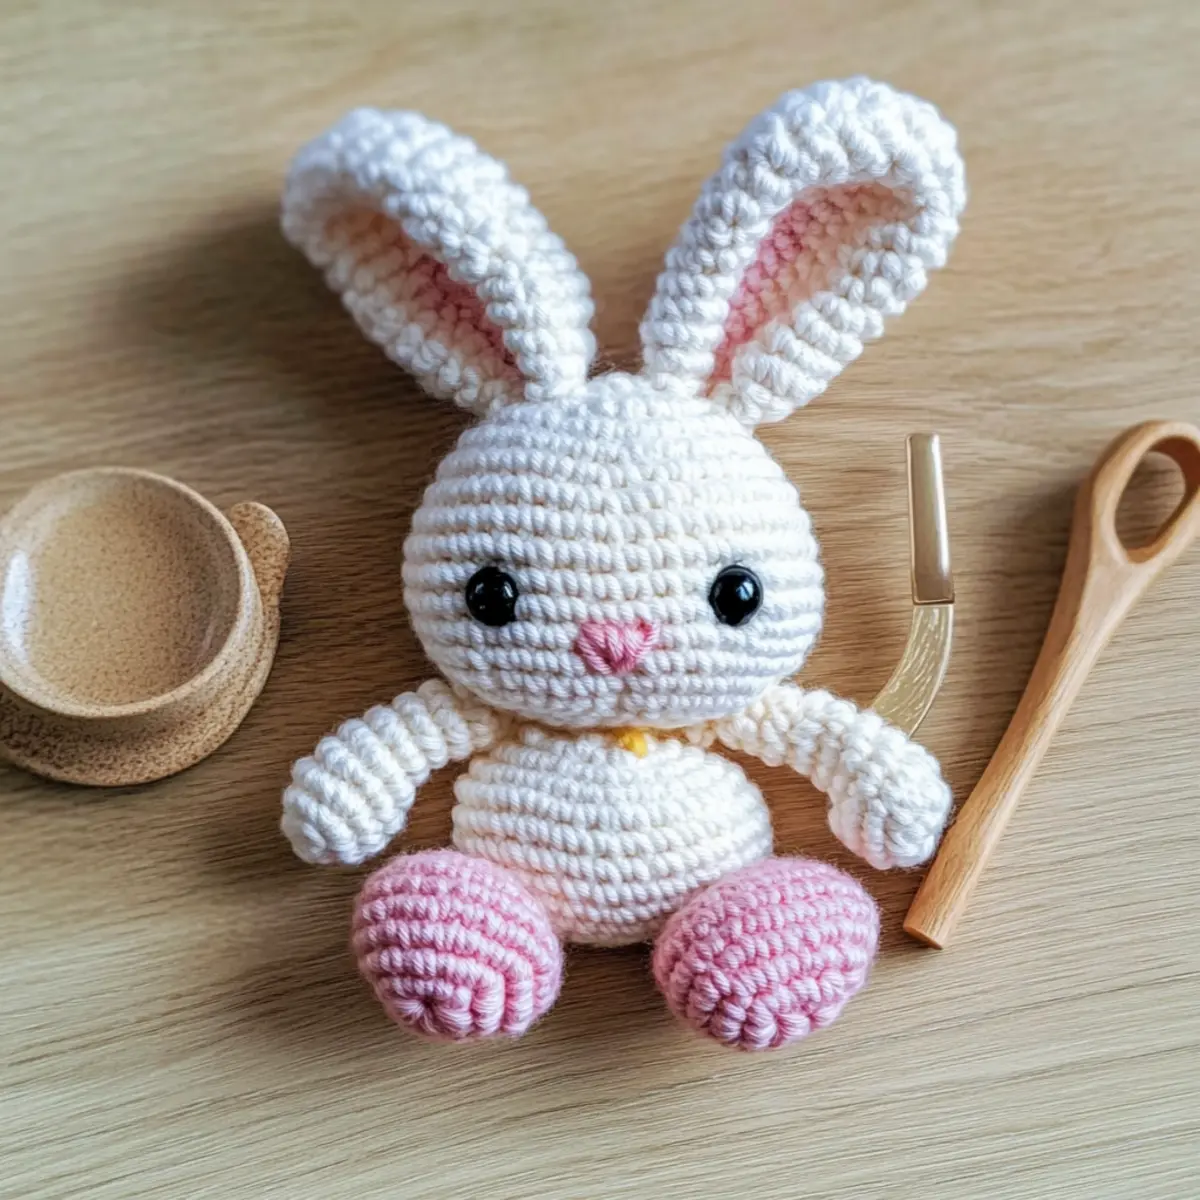
Bella the Bunny FAQs
Can I substitute a different type of yarn?
Absolutely! While the pattern specifies weight 3 / Light Worsted / DK yarn, you can definitely experiment. If you choose a different yarn, just ensure to get a similar gauge—your bunny will still be cute!
How can I adjust the size of Bella the Bunny?
If you want to make Bella a larger or smaller bunny, you can change the yarn weight or hook size. For a bigger bunny, use a bulkier yarn and a larger hook, remembering that this will affect yarn amounts needed as well!
Why is my work curling when I crochet?
Don’t panic! If your edges are curling, it might be that your tension is too tight, or you may need to add more initial chains. For the magic circle, starting with a chain that’s just a bit looser can help!
What size crochet hook should I use for Bella?
For this pattern, a 4mm (G) hook is recommended, which works nicely with the weight of the yarn. However, if you find your fabric too loose or tight, feel free to switch it up for better results.
How do I fix dropped stitches in my amigurumi?
It’s an easy fix! Simply backtrack to the dropped stitch and carefully pull the yarn to create a new stitch. If you’re unsure, try using a tapestry needle to weave it in securely for a seamless look.
Can I make changes to the ruffled collar design?
Definitely! The ruffled collar is a fun opportunity for customization. You could try different crochet stitches or even add colorful ribbons to make it uniquely yours, adding a personal touch that makes your bunny extra special!
Leave a Reply