
As I sat on my porch, summer sun warming my skin, I found myself dreaming of a bucket hat that not only shields my eyes but also celebrates the joy of crochet. Enter the Beginner-Friendly Sunny Stitches Bucket Hat! This vibrant project features playful sunburst granny squares, making it a perfect match for those who are just starting their crochet journey. Not only does it come together quickly, but it’s also highly customizable, thus becoming a stylish accessory for every family member, from newborns to adults. Whether you’re looking to make a statement during sunny outings or find a meaningful gift for a loved one, this hat ticks all the boxes. Let’s dive into this delightful pattern that will spark your creativity and warm your heart as we stitch together sunshine and style!
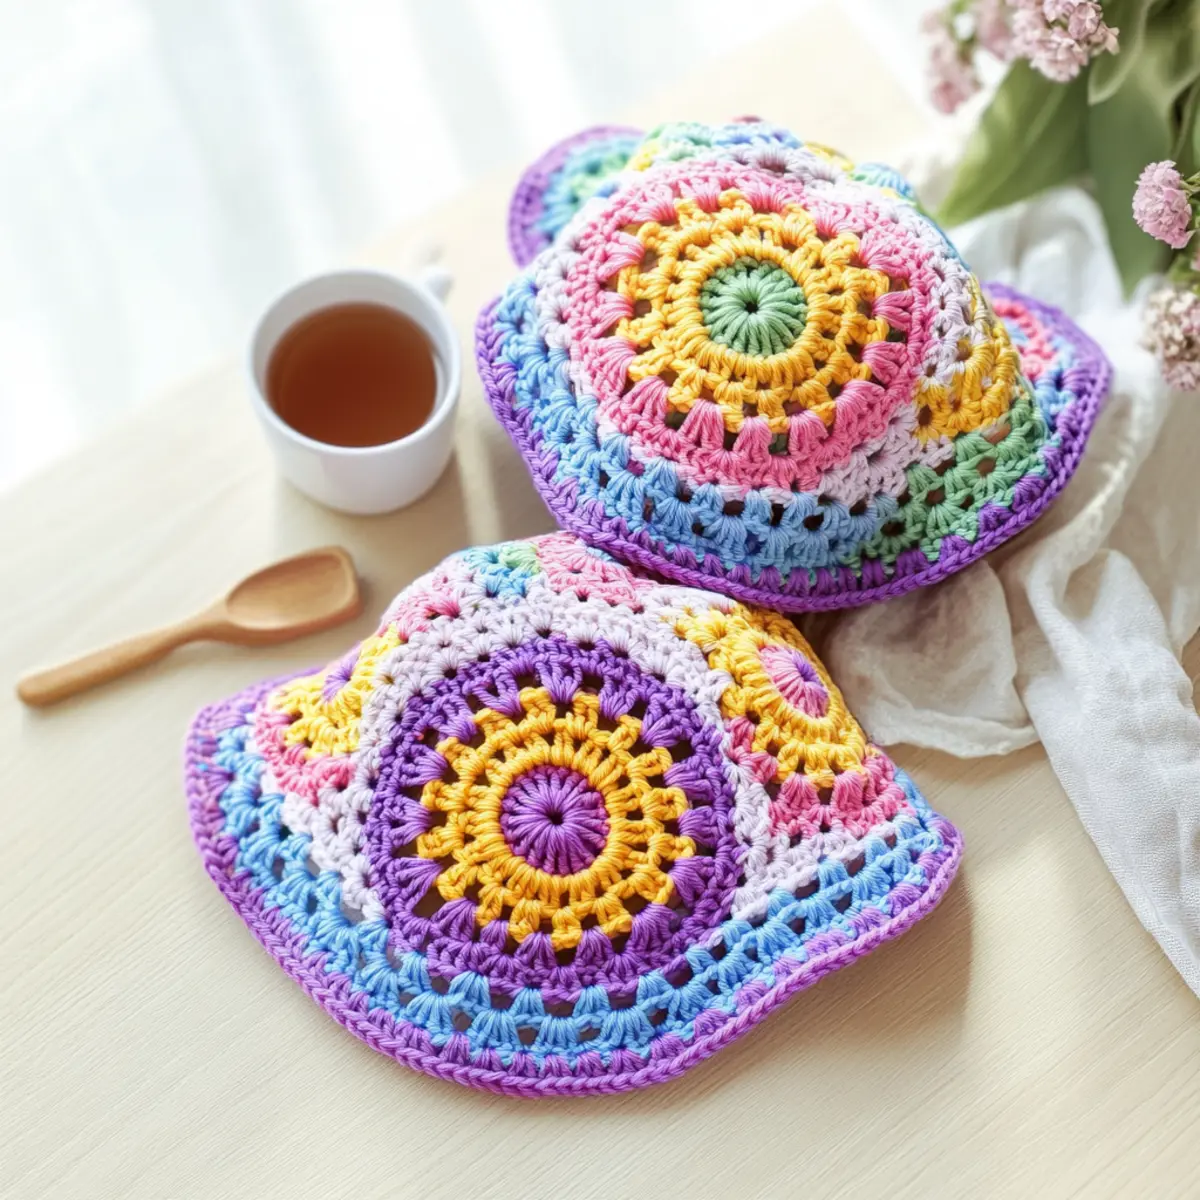
Beginner-Friendly Sunny Stitches Bucket Hat Materials & Tools
• Get ready to create a vibrant piece with these essentials!
Yarn
- DK Weight Cotton-Acrylic Blend – Recommended Sirdar Stories DK (153 yds/140m total; 60% cotton, 40% acrylic) provides comfort and durability, perfect for your bucket hat.
Hook Size
- 3.5mm (E) Hook – Ideal for starting your project; use larger hooks up to 5mm for sizing variations.
Tools & Notions
- Stitch Markers – Keep track of your rounds easily with these handy tools!
- Tapestry Needle – Essential for weaving in ends and finishing your hat beautifully.
Dive into these materials, and let’s get ready to stitch up some sunshine with our Beginner-Friendly Sunny Stitches Bucket Hat!
Why is this bucket hat a must-make?
Beginner-Friendly: This pattern is specially designed for newcomers, featuring simple sunburst granny squares that are easy to grasp and fun to create, making it perfect for your first hat project!
Trendy Style: The vibrant colors and playful textures ensure that you’ll not only enjoy the making process but also rock a stylish accessory that’s perfect for any summer outing.
Versatile Sizes: From newborn to adult, the bucket hat offers sizes for everyone, allowing every member of the family to enjoy their own personalized piece.
Time-Saving Fun: Quick to stitch, this project won’t take long to complete, making it ideal for last-minute gifts or a satisfying weekend project.
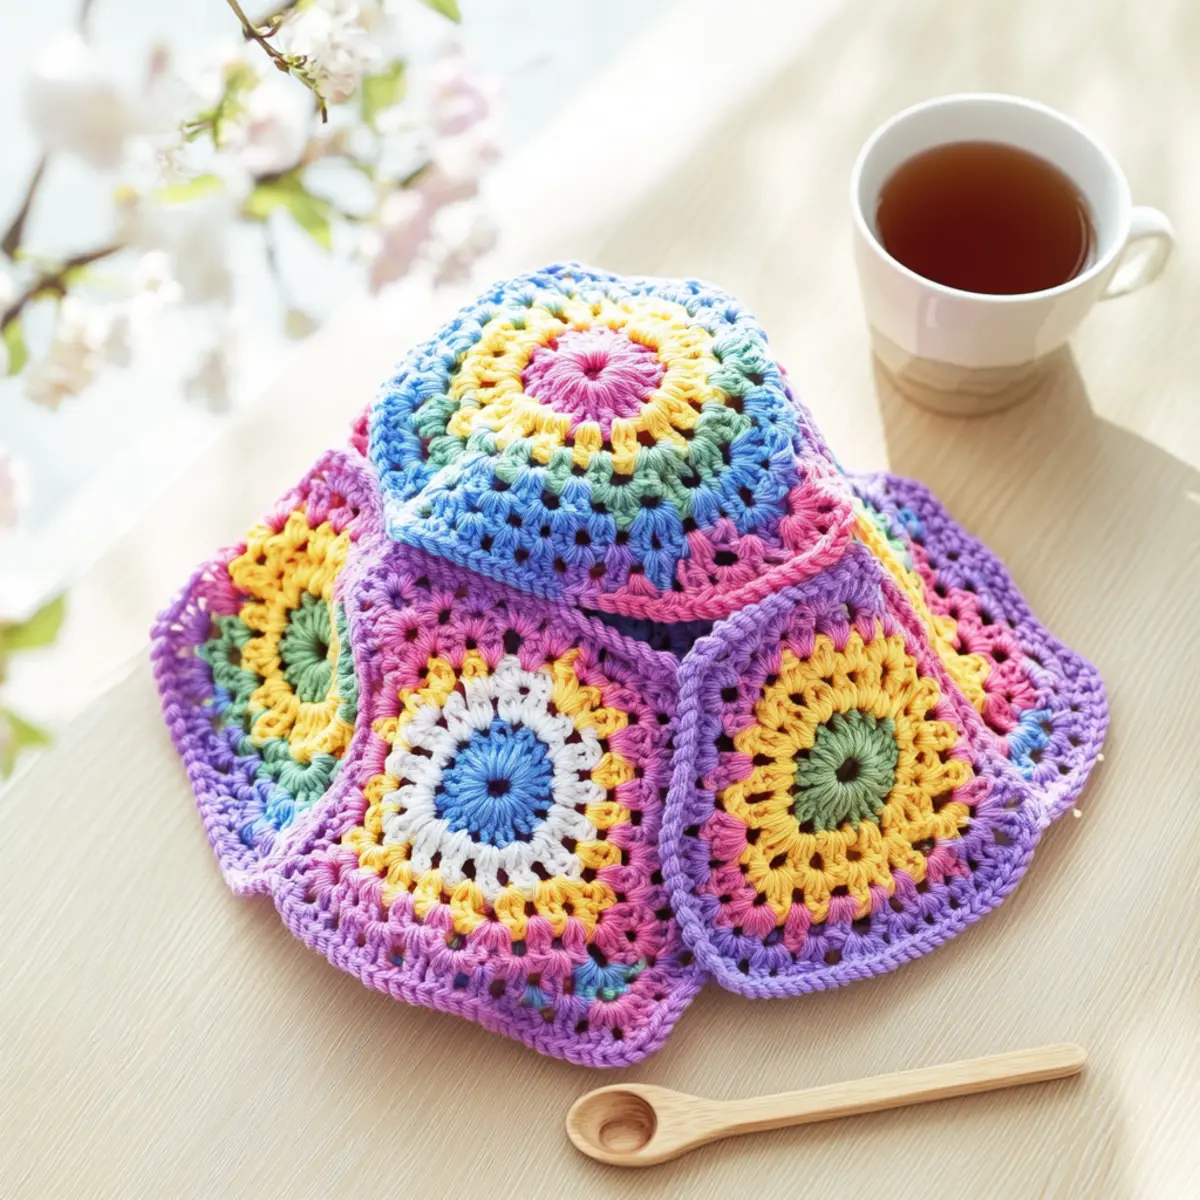
Customizable Colors: Mix and match your favorite hues for the sunburst squares, letting your creativity shine through and making each hat uniquely yours!
Soft Comfort: Crafted from a cozy cotton-acrylic blend, this hat provides a perfect balance of comfort and breathability, ensuring you stay cool and stylish all summer long.
Gauge & Sizing Notes
Don’t skip the gauge swatch! It’s crucial for your Beginner-Friendly Sunny Stitches Bucket Hat to ensure a perfect fit as sizes range from newborn to adult. Aim for a tension of 4×4 inch (10×10 cm) square = 16 double crochets by 10 rows. If your tension swatch is bigger or smaller, you can adjust the sizing by changing your starting chain in multiples of 4. For example, if you’d like to make a larger hat, simply increase your chain by multiples of 4 before you start your squares. If your swatch is too small, try using a larger hook size to achieve that cozy, comfortable fit that’s essential for summer fun!
Step‑by‑Step Pattern for Beginner-Friendly Sunny Stitches Bucket Hat
Row 1: Making Sunburst Granny Square
Start by making a magic ring and ch 3 (counts as first dc), then work 11 dc into the ring. Pull the ring tight, and join with a sl st to the top of the ch 3. Your sunburst square should start to form a round shape with a total of 12 dc (12 sts).
Row 2: First Round of Shells
Ch 3 (counts as first dc), then make 2 dc in the same stitch (this creates a shell). Skip the next dc, and (make 3 dc in the next st, skip 1) repeat until you reach the end. Join with a sl st to the top of the ch 3. Your square should now have 4 shells and measure roughly 4 inches (12 sts).
Row 3: Adding the Color
Change colors by sl st into the first shell space. Ch 3, then make 2 dc in the same space. Work (3 dc in the next shell space) around, finishing with a sl st. Your sunburst should expand beautifully with clusters of color; you should have a total of 8 shells (24 sts).
Row 4: Final Rounds for Square
Ch 1 and sc into the same shell space, ch 2, sc in the next shell space repeat around, ensuring your squares have defined corners with ch spaces. Join with a sl st to the first sc. Your work should now feature an open square with 8 spaces, measuring around 5 inches (16 sts).
Row 5: Joining Squares
To join your sunburst squares, hold two facing right sides together, align the edges, and sc through both corners. Continue to sc through each corresponding stitch along the edge, making sure to keep the seam flexible. Your hat should start to take shape as the squares align neatly.
Step 1: Crown Construction
With your joined squares, attach yarn at the top square’s center. Ch 3 (counts as first dc) and work 11 more dc into the center hole. Join with a sl st to the top of the ch 3. This round should include 12 dc in the center, forming the crown, and will start to cup slightly.
Step 2: Expanding the Crown
Ch 3, then dc in the same stitch. 2 dc in each stitch around (increase stitches). Join with a sl st to the top of the ch 3. By the end of this round, you will have 24 dc, and your crown should be clearly visible and starting to take shape.
Step 3: Brim Formation
For the brim, ch 1, then sc in each dc around for two rounds. Afterward, switch to a hdc in each stitch for the next two rounds. Your brim should now feel sturdy and structured, extending well beyond the bottom of the crown, making your bucket hat functional and stylish.
Step 4: Finishing Touches
Weave in any loose ends with a tapestry needle, ensuring your project is neat. Block the hat for the best final appearance by gently pinning it to shape. Your beautiful Beginner-Friendly Sunny Stitches Bucket Hat should now be complete, ready for sunny days ahead!
Variations & Substitutions
Feel free to explore creative twists and turns as you customize this delightful bucket hat!
-
Yarn Substitutions: Choose a different DK weight (3) yarn, such as 100% cotton or a cozy bamboo blend for various textures. Opt for a soft cotton for breathability in summer.
-
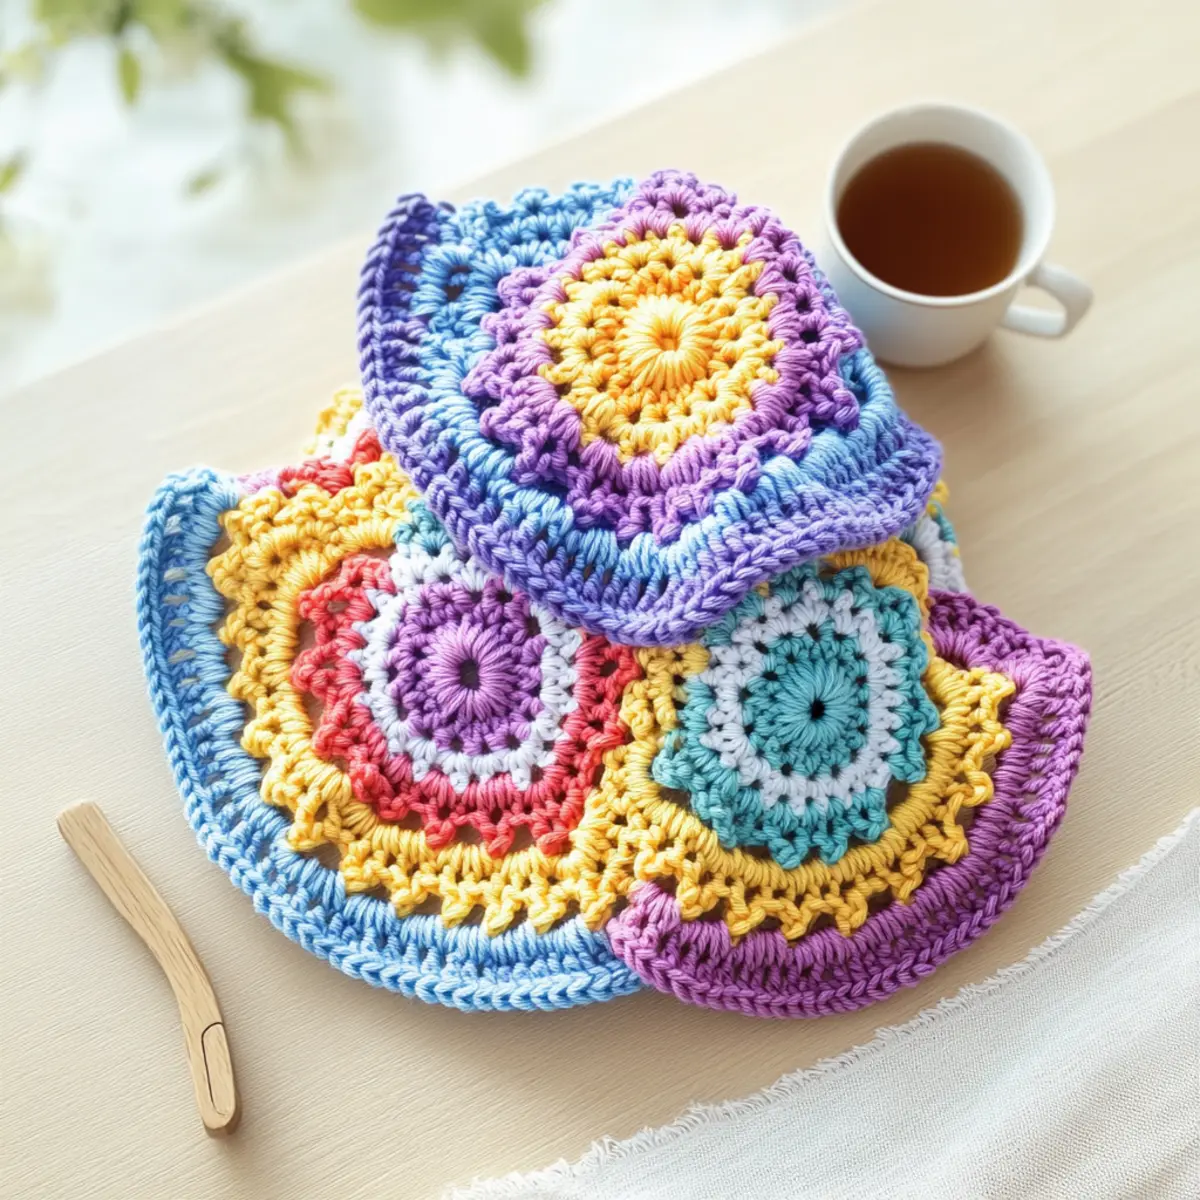
Color Blocking: Experiment with bold contrasting colors for different sections of the hat. This will create a stunning visual effect that makes each piece uniquely yours. Let your imagination run wild!
-
Sizing Adjustments: To fit multiple sizes, simply add or remove granny squares. A few extra squares can easily turn a child’s hat into an adult size, allowing for a quick family heirloom.
-
Texture Additions: Add fun pom-poms with a bright yarn on the top for a playful finish, or you could use a complementary fringe along the brim. These elements provide a customized flair that sparkles with personality.
-
Brim Variations: Consider extending or shortening the brim for different looks. A wider brim gives more sun protection, while a shorter one provides a trendy, casual vibe. Get playful with it!
-
Embellishment Ideas: Attach crochet flowers or unique patches on the hat for added charm. Personal touches like these can transform a simple piece into a treasured accessory.
-
Knot Techniques: Try joining squares with a visible slip stitch for a more rustic look. This technique adds a cozy charm that beautifully complements the sunny colors of your hat.
-
Mix Textures: Blend in a soft fuzzy yarn for one color square to create contrast with the smooth cotton-acrylic blend. This will add depth while keeping your art intriguing to the touch.
For more on color combinations or sizing tips, check out our guide on customizing crochet patterns!
Expert Tips for Bucket Hat Success
• Check Gauge: Ensure your gauge swatch matches the pattern requirements. This keeps your bucket hat fitting perfectly without surprises!
• Count Stitches: Take a moment to count your stitches at the end of each round. This helps maintain the shape and size of your sunburst granny squares.
• Use Stitch Markers: Place stitch markers to keep track of your rounds, especially during the crown construction. It prevents losing your place and ensures a smoother finish.
• Color Planning: Before starting, plan your color combinations for the sunburst squares. This adds cohesion to your charm and makes your bucket hat a real showstopper!
• Finishing Touches: Don’t skip the weaving in of ends. A tidy finish makes your bucket hat look professional and prolongs its lifespan!
• Blocking Benefits: Consider blocking your finished hat for the best appearance. This enhances the texture and shape, ensuring your creation truly shines.
How to Wash and Care for Your Bucket Hat
Machine Washing: Use a gentle cycle with cold water and mild detergent to preserve the vibrant colors and structure of your sunburst granny squares.
Hand Washing: For extra care, consider hand washing your bucket hat in cool water to avoid agitation that may lead to felting or pilling.
Drying/Blocking: Lay your finished hat flat on a clean, dry towel to maintain its shape while drying. Avoid hanging, as this can stretch out the brim.
Storage: When not in use, store your bucket hat in a cool, dry place. A flat surface is preferred to keep its structure intact, ensuring you’re always ready for sunny days!
Beginner-Friendly Sunny Stitches Bucket Hat FAQs
Can I substitute a different yarn for this pattern?
Absolutely! While the recommended yarn is a DK weight (3) cotton-acrylic blend, you can easily substitute with any similar weight yarn. Just keep in mind that the texture and drape might differ slightly, so make sure to check your gauge to ensure a good fit.
How can I adjust the size of the bucket hat?
To customize the size, you can increase the number of sunburst granny squares for larger sizes or decrease them for a snugger fit. For example, adding additional rounds in the crown section can help accommodate larger heads. Just remember to measure head circumference to achieve the desired size!
Why is my bucket hat curling at the edges?
Don’t panic! A curled edge often means your tension is too tight, or you might need to block your project. Try gently stretching the brim after finishing, and consider adjusting your hook size if the problem persists. It’s an easy fix with some adjustments!
What hook size should I use for this pattern?
I recommend starting with a 4mm (G) hook as suggested. However, if you find your tension is off, don’t hesitate to switch to a larger or smaller size to achieve the right fit. Remember, every crocheter is different!
How do I fix dropped stitches in my sunburst granny squares?
If you notice any dropped stitches, simply use a tapestry needle to reinsert the yarn through the stitches, pulling them snugly back into shape. Be sure to check each square as you go for a polished finish!
What care instructions should I follow for the bucket hat?
For best results, machine wash your bucket hat on a gentle cycle with a mild detergent, and lay it flat to dry. This helps keep the colors vibrant while maintaining the yarn’s shape and integrity. Treat it well, and it will serve you stylishly all summer!
Leave a Reply