
There’s something wonderfully heartwarming about giving a loved one a handmade gift that radiates warmth and playfulness. Enter the crochet Plush Mini Little Turtle—a chubby, adorable companion that’s sure to bring smiles to all ages! This beginner-friendly amigurumi project is crafted using soft and velvety yarn, and the best part? It requires no tedious sewing, making it a quick and delightful undertaking. Not only will you, as a crafter, enjoy the cozy texture of this little turtle, but it also makes for a fantastic gift that showcases your creativity and love. Ready to dive in and whip up your own squishy little friend? Let’s get those hooks moving!
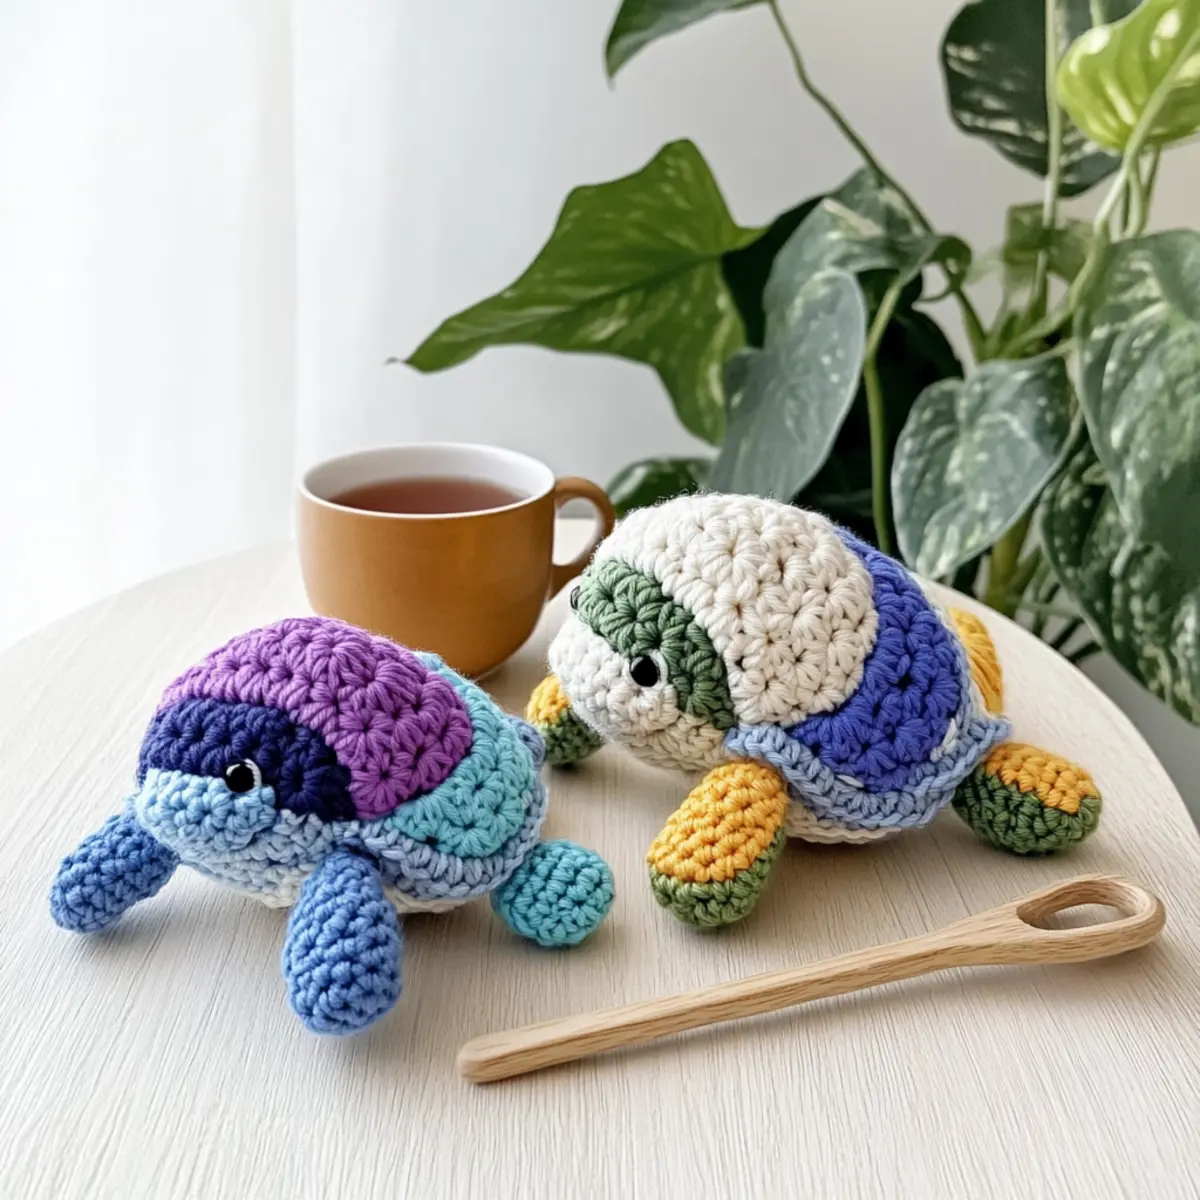
No-Sew Crochet Plush Mini Turtle Materials & Tools
• Get ready to gather these supplies for your adorable turtle project!
Yarn
• YarnArt Dolce – Approximately 100 meters of this soft, velvety plush yarn makes for the perfect turtle body.
Tools & Notions
• 4.0 mm (US G-6) Hook – This size is optimal for working with plush yarn and achieving a tight stitch.
• 2 Safety Eyes – Secure these in place for a playful look, ensuring they’re tightly fastened before stuffing.
• Tapestry Needle – Needed for embroidering the turtle’s cute little mouth and weaving in ends.
• Stitch Markers – These will help you keep track of limb placements during the no-sew assembly.
Now, let’s get crafting your Beginner-Friendly No-Sew Crochet Plush Mini Turtle!
Why Is This Turtle So Adorable?
Cute Design: The Plush Mini Little Turtle boasts a charmingly chubby shape that captures hearts instantly.
Beginner-Friendly: Perfect for new crocheters, this pattern requires no sewing, making it a stress-free project.
Soft Texture: Crafted with velvety plush yarn, this turtle feels incredible to cuddle and hold.
Quick Assembly: Thanks to the simple construction, you can whip this project up in a few hours, making it a great last-minute gift.
Customizable: Feel free to mix and match colors or add unique features to give each turtle its own personality. It’s an endless opportunity for creativity!
Gauge & Sizing Notes
Don’t skip the gauge swatch! Checking your tension is crucial for creating your crochet Plush Mini Little Turtle in the perfect size. Aim for a gauge of 4×4 inches (10×10 cm), which should equal 12 stitches by 10 rows using your 4.0 mm hook and the soft, velvety yarn. If you want to adjust the size of your turtle, simply increase your starting chain in multiples of 12 for a wider body. If your swatch ends up too small, don’t worry—just go up a hook size. Taking a few extra moments to check your gauge will ensure your cozy creation turns out just right!
Step‑by‑Step Pattern for Beginner-Friendly Crochet Plush Mini Little Turtle
Round 1: Start the Magic
Begin with a magic ring and work 6 single crochet (sc) stitches into the ring to form the turtle’s base. Pull the ring closed tightly to secure the stitches. Your work should begin to form a small circle. (6 sts)
Round 2: Increase for a Round Shape
In this round, crochet 2 sc in each stitch around to increase the size of the turtle’s body. This will give it a nice rounded appearance, perfect for a plush toy. Your circle should look fuller now. (12 sts)
Round 3: Continuing to Expand
Make 1 sc in the first stitch, then 2 sc in the next stitch; repeat around to form an expanding round. This gentle increase helps create the turtle’s characteristic chubby shape. You should see your work beginning to grow wider. (18 sts)
Round 4: More Width
For this round, work 2 sc in the first stitch, followed by 1 sc in the next 2 stitches; repeat this pattern. As you continue, the turtle should start to gain more depth and structure. (24 sts)
Round 5: Build Up the Body
Now, simply work 1 sc in each stitch around for this and several following rounds to solidify the turtle’s body. This will give it a stable base and a plush feel as you continue working. (24 sts)
Round 6: Prepare for Features
Continue working 1 sc in each stitch around, keeping the turtle’s body round and smooth. After this round, you will insert the safety eyes for character; ensure they sit symmetrically and securely. (24 sts)
Round 7: Start Shaping the Head
For the turtle’s head, work 1 sc in the first 4 stitches, then make a decrease (dec) over the next 2 stitches; repeat this pattern around. This will form a gentle shaping for the turtle’s head. (18 sts)
Round 8: Work the Head
Maintain the head shape by crocheting 1 sc in each stitch around, ensuring a consistent tension. Shape the head further by lightly stuffing it to add dimension before closing. (18 sts)
Round 9: Finalize the Head
In this round, work 1 sc in the first 3 stitches, then make a dec; repeat around to refine the head shaping. Stuff the head as needed and prepare to close off the round. (12 sts)
Step 1: Attach Limbs
To attach the limbs, work 1 sc in each stitch around while positioning the limbs according to your stitch markers. This continuous round will secure the limbs nicely while maintaining a plush texture. (24 sts)
Step 2: Finish the Body
For the final body section, work 1 sc in each stitch around, completely securing the limbs and head in place. Your turtle will now resemble a cute little creature! (24 sts)
Step 3: Create the Tail
From the center of the body, chain 3 to create the tail, then sl st back into the center to secure. This adds a whimsical touch to your turtle’s design, making it even cuter!
Step 4: Closing and Final Touches
Once the body is complete, weave in any loose yarn ends with a tapestry needle. Ensure all features are secure, and add any additional elements, like a stitched smile, to give your Beginner-Friendly Crochet Plush Mini Little Turtle its unique personality!
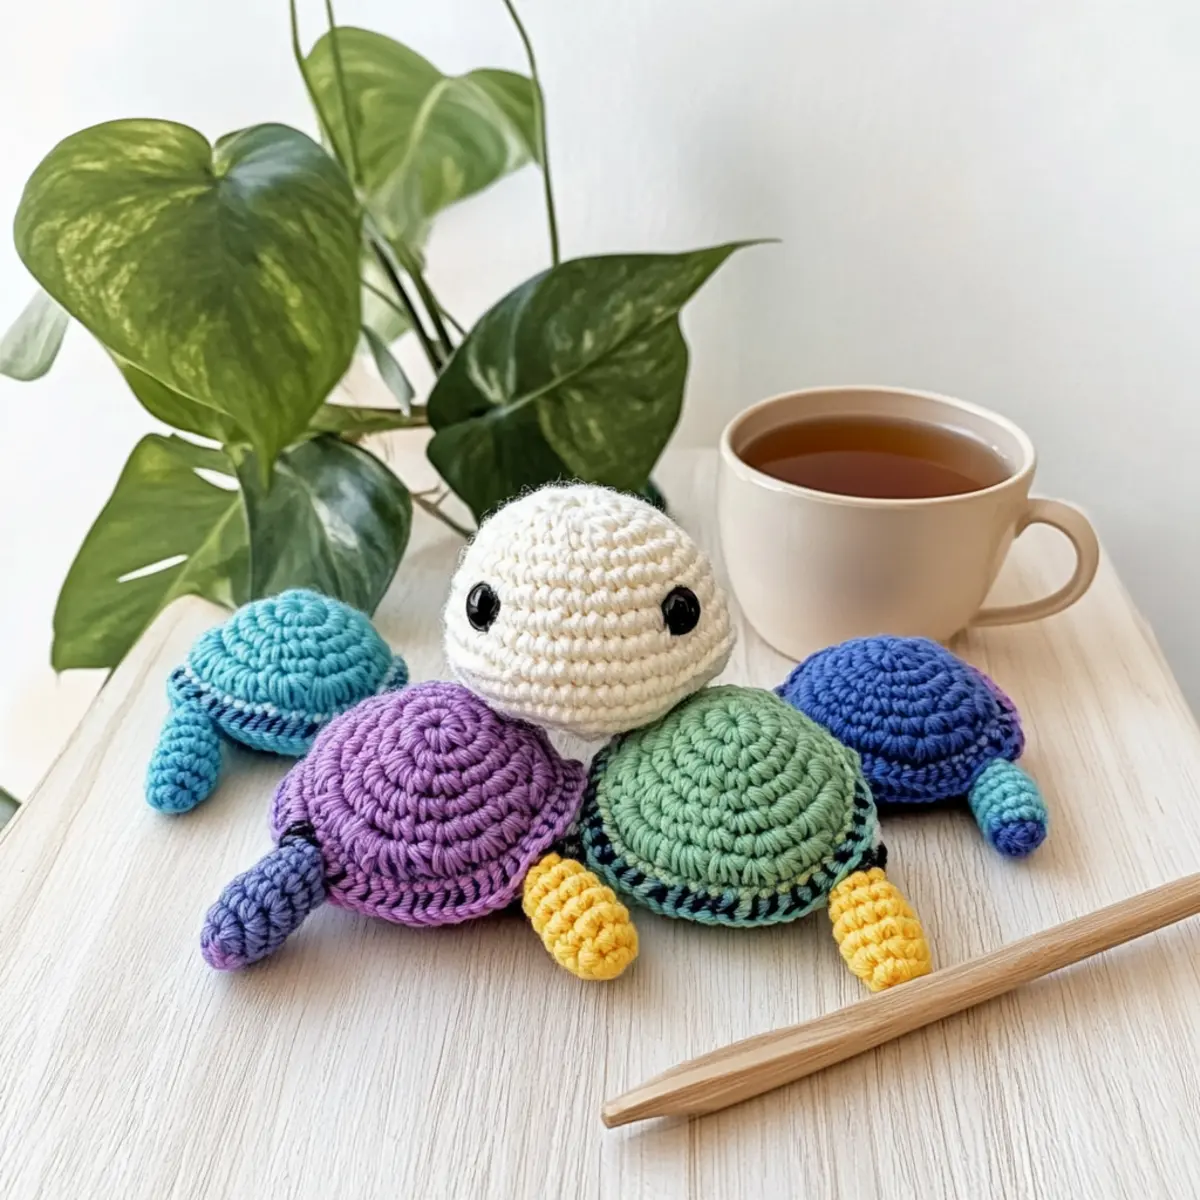
Beginner-Friendly Crochet Variations
Embrace your creativity with delightful ways to customize your cute little turtle.
-
Yarn Substitutions: Choose cotton for a firmer structure or acrylic for a lighter feel—each option changes the turtle’s character beautifully.
-
Color Combinations: Explore vibrant colors! Imagine a cheerful turquoise shell with a bright orange underbelly. You can create a special turtle that truly stands out.
-
Texture Twists: Add a bobble stitch on the shell for a playful texture or try a simple puff stitch for added depth—I promise, it will make your turtle extra cuddly!
-
Size Adjustments: Adjust the hook size or yarn weight for a mini version or a larger, snugly friend. A super-sized turtle could even serve as a whimsical pillow!
-
Embellishment Ideas: Personalize with a unique shell pattern or add whimsical features, like hearts or stars, to make the turtle even more charming. Let your imagination run wild!
-
Fringe & Borders: Add a cheeky fringe to the turtle’s tail or a contrasting border around the shell for an eye-catching finish. These details enhance the visual appeal wonderfully.
-
Eco-Friendly Yarn: Swap plush yarn for an eco-friendly alternative made from recycled fibers. Not only does this maintain the softness, but it also adds an eco-conscious spin to your crafting.
-
Charity Donations: Consider stitching up a few turtles to donate! These adorable creatures can bring joy to children in need, turning your crafting session into a heartwarming experience.
Remember, the world of crochet is your oyster! Feel free to check out our guide on changing yarn types and dive into various crochet embellishments as you explore your creative flair!
Washing & Care Instructions for Crochet Plush Mini Little Turtle
Hand Washing: Gently hand wash your Plush Mini Little Turtle in cold water with mild detergent to maintain its soft texture and shape.
Drying/Blocking: Lay the turtle flat on a clean, dry towel to air dry, ensuring not to twist or stretch the plush fabric during this process.
Storage: When storing, keep the turtle in a cool, dry place, and avoid pressure that could alter its adorable shape.
Avoid Aggitation: Refrain from machine washing or using harsh cleaners that can cause felting or pilling on your precious turtle!
Expert Tips for Mini Turtle
-
Check Tension: Ensure your gauge matches the specified 4×4 inches = 12 stitches by 10 rows; adjusting your hook size can help if needed.
-
Count Stitches: Keep a close eye on your stitch count, especially when transitioning between rounds; this prevents losing shape and ensures a tidy finish.
-
Use Stitch Markers: Place stitch markers at the start of each round to help you track where to add limbs and eyes, making assembly smoother and more accurate.
-
Secure Safety Eyes: Always place safety eyes before stuffing the head to avoid complications; this ensures they stay in place perfectly.
-
Finishing Touches: Weave in all ends carefully and check for any loose stitches to create a polished final look for your adorable Plush Mini Little Turtle.
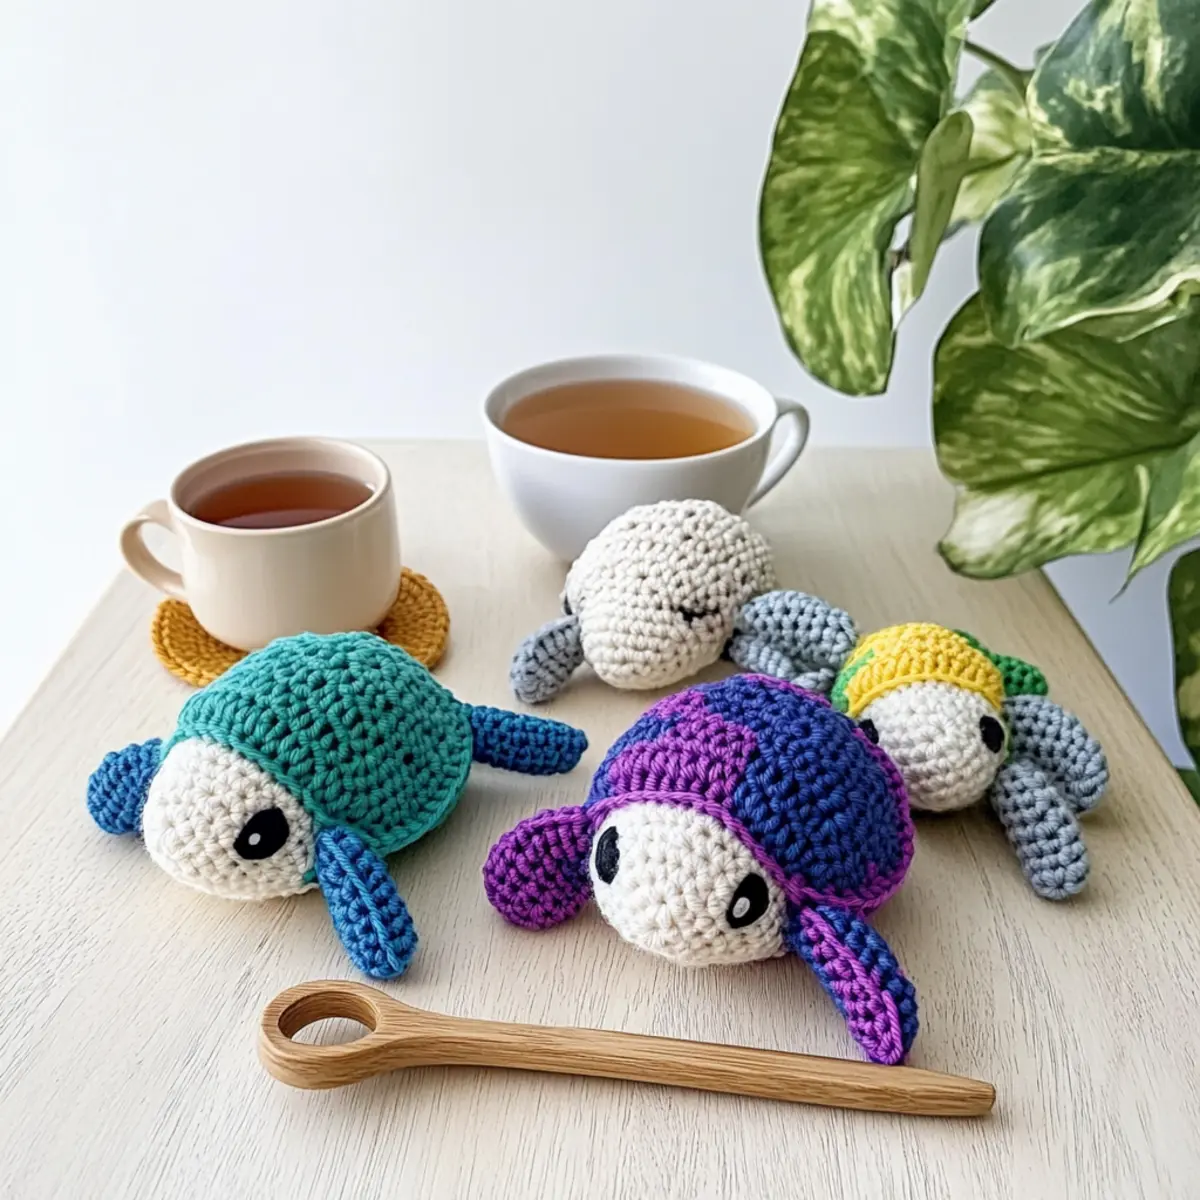
Beginner-Friendly Crochet Plush Mini Little Turtle FAQs
Can I substitute the yarn for this project?
Absolutely! While YarnArt Dolce is recommended for its soft and plush texture, you can substitute it with any comparable chenille-weight yarn. Just make sure to keep the yardage around 100 meters to achieve the right size and feel.
How can I make my turtle bigger or smaller?
If you’d like a larger turtle, you can increase your hook size (try a 5.0 mm or even 6.0 mm) and use a thicker yarn. Conversely, to make a smaller turtle, downsize the hook to 3.5 mm and use a lighter yarn. Just remember to check your gauge!
Why is my turtle’s body curling up?
Don’t panic! If your turtle’s body is curling like a bowl, it might be due to inconsistent tension or not following the stitch count accurately. To fix this, take a moment to count your stitches and ensure your tension is even throughout each round.
What hook size should I use for this pattern?
For this project, a 4.0 mm (US G-6) hook is ideal for working with the plush yarn. If you’re using a different yarn weight or there’s a noticeable tension issue, feel free to adjust your hook size accordingly.
How do I fix dropped stitches in my project?
It’s an easy fix! If you notice dropped stitches, use your tapestry needle to carefully pull the yarn back through the stitches, reworking them as needed. Be gentle to avoid further unraveling, and catch any loose ends to secure them down.
How do I care for my finished turtle?
For the best care, hand wash your finished turtle in cold water and lay it flat to dry. Avoid stretching or twisting the plush fabric to maintain its adorable structure and softness for snuggling!
Leave a Reply