
As I sat cozily on my sofa, the soft, plush yarn slipped through my fingers, sending delightful shivers down my spine. It was the perfect day to dive into crochet, and what better project than crafting a charming mini horse amigurumi? Standing at a cute 9 cm tall, this beginner-friendly pattern is designed for those of us eager to create something both tactile and enchanting. With easy assembly in mind, it opens the door to the joy of stuffing and shaping, making it not only a delightful gift for horse lovers but also an adorable bag charm that can accompany you everywhere. So grab your favorite plush yarns, and let’s embark on this cozy journey—your mini horse is waiting to be brought to life!
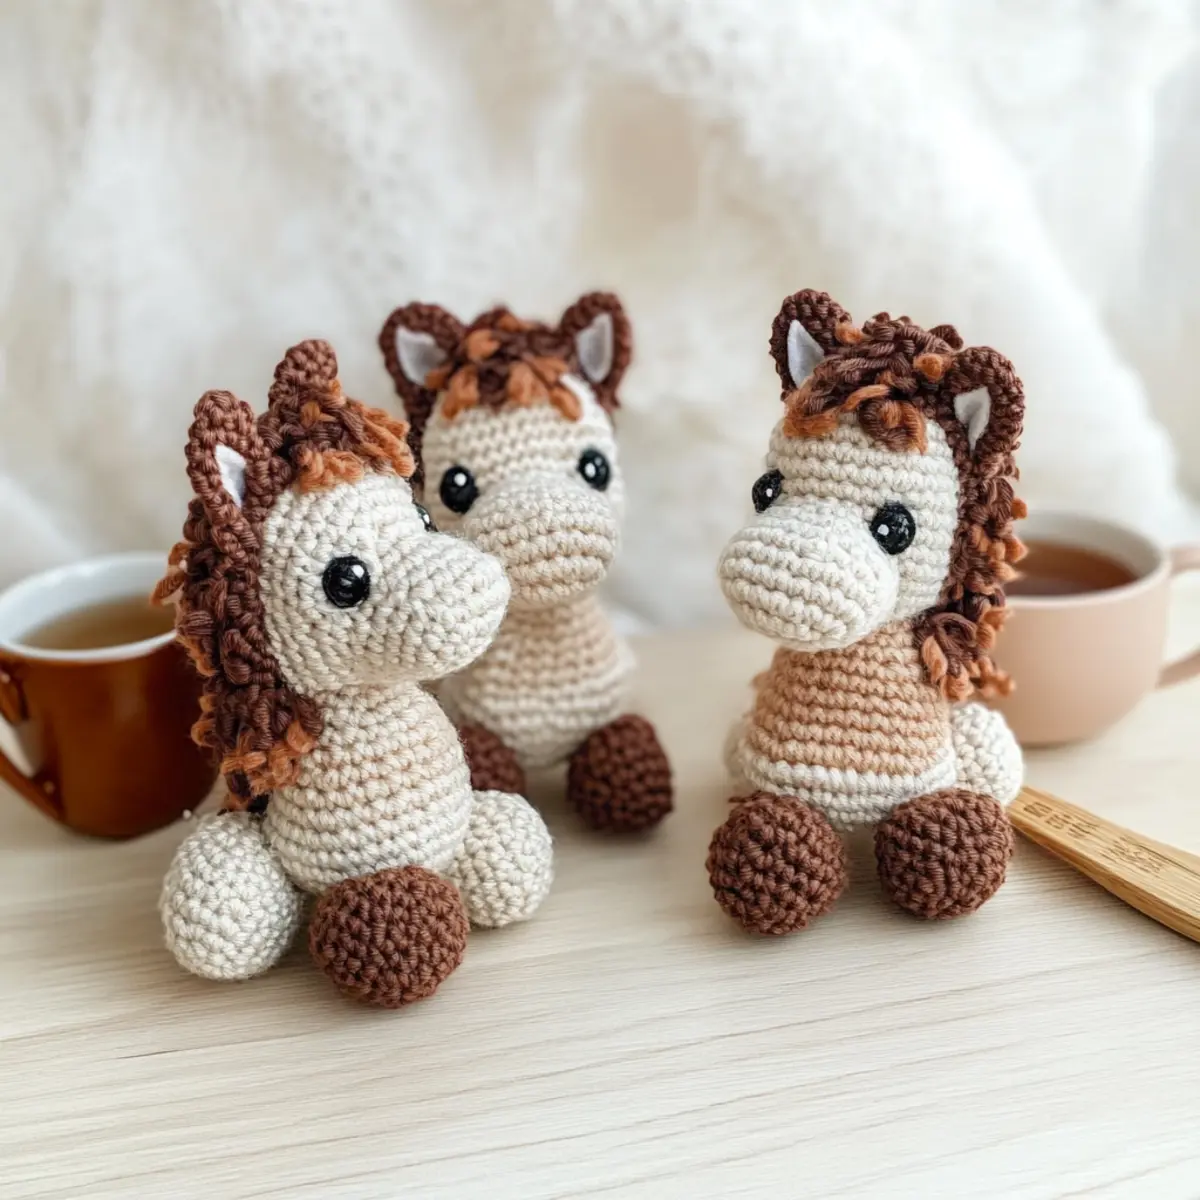
Mini Horse Amigurumi Materials & Tools
Note: Gather these essentials to bring your mini horse amigurumi to life in a delightful, beginner-friendly way!
Yarn
- Brown Plush Yarn – Opt for YarnArt Mink or any similar plush for a velvety base.
- Beige Plush Yarn – YarnArt Doll is ideal, or any soft-loop plush yarn to complement the look.
Tools & Notions
- E-4 (3.5 mm) Hook – This size is perfect for creating a snug fabric with plush yarn.
- Safety Eyes – Essential for bringing your horse’s expression to life; a 9mm size works beautifully.
- Tapestry Needle – Needed to weave in ends and secure assembly for a neat finish.
- Stitch Markers (optional) – Great for keeping track of your rounds, especially helpful for beginners.
Gather these supplies, and let’s create your adorable mini horse amigurumi together!
Why Is This Amigurumi Project Perfect?
Beginner-Friendly: This pattern is designed with novices in mind, offering straightforward instructions that build confidence.
Easy Assembly: With the legs joined directly into the body as you crochet, assembly becomes a breeze, ensuring a smooth crafting experience.
Tactile Delight: The plush yarn results in a soft, cuddly mini horse that is perfect for squeezing or snuggling—just the kind of tactile toy everyone loves!
Portable Gift: Standing at just 9 cm tall, this mini horse makes for an adorable gift or a charming accessory that you can easily take wherever you go.
Unique Customization: Feel free to mix and match yarn colors or textures to create a horse that reflects your personal style, adding an extra layer of fun to your project!
Whether you’re new to amigurumi or just looking for a quick, delightful project, this pattern is sure to spark joy.
Gauge & Sizing Notes
Don’t skip that gauge swatch! Checking your tension for the Beginner-Friendly Mini Horse Amigurumi is vital to ensure your adorable creation turns out just right. Aim for a gauge of 4×4 inches (10×10 cm), which should equal 14 single crochets and 12 rows. If you find your swatch doesn’t match this measurement, don’t fret! If your stitches are smaller, try using a larger hook size. To adjust the overall size of your mini horse, increase your starting chain in multiples of 6 for a wider body or adjust the number of rounds for the legs. Your creative journey starts with the perfect gauge!
Step‑by‑Step Pattern for Beginner-Friendly Mini Horse Amigurumi
Row 1: Start the Body
With beige plush yarn, make a magic ring (or ch 2, then work into the 2nd ch) and crochet 6 sc into the ring (6 sts). Pull magic ring tight to close. Your work should form a small circular base.
Row 2: Increase the Base
Continue with your beige yarn. Work 2 sc in each stitch around (12 sts). As you go, the circle should begin to widen nicely. Use your fingers to check for an even round shape.
Row 3: Build the Sides
Now, work 1 sc in the first stitch, then inc in the next stitch around (18 sts). This will start giving your mini horse a lovely rounded shape, crucial for the body.
Row 4: Continue Sides
For this round, work 1 sc in the first 2 stitches, then inc in the next stitch around (24 sts). Your piece should look more like a small globe now, enhancing the plush texture of the body.
Row 5-6: Form the Body Height
In rounds 5 and 6, work 1 sc in each stitch around (24 sts). This will increase the height of the body for your mini horse amigurumi. It should begin to feel more substantial in your hands!
Row 7: Prepare for the Head
Switch to working the head. From now on, crochet 1 sc in the first 3 stitches, then inc in the next, repeating around (30 sts). At this point, the body starts tapering up into the neck.
Row 8: Finalize Head Shape
Crochet 1 sc in the first 4 stitches, then inc in the next stitch around (36 sts). Your mini horse’s head will start gaining shape and will show a slight transition from the neck to the head.
Row 9: Insert Safety Eyes
Before completing the head, insert safety eyes between Rounds 3 and 4 of the head (from the top of the body). Your project should now include facial features, enhancing its endearing character.
Row 10: Shape the Head
For this round, work 1 sc in each stitch around (36 sts). Ensure you’re comfortable with the plush yarn as you start to detail the head more prominently.
Row 11: Finish Head
Begin to decrease by performing 1 sc in the next 4 stitches, then dec around (30 sts). This will start giving your mini horse a more distinct head shape while it fills nicely with stuffing.
Row 12: Last Head Decrease
Work 1 sc in the first 3 stitches, then dec around (24 sts). Here you can begin to stuff the head lightly, shaping it to your desired firmness while keeping the overall look plush.
Step 1: Assembly – Attaching Legs
Create two more legs using brown plush yarn, each with 6 sc in a magic ring for each leg (6 sts). Once these are made, include them in your body at Round 3 of the body, sewing them in place securely.
Step 2: Secure the Head
Attach the head at the top of the body carefully. Make sure to position it well, as your finished mini horse amigurumi should have a cute proportionate look. Use your tapestry needle to sew it in tight.
Step 3: Finishing Touches
Now, sew down the lower legs if you like them to stay firmly in position. After ensuring everything’s sewn tightly, give your mini horse a squeeze; it should feel satisfyingly plush and cuddly!
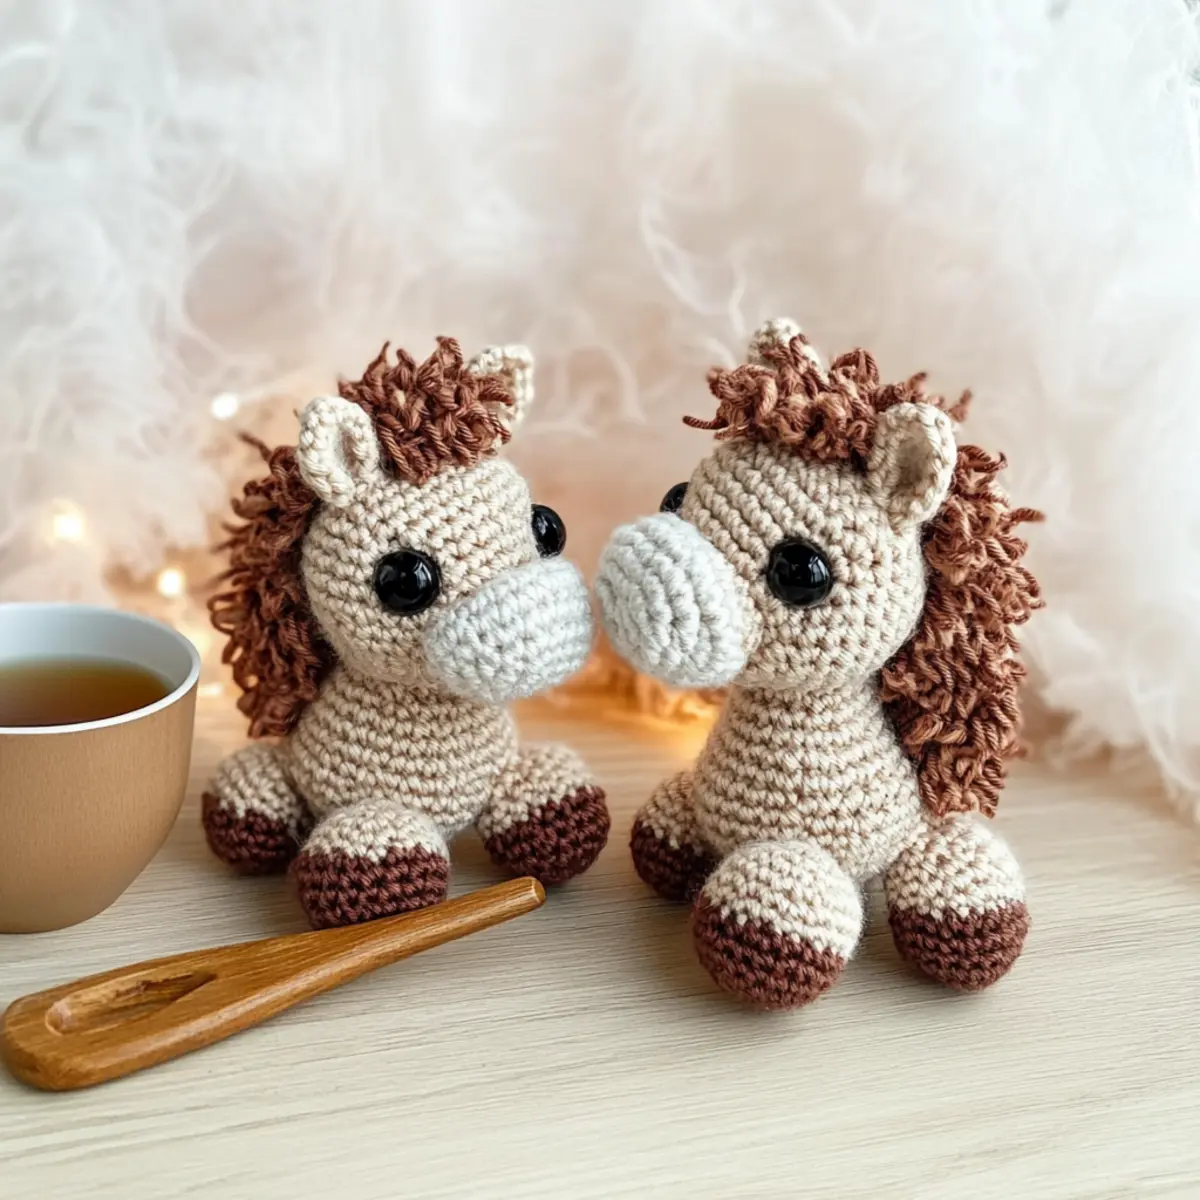
Expert Tips for Mini Horse Amigurumi
-
Maintain Tension: Ensure your tension is consistent while crocheting; uneven stitches can cause shape distortion and affect the final plush toy’s look.
-
Count Your Stitches: Keep track of your rounds and stitches, especially when attaching legs at Round 3. A simple stitch marker can help avoid losing count.
-
Stuff Evenly: When stuffing the body, fill it gradually to prevent lumps and ensure the mini horse maintains its charming shape.
-
Secure Your Ends: Weave in all ends carefully using a tapestry needle to avoid unraveling, keeping your mini horse looking polished and neat.
-
Check Eye Placement: When inserting safety eyes, double-check their placement to ensure they are evenly spaced and positioned for your horse’s adorable expression.
How to Wash and Care for Your Mini Horse Amigurumi
-
Hand Washing: Use cool water and a gentle detergent for hand washing your mini horse amigurumi. Agitation can lead to felting or pilling, so gently squeeze instead.
-
Drying/Blocking: After washing, lay your mini horse flat on a clean towel to dry. This helps maintain its shape while preventing any potential stretching or deformation.
-
Storage: Store your amigurumi in a cool, dry place away from direct sunlight to keep the plush yarn vibrant and prevent any degradation over time.
-
Spot Cleaning: For minor dirt or stains, use a damp cloth and a small amount of mild detergent to spot clean without full washing. This keeps your mini horse looking fresh and adorable!
Mini Horse Amigurumi Variations & Substitutions
Embrace your creativity with this charming mini horse amigurumi pattern by adding your unique twist!
-
Yarn Weight Swap: Try using a lighter weight yarn for a smaller horse. Adjust hook size accordingly for tight stitches.
-
Color Play: Experiment with a dappled yarn for a unique blend. Your mini horse could have a magical, ethereal feel!
-
Fiber Options: Substitute with cotton yarn for a crisp texture. This gives a more structured look that can stand proudly on display.
-
Lengthened Legs: Alter the leg length to create a towering, whimsical creature. It transforms functionality into personalized art!
-
Mane Textures: Swap plush yarn for a textured yarn in the mane. The difference can bring your horse to life with delightful fluffiness.
-
Embellish with Details: Add a tiny crochet saddle or harness made with contrasting yarn. It not only boosts character but also elevates the charm!
-
Add Fringe or Pompoms: Attach fringe to the mane for a wild, free-spirited look. Or a fluffy pompom tail for instant fun!
-
Sizing Adjustments: Scale down by reducing rounds; a petite horse charm is perfect for bags or pinboards. It’s all about those cute moments!
Creating variations is a joy that enhances your crafting journey. Dive into these options to personalize your project, and don’t forget to explore further with details from our easy assembly tips to keep your creation looking polished!
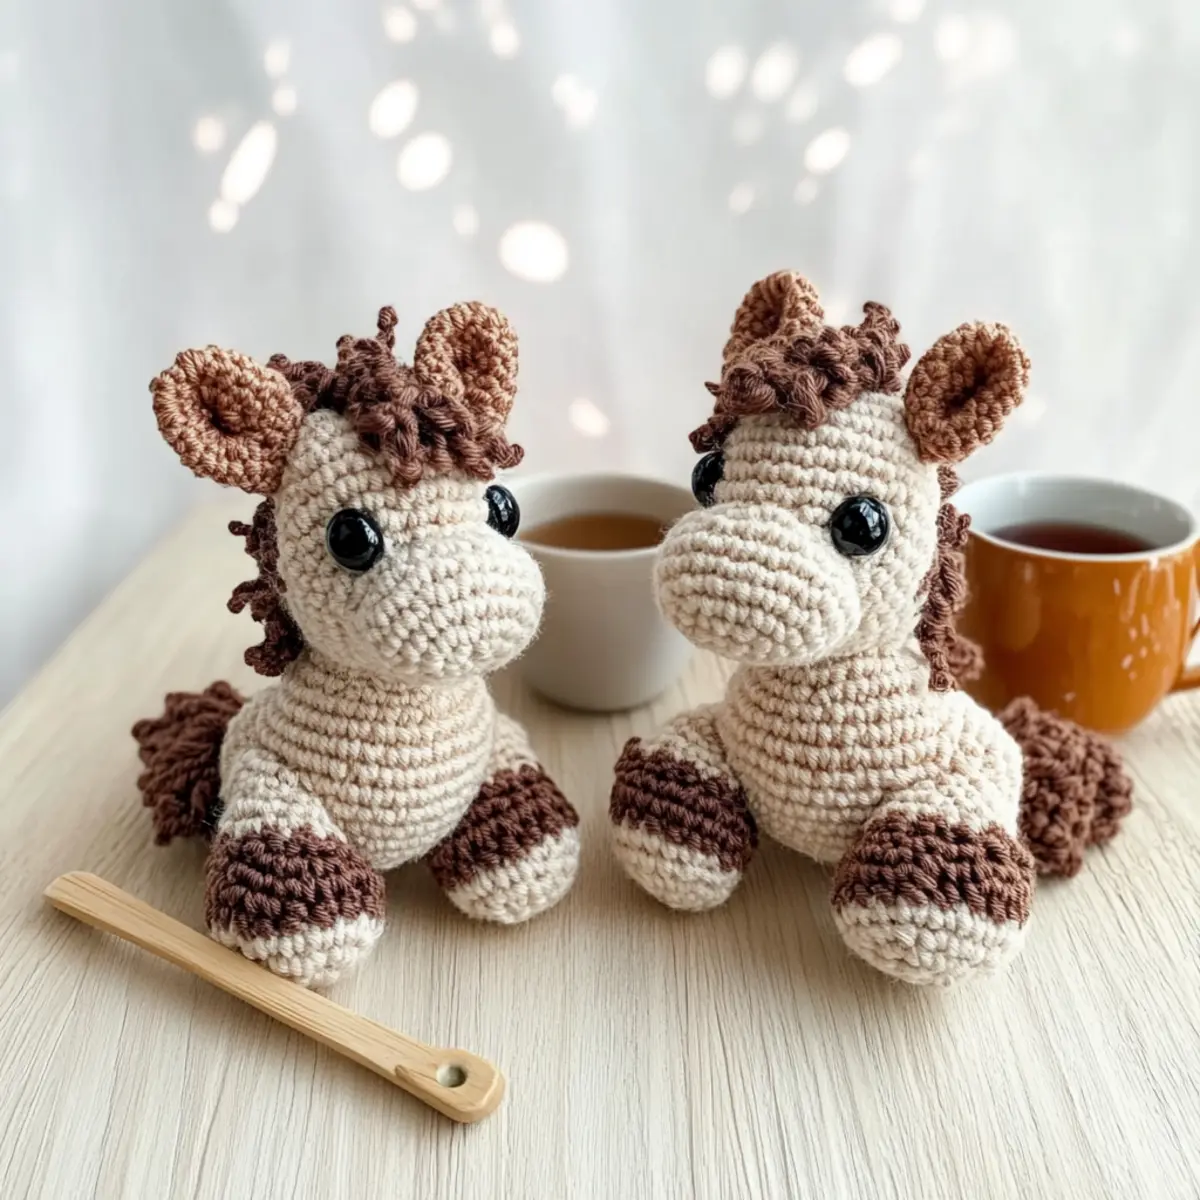
Beginner-Friendly Mini Horse Amigurumi FAQs
Can I substitute different yarn for this project?
Absolutely! While I recommend using plush yarn like YarnArt Mink or Doll for a soft finish, you can swap it for any worsted-weight yarn you prefer. Just keep in mind that the texture will vary, and your mini horse’s size might change slightly based on the yarn thickness.
How do I adjust the size of the mini horse amigurumi?
Don’t panic! To make your mini horse larger or smaller, simply adjust the number of rounds you crochet or change your hook size. For every additional round of stitches, you can gain about a cm in height. Just remember to maintain consistent tension for a uniform look!
Why is my work curling at the edges?
If your mini horse’s edges are curling like a bowl, it might be due to tight stitches or uneven tension. Make sure you’re using the correct hook size and check your tension. If the curl persists, try switching to a larger hook to loosen those stitches!
What hook size should I use for this pattern?
For the Beginner-Friendly Mini Horse Amigurumi, I recommend using an E-4 (3.5 mm) hook. This size works beautifully with plush yarn to create that soft, squeezable structure. If you’re using a different yarn weight, you may want to adjust to ensure the stitches remain tight and hold their shape.
How do I fix dropped stitches in my amigurumi?
It’s an easy fix! If you notice a dropped stitch, gently pull on the surrounding stitches to reveal the missed loop. Use your tapestry needle to grab the dropped stitch and pull it back up. If it feels too tight, you can rework a couple of stitches to maintain a clean finish.
What’s the best way to care for my finished mini horse?
To keep your mini horse looking its best, hand wash it gently in cold water and then lay it flat to dry. This method helps maintain its plush shape and prevents any damage from machine washing. Enjoy cuddling with your adorable creation!
Leave a Reply