
As I sifted through my yarn stash, the vibrant colors called to me, igniting the creative spark that always accompanies a cozy hook session. Today, I’m thrilled to share a handcrafted treasure: the Beginner-Friendly Basic Granny Square Crochet Pattern. This pattern is not just a delightful project that works up in under 30 minutes; it’s a versatile introduction to the world of crochet that even beginners can easily master. With merely two stitches, these charming squares can transform into beautiful blankets, stylish bags, or any cozy creation your heart desires. Plus, it’s a fantastic stash-buster, perfect for using up those extra yarn bits! So grab your favorite worsted weight yarn, and let’s crochet our way into a world of comfort and creativity that is sure to fill your crafting space with warmth. Are you ready to create something special?
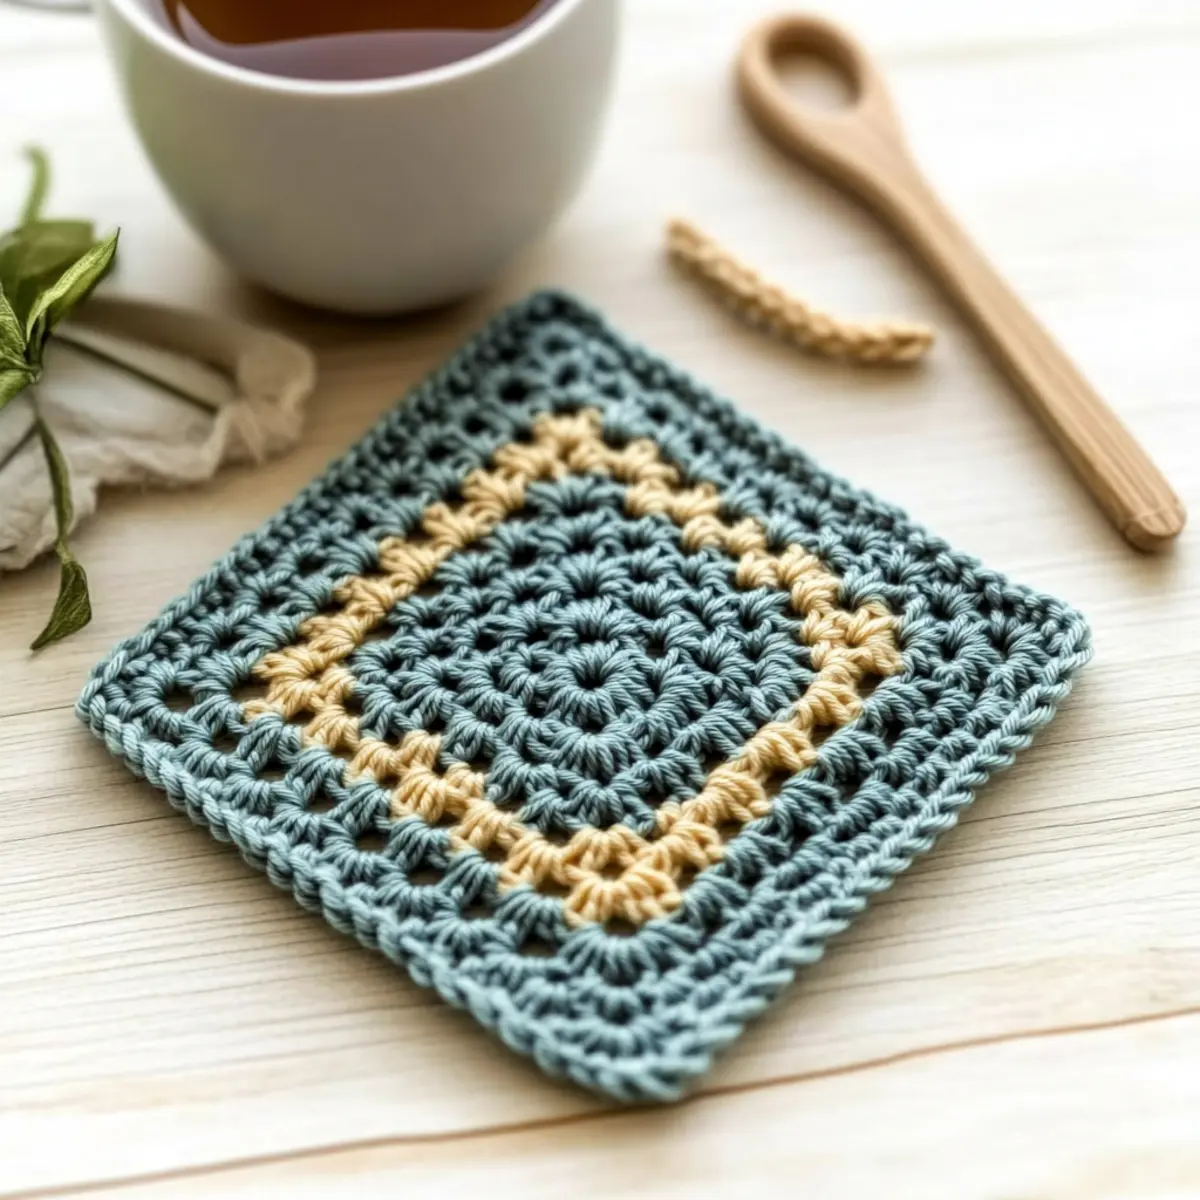
Granny Square Materials & Tools
• Yarn
- Worsted Weight Yarn (Weight 4) – Perfect for creating visible stitches quickly; choose multiple colors for a traditional look or a single color for a modern vibe.
• Hook Size
- US H-8 / 5.00 mm Hook – This size is ideal for working with worsted weight yarn to ensure a comfy grip and nice drape.
• Notions
- Tapestry Needle – Essential for weaving in those pesky ends, making your project neat and tidy.
- Stitch Markers – Helpful for tracking rounds if you prefer to keep it organized while working on your granny squares.
Get ready to embark on your crochet journey with this beginner-friendly granny square pattern!
Why Will You Adore This Pattern?
Quick Results: This pattern is perfect for beginners, allowing you to create a granny square in under 30 minutes. It’s a fantastic introduction to crochet that guarantees a rewarding experience right from the start!
Versatile Use: Transform your squares into blankets, bags, or even cozy accessories. The possibilities are endless, making this project a staple in your crafting arsenal.
Easy to Memorize: With only two simple stitches to remember, you can easily whip up these squares while watching your favorite show or chatting with friends.
Stash-Buster Friendly: If you have leftover yarn lying around, this pattern is an adorable way to use those bits and bobs. Check out our tips on creative yarn storage to keep your stash organized!
Textured Charm: The finished squares boast a delightful texture that adds coziness to any project. Whether you go for bold colors or a classic palette, each piece will reflect your unique style.
Gauge & Sizing Notes
Don’t skip the gauge swatch! Checking your crochet gauge is crucial for ensuring your Beginner-Friendly Basic Granny Square turns out just the right size. For this project, your tension should achieve a standard measurement of 12 stitches by 10 rows in a 4×4 inch (10×10 cm) square. If you want to make your squares larger, simply add more rounds as you go, or for additional width, increase your starting chain in multiples of 3 plus 2. If your swatch doesn’t match, no worries! If it’s too small, try using a larger hook size to adjust your tension. Happy crocheting!
Step‑by‑Step Pattern for Beginner-Friendly Basic Granny Square
Round 1: Create the Foundation
Start by chaining 4, then slip stitch into the first chain to form a ring. Chain 3 (this counts as your first double crochet), then work 2 double crochets into the ring, followed by a chain 2. Repeat this process three more times, making a total of 4 clusters of 3 double crochets with chain 2 spaces in between. Join with a slip stitch to the top of the beginning chain (12 sts).
Round 2: Expand the Corners
Join a new color in any chain 2 space from Round 1. Chain 3 and work 2 double crochets into the same space, followed by a chain 2 and 3 more double crochets (this forms a corner cluster). For the sides, chain 1 and in each chain 2 space, repeat 3 double crochets, chain 2, and 3 more double crochets at the next corner. Complete all four corners and join with a slip stitch (24 sts).
Round 3: Continue Building the Square
Join another color in a corner space. Repeat the same corner formation as before: chain 3, 2 double crochets, chain 2, and 3 double crochets. For the sides, chain 1, working 3 double crochets in the chain 1 spaces. Ensure you have 2 clusters at each corner and 1 cluster between corners. Join with slip stitch to complete this round (36 sts).
Round 4: Add More Dimension
Join your next color in a corner space. Chain 3 and perform the same corner cluster setup as previous rounds. For the sides, chain 1 and repeat the pattern of 3 double crochets in the appropriate spaces. This round will introduce two more clusters compared to Round 3, resulting in a slightly larger square. Join with a slip stitch at the end (48 sts).
Further Rounds: Reshape and Resize
Continue in this manner, increasing the number of double crochet clusters in the corners and side spaces for each subsequent round while joining new colors as desired. Each round will build upon the existing structure, expanding the granny square beautifully. You can stop when you reach your preferred size or continue adding rounds for larger projects. Aim to keep the count balanced to maintain a square shape (each additional round adds 12 sts).
Granny Square Variations & Substitutions
Let your creativity shine by customizing this delightful granny square pattern to make it truly yours!
-
Yarn Substitutions: Opt for cotton or bamboo yarn for a softer, breezier feel. These fibers are perfect for warmer weather projects.
-
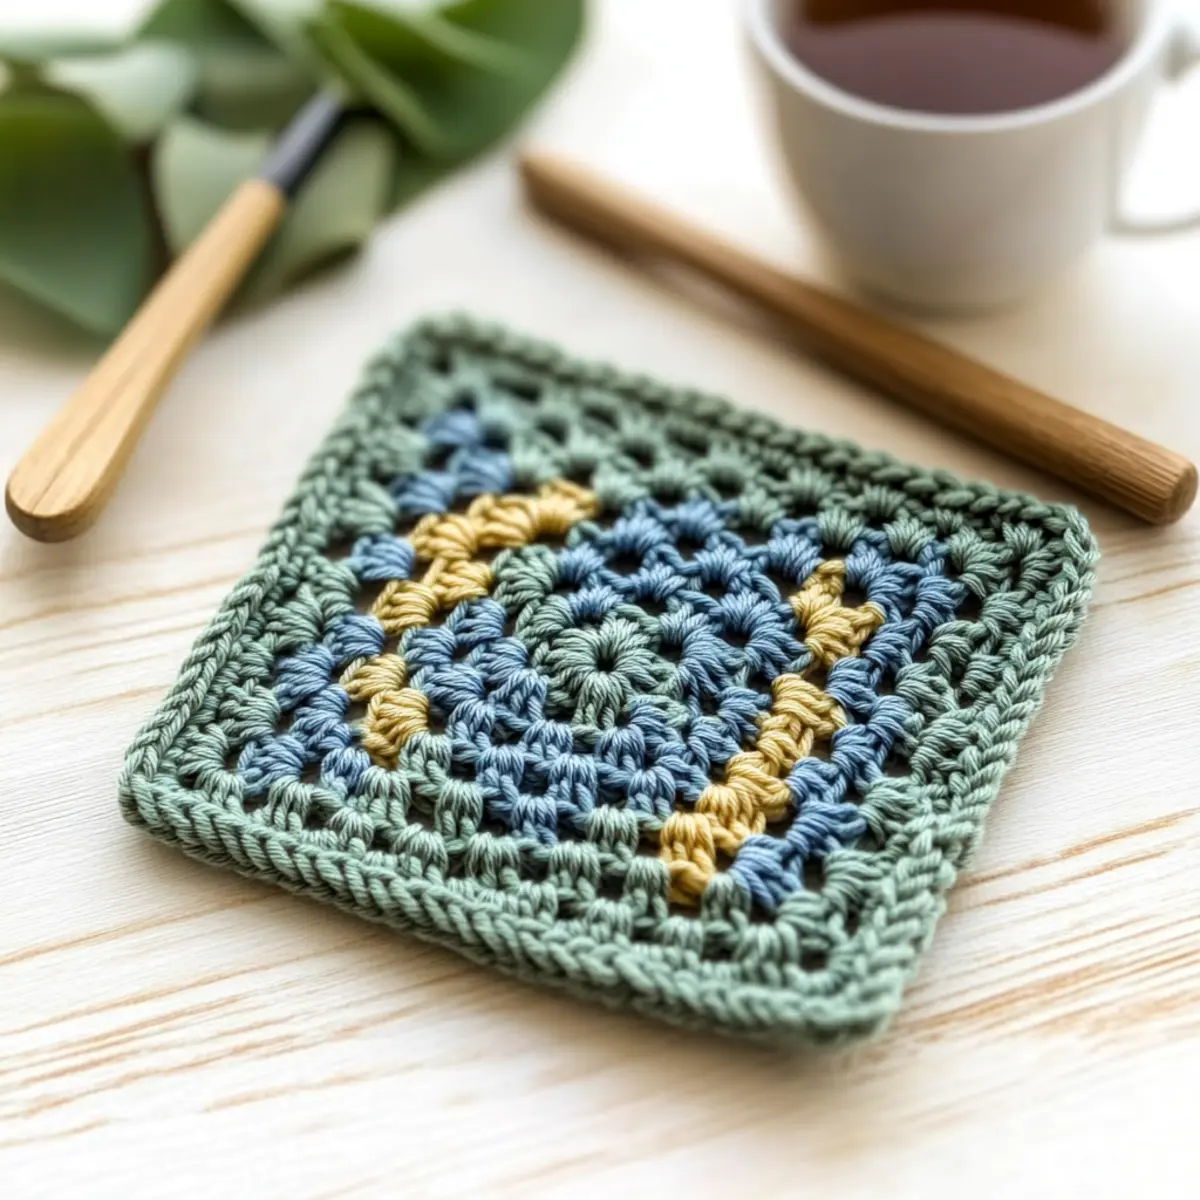
Color Blocking: Experiment with bold color changes each round for a vibrant, patchwork effect. This technique breathes life into traditional patterns and showcases your color sense.
-
Larger Squares: Add extra rounds to your squares to create larger pieces perfect for blankets. Each round you add can offer a new opportunity to explore colors and textures.
-
Texture Twists: Introduce fun elements like fringe or a decorative border for added visual interest. Textured embellishments can change the entire vibe of your project.
-
Sizing Adjustments: Modify the number of stitches in each round to create various sizes. This flexibility allows for personalized projects that meet your creative needs perfectly.
-
Multi-Yarn Technique: Combine different yarn weights within the same square for a unique, eclectic look. Just ensure the transitions are smooth for continuous flow across your design.
-
Sustainability Opportunity: Use up leftover yarn remnants by creating a scrappy granny square. This not only adds character but also contributes to eco-friendly crafting!
-
Stitch Definitions: Play around with alternate stitches, such as half double crochet or triple crochet, for a different texture and finish. Experimenting with your stitches can produce astonishing results.
Let these variations inspire you to craft something special that reflects your personal touch! And while you’re at it, consider blending your creations with tips from our guide on joining granny squares for a stunning finish.
Helpful Tricks for Granny Squares
-
Stitch Count Check: Always count your stitches at the end of each round to ensure you haven’t lost or gained any. It’s an easy way to keep your granny squares consistent.
-
Tension Matters: Maintain a relaxed grip while crocheting to avoid a tight foundation. If your squares are curling, try using a larger hook or easing your tension.
-
Secure Your Ends: Weave in ends as you go, instead of saving them for the end. This keeps your project tidy and prevents overwhelming finish times.
-
Firm Foundation: Keep the starting chain-4 ring firm, but avoid making it too tight. A loose ring ensures your square has space to expand beautifully.
-
Blocking for Perfection: Consider blocking your squares after finishing to help them lay flat and achieve a polished look. This technique enhances their texture and shape.
Washing and Care for Your Granny Square
Machine Washing: Use cold water on a gentle cycle to preserve the texture and shape of your granny square. Avoid harsh agitation to prevent any pilling or felting.
Hand Washing: If you prefer, gently hand wash your squares in lukewarm water with a mild detergent. This extra care helps maintain the stunning look of your finished project.
Drying/Blocking: Lay your granny squares flat to dry, reshaping them as needed. Blocking will enhance their texture and ensure they maintain that beautiful square shape.
Storage: When storing your granny squares, keep them in a cool, dry place. Avoid folding to prevent creases, and consider using breathable bags to maintain their quality.
Beginner-Friendly Basic Granny Square Crochet Pattern FAQs
Can I use a different type of yarn for this pattern?
Absolutely! You can substitute worsted weight yarn with cotton yarn for a breathable option or acrylic for a more cost-effective choice. Just keep in mind that the texture and drape may vary depending on your yarn type.
How can I adjust the size of my granny square?
It’s easy! Simply add more rounds to increase the size, or reduce the number of rounds for smaller squares. For every additional round, you’ll need to chain in multiples of 3 + 1, so you’re always set up for success!
Why is my granny square curling up?
Don’t panic! If your square is curling like a bowl, it may be due to a tight starting chain or tension. Relax your grip and consider using a larger hook size to combat this issue. Sometimes just gently stretching and blocking your square can help flatten it too!
What hook size should I use for this pattern?
For this beginner-friendly granny square, the recommended hook size is US H-8 / 5.00 mm. This size works wonderfully with worsted weight yarn for creating well-defined stitches that showcase your effort!
How do I fix a dropped stitch?
It’s an easy fix! Simply use your tapestry needle to pull the dropped loop back up to the correct row and reattach it. If you’re unsure, don’t hesitate to pause and check your yarn guide for additional support!
How do I block my granny squares for the best finish?
To block your squares, wet them gently and shape them on a flat surface. Use pins to hold their shape until they dry. This not only enhances the texture but gives your finished project that polished, professional touch!
Leave a Reply