
As I sat on my couch with yarn gliding through my fingers, the idea of crafting something special struck me—an adorable eagle amigurumi! This easy crochet pattern is a wonderful way to express your love for all things handmade, perfect for beginners eager to create a charming keepsake. Not only does this little critter make for a delightful patriotic gift, especially around the Fourth of July, but it’s also a whimsical addition that will surely bring smiles to bird lovers of all ages. Plus, with its quick construction and cozy texture, you’ll find yourself hooked (pun intended) on this project that beautifully showcases your creativity. Let’s dive in and bring this patriotic bird to life together!
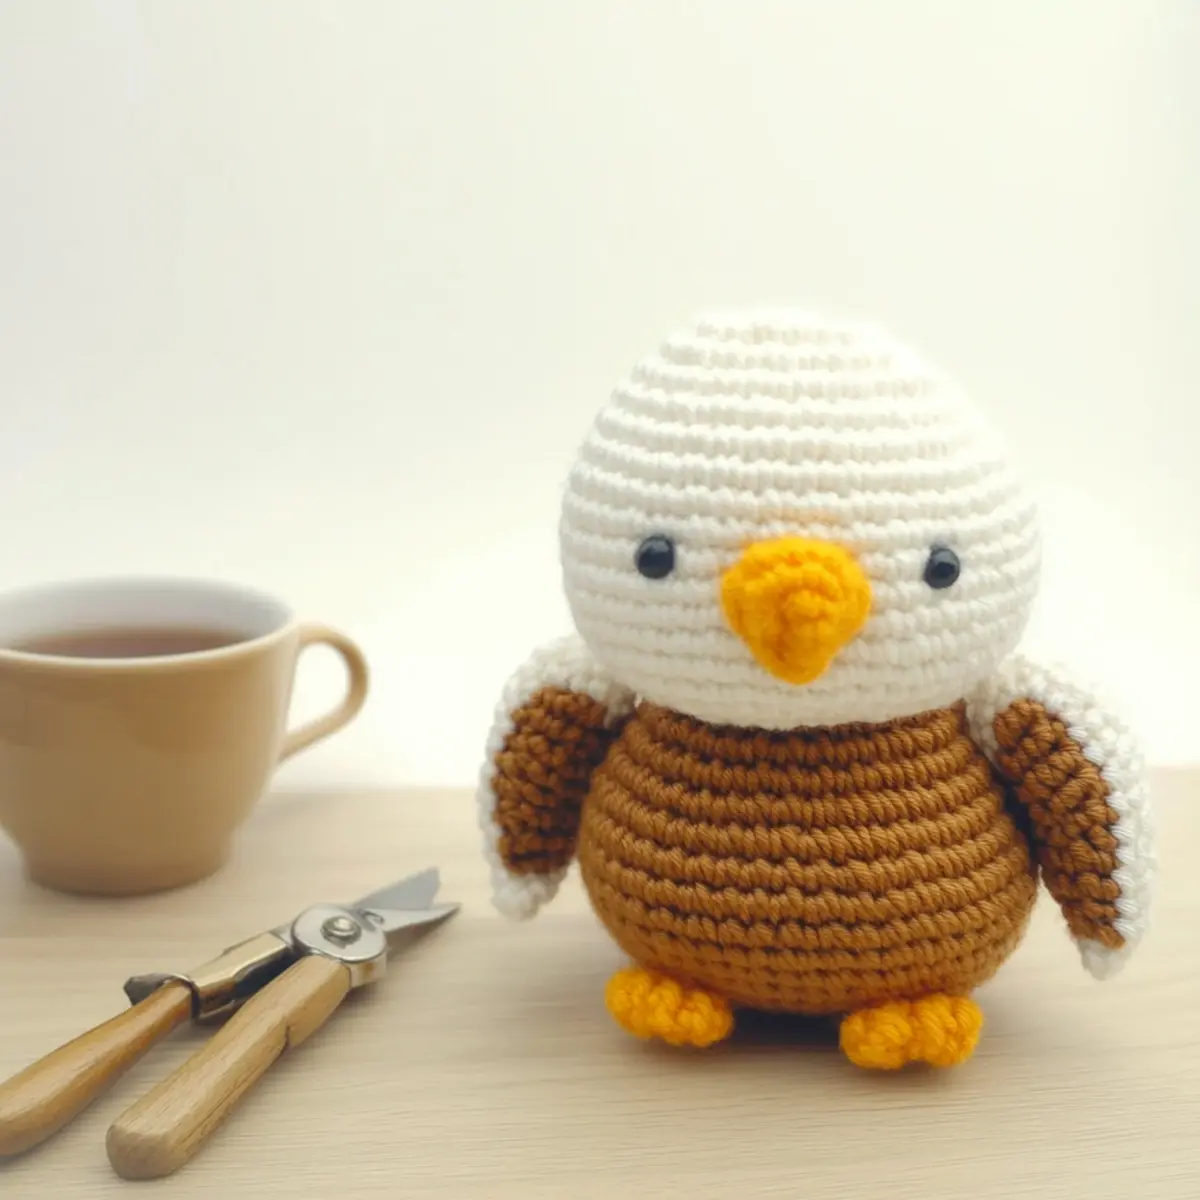
Eagle Amigurumi Materials & Tools
Yarn
• Medium Weight Yarn (4) – You’ll need white, cream, and brown yarn; opt for soft acrylic for easy washing and cuddly texture.
Tools & Notions
• 4mm (US G/6) Hook – Perfect size for creating the amigurumi’s charming shape.
• Tapestry Needle – Essential for weaving in those pesky ends and finishing details.
• Scissors – For neatly trimming your yarn when needed.
• Stuffing (Fiberfill) – Needed to give your eagle that delightful shape and plumpness.
• 12mm Safety Eyes – Ensures a cute, child-safe appearance for your new friend.
• Black Embroidery Thread – Perfect for detailing the beak and adding a unique touch.
Now, let’s start crafting your delightful Eagle Amigurumi—an easy, beginner-friendly project that’s sure to impress!
Why is this Eagle Amigurumi a Must-Make?
Simplicity at Its Best: This beginner-friendly pattern uses essential stitches that make it accessible for crocheters of all skill levels.
Quick to Create: With its straightforward instructions, you can whip up this adorable eagle in no time, perfect for last-minute gifts.
Festive Fun: Celebrate the Fourth of July or any patriotic occasion with a cheerful, handmade creation that’s bound to be a hit!
Charming Details: The combination of safety eyes and textured feathers adds a delightful visual appeal that captures the essence of this majestic bird.
Versatile Customization: Feel free to experiment with yarn colors or adjust the size to make a unique creation that reflects your personality. Dive into this project, and you’ll discover endless possibilities to showcase your crochet skills!
Gauge & Sizing Notes
Don’t skip the gauge swatch! Ensuring the right tension is vital for your adorable Eagle Amigurumi, as it will affect the sizing and overall look of your finished piece. Aim for a gauge of 4×4 inches (10×10 cm) square = 14 single crochets by 16 rows. If you’d like your eagle to be larger, consider adjusting your starting chain in multiples of 6; for a smaller version, simply decrease your starting chain in the same multiples. If your tension doesn’t match the recommended gauge, try going up a hook size for a looser fabric or down for a tighter finish. Happy crocheting!
Step‑by‑Step Pattern for Adorable Eagle Amigurumi
Row 1: Starting the Head
Begin by creating a magic ring and work 6 sc (single crochet) into it. Pull the tail to tighten the ring, making sure the center is closed. Your work should form a neat circle. Remember to place a stitch marker in the first stitch to keep track of the rounds. This will be the base of the eagle’s head (6 sts).
Row 2: Increasing for Shape
In the next round, increase by working 2 sc in each stitch around. This will give your eagle head a fuller shape. It’s important to keep your tension even for a smooth finish. After this round, you’ll have 12 stitches total. Your work should start to have a rounded appearance.
Row 3: More Increases
Continue to build the head by working 1 sc in the first stitch, then 2 sc in the next stitch around. Repeat this pattern until you complete the round, which will help the head grow wider. At the end of this round, you should have 18 stitches, and your work will appear larger and rounder.
Row 4: Keeping It Round
For this round, crochet 1 sc in the first 2 stitches, then 2 sc in the next stitch around. This allows for gradual increases while maintaining the round shape of the eagle’s head. You should finish this round with 24 stitches, and your head should feel nicely rounded.
Row 5: Maintain Size with Single Crochet
Now, crochet 1 sc in each stitch around for one round to establish a solid base for the next increases. This row will give stability to the head. After completing the round, you should still have 24 stitches, and your work should feel sturdy.
Row 6: Final Increases for the Head
To shape the head further, repeat 1 sc in the first 3 stitches, then 2 sc in the next stitch around. This allows the head to grow slightly while maintaining structure. By the end of this row, you’ll have 30 stitches, visible through the gradually expanding shape.
Row 7: Eye Placement
In this round, work 1 sc in the first 4 stitches, then 2 sc in the next stitch around. With 36 stitches total, this size is ideal for securing 12mm safety eyes. Position them according to your preference, typically between rows 4 and 5, ensuring they are evenly spaced.
Row 8: Begin Decreasing
Starting to shape the top of the head, crochet 1 sc in the first 4 stitches, then dec (decrease) over the next two stitches around. This will create the first step of tapering the head shape. After this, you should have 30 stitches remaining, and your work will start to narrow gently.
Row 9: Continue to Shape the Head
Now, work 1 sc in the first 3 stitches, then dec over the next two stitches around. This round helps further sculpt the eagle’s head while removing extra bulk. Once completed, you should have 24 stitches remaining, with a noticeable tapering effect.
Row 10: Finalize the Head
Crochet 1 sc in the next 2 stitches and dec over the next two stitches around. This is the final round for tapering the head, where you’ll move to stuffing your eagle. At the end, your round should have 20 stitches, giving a beautiful silhouette as you prepare to finalize the shape.
Step 1: Stuffing the Head
Take your fiberfill and gently stuff the head to give it a plush look while ensuring it’s firm but not overstuffed. This will maintain the shape of your adorable eagle amigurumi. Check the safety eyes position and make adjustments if necessary before proceeding to seal the head.
Step 2: Transition to the Body
Continue directly from the head by working 1 sc in each stitch around (there should still be 20 sts). This round connects the head and the body seamlessly. Your result should be a smooth transition, with your amigurumi starting to take form as you bring life to the body.
Step 3: Building the Body
For the body, crochet 1 sc in each stitch for the next two rounds (20 sts). This section will form the base of your eagle amigurumi, allowing you to start creating a round, plump body. Keep your tension consistent as you crochet to maintain a neat appearance.
Step 4: Shaping the Body
Increase the size of the body by alternating 1 sc in the next 4 stitches, then 2 sc in the next stitch around. This round adds necessary volume to your eagle amigurumi. At the end, you should have 25 stitches, creating a fuller body shape that perfectly complements the head.
Step 5: Continuing the Body Round
Work 1 sc in each stitch for two additional rounds (25 sts) to solidify the body. This will ensure a sturdy form as you continue to build your adorable eagle amigurumi. Keep counting your stitches, maintaining awareness for a well-defined body.
Step 6: Adding More Volume to the Body
Repeat the previous increase round of 1 sc in the next 5 stitches, then 2 sc in the next stitch around. This will increase your stitch count to 30, creating a fuller, voluminous body for the eagle. Feel the body taking its shape, becoming well-proportioned.
Step 7: Preparing for Tail
Work 1 sc in each stitch for the next two rounds (30 sts) to ensure the body is stable before moving to the tail. Take care to keep your work neat as this will influence how your eagle stands once completed.
Step 8: Creating the Tail Feathers
For the final body round, crochet 1 sc in the first 12 stitches, then ch 5 and sl st into the first chain to form the tail feather, then continue with 1 sc in the remaining 18 stitches. This creates a distinguishing feature of your adorable eagle amigurumi that will add character and flair.
Step 9: Finishing the Body
Join your last round with a slip stitch and fasten off, leaving a long tail for sewing later. This completes the main body shape and prepares you for the next steps of adding essential features such as the beak and wings. Make sure everything feels secure and tidy before moving on.
Washing & Care Instructions for Eagle Amigurumi
-
Hand Washing: Use cold water and a gentle detergent to wash your eagle amigurumi. Avoid wringing or twisting to prevent distortion of the shape.
-
Drying: Lay your eagle flat on a clean towel to air dry, reshaping gently as needed. Avoid hanging as it can stretch the finished piece.
-
Storage: Store your amigurumi in a cool, dry place away from direct sunlight to prevent fading of colors and maintain its delightful appearance.
-
Avoiding Pilling: If your finished eagle begins to pill, gently remove any fuzz with a fabric shaver, ensuring your project remains fresh and inviting for all bird lovers!
Expert Tips for Your Eagle Amigurumi
-
Count Stitches Carefully: Regularly count your stitches at the end of each round, ensuring an even shape throughout your eagle amigurumi.
-
Stuff Firmly: Adequately stuff each part, especially the head and body, to maintain a plump and cuddly appearance that won’t collapse.
-
Use Stitch Markers: For tricky rounds, particularly around the neck feathers, using a stitch marker can help keep track of your progress and prevent mistakes.
-
Maintain Consistent Tension: Keep your tension uniform across the entire project to ensure the final eagle has a balanced and professional look, enhancing your crochet skills.
-
Secure Attachments: When adding pieces like the beak and wings, make sure to attach them securely. This ensures that your eagle stands strong during playtime or display!
Variations & Substitutions: Eagle Amigurumi
Feel empowered to personalize your eagle amigurumi with these delightful variations and substitutions!
-
Yarn Color Swaps: Use bold colors or even variegated yarn for a vibrant twist, making your eagle truly unique. Consider a red, white, and blue scheme for festive occasions!
-
Height Adjustments: Add or remove rounds to modify the height. With a little creativity, your eagle could soar higher or stay small and cute!
-
Fiber Alternatives: Substitute acrylic yarn with cotton for a lighter texture, perfect for warmer weather. Cotton provides a breathable feel, while still showcasing vibrant colors.
-
Stitch Pattern Experimentation: Integrate different stitch patterns into the neck feathers to create a fun texture. You might love the way a shell stitch adds depth!
-
Pom-Pom or Fringe Addition: Customize the eagle’s look by adding a fluffy pom-pom to the tail or stylish fringe around the body for added flair.
-
Unique Eye Options: Try out colorful plastic eyes or embroidered designs for a personalized touch that reflects your crafting style!
-
Size Variations: Consider making a larger or smaller version by altering your hook size. A bulky yarn with a bigger hook can yield a charming giant eagle!
-
Custom Borders: Frame your eagle with a crochet border or embellishments to make it stand out on any shelf or gift it with flair, enhancing its character beautifully!
Remember, crafting should always be a joyful exploration! For additional inspiration and guidance, check out our detailed crochet tips that will elevate your skills further. Happy crocheting!
Adorable Eagle Amigurumi FAQs
Can I use a different type of yarn for the Eagle Amigurumi?
Absolutely! While the pattern suggests medium weight yarn, you can substitute it with other similar weight yarns, such as cotton or acrylic blends. Just be mindful of the yarn’s texture and drape to ensure your eagle holds its shape.
How can I adjust the size of my Eagle Amigurumi?
To make your eagle bigger or smaller, simply adjust the number of rounds you crochet for the body. If you want a more petite version, you can decrease the rounds, but keep an eye on your stitch counts to maintain proportion!
Why is my Eagle Amigurumi curling at the edges?
Don’t panic! If you notice curling, it could be due to tight stitches or inconsistent tension. Check that you’re maintaining a relaxed grip on the yarn and consider using a larger hook size if necessary to achieve a flatter shape.
What size hook should I use for the Eagle Amigurumi?
For this project, a 4mm (US G/6) hook is recommended. However, you can adjust the hook size slightly if you notice that your tension is too loose or too tight, as achieving consistent fabric is key.
How do I fix dropped stitches in my amigurumi?
It’s an easy fix! If you spot a dropped stitch, carefully undo a few stitches back to that point. Re-crochet the missed stitch and continue—just be sure to keep counts in check so your progress stays on track.
Can I embellish my Eagle Amigurumi for a more personalized touch?
Absolutely! Feel free to use different yarn colors or embellishments, like embroidery or additional accessories. This is a wonderful way to customize your eagle, making it unique and special for gifting or personal enjoyment.
Leave a Reply