
As I sat with my favorite yarn, the soothing texture slipping through my fingers, I felt an eagerness to create something beautiful. That’s when I decided to embrace the charm of the “Elegant Layered Crochet Rose Flower Pattern.” This delightful project is designed to work up quickly, making it perfect for both beginners looking to advance their skills and seasoned crafters wanting a versatile embellishment. With its layered design, this crochet rose can effortlessly elevate anything from hair accessories to brooches or even cozy blankets. Plus, it lets you dive into your stash and play with colors! I can’t wait to guide you through each simple step, bringing your new floral masterpiece to life. Are you ready to stitch something gorgeous? Let’s get started!
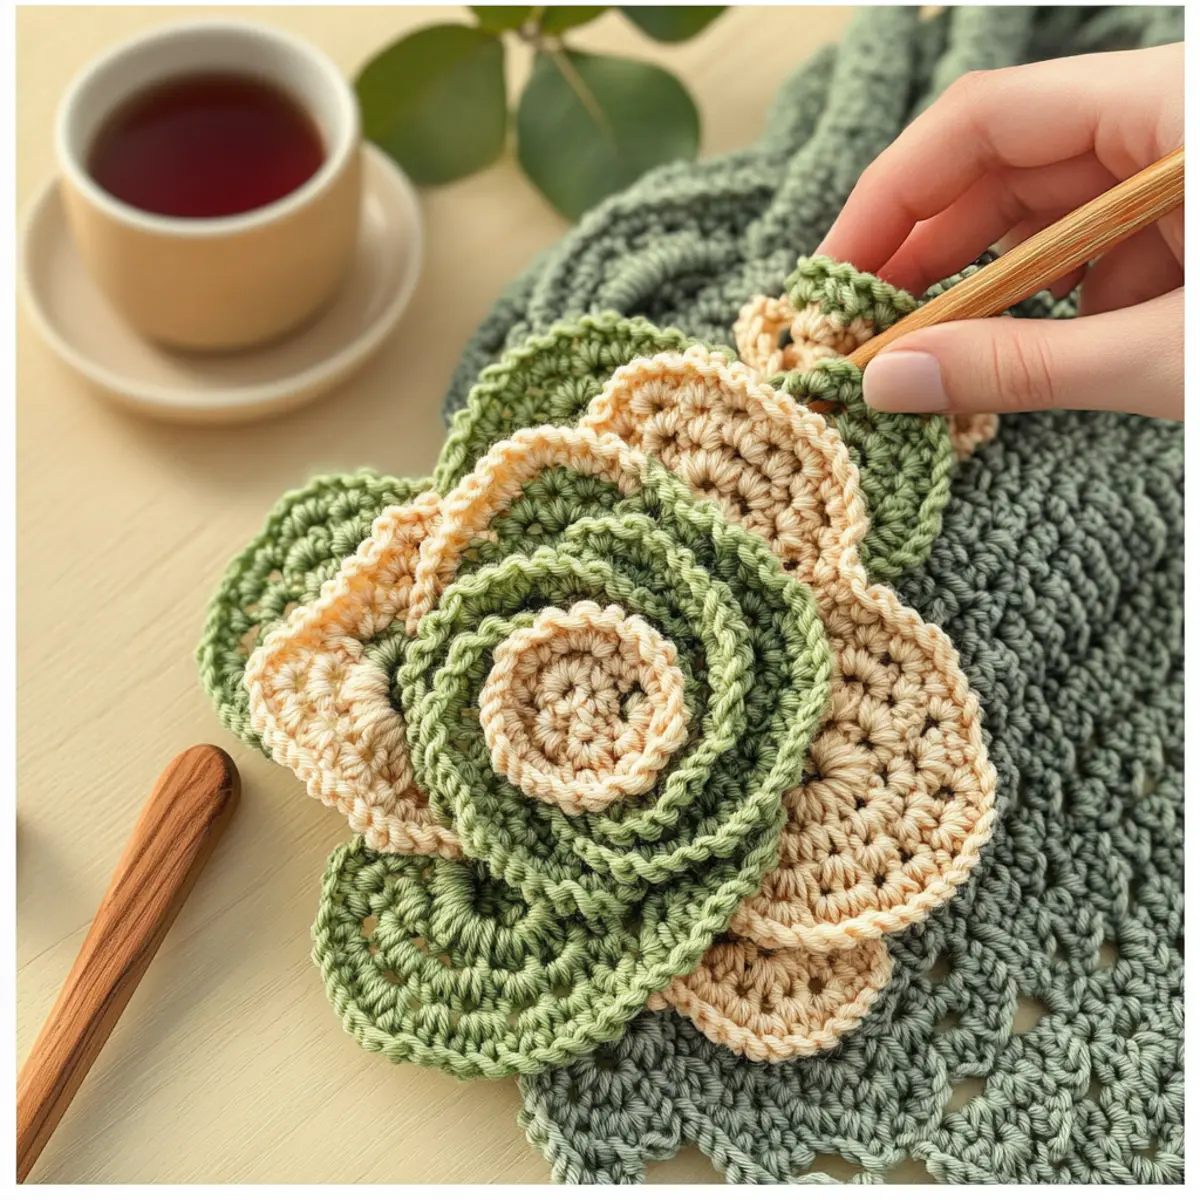
Beginner-Friendly Crochet Rose Materials & Tools
-
Yarn
• DK Weight Yarn (#3) – Choose any fiber type and gather approximately 50-100 yards (45-90 meters) based on the desired rose size. -
Tools & Notions
• 3.5 mm – 4.0 mm Crochet Hook – Perfect for creating the detailed layers of your rose; this corresponds to US sizes E-4 to G-6.
• Yarn Needle – Essential for sewing and assembling your beautiful rose, ensuring every petal is stitched securely.
• Scissors – Handy for cutting your yarn with precision when finishing your flower project.
Dive into your stash of materials and get ready to create a stunning crochet rose flower that’s oh-so-easy and rewarding!
Why Crochet This Elegant Rose?
Uniqueness: This pattern is designed with intricate, layered petals that mimic the beauty of real roses, making each flower a unique creation.
Beginner-Friendly: The step-by-step guidance ensures that even novice crocheters can create stunning results, boosting confidence.
Versatile Uses: Perfect for embellishing everything from brooches to hair accessories, you’ll find endless ways to incorporate these roses into your projects.
Quick Project: With a brisk making time, you can whip up a bouquet of roses in a single afternoon!
Customizable Colors: Play with yarn types and colors to match your personal style or décor theme effortlessly.
Dive into this delightful pattern for a beautiful way to enhance your crafting skills!
Gauge & Sizing Notes
Don’t skip the gauge swatch! For the “Elegant Layered Crochet Rose Flower Pattern,” checking your gauge is crucial to ensure your flower blooms beautifully and maintains its shape. A standard gauge measurement is 4×4 inches (10×10 cm), which should equal approximately 14 double crochets by 8 rows. If you find your tension is tighter or looser, you can easily adjust the size of your rose—just modify your starting chain accordingly. To make a larger flower, increase your starting chain in multiples of 6. If your swatch is smaller than the gauge, simply try using a larger hook size to achieve the desired dimensions for this stunning crochet rose!
Step‑by‑Step Pattern for Elegant Layered Crochet Rose Flower
Row 1: Foundation Chain
Start by chaining 61. Make sure your chain is not too tight; this will help in having a flexible foundation. In the 2nd chain from the hook, work a sc in the first 10 chains. Then, transition by working an hdc in the next 10 chains, followed by dc in the remaining chains. Turn your work at the end of the row, which should have a total of 61 stitches (61 sts).
Row 2: Petal Row – Small Petals
Begin this row by working small petals. In the next stitch, create a small petal using the sequence (sc, hdc, 2 dc, hdc, sc). After completing the small petal, skip 1 stitch and repeat this sequence 4 times across the row. Remember to keep your tension even; your small petals will start to give the design a lovely layered effect. At the end of the row, you should have 5 small petals formed (5 sts).
Row 3: Petal Row – Medium Petals
Next, shift to the medium petals. Work medium petals in the same fashion by creating (sc, hdc, 5 dc, hdc, sc) in the next stitch. After finishing that sequence, skip 1 stitch and repeat it 4 more times. With the medium petals formed, your crochet rose will begin to take shape, appearing fuller with each petal added. Count to ensure you have 5 medium petals (5 sts) at the end of this row.
Row 4: Petal Row – Large Petals
Now, it’s time for the large petals. In the next stitch, create a large petal by following the pattern (sc, hdc, 7 dc, hdc, sc). As with the previous rows, skip 1 stitch after each large petal and repeat this sequence across the remaining stitches. This row will really define the beauty of your crochet rose, adding a lovely dramatic flutter. You should see a total of 5 large petals at the end, contributing to the layered design (5 sts).
Step 5: Fastening Off
After completing the large petals, it’s time to fasten off. Cut the yarn, leaving a long tail to help with the assembly. Pull the yarn through the last loop on your hook to secure it. Your petals are now finished and ready for the next step! Keep your work flat, and prepare to roll your beautiful creation into a stunning crochet rose.
Step 6: Assembly
To assemble your crochet rose, begin by rolling the flower from the small petal end, gently shaping it as you go. As you roll, use the long tail from fastening off to stitch through the bottom edge of the petals, securing them in place. Continue to roll until you reach the end of the large petals, ensuring that the design keeps its dimensional look. Your beautiful rose should now be formed and ready for embellishment!
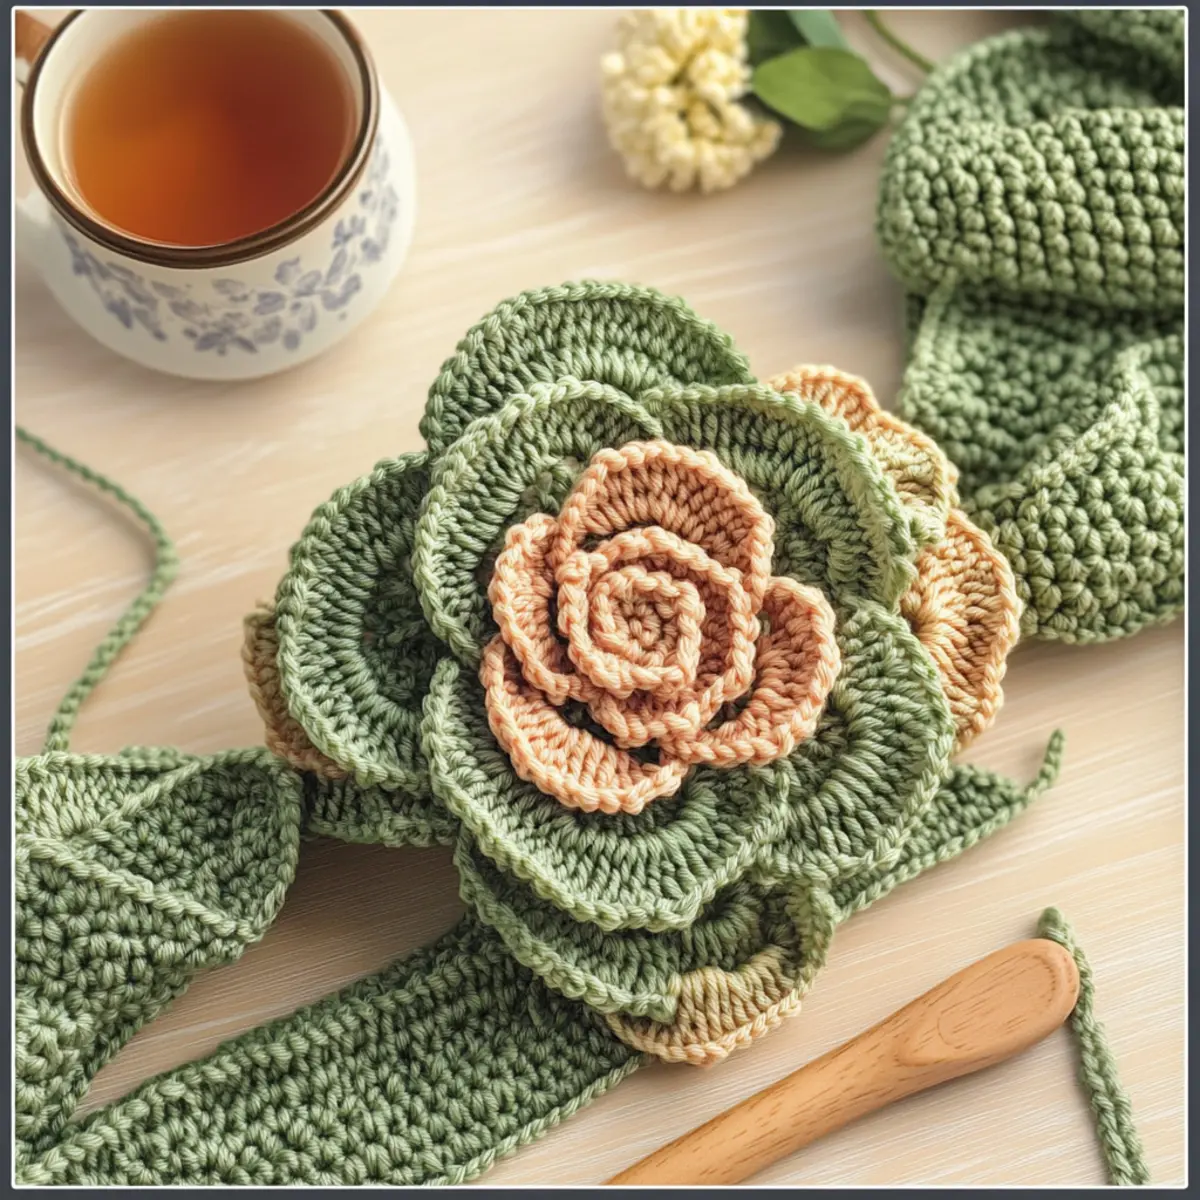
Washing & Care for Your Crochet Rose Flower
- Hand Washing: Gently wash your crochet rose flower in cold water with a mild soap. This helps preserve the delicate stitches and prevents felting.
- Avoid Agitation: Do not wring or agitate the flower when washing, as this could lead to pilling or distortion of the petals.
- Drying/Blocking: Lay your flower flat on a clean towel to dry, reshaping the petals as needed to maintain the beautiful layered design.
- Storage: Keep your finished crochet rose in a cool, dry place, preferably in a breathable cotton bag, to avoid moisture and dust accumulation.
Expert Tips for Crochet Rose
- Watch Your Tension: Proper tension ensures the petals remain uniform; practice maintaining consistent stitches for a polished look.
- Count Stitches: Regularly count your stitches to avoid missing any; it’s easy to lose track during petal rows!
- Choose the Right Hook: A 3.5 mm to 4.0 mm crochet hook will help create the delicate detailing needed for your layered design.
- Secure Assembly: Use a long tail during assembly to stitch the petals firmly, ensuring your rose maintains its lovely shape.
- Practice Makes Perfect: Don’t hesitate to make a few practice flowers; the more you stitch, the more skilled you’ll become!
Variations & Substitutions for Crochet Roses
Embrace creativity with your crochet rose project by exploring these exciting customization options!
-
Yarn Weight: Switch to a lighter or heavier yarn to adjust the rose’s size and fluffiness, giving it a unique look.
-
Fiber Type: Experiment with cotton or wool instead of acrylic for different textures and finishes; each fiber will offer a distinct charm.
-
Color Blocking: Use multiple colors in a single rose by alternating yarns row by row, creating a vibrant, eye-catching design. Your rose can reflect the seasons or your personal style.
-
Leaf Addition: Chain 12 and incorporate leaves using a Sc, Hdc, and Dc pattern to bring a touch of nature beneath your rose.
-
Sizing Up: For a larger flower, try a bigger hook or add extra rounds in the petal rows to make a statement piece perfect for larger accessories.
-
Pom-Pom Centers: Create a fluffy pom-pom center using leftover yarn, adding a playful twist to your rose that makes it truly stand out.
-
Fringe Effect: Incorporate fringe or tassels around the edges of the petals for an ethereal, garden-like feel that invites touch and admiration.
-
Textured Borders: Add a simple decorative border around the petals with slip stitches for a polished finish that enhances your rose’s elegance.
Don’t forget, customizing your crochet rose is a joy in itself! Consider diving into various yarns and colors, such as those used in the yarn weight guide, to find what resonates with your artistic vision. And if you want to perfect your skills further, check out these helpful crochet techniques that can transform your crafting journey.
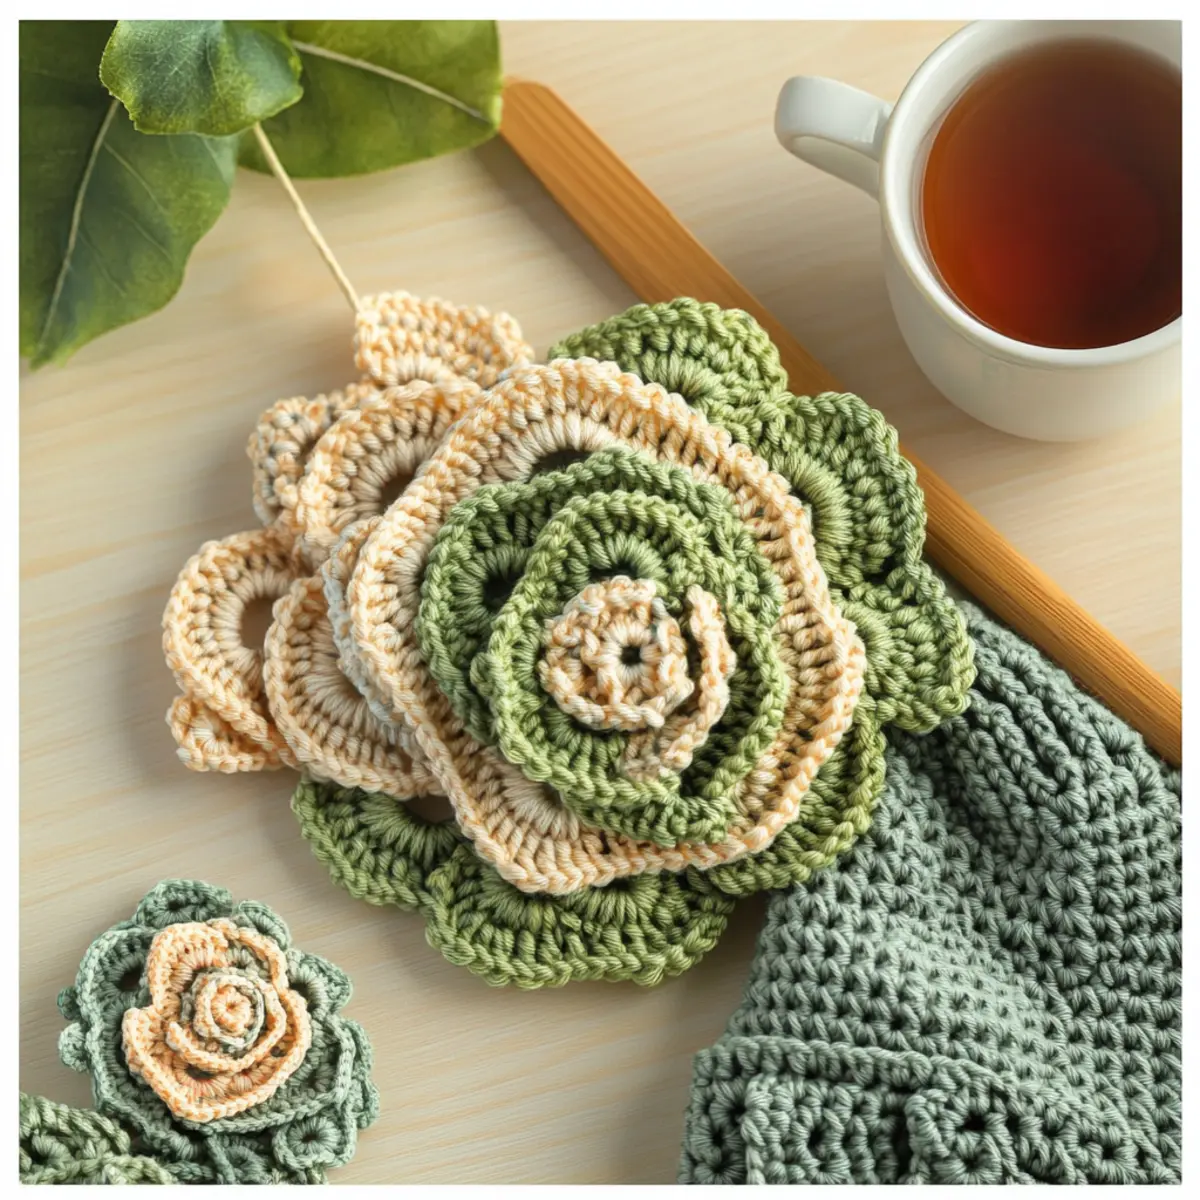
Elegant Layered Crochet Rose Flower Pattern FAQs
Can I use a different yarn type instead of DK weight yarn?
Absolutely! While DK weight yarn is recommended for this project, you can substitute it with other yarn types. Just keep in mind that using thicker yarn will result in a larger rose, so be sure to adjust your hook size accordingly and recalculate your yardage.
How can I make my crochet rose larger or smaller?
To customize the size of your rose, you can adjust your yarn weight and hook size. For a larger rose, try using worsted weight yarn and a larger hook, while lighter yarns can help create a daintier flower. Simply keep in mind that the pattern’s structure remains intact regardless of size.
Why do my flower petals curl or buckle?
Don’t panic! This can happen if your tension is too tight. Remember to maintain even tension throughout your work. If your petals are curling like a bowl, try blocking your finished rose. Soaking it in cool water and laying it flat to dry might just do the trick!
What size crochet hook should I use for this pattern?
For this pattern, a 3.5 mm to 4.0 mm crochet hook is ideal. This range helps achieve the delicate details needed for the layered petals. If you’re unsure about which size to choose, I suggest checking your gauge by making a small swatch before starting the entire rose.
How do I fix dropped stitches in my crochet rose?
Oh no, dropped stitches can be frustrating! To fix this, simply use your hook to pull the dropped stitch back up to the last worked row. If you can’t reach it easily, weave a few stitches to secure it. Take your time; it’s a common issue and a breeze to mend with practice!
Can I add leaves to my crochet rose, and how do I do it?
Definitely! Adding leaves is a delightful way to enhance your flower. To create optional leaves, simply chain 12, then work Sc, Hdc, and Dc stitches along the chain, attaching them beneath the rose for a beautiful finishing touch. This dynamic duo of petals and leaves creates a more detailed floral display!
Leave a Reply