
If there’s one thing we all need in our crafting arsenal, it’s a stylish bag to carry our yarn and projects in! Introducing the “Intermediate-Friendly Crochet Fan Stitch Bag,” a perfect blend of functionality and flair. This delightful pattern is designed with a playful texture and spacious interior, making it ideal for your next knitting session at the café or a cozy day in the park. What I love most is how quickly it works up, giving you a stylish accessory without the long wait—plus, it’s a fantastic stash-buster for those bits of soft yarn hiding in your closet. Ready to dive into this project that’s a little more complex than basic crochet but oh-so-rewarding? Let’s create a bag that showcases your unique style while holding all your crafting essentials!
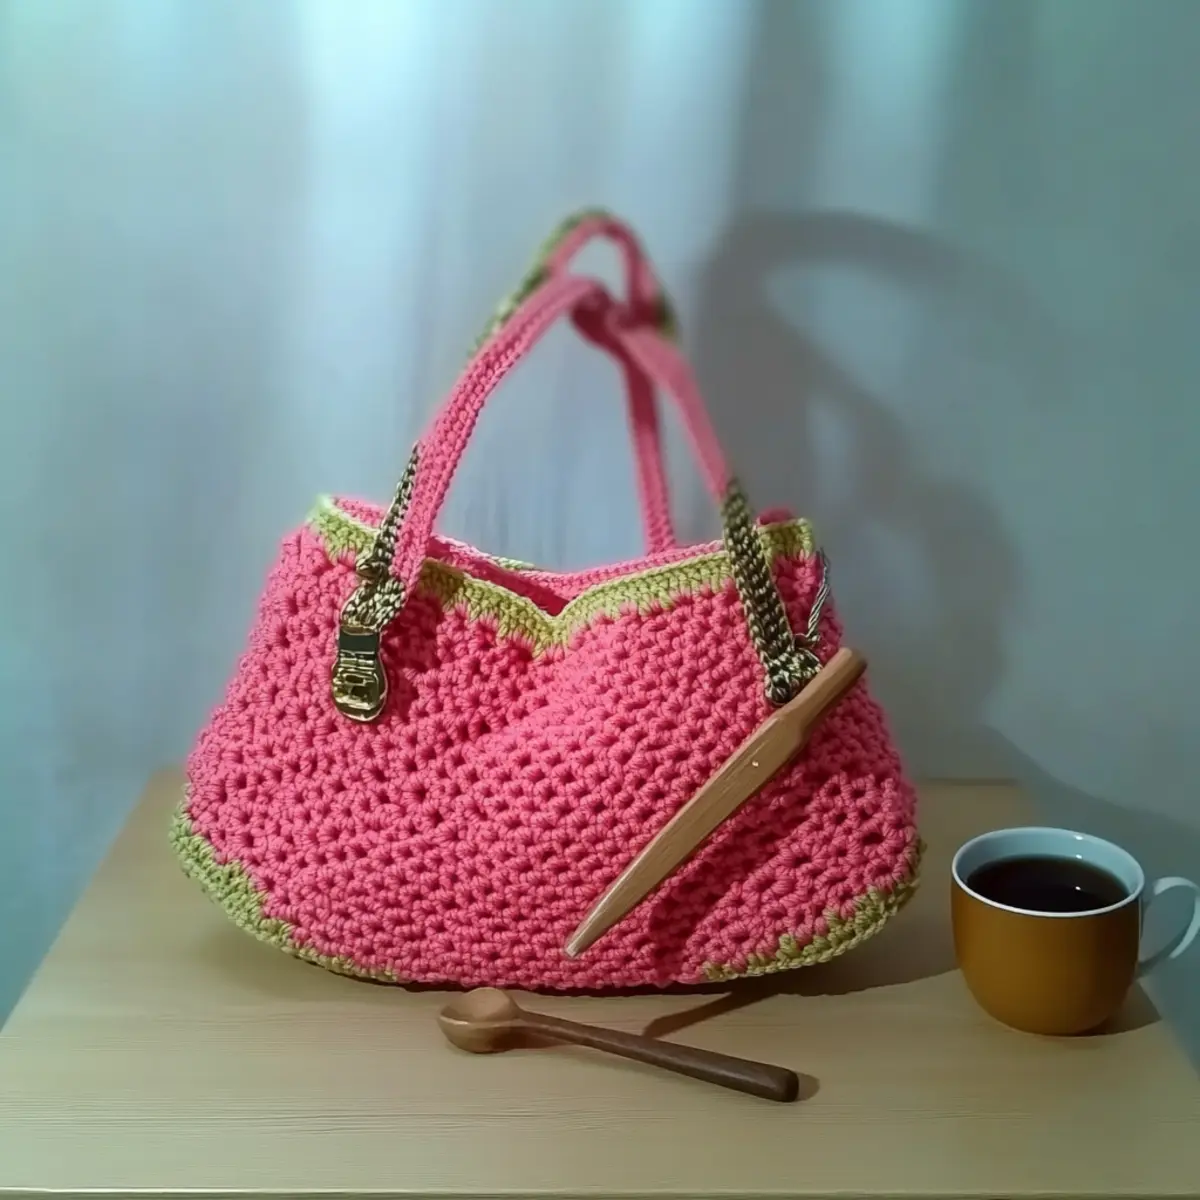
Crochet Fan Stitch Bag Materials & Tools
Get ready to gather your supplies and unleash your creativity with this beautiful bag project!
Yarn
• Worsted Weight Yarn – Choose a soft fiber with approximately 200-300 yards, depending on the size and color you prefer.
Tools & Notions
• 5.5 mm (I-9) Hook – The perfect size for creating those lovely fan stitches!
• Stitch Markers – Use these to keep track of your rounds and maintain even tension.
• Tapestry Needle – Ideal for weaving in those ends and making your bag look polished.
• Hardware for Strap Attachment – Optional, but adds a professional touch to your finished bag!
Now, you’re all set to embark on your journey to craft this stylish crochet bag with textured fan stitches!
Why is this bag a must-make?
Stylish Design: This bag boasts a chic elegance that instantly elevates your accessory game, making it perfect for any occasion.
Roomy Interior: With ample space, it’s crafted to hold all your yarn and essentials without compromising on style.
Textured Touch: The fan stitch texture not only looks stunning but also adds a delightful tactile experience as you crochet.
Quick to Make: You’ll love how fast this pattern comes together, providing instant satisfaction and a new favorite bag in no time!
Stash-Buster Delight: Gather those leftover soft yarn bits and transform them into a beautiful bag that showcases your creativity.
Customizable Fun: Feel free to play with colors and sizes to truly make it your own; the design invites personalization!
Gauge & Sizing Notes
Don’t skip the gauge swatch! Ensuring the correct tension for your “Intermediate-Friendly Crochet Fan Stitch Bag” is essential for achieving the perfect size and shape. The standard gauge measurement is a 4×4 inch (10×10 cm) square that should equal 12 stitches by 10 rows in the fan stitch pattern. If you want to make this bag larger, increase your starting chain in multiples of 12 and adjust your row counts accordingly. Conversely, if your tension swatch is too tight, simply go up a hook size. Remember, measuring your crochet gauge will help you create the ideal bag to showcase your crocheting skills!
Step‑by‑Step Pattern for Intermediate-Friendly Crochet Fan Stitch Bag
Row 1: Foundation Chain
Begin by creating a foundation chain of 40 chains. This chain should be loose enough to accommodate the stitches without tension. Join the last chain to the first with a slip stitch (sl st) to form a ring, being careful not to twist the chain (40 ch).
Round 1: Establishing the Base
Chain 2 (counts as first hdc), then work 2 hdc into each chain around, creating a smooth base. You’ll have a total of 80 hdc, which provides the foundation for the fan stitches, ensuring your work lays flat (80 hdc).
Round 2: Creating the Fan Stitches
Chain 2, then in the same stitch, work 1 dc, ch 1, and 1 dc—this creates your first fan. Skip the next stitch and repeat the fan stitch in every other stitch around. At the end of this round, your work should have a lovely texture and 40 fans (40 fans).
Round 3: Building the Texture
Start with a chain 2, then create a fan in the first ch-1 space of the previous round. Continue to place a fan in each ch-1 space all the way around, ensuring you maintain tension for consistent fans. You’ll complete another 40 fans, maintaining the circular shape of your bag (40 fans).
Round 4: Amplifying the Design
Chain 2 and create a fan in the first space as before. Now, in between each fan, work 1 hdc. Repeat this around, alternating between fans and hdc stitches. You should have 40 fans and 40 hdc, creating depth and enhancing the texture of your bag (40 fans, 40 hdc).
Round 5: Shaping the Bag
Continue with chain 2 for the opening, then work 1 dc in the first stitch. For the next stitch, create 3 dc to form a fan in the ch-1 space. This round will introduce more structure, as you’ll continue alternating fans with a grouping of hdc again for balance (40 fans).
Rows 6-10: Heightening the Bag
Repeat the fan stitch pattern established in previous rounds, working in the same manner. Keep expanding the height of your bag by adding rounds until you reach your desired length. Count your stitches regularly to keep them even (approximately 5 rounds total).
Round 11: Decreasing for the Rim
Start decreasing by working a dc in the first stitch, then combine the next two stitches (dec) to taper the bag’s top. Continue alternating between dc and dec until you complete the round, which will help shape the bag while maintaining its elegance (yielding about 40 stitches).
Round 12: Final Edging
For a polished look, chain 1, then work 1 sc in each stitch around. This edging technique will give your Intermediate-Friendly Crochet Fan Stitch Bag a neat finish, while ensuring the top remains secure (approximately 40 sc).
Step 1: Assembly Optional Straps
If adding straps, use a tapestry needle to sew in place, either attaching hardware or crocheting directly. Ensure that straps are evenly spaced and securely fastened for optimal use, perfect for carrying all your crafty essentials in style!
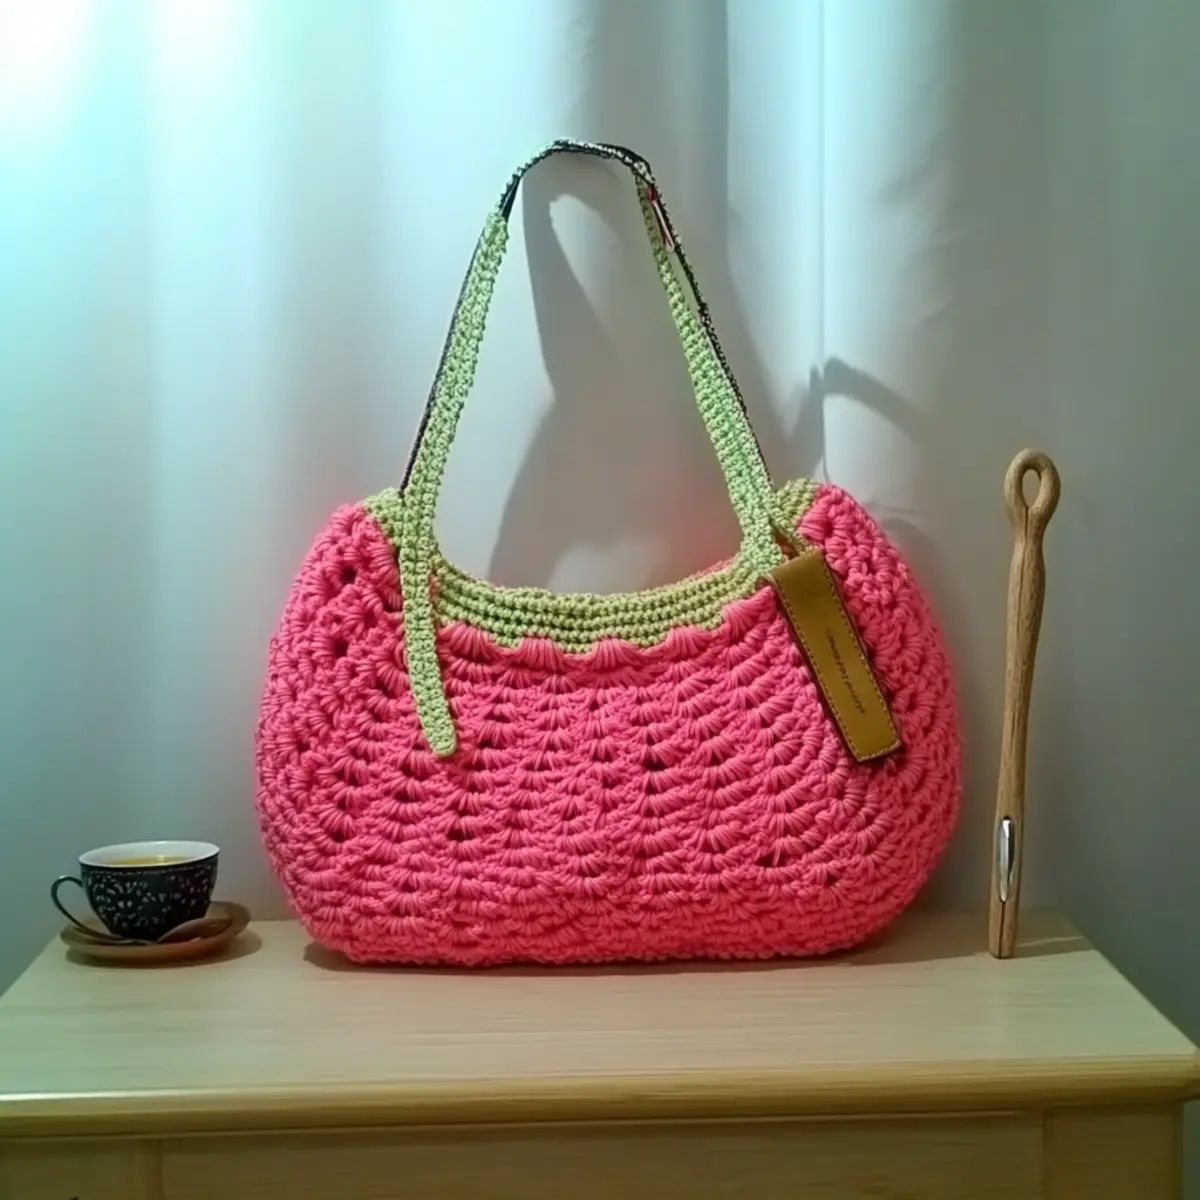
How to Wash and Care for Your Crochet Bag
- Hand Washing: Gently wash your crochet bag in cold water with a mild detergent to preserve its beautiful fan stitch texture. Avoid harsh chemicals for longevity.
- Lay Flat to Dry: To maintain the bag’s shape, lay it flat on a clean towel and reshape if needed. Avoid hanging, as this may distort the fabric.
- Avoid Agitation: Never wring or twist the bag, as this can cause felting or pilling of the yarn. Handle it delicately to keep it looking fresh and stylish.
- Storage Tips: When not in use, store the bag in a cool, dry place, preferably in a breathable cotton bag, to keep it free from dust and maintain the yarn’s condition.
Crochet Bag Variations & Substitutions
Now that you’re ready to create your own delightful crochet bag, let’s explore ways to make this pattern uniquely yours!
-
Yarn Weight: Select a lighter or heavier yarn to create a more compact or oversized bag. Just adjust your hook size accordingly!
-
Color Blocking: Try using multiple colors in sections to create a fun, vibrant look. Alternating colors can add depth and personality to your design.
-
Fiber Alternatives: Swap out the worsted weight yarn for cotton for a fresher, cooler bag suitable for summer outings. This gives a smooth finish and enhanced durability.
-
Strap Styles: Experiment with different strap types such as braided, chunky, or even a chain link for a modern twist. You can use leftover yarn for unique strap designs.
-
Size Adjustments: Increase or decrease the number of rounds to customize the bag’s size. Whether you need a small purse or a large tote, this pattern can easily adapt!
-
Texture Modifications: Add a playful pom-pom or fringe to the bag’s bottom for a trendy flair. These details can infuse the bag with character while showcasing your creativity.
-
Personalized Lining: Consider adding a fabric lining to your crochet bag for extra strength and a touch of elegance. It also helps in keeping tiny items secure.
Remember, the beauty of crochet lies in its flexibility! Feel free to dive into more tips on color changes and yarn textures to elevate your crochet experience, or check out our guide on adjusting stitch patterns for even more customization ideas. Happy crocheting!
Expert Tips for the Best Crochet Bag
- Tension Matters: Keep your stitch tension consistent throughout the project to ensure an even shape and well-defined fan stitches.
- Count Regularly: Make it a habit to count your stitches at the end of every round, preventing any warping or unintended decreases.
- Practice Makes Perfect: Consider practicing the fan stitches on a smaller swatch before starting the actual bag; this boosts your confidence and skill.
- Finishing Touches: Use invisible seams when completing your bag to give a polished look; it makes a world of difference in the final presentation.
- Check Your Gauge: Always create a tension swatch to confirm your gauge matches the specified 4×4 inches = 12 sts by 10 rows in the fan stitch.
- Adjust as Needed: Be prepared to modify row counts if you’d like to customize the bag size; it’s a great way to make sure it meets your needs.
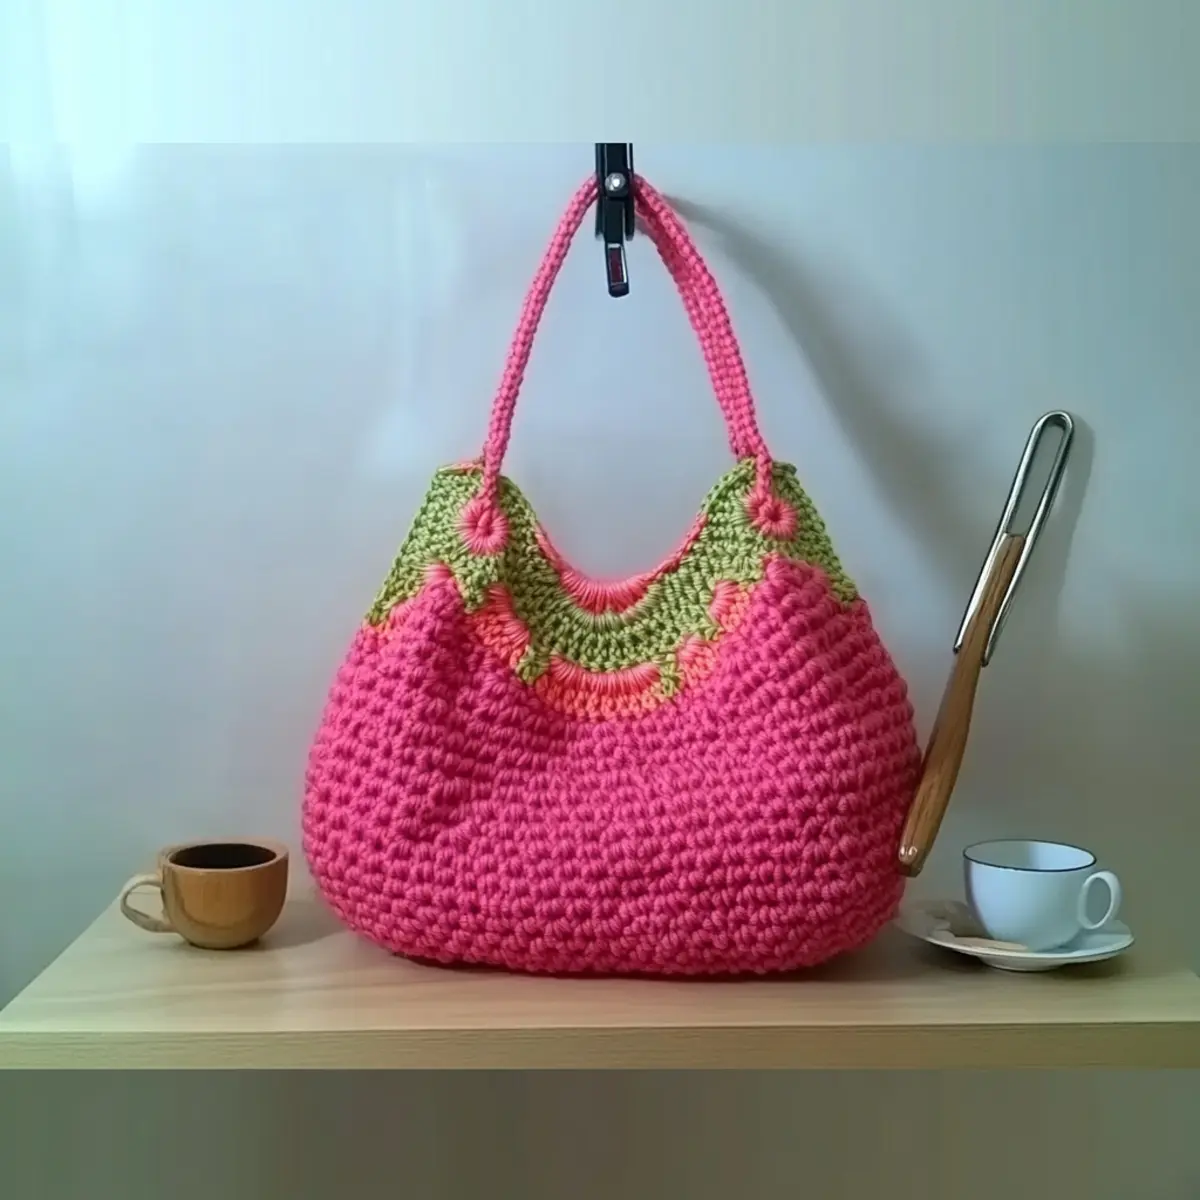
Intermediate-Friendly Crochet Fan Stitch Bag FAQs
Can I use a different type of yarn instead of worsted weight?
Absolutely! You can substitute with another yarn, but if you choose a lighter or heavier weight, just keep in mind that it may affect the overall size and drape of your bag. A bulky yarn will yield a sturdier bag but might alter your stitch counts, so I recommend checking your gauge as you go along.
How can I make this bag larger or smaller?
To adjust the size, simply add or remove rounds from the body as needed! If you’re making it larger, consider chaining in multiples of 3 + 1 for the foundation chain to ensure you have enough stitches for your fan stitches.
Why is my work curling at the edges?
Don’t panic! Curling can happen if your tension is too tight or uneven. Check your twist and tension, and if your circle is buckling like a bowl, try using a larger hook size to give the stitches more room to relax.
What hook size should I use?
For this project, a 5.5 mm (I-9) crochet hook is recommended. This size strikes a lovely balance between comfort and stitch definition. If you’re feeling adventurous, try a different hook size, but remember to check your gauge!
How do I fix dropped stitches?
It’s an easy fix! Simply insert your hook back into the dropped stitch from the front to the back, yarn over, and pull through. Then, continue your stitch as normal. Counting your stitches often will help catch any drops early!
Can I add more texture to the bag design?
Yes! If you want to enhance the texture, consider adding additional rows of different stitch patterns between your fan stitches as you crochet. It’s a fun way to personalize your bag and make it uniquely yours!
Leave a Reply