
As I sifted through my yarn stash the other day, a bright skein of worsted weight caught my eye, whispering creativity and inspiration. It sparked the idea for a stylish, practical crochet bag that’s perfect for showing off your personal style! This beginner-friendly customizable crochet bag project offers a wonderful introduction to the art of crochet, with step-by-step instructions that make the process enjoyable and accessible. Not only does this pattern work up quickly, making it an ideal choice for last-minute gifts or a weekend project, but it also allows you to tap into your creativity in designing the perfect bag for your needs. Let’s dive into the world of yarn and stitches together, and craft something beautiful that you can truly call your own!
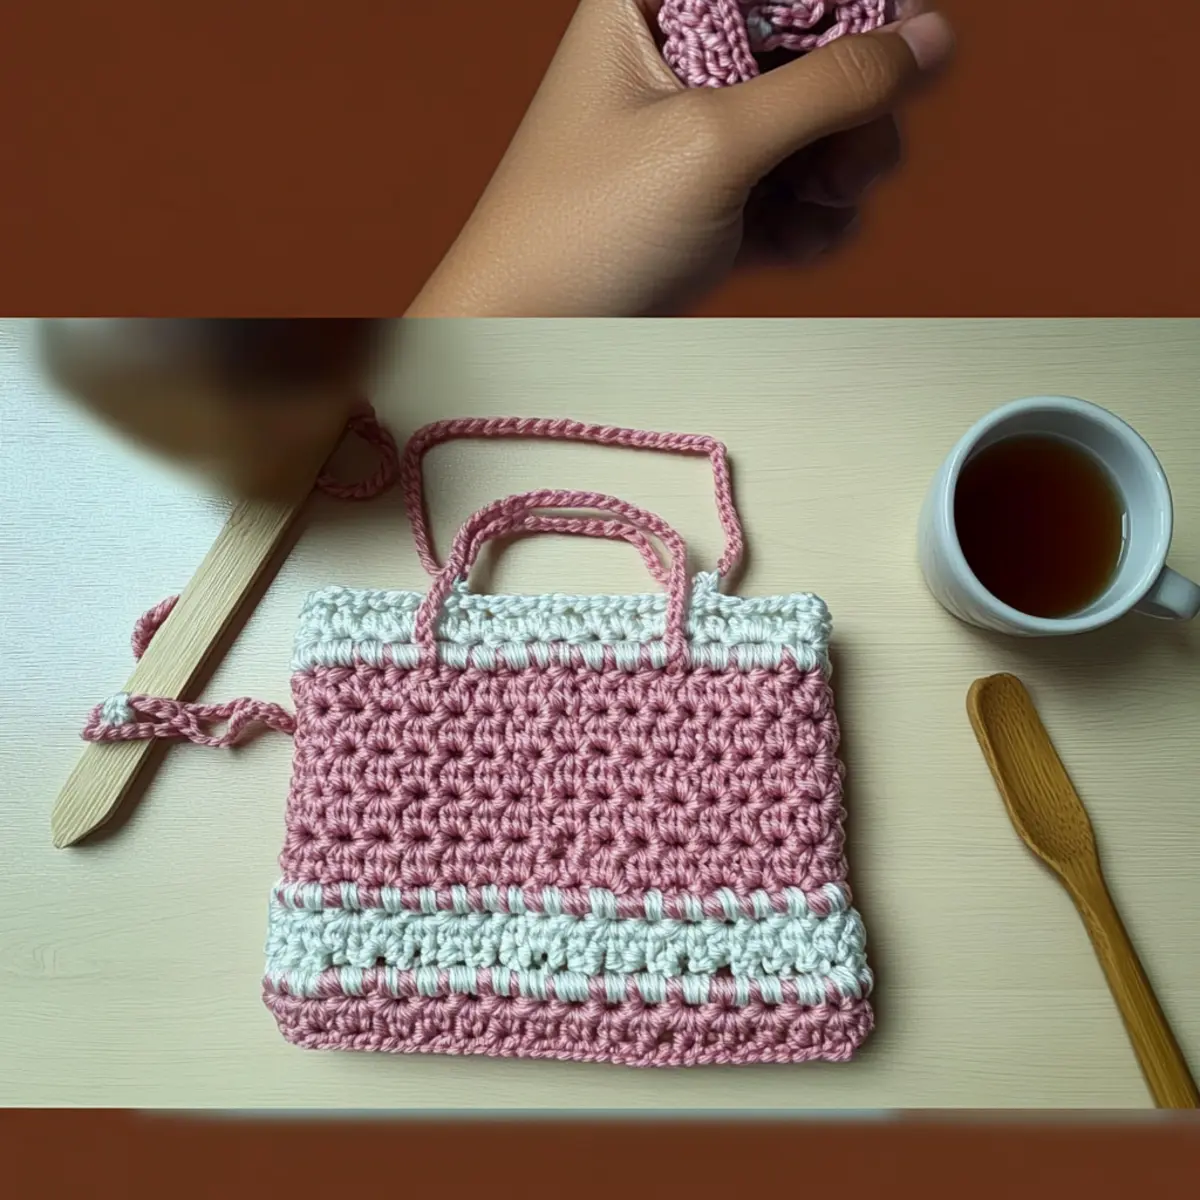
Beginner-Friendly Crochet Bag Materials & Tools
Get ready to create something special with this cozy crochet bag project!
Yarn
- Worsted Weight Yarn – Approximately 200-400 yards depending on the bag size; choose your favorite color for customizable flair.
Tools & Notions
- 5.5 mm (I/9 US) Hook – This hook size is perfect for creating a sturdy yet stylish bag structure.
- Stitch Markers – Essential for tracking your stitch counts and keeping your project on track!
- Tapestry Needle – Perfect for weaving in ends and securing your work neatly.
- Measuring Tape – Helps you ensure your dimensions are just right for your beginner-friendly crochet bag.
- Optional: Fabric Lining – Consider adding this for extra durability and a polished finish.
Why Is This Crochet Bag Special?
Versatile Styles: The design supports multiple sizes and styles, ensuring you can create a bag that perfectly fits your needs—whether it’s a chic tote or a handy purse.
Simple & Fun: With easy-to-follow step-by-step instructions, even beginners can confidently finish this project and showcase their skills.
Unique Personalization: The pattern encourages individual flair; embellishments like embroidery or buttons can transform your bag into a one-of-a-kind accessory that truly reflects your personality.
Quick to Make: Perfect for a last-minute gift or a satisfying weekend project, this stylish bag works up quickly, so you can enjoy your creation sooner!
Explore more beginner-friendly projects to expand your skills, and make sure to check out our tips on personalizing your crochet items for added inspiration!
Gauge & Sizing Notes
Don’t skip the gauge swatch! It’s essential to ensure your stylish crochet bag turns out just the right size for your needs. For this project, a 4×4 inch (10×10 cm) square should measure 12 stitches by 10 rows in double crochet. If you want to customize the dimensions of your bag, simply adjust your starting chain or increase/decrease your rounds in multiples of 3. If your swatch is smaller than desired, consider using a larger hook size to achieve a looser tension, ensuring your next bag will reflect your personal style perfectly! Happy crocheting!
Step‑by‑Step Pattern for Beginner-Friendly Customizable Crochet Bag
Row 1: Foundation Chain
Ch 30 (or preferred width); this will be the foundation of your bag. Ensure to keep your chain loose enough for easy stitching. The number of chains you create will determine the final width of your bag, so adjust according to your desired size.
Row 2: Base Row
In the second chain from the hook, work 1 sc; then continue to sc across each ch to the end, totaling 29 sc. This creates a strong foundation for your bag. At the end of the row, it should feel sturdy yet flexible, laying flat (29 sts).
Row 3: Base Length
Ch 1 (does not count as a st), turn; sc in each st across, maintaining 29 sc. This row reinforces the base structure and provides the necessary length for the body of your bag. Your work should be double the thickness now, laying neatly flat (29 sts).
Row 4: Starting the Sides
Ch 1, turn; continue with 1 sc in the first 5 sts, then inc (2 sc in next st) in the 6th st; follow up with 1 sc in the next 18 sts, then inc in the last st (2 sc in last st) for shaping. Your work should start to gain some height at this point (31 sts).
Row 5: Continue Sides
Ch 1, turn; sc in the first 6 sts, inc in the 7th st, sc in the next 18 sts, and finish with an inc in the last st. This row maintains the shaping of the bag while allowing for more space. Your sides should begin to rise, creating a three-dimensional feel (33 sts).
Row 6: Repeat for Height
Ch 1, turn; sc in the first 7 sts, inc in the 8th st, sc in the next 18 sts, inc in the last st. Keep increasing at the edges to achieve your desired bag height. The work will continue to rise more distinctly, creating the perfect sides for your bag (35 sts).
Row 7: Create the Handles
Ch 1, turn; sc in first 12 sts, ch 20 for the handle, sk the next 5 sts, sc in the remaining 18 sts of the row. This step adds a handle section for your customizable crochet bag. Your work will look like it has a gap in the middle where the handle goes (35 sts).
Row 8: Complete Handle Row
Ch 1, turn; sc in first 18 sts, then sc into the 20 chains (this forms the handle), finish by sc in the last 14 sts. This connects the handle while securing the bag’s structure. Your bag should have a well-defined handle area now, providing functionality (35 sts).
Row 9: Edging and Finishing Touches
Ch 1, turn; sc around the entire bag, placing 2 sc in each corner to round it out. This reduces any sharp edges and gives your bag a polished look. The working edge should feel smooth, creating a finished appearance all around (approximately 38 sts around).
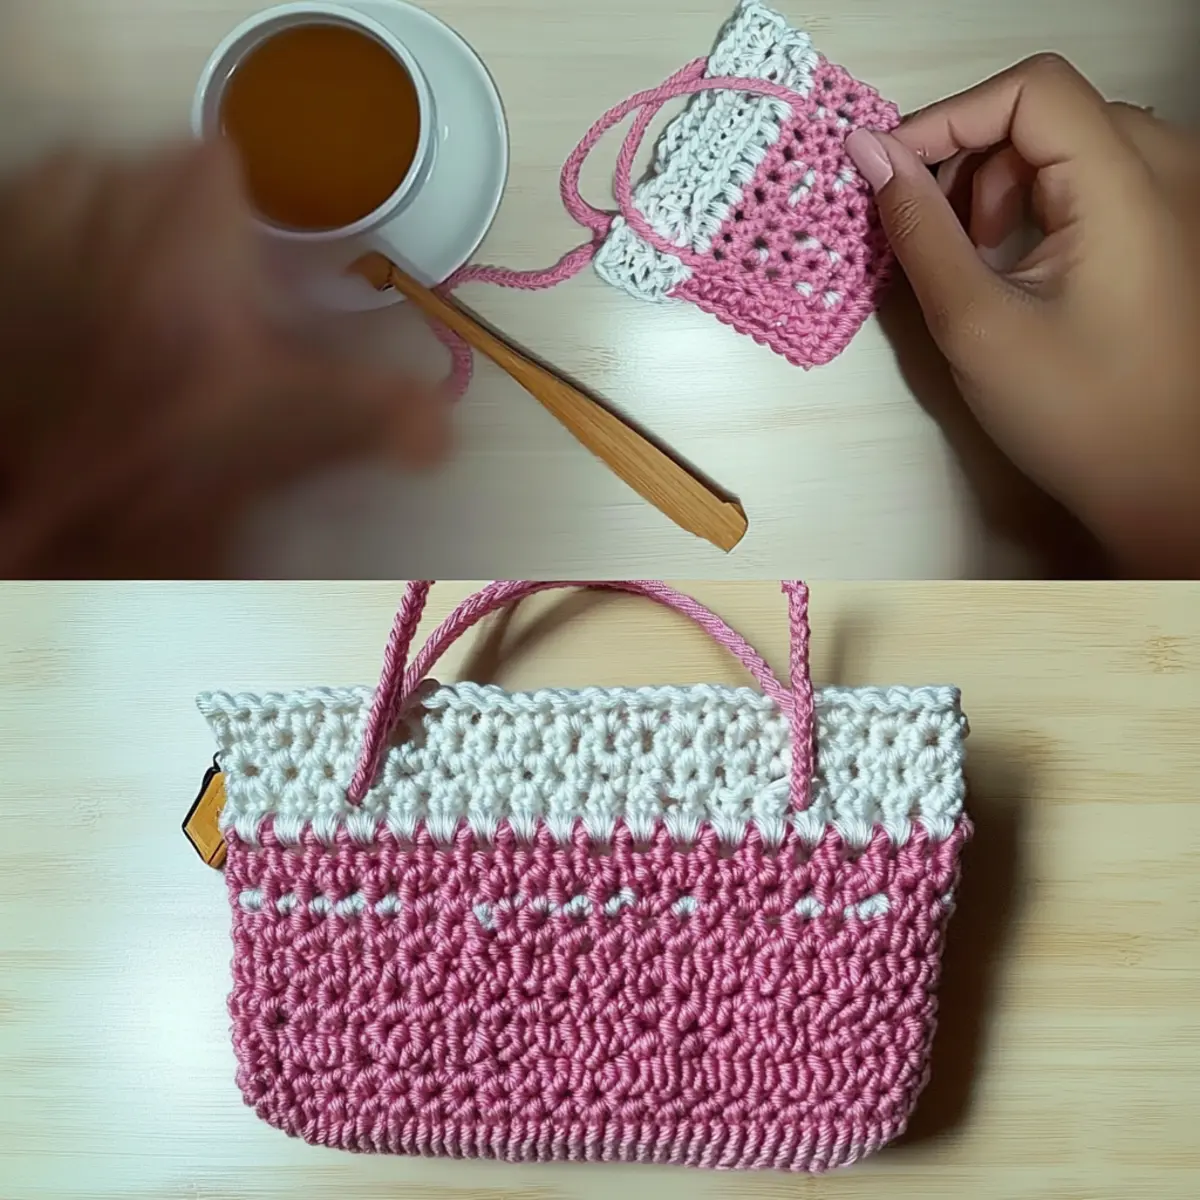
Expert Tips for Your Crochet Bag
-
Count Stitches Frequently: Regularly counting your stitches helps maintain the correct shape and size of your bag, preventing costly mistakes as you progress.
-
Watch Your Tension: Ensuring consistent tension is vital; too tight or too loose can result in a distorted finish. Practice tension swatches if needed!
-
Secure the Foundation: Double-check your foundation chain for twists before starting your base row; this avoids an uneven bag shape and promotes easier stitching.
-
Weave in Ends Neatly: Take the time to weave in loose ends properly to avoid unraveling. A tidy finish enhances the overall look of your crochet bag.
-
Consider Blocking: Gently wet block or steam block your finished bag to smooth out any uneven stitches and enhance your bag’s defined shape. Remember, blocking can elevate your project!
Washing & Care Instructions for Your Crochet Bag
-
Hand Washing: Gently hand wash your crochet bag in cold water with mild detergent to preserve its integrity and prevent stretching. Avoid heavy agitation to maintain shape.
-
Machine Washing: If you prefer machine washing, place your bag in a mesh laundry bag and wash on a gentle cycle with cold water. This will reduce wear and tear while cleaning effectively.
-
Drying/Blocking: Lay your crochet bag flat on a clean towel to dry, reshaping it as needed. If desired, gently block the bag to smooth out stitches and enhance its structure, keeping it looking fabulous!
-
Storage: Store your bag in a cool, dry place away from direct sunlight to avoid fading. Consider placing it in a cotton or linen bag to protect it while maintaining breathability.
Beginner-Friendly Crochet Bag Variations
Inviting readers to explore creative options is a wonderful way to make your crochet bag project truly your own.
-
Yarn Substitutions: Swap out your worsted weight yarn for cotton for a lightweight, breathable bag perfect for summer outings.
Cotton creates a crisp, lightweight feel that’s both stylish and functional in warm weather. -
Color Blocked: Experiment with multi-color stripes or blocks to add vibrancy to your bag.
Choose colors that complement each other for a fun, eye-catching twist that showcases your personality. -
Size Adjustments: Alter the initial foundation chain for a small, medium, or large bag to suit your needs.
Whether you prefer a cute clutch or a spacious tote, sizing modifications provide perfect options for any occasion. -
Texture Additions: Enhance your bag’s appeal with texture by adding fringe, a pom-pom, or a decorative border.
These small details can transform your bag from ordinary to extraordinary, making it a standout piece. -
Adjustable Straps: Consider making adjustable straps for versatility.
A simple adjustment in your strap design allows you to wear your bag comfortably, whether crossbody or on your shoulder. -
Pockets Galore: Create interior or exterior pockets for added functionality.
A handy pocket can hold your essentials securely, making your bag not only stylish but highly practical. -
Embellished Finishes: Top off your bag with beads, buttons, or embroidery for personal flair.
Adding these embellishments not only enhances the aesthetic but also tells your unique crafting story.
Enhance your skills further with these exciting alternatives, or dive into projects that incorporate varying techniques. Don’t forget to check out our guide on adding unique textures for even more creative ideas!
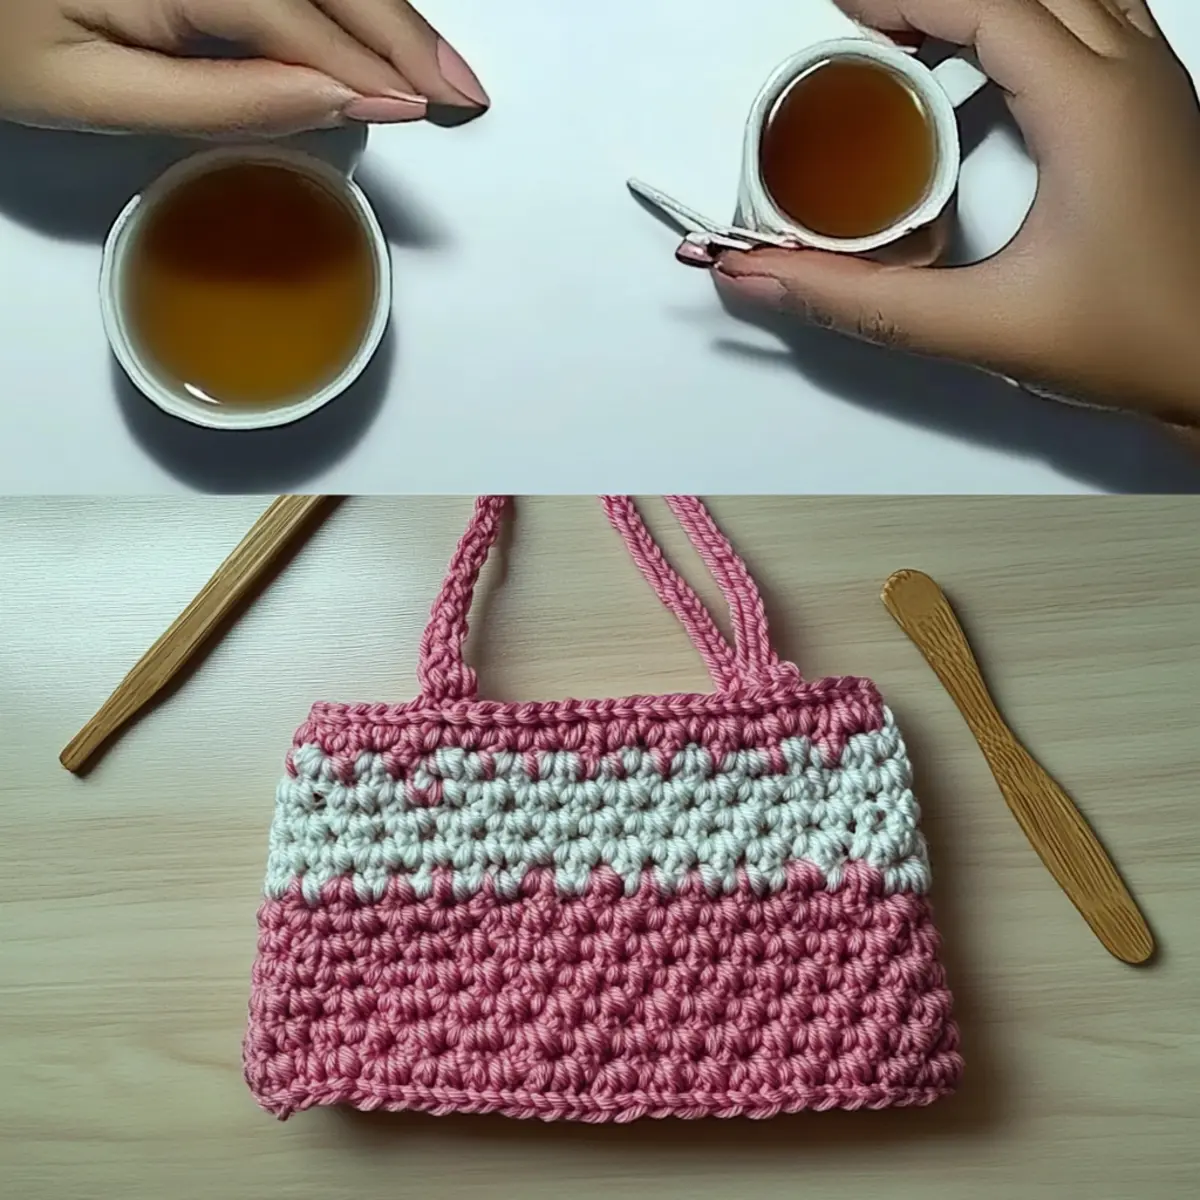
Beginner-Friendly Customizable Crochet Bag FAQs
Can I use a different yarn than worsted weight?
Absolutely! You can substitute worsted weight yarn with a different fiber, like cotton or even a chunky option. Just remember that the yarn weight will affect the size and drape of your bag, so it’s ideal to check your gauge first and adjust your hook size accordingly!
How do I make my crochet bag bigger?
To enlarge your bag, simply start with a longer foundation chain. For example, if your starting chain is currently 30 stitches and you want a larger bag, you can increase it in multiples of your stitch pattern—typically keep it in multiples of 3 for easy design adjustments. Just remember to maintain the same stitch count throughout for balance!
Why is my crochet work curling up at the edges?
Don’t panic! Curling is often the result of tight stitches or not using enough stitches in the initial foundation chain. If your edges are curling like a bowl, try loosening your tension or adding extra stitches when shaping the sides. Blocking can also help flatten those edges and give your bag a more polished look!
What size hook should I use?
For this pattern, you should use a 5.5 mm (I/9 US) crochet hook. However, if you’re working with a different yarn weight or find your stitches too tight or too loose, consider trying a hook one size larger or smaller until you achieve the desired tension.
How can I fix dropped stitches?
It’s an easy fix! If you notice a dropped stitch, simply use your tapestry needle to pull the loose loop back through the last stitch row, careful to keep your tension consistent. If it’s more than one stitch, unravel back to the last complete row to work it back up properly.
Can I add pockets to my crochet bag?
Absolutely, yes! To include pockets, just create small rectangles with the same stitch pattern, then sew or crochet them onto the inside or outside of your bag. This customization not only adds practicality but gives your project a unique touch that can be tailored to your specific needs!
Leave a Reply