
As I settled into my cozy nook with my favorite plush yarn, I felt that familiar spark of excitement—there’s something truly magical about bringing a whimsical creature to life with just a hook and some yarn. This free capybara amigurumi pattern, lovingly named Clara, is a delightful project that captures the essence of cuddles with its oversized rounded body and charming expression. Perfect for both beginner crocheters and seasoned pros, Clara works up quickly and is made from soft, huggable yarn that’s ideal for gifts or snuggles. In just a few hours, you’ll have an adorable companion that radiates warmth and charm. So grab your supplies, and let’s embark on this crochet adventure together!
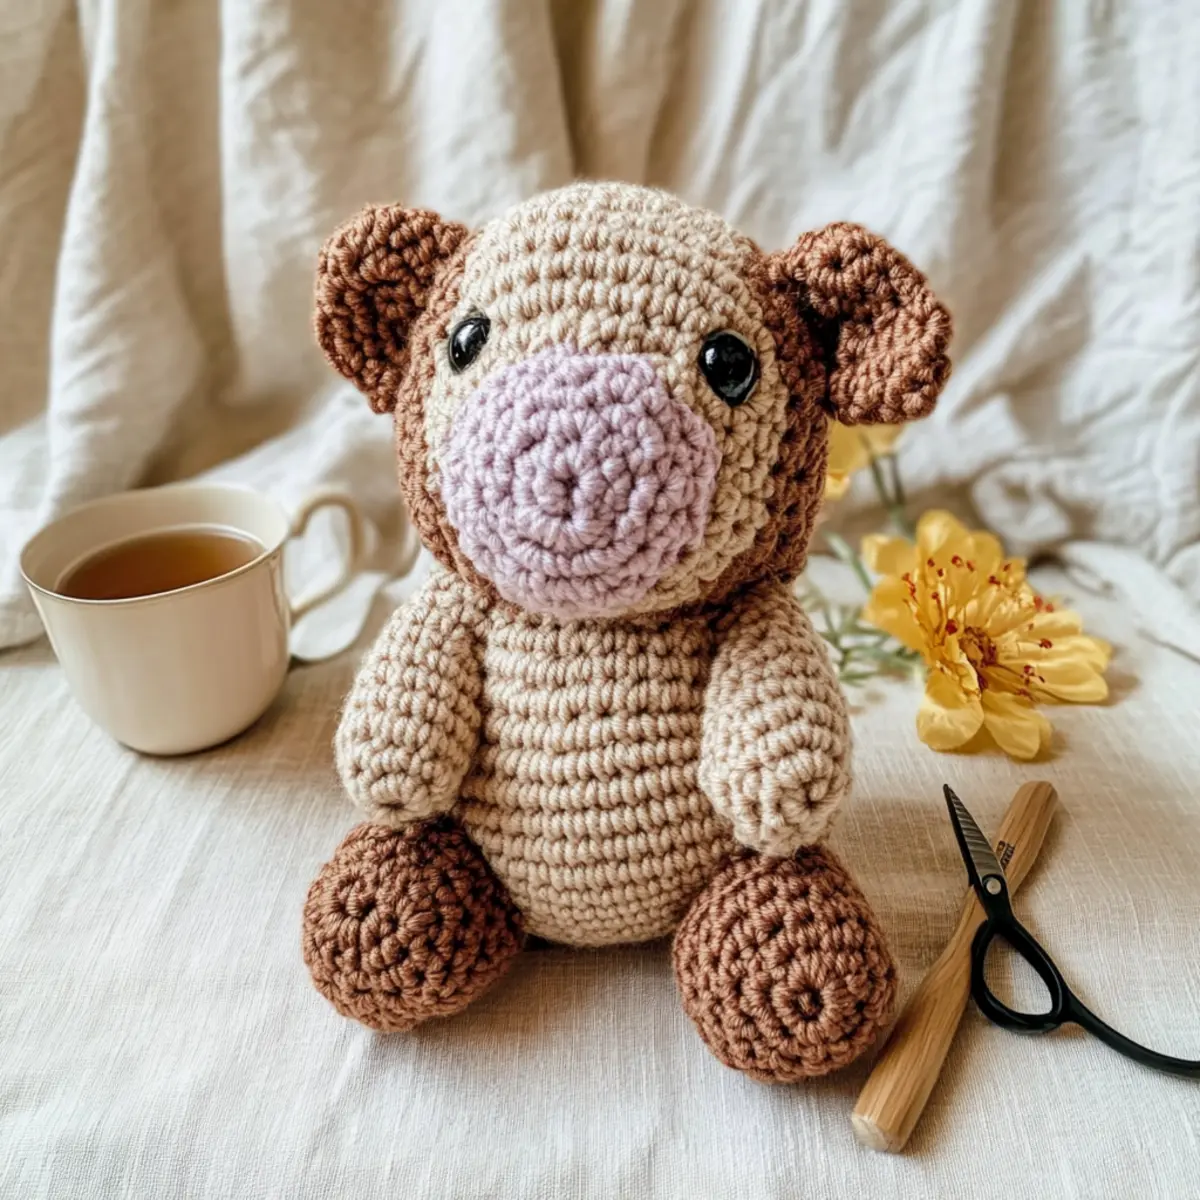
Capybara Amigurumi Materials & Tools
Getting ready to crochet your very own Clara? Here’s what you’ll need to make this delightful project come to life!
Yarn
• Plush Yarn – Choose bulky weight yarn in tan and caramel colors, needing approximately 150 yards total for a lovely cuddly capybara.
Tools & Notions
• 6.0 mm (US J Hook) – This size is perfect for working up your plush yarn seamlessly and creating those cozy stitches.
• Safety Eyes or Embroidery Thread – Use safety eyes for an adorable gaze, or opt for embroidery for a child-safe alternative.
• Stitch Markers – A must-have to keep track of your rounds as you create Clara.
• Tapestry Needle – Perfect for weaving in ends and sewing pieces together beautifully.
• Stuffing (Polyester Filling) – For a wonderfully soft and huggable finish, fill Clara’s body generously!
With these materials in hand, you’re ready for a fun crochet journey crafting your very own capybara amigurumi!
Why Is This Capybara So Special?
Beginner-Friendly: With its simple shapes and stitches, Clara is perfect for crochet newbies eager to build confidence while crafting something adorable.
Plush Comfort: The use of soft, bulky yarn gives this capybara an irresistibly huggable feel that’s perfect for cozying up with!
Quick Project: Busy crafters will love how swiftly Clara comes together, making it a fantastic last-minute gift option or a quick indulgence for yourself.
Customizable Flair: You can easily personalize Clara with pops of color for a unique look or even add charming accessories like a bow tie or scarf to make it your own.
Aesthetically Pleasing: Capture that whimsical vibe in your home decor with this delightful amigurumi that’s bound to bring smiles, making it more than just a project—it’s a decorative statement as well!
Gauge & Sizing Notes
Don’t skip the gauge swatch! It’s essential for creating Clara the Capybara just right. Ensuring your tension matches the pattern will help your capybara turn out to be the intended size, approximately 24-25 cm in height. For this project, a 4×4 inch (10×10 cm) square should measure 8 stitches by 6 rows in single crochet. If you’d like to adjust the size, remember to increase your starting chain in multiples of 8 for a wider body or decrease for a smaller one. If your swatch is smaller, try going up a hook size to achieve that adorable plushness and perfection!
Step-by-Step Pattern for Beginner-Friendly Huggable Capybara Crochet Pattern
Round 1: Start the Body
Begin with a magic circle, chain 1, and work 6 single crochet (sc) into the circle (6 sts). Pull the circle tight and join with a slip stitch (sl st) to the first sc. Your work should appear like a small tight circle, forming the base of Clara’s cozy body.
Round 2: Increase for the Base
Ch 1, then work 2 sc in each stitch around (12 sts). Join with a sl st to the first sc. You should see your work beginning to grow wider, resembling a small disc; this will be the foundation for Clara’s round body.
Round 3: Further Increases
Ch 1, *1 sc in the next stitch, 2 sc in the next stitch; repeat from * around (18 sts). Join with a sl st. The shape should begin to swell, transitioning from flat to a rounded formation; it’s starting to become Clara!
Round 4: Continue Shaping the Body
Ch 1, *1 sc in the next 2 sts, 2 sc in the next stitch; repeat from * around (24 sts). Join with a sl st. You’ll notice your piece is rounding out, preparing for Clara’s soft, huggable form, eagerly awaiting stuffing.
Round 5-8: Create the Body Height
For rounds 5-8, ch 1 and work 1 sc in each stitch around (24 sts). Join with a sl st at the end of each round. Your work should steadily rise, creating a plush cylindrical shape, ready to cozy up to!
Round 9: Prepare for Head
Ch 1, *1 sc in the next 2 sts, dec over the next 2 sts; repeat from * around (18 sts). Join with a sl st. The decrease will subtly bring the shape inward, signaling the transition to Clara’s head.
Round 10: Head Shaping
Ch 1, *1 sc in the next stitch, dec over the next 2 sts; repeat from * around (12 sts). Join with a sl st. As your work starts to close in, it should resemble a bulbous shape, indicating Clara’s charming head is forming.
Round 11: Final Shape for Head
Ch 1, dec over the next 2 sts around (6 sts). Join with a sl st. At this point, your amigurumi should look quite rounded, almost like an adorable little ball; you’re getting closer to finishing Clara!
Step 1: Attach Safety Eyes
Before sealing the head completely, attach safety eyes about 1-2 stitches apart. Position them to give Clara her sweet expression! If desired, you may embroider eyes for added safety if this capybara is for a child.
Step 2: Seal the Head
Stuff Clara’s head firmly and then fasten off by weaving the yarn through the remaining stitches, pulling tight to close the gap. Your work should feel nice and full, with a smoothly stuffed head ready for its features.
Step 3: Ears Construction
Using caramel yarn, make a magic circle and crochet 4 sc into the circle. Pull tight, and join with a sl st. Repeat for a second ear. They will shape up, looking like small rounded triangles, adding to Clara’s charm!
Step 4: Limbs Creation
For the arms, ch 1 and work 5 sc in a magic circle (6 sts). Join and continue for 4 more rounds of 1 sc in each stitch (6 sts). Finish off and repeat for legs, but work 5 rounds without stuffing. The limbs should look like adorable little stubs, perfect for a cuddly capybara!
Step 5: Assembly
Position and sew the head onto the body securely, ensuring the eyes are aligned for expression. Attach the ears to the top of Clara’s head and the limbs to the sides, creating her whimsical charm. Your capybara is coming to life in delightful harmony!
Step 6: Finishing Touches
Weave in any remaining yarn ends. You might consider adding fun accessories like a tiny scarf or bow tie to personalize Clara. Your work should feel cohesive and visually inviting, completing the huggable capybara crochet pattern!
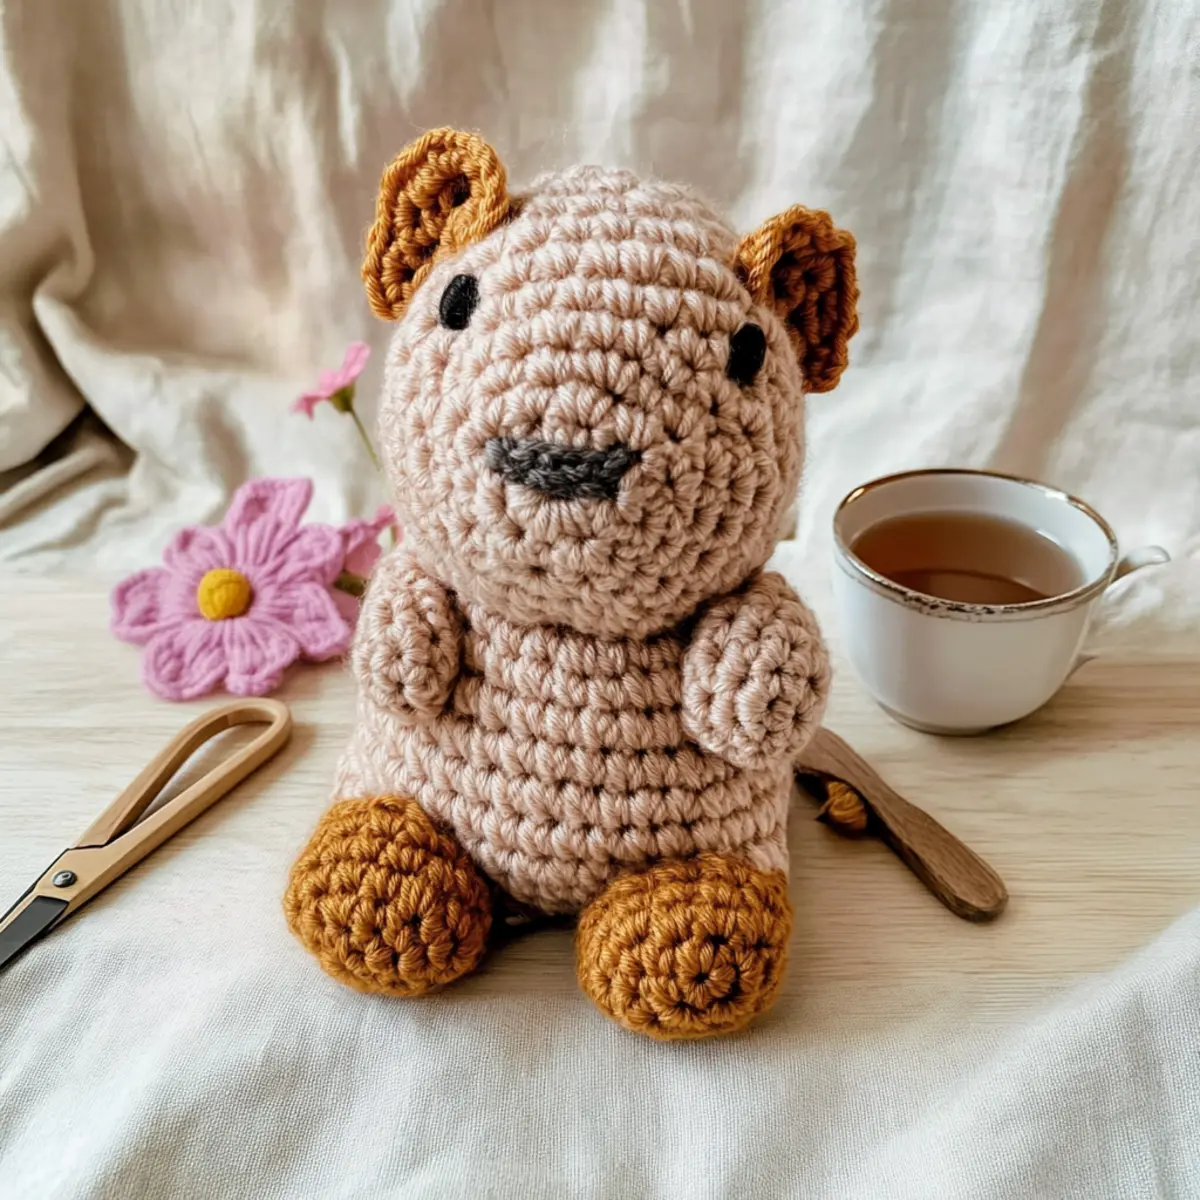
Capybara Crochet Pattern Variations
Feel free to unleash your creativity and customize Clara in delightful ways that reflect your style!
- Yarn Weight Change: Switch to lighter yarn for a smaller capybara or heavier yarn for a chunkier version. Play with proportions for a whimsical touch!
- Color Alternatives: Use vibrant colors like greens or blues to create a dreamy look. Mix and match for a playful aesthetic that brings Clara to life more vividly.
- Texture Addition: Add a fluffy pom-pom tail for extra charm or a fuzzy border around Clara’s body. It adds tactile allure and personal flair to every cuddle.
- Embellishment Options: Consider crochet accessories such as a miniature scarf or a tiny sun hat. These playful touches offer character that makes Clara uniquely yours!
- Size Customization: Adjust your hook size and yarn tension to create a miniature or giant capybara. Crafting different sizes can be delightful for themed gatherings or displays.
- Environmental Twist: Explore eco-friendly yarns, like cotton or bamboo, for a sustainable alternative that showcases your love for our planet.
- Fringe Delight: Add some fun texture to Clara’s limbs with fringe for an eye-catching detail that adds a unique flair. It’s a playful element that can enhance your design.
Don’t forget to check out projects like color-blocking techniques or how to make accessories for amigurumi for even more inspiration!
Washing & Care for Your Capybara Amigurumi
• Hand Washing: Gently hand wash Clara in cold water with a mild detergent. Avoid wringing or vigorous scrubbing to retain its plush texture.
• Drying/Blocking: Lay Clara flat on a clean, dry towel to dry completely. Reshape the body if necessary, allowing it to maintain its adorable form.
• Storage: Store your capybara in a cool, dry place away from direct sunlight to prevent fading or damage to the plush yarn.
• Avoid Machine Washing: Refrain from machine washing or drying Clara to ensure the huggable softness remains intact, safeguarding its charm and cuddly appeal.
Expert Tips for Crochet Clara
• Track Your Stitches: Always use a stitch marker to pinpoint the last stitch of each round, which helps maintain your count and shape.
• Check Your Tension: Keep your tension consistent throughout the project to ensure Clara’s body remains evenly plush, avoiding gaps or tight stitches.
• Stuff As You Go: To prevent uneven shaping, stuff the body lightly as you work through the rounds, allowing you to mold it easily.
• Secure Finishing: When sewing the components together, ensure to use a tight stitch for stability, especially for limbs and head assembly.
• Careful Eye Placement: If using safety eyes, attach them before completing the head for proper alignment. For a child-safe option, consider embroidering the eyes instead.
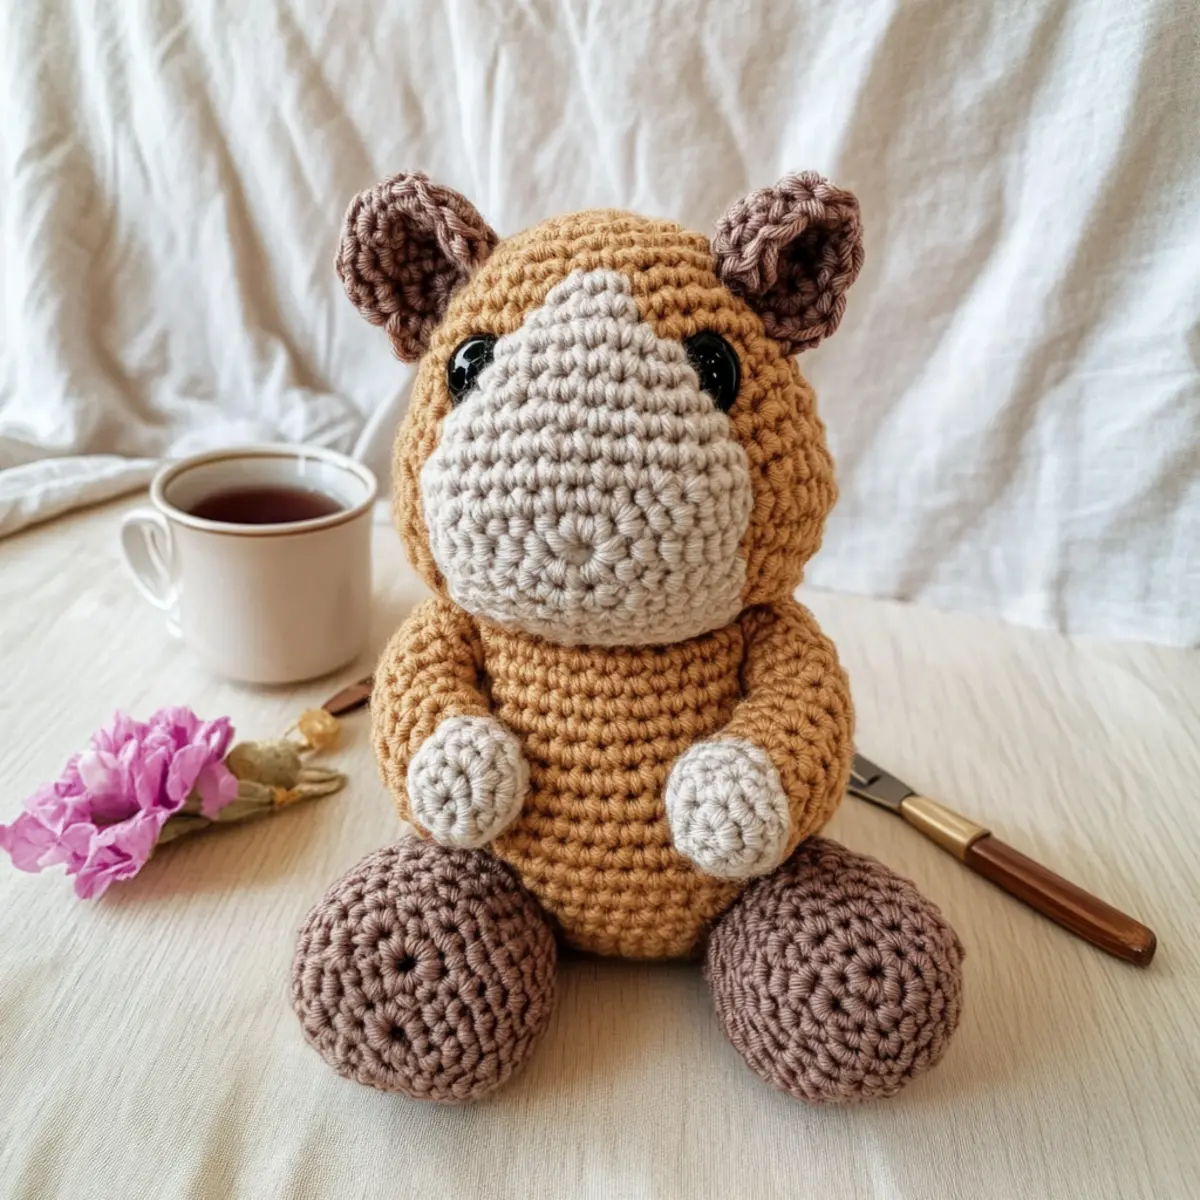
Beginner-Friendly Huggable Capybara Crochet Pattern FAQs
Can I substitute different yarns for this pattern?
Absolutely! While the suggested plush yarn creates a lovely, cuddly texture, you can substitute with any bulky-weight yarn. Just keep in mind that using a thinner yarn will result in a smaller capybara, so adjust your hook size accordingly to maintain your gauge.
How do I make Clara bigger or smaller?
To adjust the size of your capybara, simply add or reduce the number of rounds for the body and head. For instance, if you’re looking for a larger size, you can work an additional round or two in each section. Just remember to keep track of your stitch count!
Why is my work curling while crocheting?
Don’t panic! Curling often happens if your tension is too tight or you’re working in a stitch pattern that pulls the fabric. To fix this, try loosening your tension. If the curling persists, check that your stitch count is correct and consider using a larger hook.
What hook size should I use for this project?
The pattern recommends a 6.0 mm (US J hook) for a reason—it perfectly complements the plush yarn and helps you achieve that desired squishy texture. If you find your stitches are too tight or too loose, feel free to experiment with a larger or smaller hook, just remember to check your gauge!
How do I fix dropped stitches?
It’s an easy fix! If you notice a dropped stitch, there’s no need to unravel your work. Simply use your tapestry needle to pick up the stitch and pull it back through the remaining loops in that row. With practice, you’ll find this becomes quicker and easier!
What’s the best way to position safety eyes?
When attaching safety eyes, I recommend doing this before fully sealing the head. Position them about 6-8 stitches apart on the rounded face to capture Clara’s sweet expression perfectly. If unsure, stand back and look at the placement—adjusting before the head is closed is much easier than after!
Leave a Reply