
As I plopped down on my couch, cozy blankets enveloped me, and the soft crunch of winter snow against the window was the perfect backdrop for an afternoon of crafting. This is where the magic of the Beginner-Friendly Caitlin Chunky Beanie comes into play. With its super chunky yarn and simple instructions, you’ll find this quick project not only ideal for those chilly days but also a fantastic stash-buster. Picture yourself crafting a dense, warm hat that works up faster than you can say “handmade gift.” Plus, it’s perfect for beginners looking to build confidence and creativity! So, grab your favorite yarn in a vibrant hue, and let’s create something special that will keep you toasty all season long. Ready to dive into this charming project? Let’s get stitching!
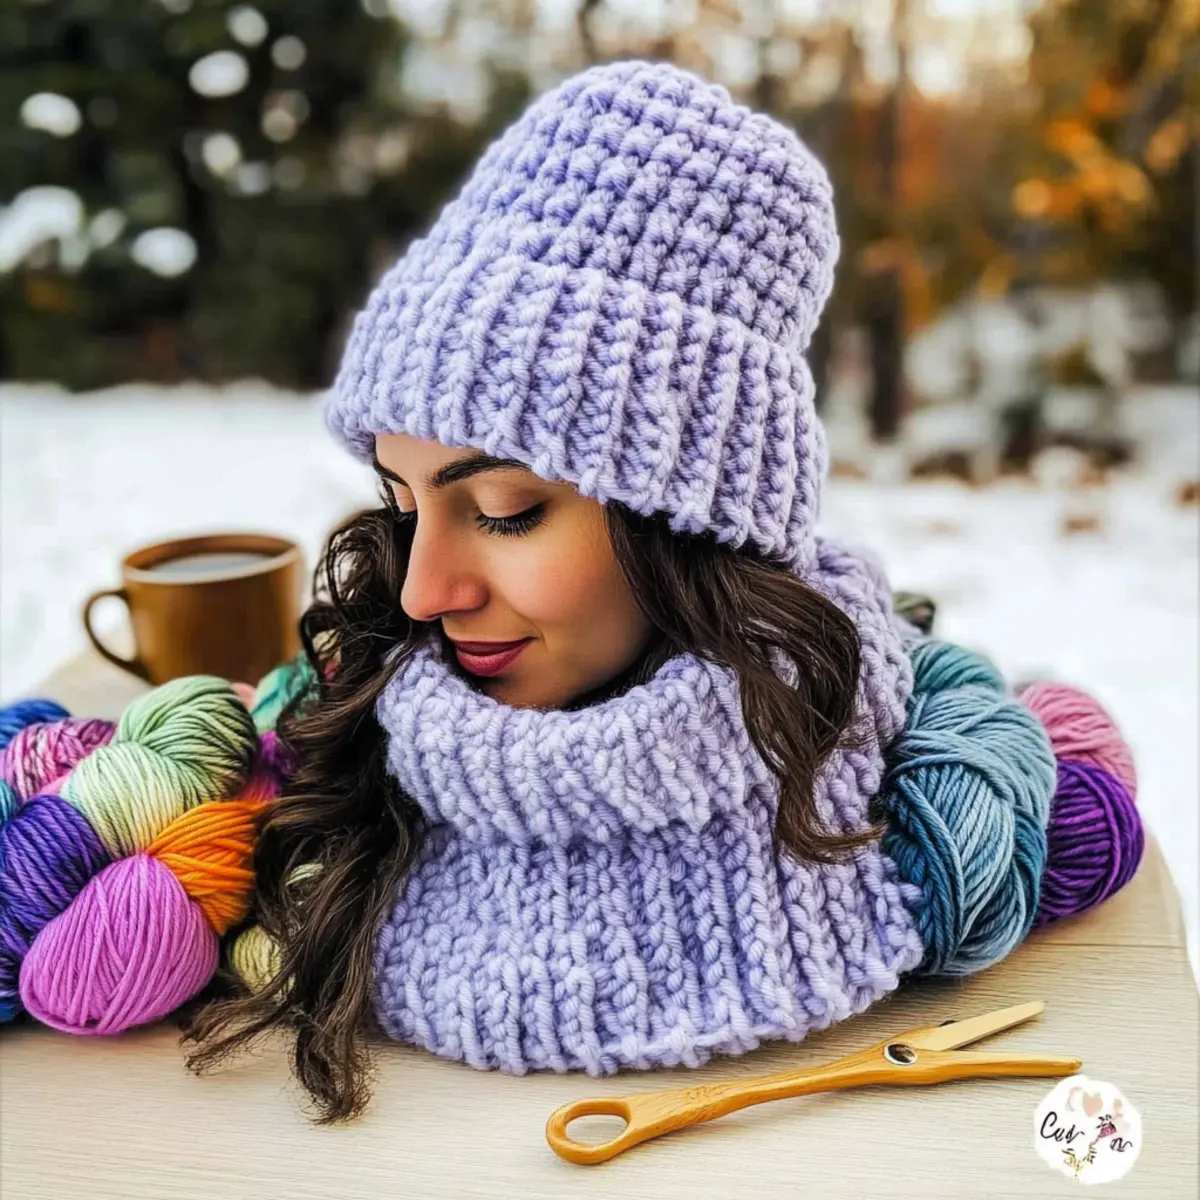
Caitlin Chunky Beanie Materials & Tools
• Get ready to gather your supplies and create your very own cozy beanie!
Yarn
- Crazy Sexy Wool – A super bulky weight (Category 6) yarn that’s 100% natural, renewable, and biodegradable; perfect for quick projects—choose from over 30 gorgeous colors!
Tools & Notions
- Size O (12 mm) Hook – This large hook size helps create the squishy texture of the beanie while making stitches easy and quick to work up.
- Stitch Markers – Essential for keeping track of where your rounds begin, making it easier for beginners to stay organized.
- Tapestry Needle – Use this for weaving in ends, ensuring your beanie looks polished and finished.
- Optional Large Pom-Pom – Add a fluffy touch on top of your beanie for a fun and playful finish!
Why Will You Love This Beanie?
Versatile Design: The Caitlin Chunky Beanie is perfect for everyone, from beginners to seasoned crafters. With just a few easy steps, you can have a stylish accessory in no time!
Quick and Satisfying: This pattern works up rapidly, giving you a finished product that you can wear or gift within hours.
Textural Delight: The use of super bulky yarn creates a thick, cozy fabric that feels inviting against your skin, making it ideal for cold weather.
Customizable Colors: With over 30 vibrant shades of Crazy Sexy Wool, you can make each hat uniquely yours or whip up delightful variations for friends and family.
Perfect for Gifting: Quick to make and adaptable in design, this beanie is a thoughtful gift idea for birthdays, holidays, or just because!
So grab your hook, pick a color, and start stitching your own cozy creation that you’ll love wearing all season long!
Gauge & Sizing Notes
Don’t skip the gauge swatch! Ensuring that your tension is spot-on is essential for the fit of your Beginner-Friendly Caitlin Chunky Beanie. Aim for a standard gauge measurement of 4×4 inches (10×10 cm), which should equal 8 stitches and 7 rows. If your gauge swatch is larger or smaller than this, adjust your starting chain accordingly: for example, to make the beanie wider, increase your initial chain by multiples of 2. If your tension is too tight, simply go up a hook size to achieve a cozier fit. Trust the process; a little extra care will result in a beanie you’ll love to wear!
Step‑by‑Step Pattern for Beginner-Friendly Caitlin Chunky Beanie
Row 1: Foundation Chain
Ch 20 to create the foundation chain for the beanie. Make sure to loosely chain so the fabric maintains flexibility. Switching to the back loop only (BLO), yo slip stitch (yo sl st) into each chain across. This will form a rectangle that will later shape the beanie, ensuring it’s wide enough for your head size. The end of this row should have 20 yo sl sts (20 sts).
Row 2: Rectangle Formation
Continue to work in BLO, yo sl st in each stitch until the piece measures approximately 18” (45.5 cm) in length. It’s important not to stretch the fabric as you work; you want it to maintain a soft drape. This creates the main body of the beanie, ensuring it stretches comfortably when worn. You should finish this row with 20 yo sl sts.
Row 3: Seaming Sides Together
To form the beanie, fold your rectangle in half and seam the sides together using a slip stitch (sl st). Start from the bottom and work upward to secure the edges. This will create a tube shape for the beanie. Make sure the stitches are even, and your work should begin to close, creating a cozy structure. This step maintains the total of 20 sts.
Round 1: Starting the Crown Shaping
Turn your rectangle inside out to hide the seams, then join a new round by ch 1 and work 1 sc in each stitch around the top of the beanie. This forms the base of the crown and shapes the top to fit snugly. Make sure to place a stitch marker at the beginning of the round for easy tracking. Your goal is to have 20 sc at the end of this round (20 sts).
Round 2: Decrease Started
Begin to shape the crown by chaining 1 and working sc2tog around. This helps to reduce the number of stitches while forming the top of the hat. Be mindful to keep an even tension as you stitch; your work should start pulling together at the top. After completing this round, you should count 10 sts.
Round 3: Continue Decreasing
Ch 1 and repeat the sc2tog from the previous round for this round. As you stitch, it will become noticeably tighter, pulling the fabric inward to create a rounded shape. Continue to maintain that firm tension for a polished finish. At the end of this round, you’ll have effectively reduced your stitches to 5 (5 sts).
Round 4: Final Touches
For the last round, chain 1, then work sc2tog 4 times, followed by 1 sc to finish the round. This will help close up the top of the Caitlin Chunky Beanie securely. With beautiful density forming, fasten off and leave a long tail for weaving in. Your beanie top should look complete, leaving no gaps for warmth.
Step 5: Finishing Touches
Weave in any loose ends using a tapestry needle, ensuring all tails are secure and hidden. If you like, you can attach a pom-pom to the top for a playful finish! This will add a personal touch to your cozy beanie. The final appearance should showcase a thick, textured fabric perfect for chilly days. Enjoy your beautiful Beginner-Friendly Caitlin Chunky Beanie!
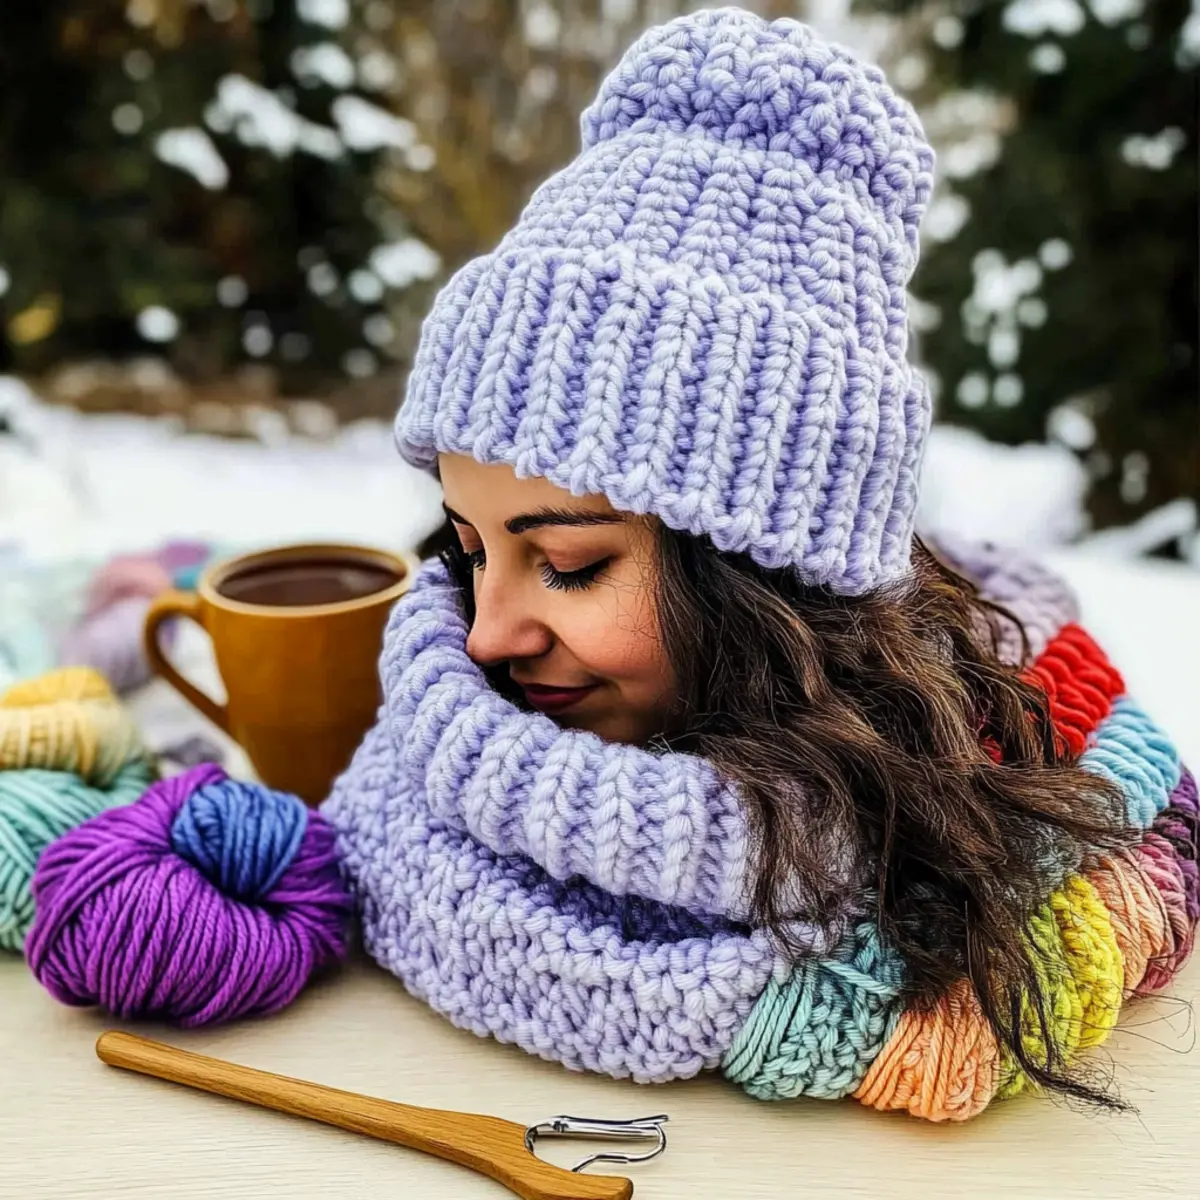
Care Instructions for Caitlin Chunky Beanie
-
Hand Washing: Use cold water and a mild detergent to gently hand wash your beanie, preserving the delicate integrity of the super bulky yarn.
-
Avoid Agitation: To prevent felting or pilling, avoid agitating or wringing out the beanie while washing.
-
Drying: Lay your beanie flat on a clean towel to dry, reshaping it as needed to maintain its cozy structure.
-
Storage: When not in use, store your beanie in a cool, dry place to keep it fresh and ready for your next chilly adventure!
Variations & Substitutions for Your Beanie
Feel free to let your creativity shine by making this crochet pattern your own!
- Yarn Weight Swap: Try a bulky weight yarn for a slightly tighter fit while still maintaining warmth and style.
- Color-Blocking: Experiment with two or more vibrant colors for an eye-catching beanie that showcases your personality.
- Alternate Fibers: Consider using a soft cotton blend instead of 100% wool for a breathable, lighter option perfect for transitional weather.
- Sizing Adjustments: To fit different head sizes, modify the initial chain length for a perfect fit tailored to your needs.
- Add Texture: Enhance the design by incorporating a cute pom-pom on top, or add a fun fringe around the bottom for added flair.
- Border Varieties: Surround the beanie with a decorative border using a contrasting color to elevate its aesthetic and make it truly special.
- Length Variation: Increase or decrease the body length to create a slouchy beanie or a snug fit, depending on your personal preference.
- Mix Yarn Types: Blend super bulky with a lighter worsted weight yarn for an interesting texture, allowing unique layers in your final product.
Remember, the beauty of crafting lies in your ability to customize. If you’re unsure where to start, check out our guide on yarn substitutions for more ideas on swapping fibers and creating unique textures! Have fun exploring these playful variations and make your beanie a true reflection of your style!
Expert Tips for the Caitlin Chunky Beanie
-
Stitch Count Matters: Always count your stitches at the end of each round to ensure the beanie maintains its shape.
-
Marker Magic: Use a stitch marker to identify the start of each round. This will keep your work aligned beautifully.
-
Mind Your Gauge: Aim for the suggested gauge of 8 sts and 7 rows = 4 inches. This is vital for achieving the right fit with your chunky yarn.
-
Avoid Stretching: When working the foundation and main body, avoid stretching the yarn. This ensures a snug yet comfortable fit for your beanie.
-
Finishing Touches: Weave in all ends securely and consider attaching a pom-pom for that extra flair!
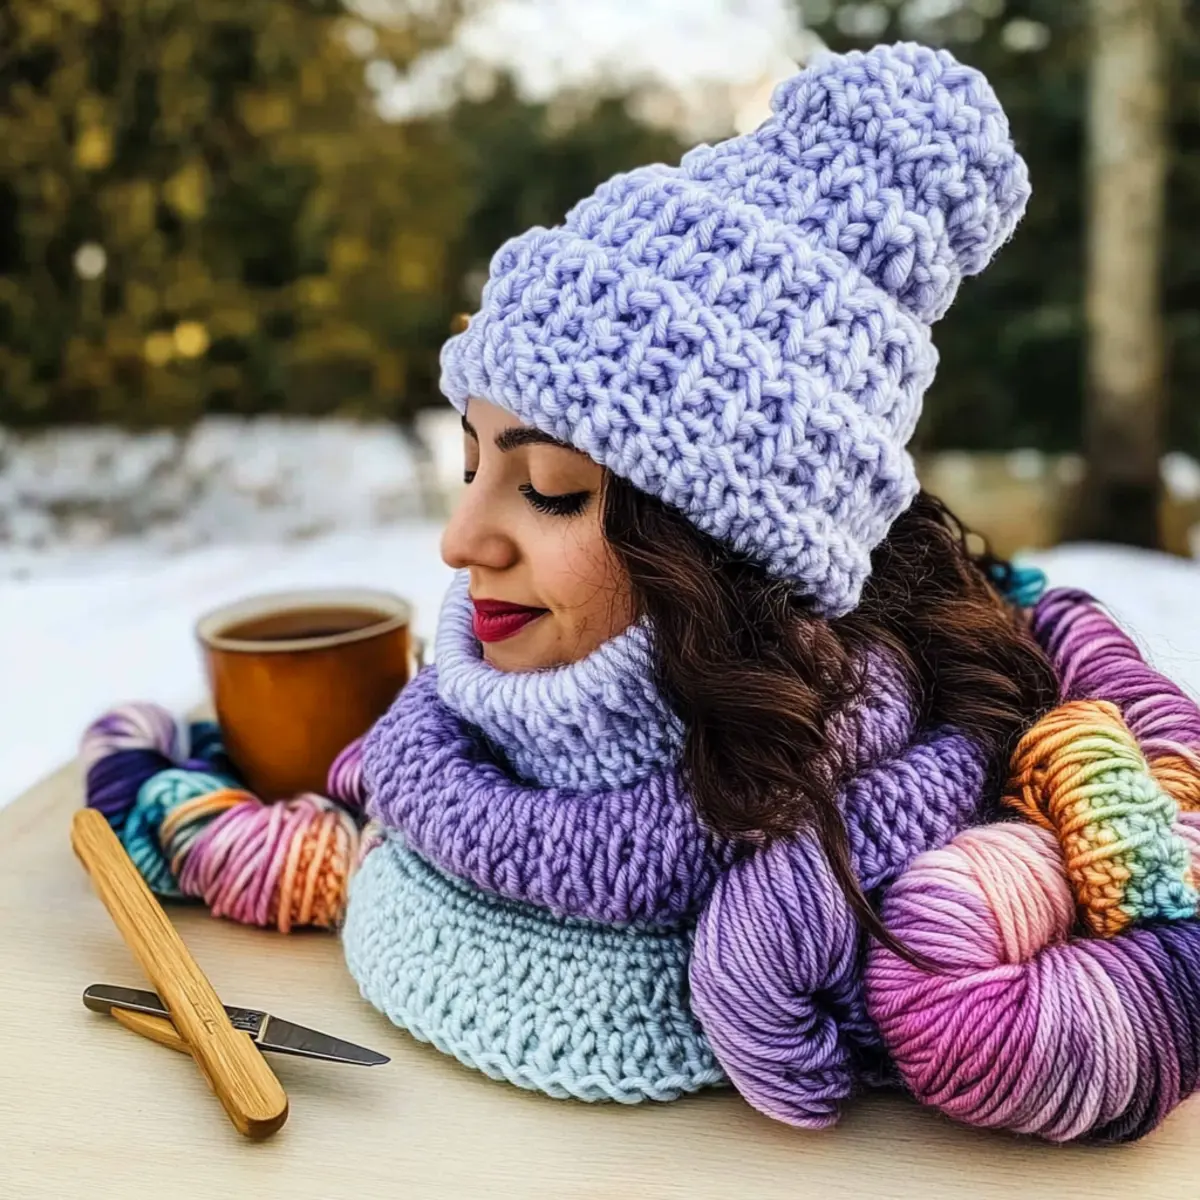
Beginner-Friendly Caitlin Chunky Beanie FAQs
Can I substitute the recommended yarn with another type?
Absolutely! Although I recommend Crazy Sexy Wool for its unique texture and warmth, you can use any super bulky weight yarn (Category 6). Just ensure your gauge matches (8 sts and 7 rows = 4 inches) to maintain the fit of your beanie.
How can I adjust the size of the beanie?
Don’t panic! To make the beanie larger or smaller, simply adjust the foundation chain and the length of the rectangle. For a wider fit, add more chains in multiples of 3. If you want it shorter, reduce the number of rows in the main body while keeping the overall construction consistent.
Why is my work curling at the edges?
If your edges are curling like a bowl, it’s likely due to tension issues or possibly the foundation chain being too tight. Make sure you’re not pulling too hard on your yarn. Try loosening your grip and keep checking your stitches to establish an even tension throughout.
What hook size should I use for the Caitlin Chunky Beanie?
For this pattern, a Size O (12 mm) / US 0 hook is ideal. If you’re finding your beanie feels too tight or loose, check your gauge and consider trying a hook size up or down to achieve the perfect fit.
How do I fix dropped stitches in my beanie?
Oh no! Dropped stitches can happen, but it’s an easy fix. Simply use your tapestry needle to pick up the loop of the dropped stitch and weave it back into your work. If it’s a really deep drop, you may need to unravel a few rows, but don’t worry! Take it slow and keep a positive mindset.
What’s the best way to care for my beanie?
To maintain the shape and integrity of your yarn, hand wash your chunky beanie with a mild detergent and lay it flat to dry. Avoid hanging it up, as that can cause stretching. Following these simple steps will keep your cozy creation looking fabulous!
Leave a Reply