
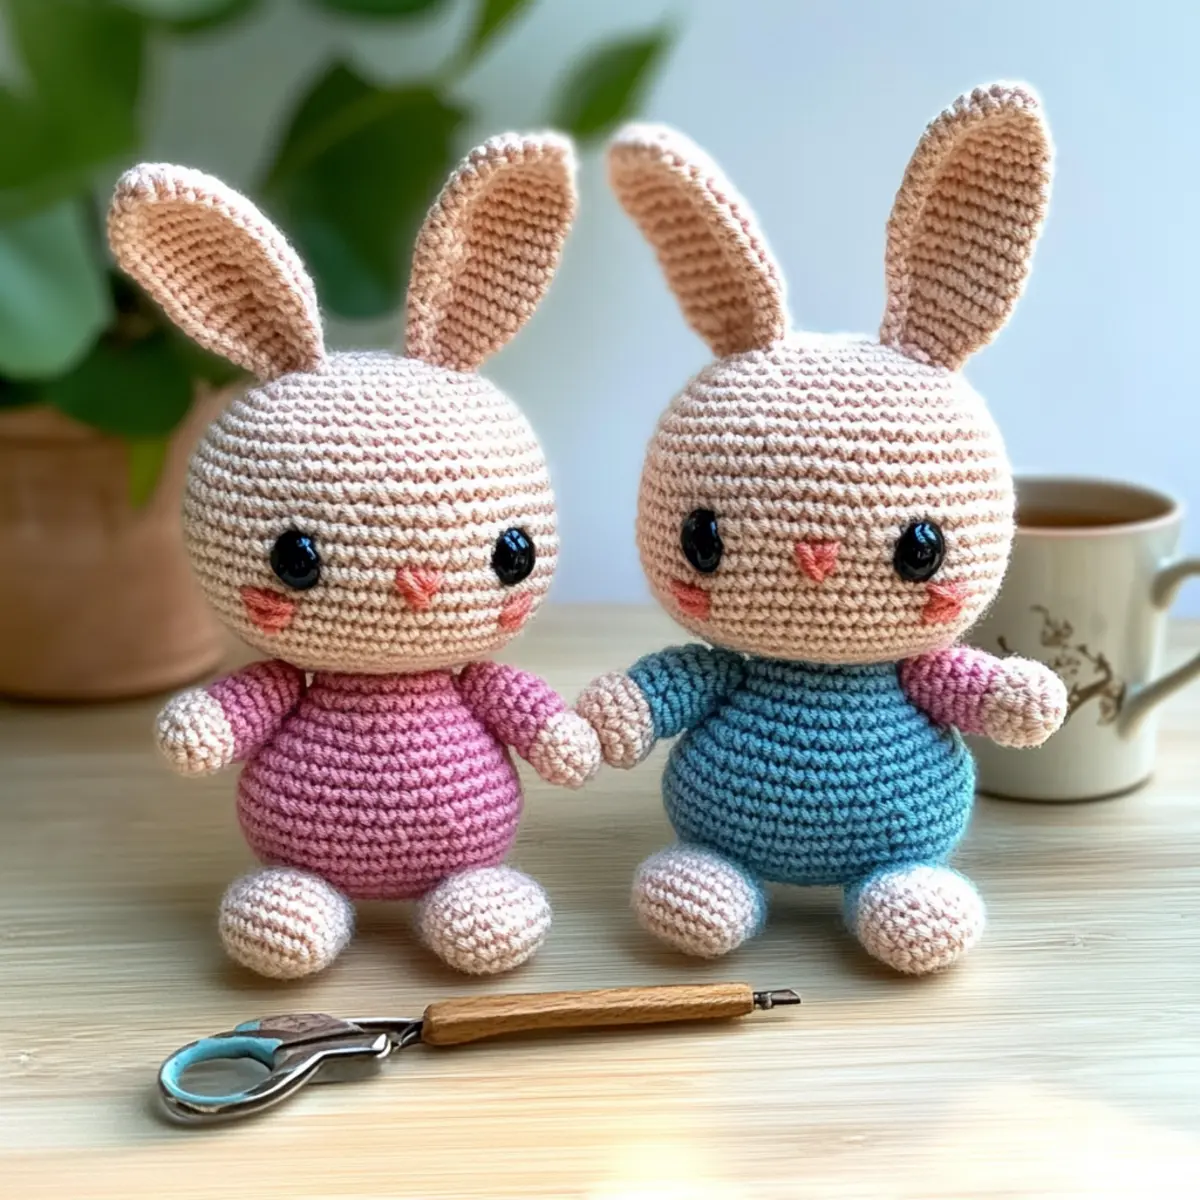
As I sat on a sunny afternoon, surrounded by skeins of cotton yarn, the urge to create something special for Easter struck me. That’s when I decided to crochet a pair of adorable Amigurumi bunnies—meet Emily and George. This beginner-friendly project is not only a delight to craft but also a perfect way to bring some coziness to your spring celebrations. With just a few supplies and simple stitches, you’ll whip up these charming bunnies in no time, making them ideal for gifts or festive décor. Plus, their soft, squishy texture is simply irresistible! Let’s dive in and start bringing Emily and George to life. Your crochet journey to cuteness awaits!
Amigurumi Bunnies Materials & Tools
Get ready to craft your own enchanting Amigurumi bunnies with these essential supplies!
Yarn
- Cotton Sport Weight Yarn – You’ll need various colors:
- Pink (Catania color: 409) – 20 grams for the shirt and bow.
- Beige (Catania color: 263) – 42 grams for the body.
- Dark Pink (Catania color: 252) – 5 grams for accents.
- Black (Catania color: 110) – 5 grams for features.
- Light Pink (Catania color: 246) – 5 grams for additional details.
- Blue (Catania color: 380) – 10 grams for embellishment.
- Light Blue (Catania color: 397) – 10 grams for extra charm.
Tools & Notions
- 2.5 mm (C/D) Hook – This size is perfect for working with cotton yarn.
- Safety Eyes (12 mm) – These give your bunnies their adorable gaze.
- Scissors – Handy for cutting yarn with precision.
- Tapestry Needles (size 16 or 17) – Great for weaving in ends seamlessly.
- Pins – Ideal for holding pieces together during assembly.
- Synthetic Poly Filling – Makes your bunnies wonderfully soft and cuddly.
Gather these materials, and you’re all set to create your delightful Easter bunnies!
Why Are These Bunnies So Special?
Beginner-Friendly: The pattern is designed to be easy to follow, making it perfect for crafters just starting their crochet journey.
Quick Project: You’ll be amazed at how fast you can complete Emily and George, giving you a satisfying crafting experience without a hefty time commitment.
Soft & Cuddly Texture: Made with cotton yarn, these bunnies have a delightful squishy feel, making them perfect for hugs and displays alike.
Easter-Themed Fun: Celebrate Easter with a charming pair that adds a personal touch to your holiday decor or makes a thoughtful gift for loved ones.
Creative Customization: Switch up the colors or sizes to create a unique bunny family that reflects your style! If you’re looking for more ideas, check out our guides on Crocheting with Cotton Yarn and Amigurumi Customization Techniques.
Start your cozy crafting adventure today and let Emily and George hop into your Spring celebrations!
Gauge & Sizing Notes
Don’t skip the gauge swatch! For your Amigurumi bunnies, checking your tension is essential to ensure that Emily and George turn out just the right size. Aim for a gauge of 4×4 inches (10×10 cm), which should equal 16 single crochets by 18 rows. If you want to make these adorable bunnies larger, you can adjust by starting with a chain in multiples of 4 for the body rounds. Conversely, if your swatch is smaller than this gauge, try using a larger hook size to get the right fit. Remember, accurate gauge means your charming Easter bunnies will look just as delightful as you envision!
Step‑by‑Step Pattern for Beginner-Friendly Amigurumi Bunnies
Round 1: Start the Head
Begin with a magic ring. Work 6 single crochets (sc) into the ring for a snug start (6 sts). Pull the tail to tighten the ring, ensuring a neat center. Your work should look like a small circle, ready to grow into the charming head of your bunny.
Round 2: Increase for Shape
In this round, follow with 2 sc in each stitch around to give your head some volume (12 sts). Feel free to count your stitches after each round to keep track of your progress. Your round should look rounded and plump, fanning gently at the edges.
Round 3: Continue Increasing
Work 1 sc in the next stitch, then 2 sc in the following stitch around for the next increase (18 sts). This technique helps create the lovely shape of your bunny’s head. Your work should continue to expand, appearing more rounded and fuller.
Round 4: Adding More Depth
For this round, crochet 1 sc in the next 2 stitches, then 2 sc in the next (24 sts). Remember to keep your counting accurate to ensure a perfect shape. Your bunny’s head should now look symmetrical and well-formed with a cozy, inviting expression.
Round 5: Continue to Build
Proceed by crocheting 1 sc in the next 3 stitches, then 2 sc in the next stitch (30 sts). This forms a comforting base for your bunny’s features. Your work will feel sturdier as you continue, adding character to your Amigurumi creation.
Rounds 6-8: Forming the Head Shape
For the next three rounds, simply work in single crochet around (30 sts each round). This establishes a solid yet soft shape for your bunny’s head. Your project should start to resemble a fluffy little sphere, perfectly poised for its adorable features.
Rounds 9-11: Shaping the Neck
For these rounds, now decrease gently by working 1 sc in the next 3 stitches, then 1 dec (decrease) around (24, 20, and 15 sts respectively). As you work, your bunny should take on a more defined neck appearance, creating a smooth transition to the body.
Round 12: Transition to Body
In this round, crochet 1 sc in the next 5 stitches, then 1 dec (12 sts). This narrows the head and prepares for the lovely rounded body of your bunny. Your work should have a slight dip at the neck, hinting at a transition to the adorable body below.
Rounds 13-15: Creating the Body
Keep the body rounded by working 1 sc in each stitch around (12 sts each round). This creates a soft, cuddly belly for your bunny. Your Amigurumi should look squat and lovable, well on its way to becoming a delightful part of your Easter décor.
Rows 16-17: Prepare for Stuffing
In these rounds, work 1 sc in the next 2 stitches, then 1 dec (9 sts, then decreasing to 3 sts). This will create enough space to stuff your bunny. Your project should now be more agile in form, yet ready for the crucial next step of filling it with soft stuffing.
Assemble the Bunny: Bringing Emily and George to Life
Now, stuff your bunny with synthetic poly filling, ensuring it’s plush but not too tight. Use a tapestry needle to close off the remaining stitches. Ensuring a snug but gentle closing completes your foundational work, letting Emily and George be soft and huggable for all ages.
Care Instructions for Amigurumi Bunnies
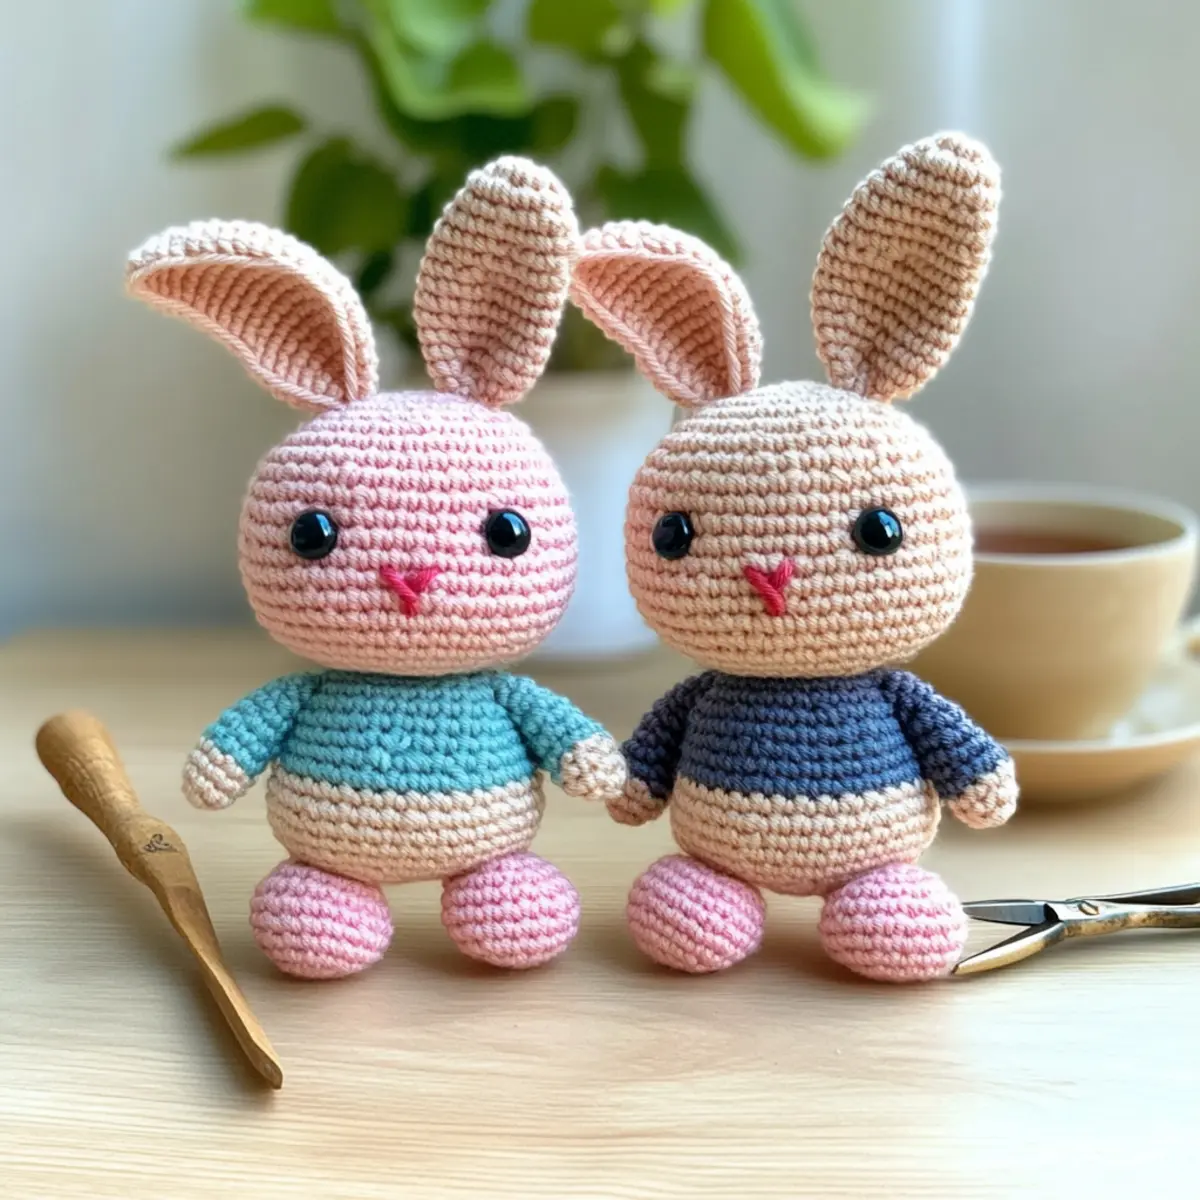
Machine Washing: Use a gentle cycle in cold water to preserve the softness of your cotton yarn. Avoid agitating too much to prevent any felting or distortion of Emily and George.
Hand Washing: For best results, gently hand wash your bunnies using cold water and a mild detergent. This will help maintain their vibrant colors and squishy texture.
Drying/Blocking: Lay your Amigurumi bunnies flat on a clean towel to dry. Keep them away from direct sunlight to prevent color fading and maintain their shape.
Storage: When not on display, store your bunnies in a cool, dry place, preferably in a breathable cotton bag. This will help them keep their shape and stay fresh for years to come!
Variations & Substitutions for Amigurumi Bunnies
Feel free to add your own flair to Emily and George, making these bunnies uniquely yours!
-
Yarn Weight Changes:
Swap to a heavier yarn for larger bunnies or a finer yarn for mini versions. Adjust your hook size accordingly to maintain the structure. -
Fiber Alternatives:
Try an acrylic yarn for a different texture and increased durability. It tends to be softer and can add unique color options to your bunnies. -
Personalized Color Palettes:
Use your favorite colors beyond the standard options. Imagine Emily dressed in yellow and George in mint—so charming! -
Texture Twists:
Incorporate plush or chenille yarn for a velvety feel. This results in a cuddly finish, perfect for little hands. -
Fun Features:
Add pom-poms to the ends of the bunnies’ ears or tails to enhance their cuteness. It’s a small detail that makes a big impact! -
Fringe Fun:
Create fringed clothing for your bunnies or accents on their ears using a simple fringe technique. It can bring an element of movement to your design. -
Size Adjustments:
To make a bunny trio, simply adjust your yarn weight and hook size as needed. You can create a whole family in different proportions! -
Border Designs:
Consider adding a decorative border around the bunnies’ clothing using a contrasting yarn color. It’s a delightful way to frame their outfits!
Feeling inspired to explore other crochet techniques? Check out our exciting tips on Crocheting with Cotton Yarn and Amigurumi Customization Techniques to enhance your crafting adventure!
Expert Tips for Amigurumi Bunnies
• Count Your Stitches: Always count your stitches at the end of each round to maintain the right shape and prevent disappointment.
• Watch Your Tension: Ensure your tension is consistent throughout the project; too tight or too loose can change the look of your bunnies.
• Stitch Marker Use: Employ a stitch marker to keep track of your rounds. It will help you avoid losing your place, especially with intricate detailing.
• Stuff Firmly: Don’t skimp on the stuffing when finishing your bunnies; a well-stuffed bunny stands proudly and maintains its shape beautifully.
• Finish Neatly: Weave in all ends securely to ensure your final product looks polished. This will also help avoid any unraveling over time.
Bring Emily and George to life with these expert tips! Whether you’re a beginner or looking to refine your skills, these aspects will elevate your Amigurumi crochet experience.
Beginner-Friendly Amigurumi Bunnies for Easter FAQs
Can I use a different yarn than cotton for these Amigurumi bunnies?
Absolutely! While cotton yarn is recommended for its softness and clarity, you can experiment with acrylic or bamboo yarn. Just keep in mind that if you switch to a thicker yarn, you might need to adjust your hook size accordingly.
How do I make my Amigurumi bunnies bigger or smaller?
It’s easy to adjust the sizing! For larger bunnies, opt for a thicker yarn and a larger hook, such as an 8.0 mm. Conversely, for smaller bunnies, use a lighter yarn and a smaller hook, ensuring to check your gauge with a swatch first.
Why is my work curling?
Don’t panic! Curling often happens if your tension is too tight or you’re using a smaller hook than recommended. Try relaxing your stitch tension or switching to a hook that matches your yarn weight for smoother edges.
How can I fix dropped stitches?
It’s an easy fix! Just pull the working yarn gently until the dropped stitch pops back into place. Use a tapestry needle to weave the yarn tail to secure it, ensuring your bunnies maintain their adorable shape.
What hook size should I use for this pattern?
For these delightful bunnies, a 2.5 mm hook (C/D) is recommended to achieve that snug, squishy texture. If you decide to change yarn types, remember to adjust the hook size to suit your new yarn weight!
What should I do if my bunny’s ears don’t look right?
If they appear uneven or misshapen, count the rounds you’ve completed and compare them with the pattern instructions. Sometimes, it helps to frog a few stitches back and try again. The beauty of crochet is that it’s a journey of learning, so enjoy the process!
Leave a Reply